Is there anything better than the scent of warm vanilla drifting through a screen door on a Saturday afternoon? I know, I know—when the thermometer starts hitting those triple digits, the last thing you want to do is crank up a 400-degree oven. But hear me out: summer baking isn’t about heavy, spiced cakes or dense winter bakes. It’s about vibrant citrus zests, shimmering stone fruits, and flaky crusts that practically melt in your mouth.
Whether you’ve just come home with a massive haul from the farmer’s market or you’re looking for that perfect “wow” dessert for the neighborhood BBQ, I’ve got you covered. We’re leaning into the season of abundance with treats that feel like a cool breeze.
From zesty lemon bars to the ultimate peach galette, here are 15 delicious summer baking dessert ideas to keep your kitchen smelling like paradise all season long!
Lemon Blueberry Pound Cake
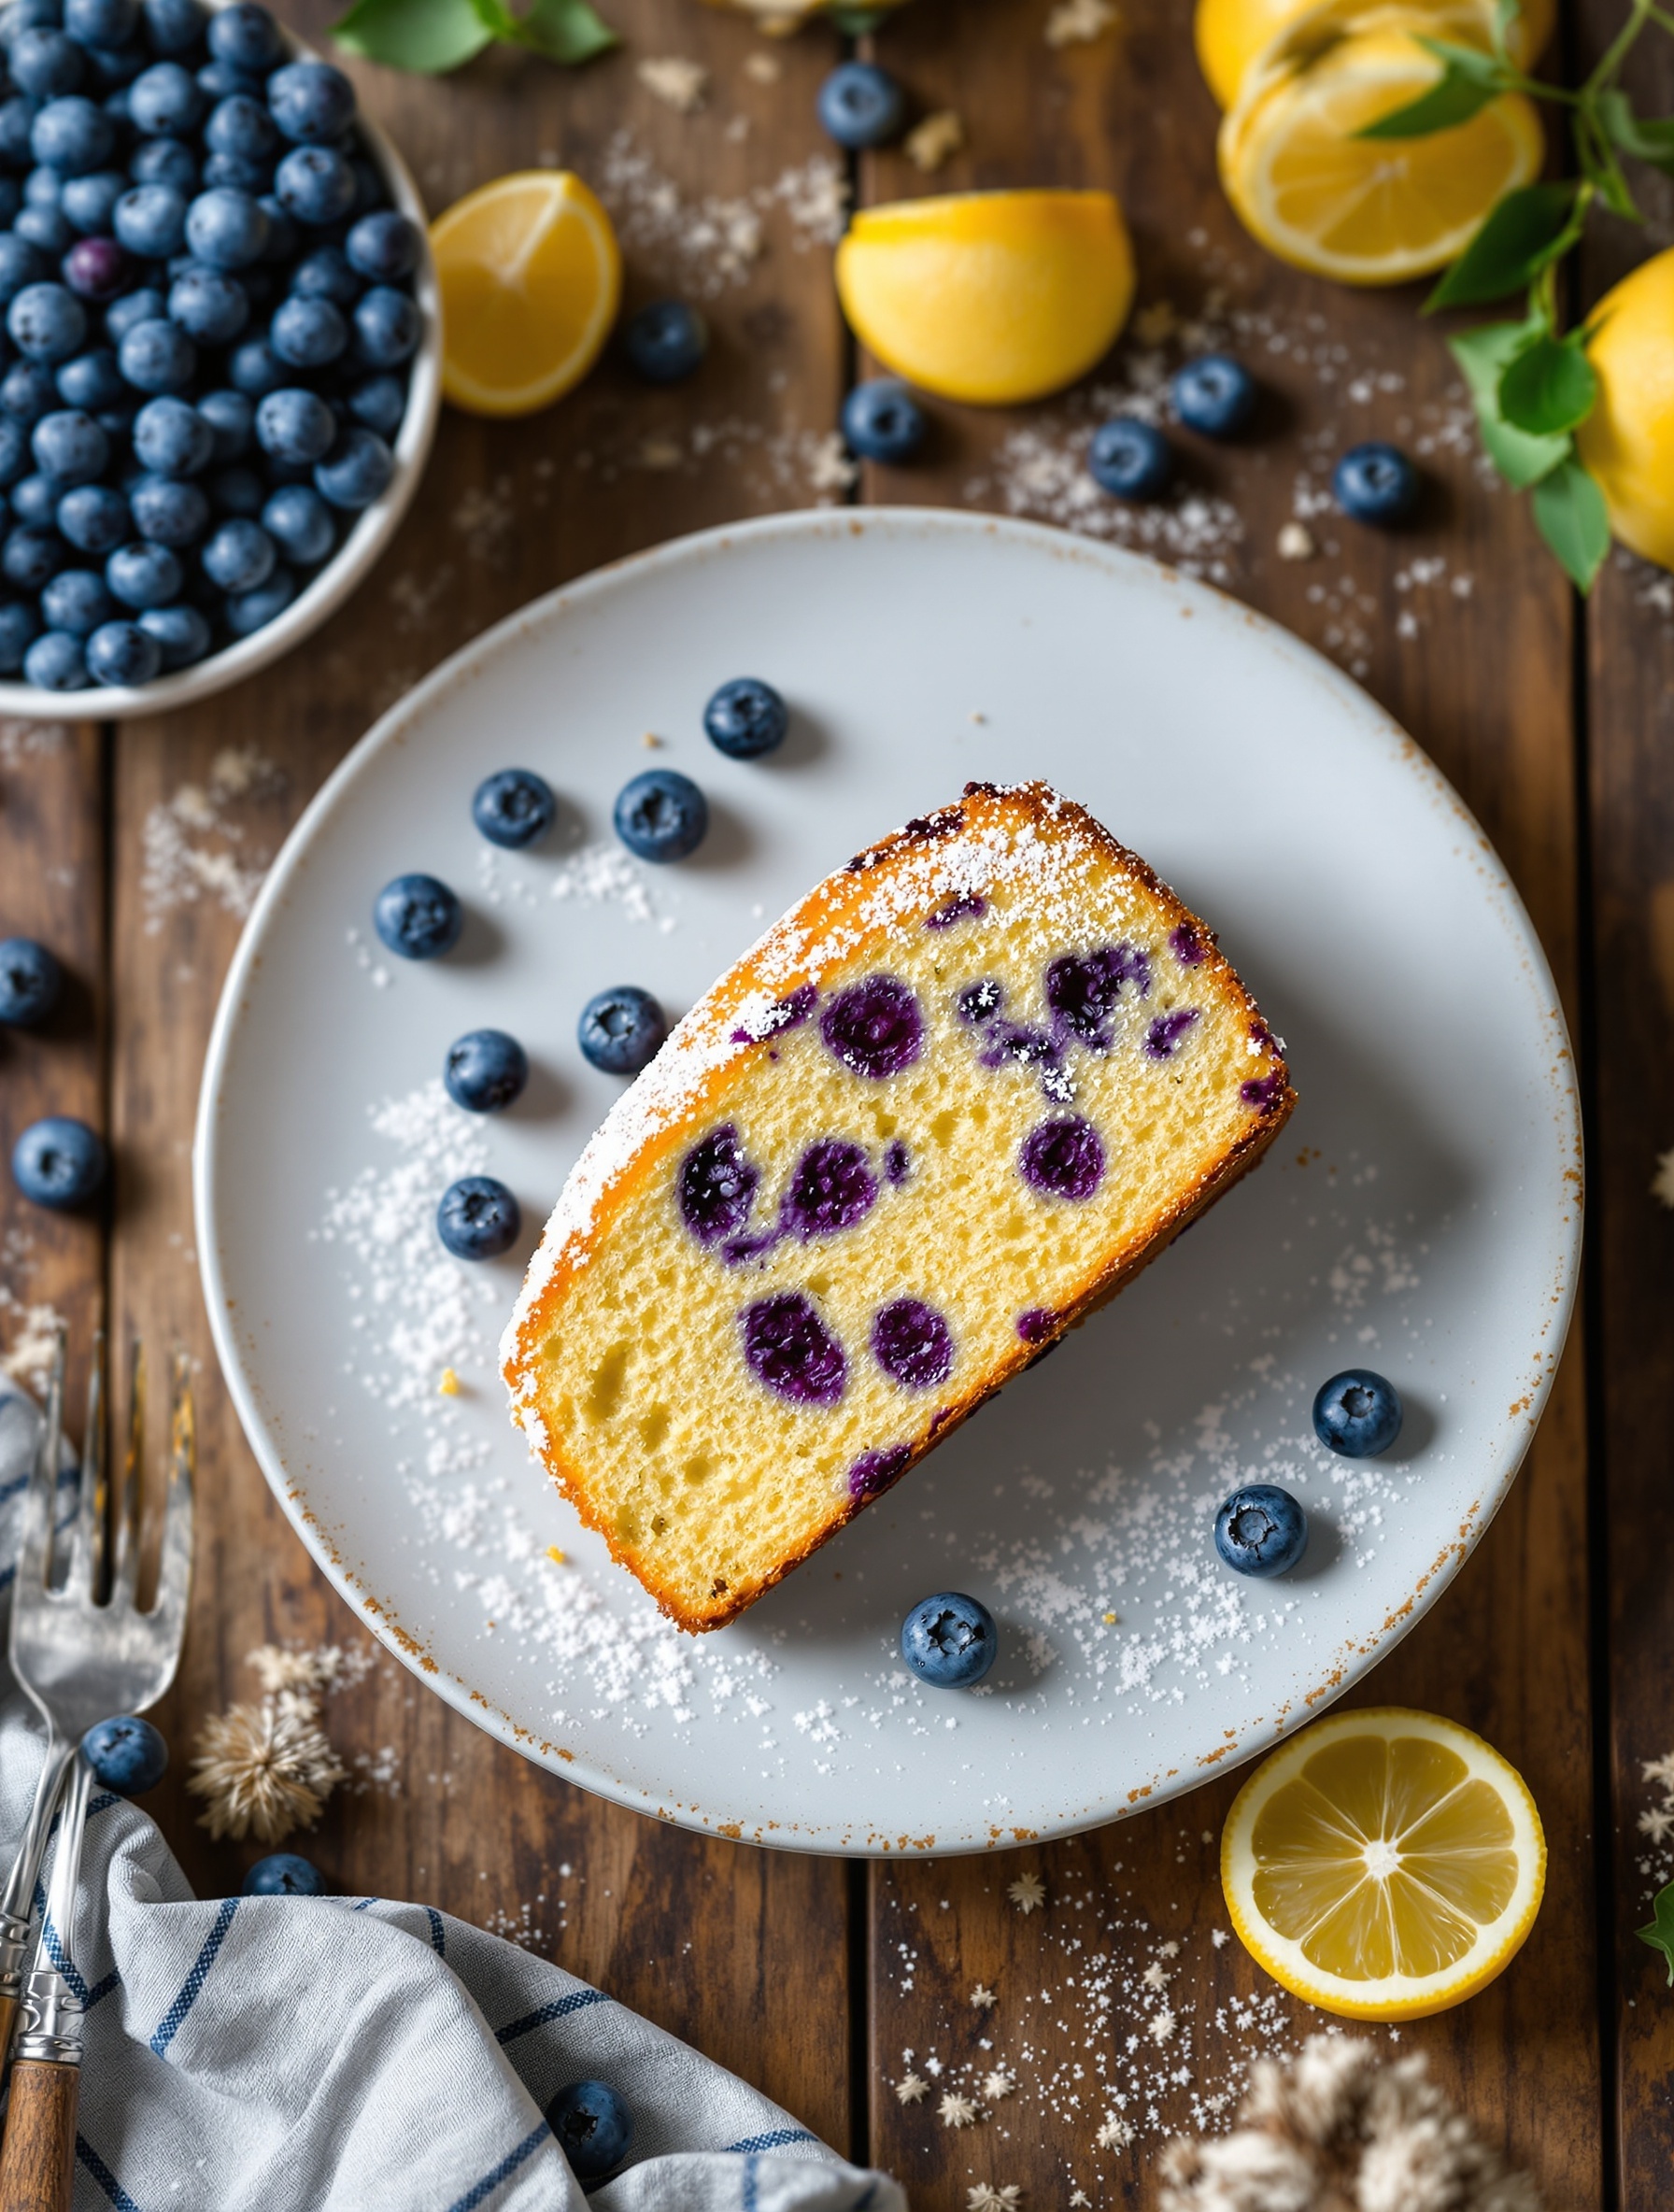
Lemon Blueberry Pound Cake is a delightful treat perfect for summer. The bright lemon flavor pairs wonderfully with juicy blueberries, making it a refreshing dessert. This cake is not only beautiful but also easy to make, making it a great choice for gatherings or a cozy afternoon snack.
The cake is moist and tender, with a lovely golden crust. Each slice reveals bursts of blueberries that add a pop of color and flavor. Dusting the cake with powdered sugar gives it a charming finish, making it look as good as it tastes.
Enjoy this cake with a cup of tea or coffee, or serve it at your next picnic. It’s sure to impress your friends and family!
Ingredients
- 1 cup unsalted butter, softened
- 2 cups granulated sugar
- 4 large eggs
- 1 teaspoon vanilla extract
- 1 tablespoon lemon zest
- 3 cups all-purpose flour
- 1 teaspoon baking powder
- 1/2 teaspoon salt
- 1 cup buttermilk
- 1 1/2 cups fresh blueberries
- Powdered sugar for dusting
Instructions
- Preheat your oven to 350°F (175°C). Grease and flour a 9×5 inch loaf pan.
- In a large bowl, cream together the softened butter and sugar until light and fluffy. Add the eggs one at a time, mixing well after each addition. Stir in the vanilla extract and lemon zest.
- In another bowl, whisk together the flour, baking powder, and salt. Gradually add this dry mixture to the butter mixture, alternating with the buttermilk. Mix until just combined.
- Gently fold in the blueberries, being careful not to break them.
- Pour the batter into the prepared loaf pan and smooth the top. Bake for 60-70 minutes, or until a toothpick inserted into the center comes out clean.
- Let the cake cool in the pan for 10 minutes, then transfer it to a wire rack to cool completely. Dust with powdered sugar before serving.
No-Bake Chocolate Mousse Cups
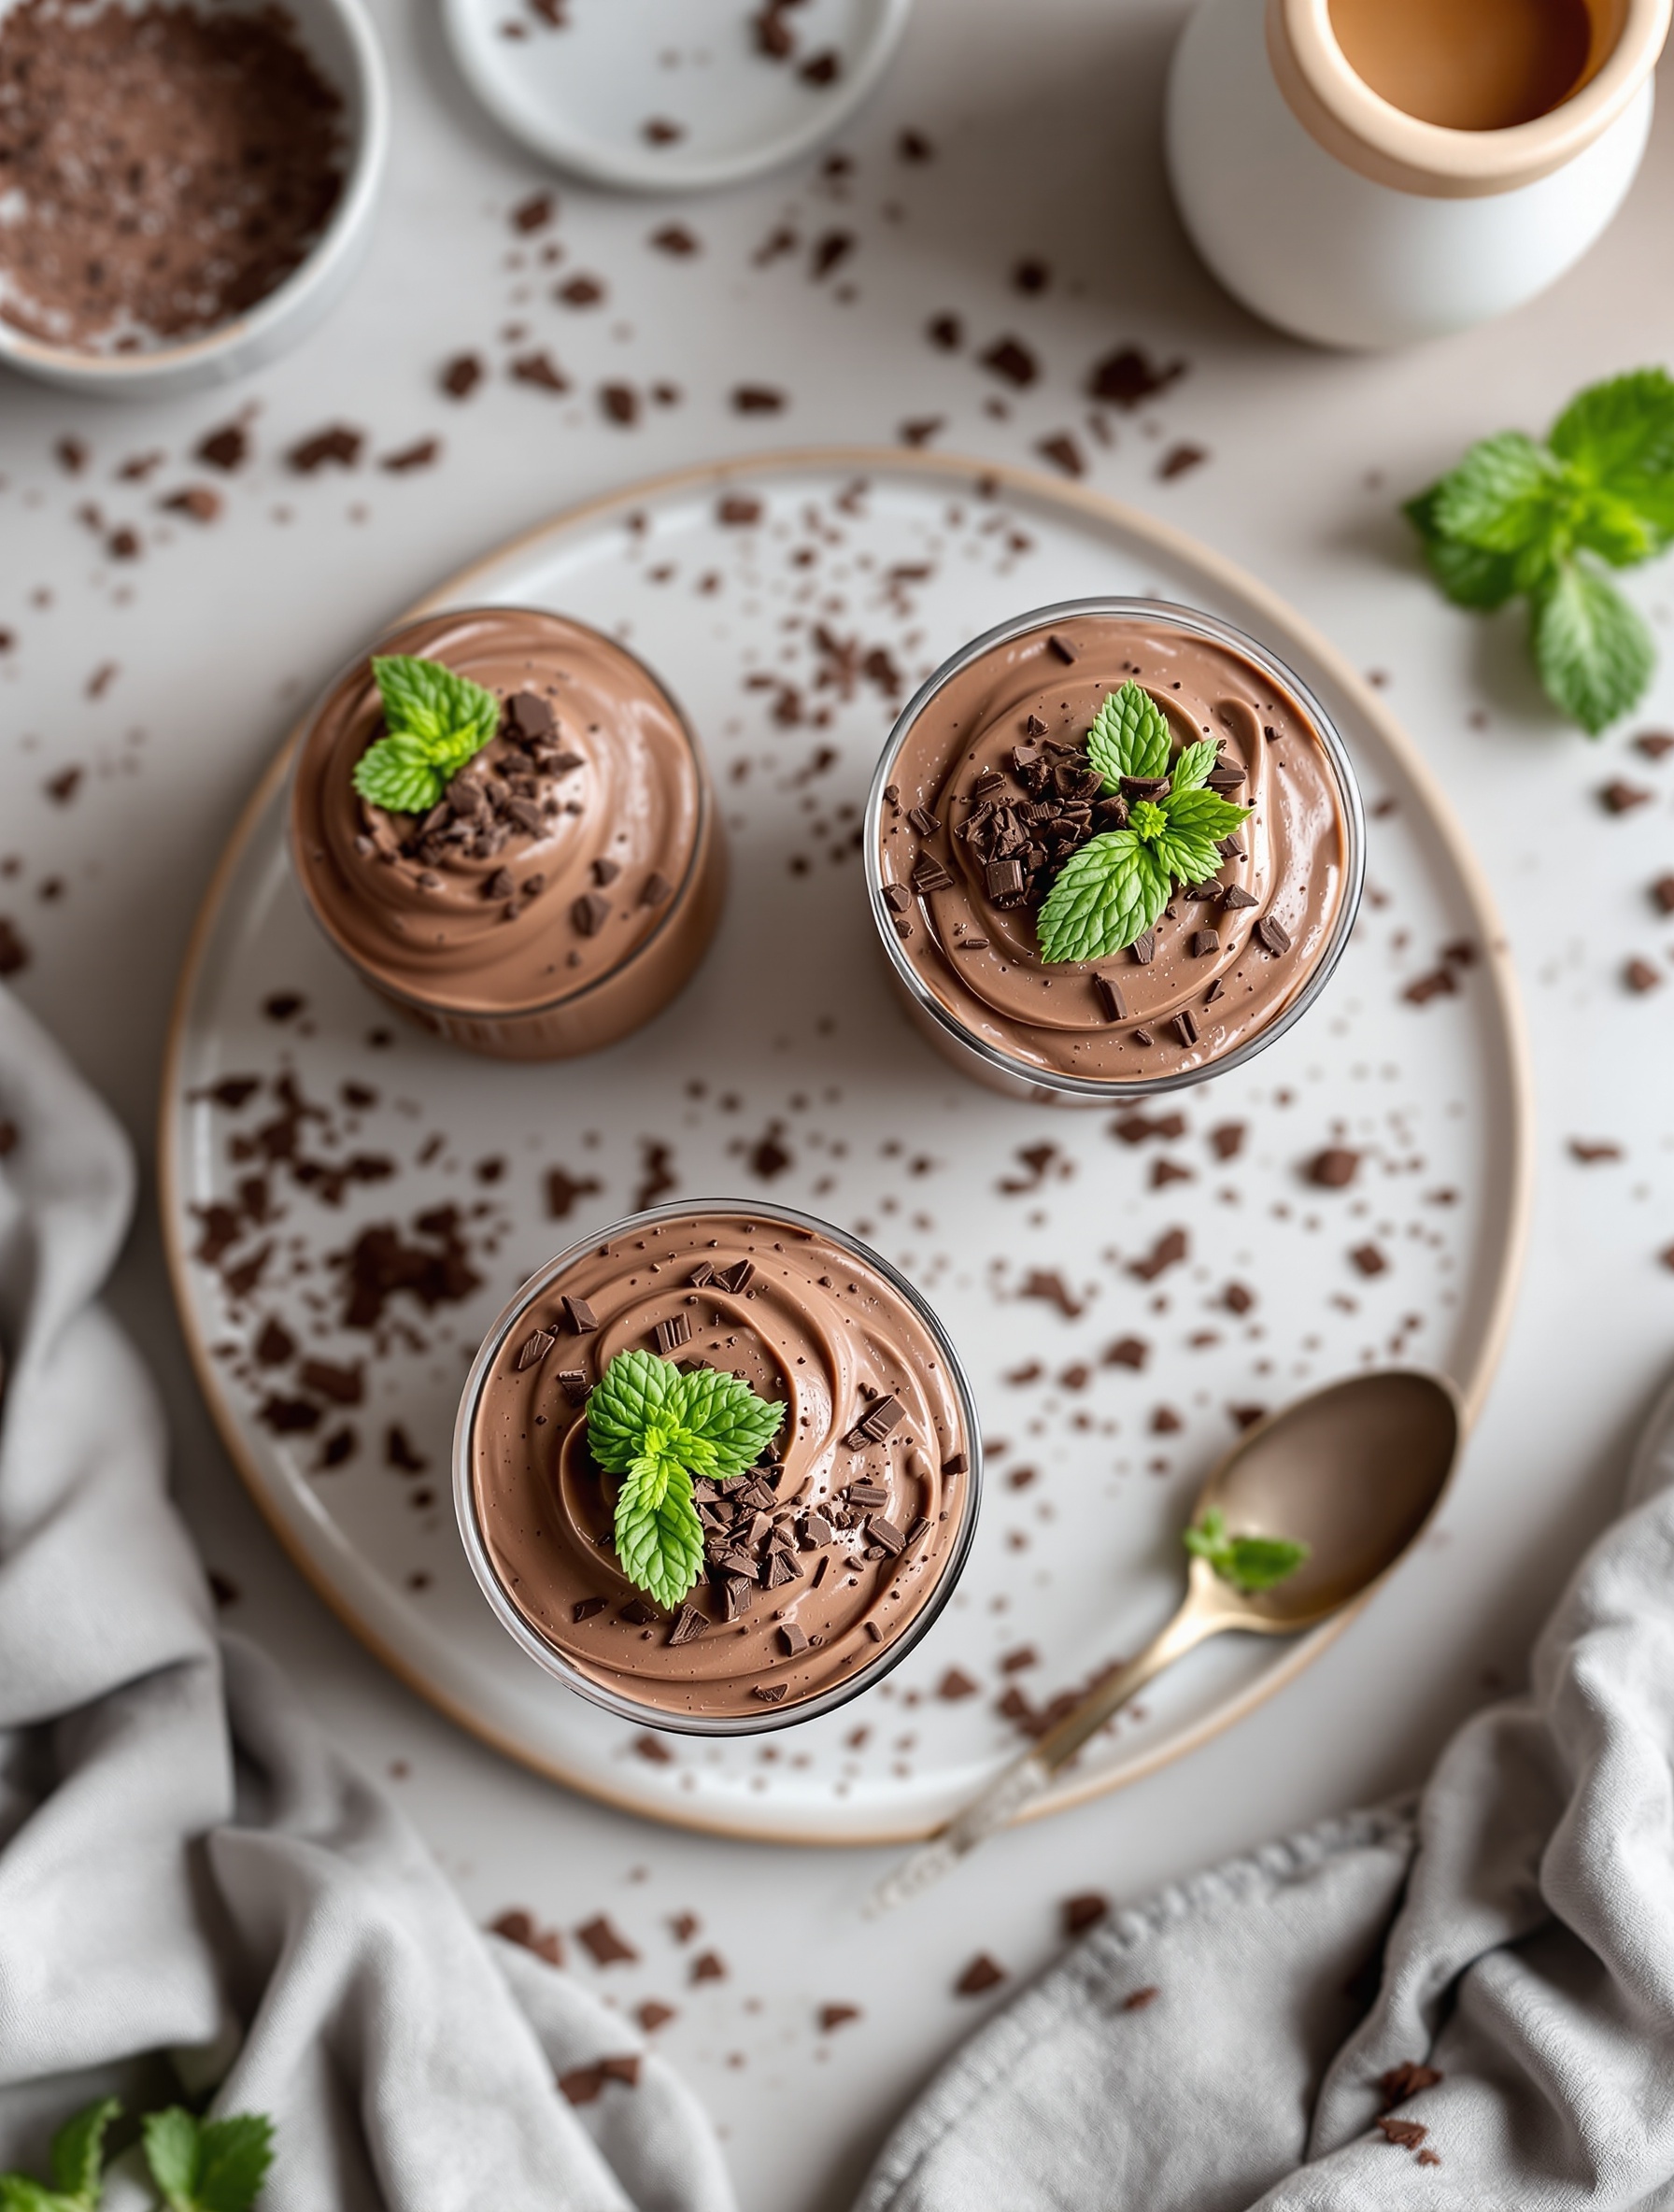
Summer is the perfect time for light and refreshing desserts, and no-bake chocolate mousse cups fit the bill perfectly. These delightful treats are rich, creamy, and incredibly easy to whip up. You can enjoy them without turning on the oven, making them ideal for hot days.
The image showcases these mousse cups beautifully. Each cup is filled with a smooth, chocolatey mixture, topped with a sprinkle of chocolate shavings and a fresh mint leaf for a pop of color. The presentation is simple yet elegant, making them perfect for any gathering or just a sweet treat at home.
To make these mousse cups, you’ll need a few basic ingredients. The best part is that you can prepare them in advance and let them chill in the fridge until you’re ready to serve. This way, you can spend more time enjoying the summer sun and less time in the kitchen.
Ingredients
- 1 cup heavy cream
- 1/2 cup powdered sugar
- 1 teaspoon vanilla extract
- 8 ounces semi-sweet chocolate, chopped
- 2 tablespoons unsalted butter
- Fresh mint leaves for garnish
- Chocolate shavings for garnish
Instructions
- In a small saucepan, melt the chopped chocolate and butter over low heat, stirring until smooth. Remove from heat and let it cool slightly.
- In a large bowl, whip the heavy cream, powdered sugar, and vanilla extract until soft peaks form.
- Gently fold the melted chocolate mixture into the whipped cream until fully combined.
- Divide the mousse into serving cups and refrigerate for at least 2 hours to set.
- Before serving, top with chocolate shavings and a mint leaf for garnish.
Strawberry Shortcake with Whipped Cream
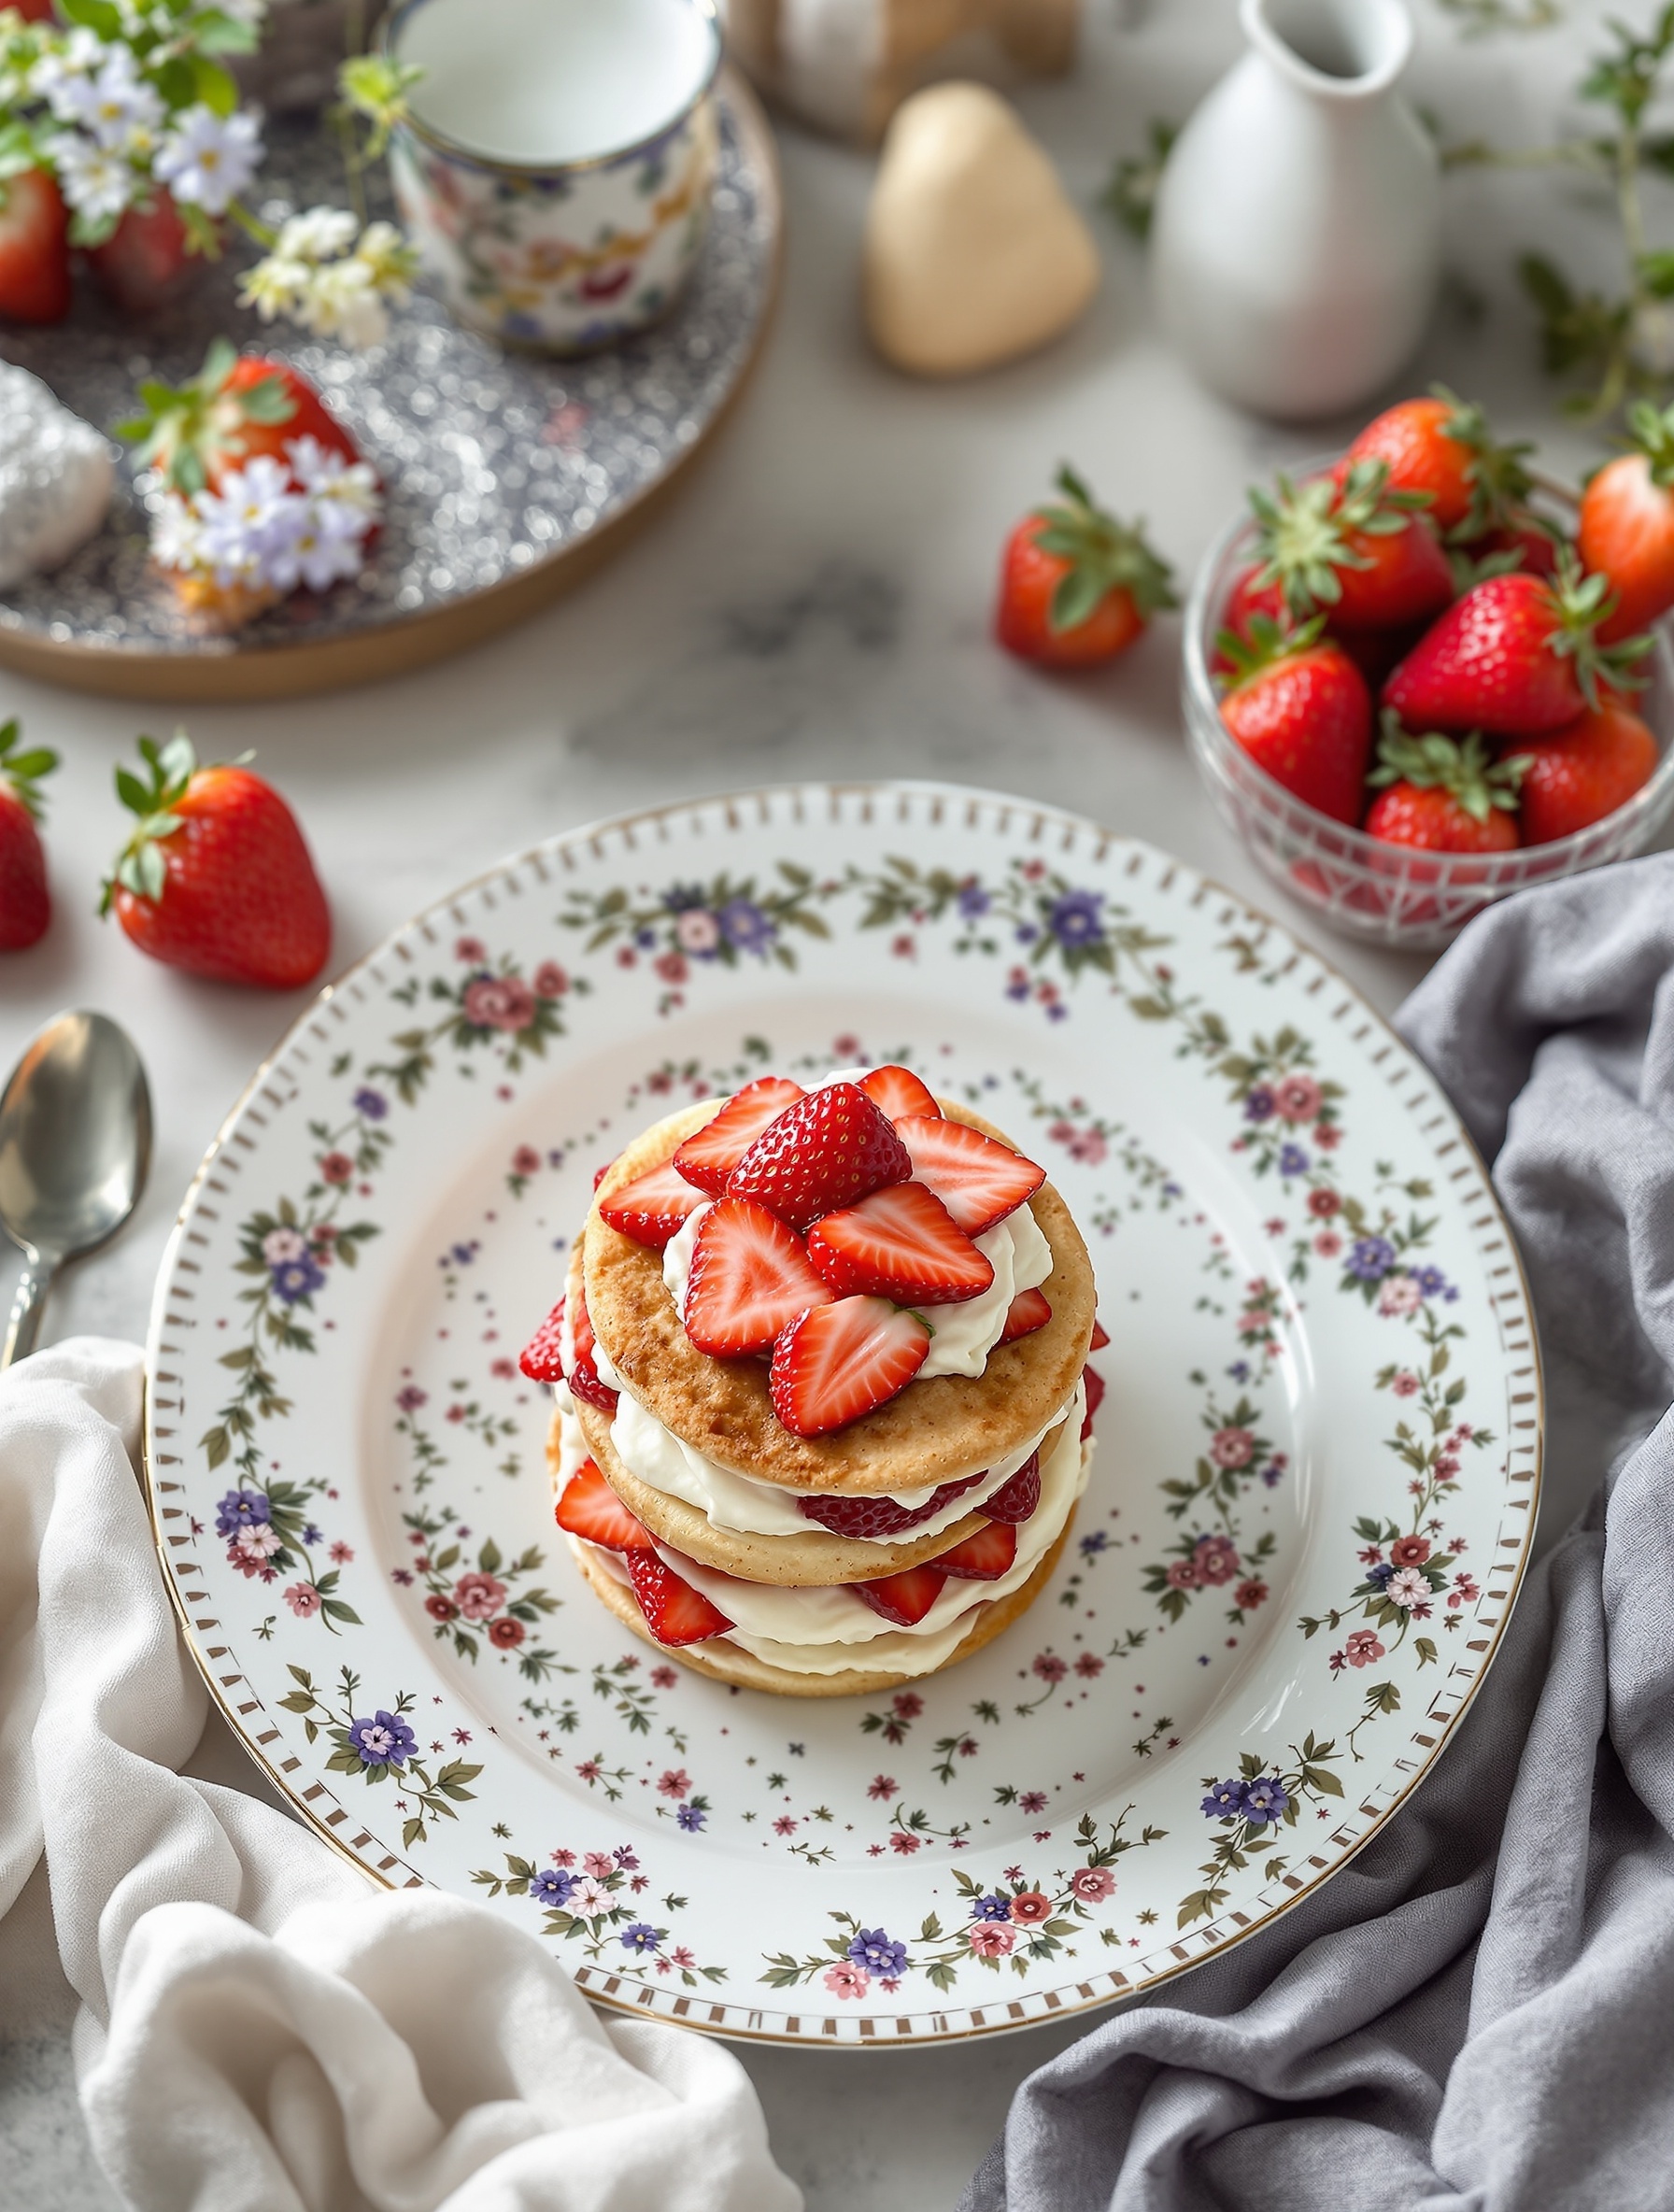
Strawberry shortcake is a classic summer dessert that brings a smile to anyone’s face. The image shows a delightful stack of fluffy shortcake layers, each filled with fresh strawberries and topped with a generous dollop of whipped cream. The vibrant red strawberries contrast beautifully with the light, golden cake, making it not just delicious but also visually appealing.
This dessert is perfect for warm days when strawberries are at their peak. It’s simple to make and can be enjoyed at picnics, barbecues, or just as a sweet treat at home. The combination of sweet strawberries, airy whipped cream, and tender cake creates a refreshing experience that captures the essence of summer.
To make your own strawberry shortcake, gather some fresh strawberries, flour, sugar, and cream. It’s a straightforward recipe that anyone can master. Let’s get started!
Ingredients
- 2 cups fresh strawberries, sliced
- 1/4 cup granulated sugar
- 2 cups all-purpose flour
- 1 tablespoon baking powder
- 1/2 teaspoon salt
- 1/4 cup unsalted butter, softened
- 1 cup heavy cream
- 1 teaspoon vanilla extract
- 2 tablespoons powdered sugar (for whipped cream)
Instructions
- Prepare the Strawberries: In a bowl, mix sliced strawberries with granulated sugar. Let them sit for about 30 minutes to release their juices.
- Make the Shortcake: Preheat your oven to 425°F (220°C). In a bowl, combine flour, baking powder, and salt. Cut in the butter until the mixture resembles coarse crumbs. Stir in heavy cream until just combined.
- Shape the Dough: Turn the dough onto a floured surface and knead gently. Pat it into a 1-inch thick rectangle. Cut into rounds using a biscuit cutter.
- Bake: Place the rounds on a baking sheet and bake for 12-15 minutes until golden brown. Let them cool slightly.
- Whip the Cream: In a bowl, beat heavy cream with vanilla extract and powdered sugar until soft peaks form.
- Assemble: Slice the shortcakes in half. Layer strawberries and whipped cream between the halves and on top. Serve immediately and enjoy!
Key Lime Pie with Graham Cracker Crust
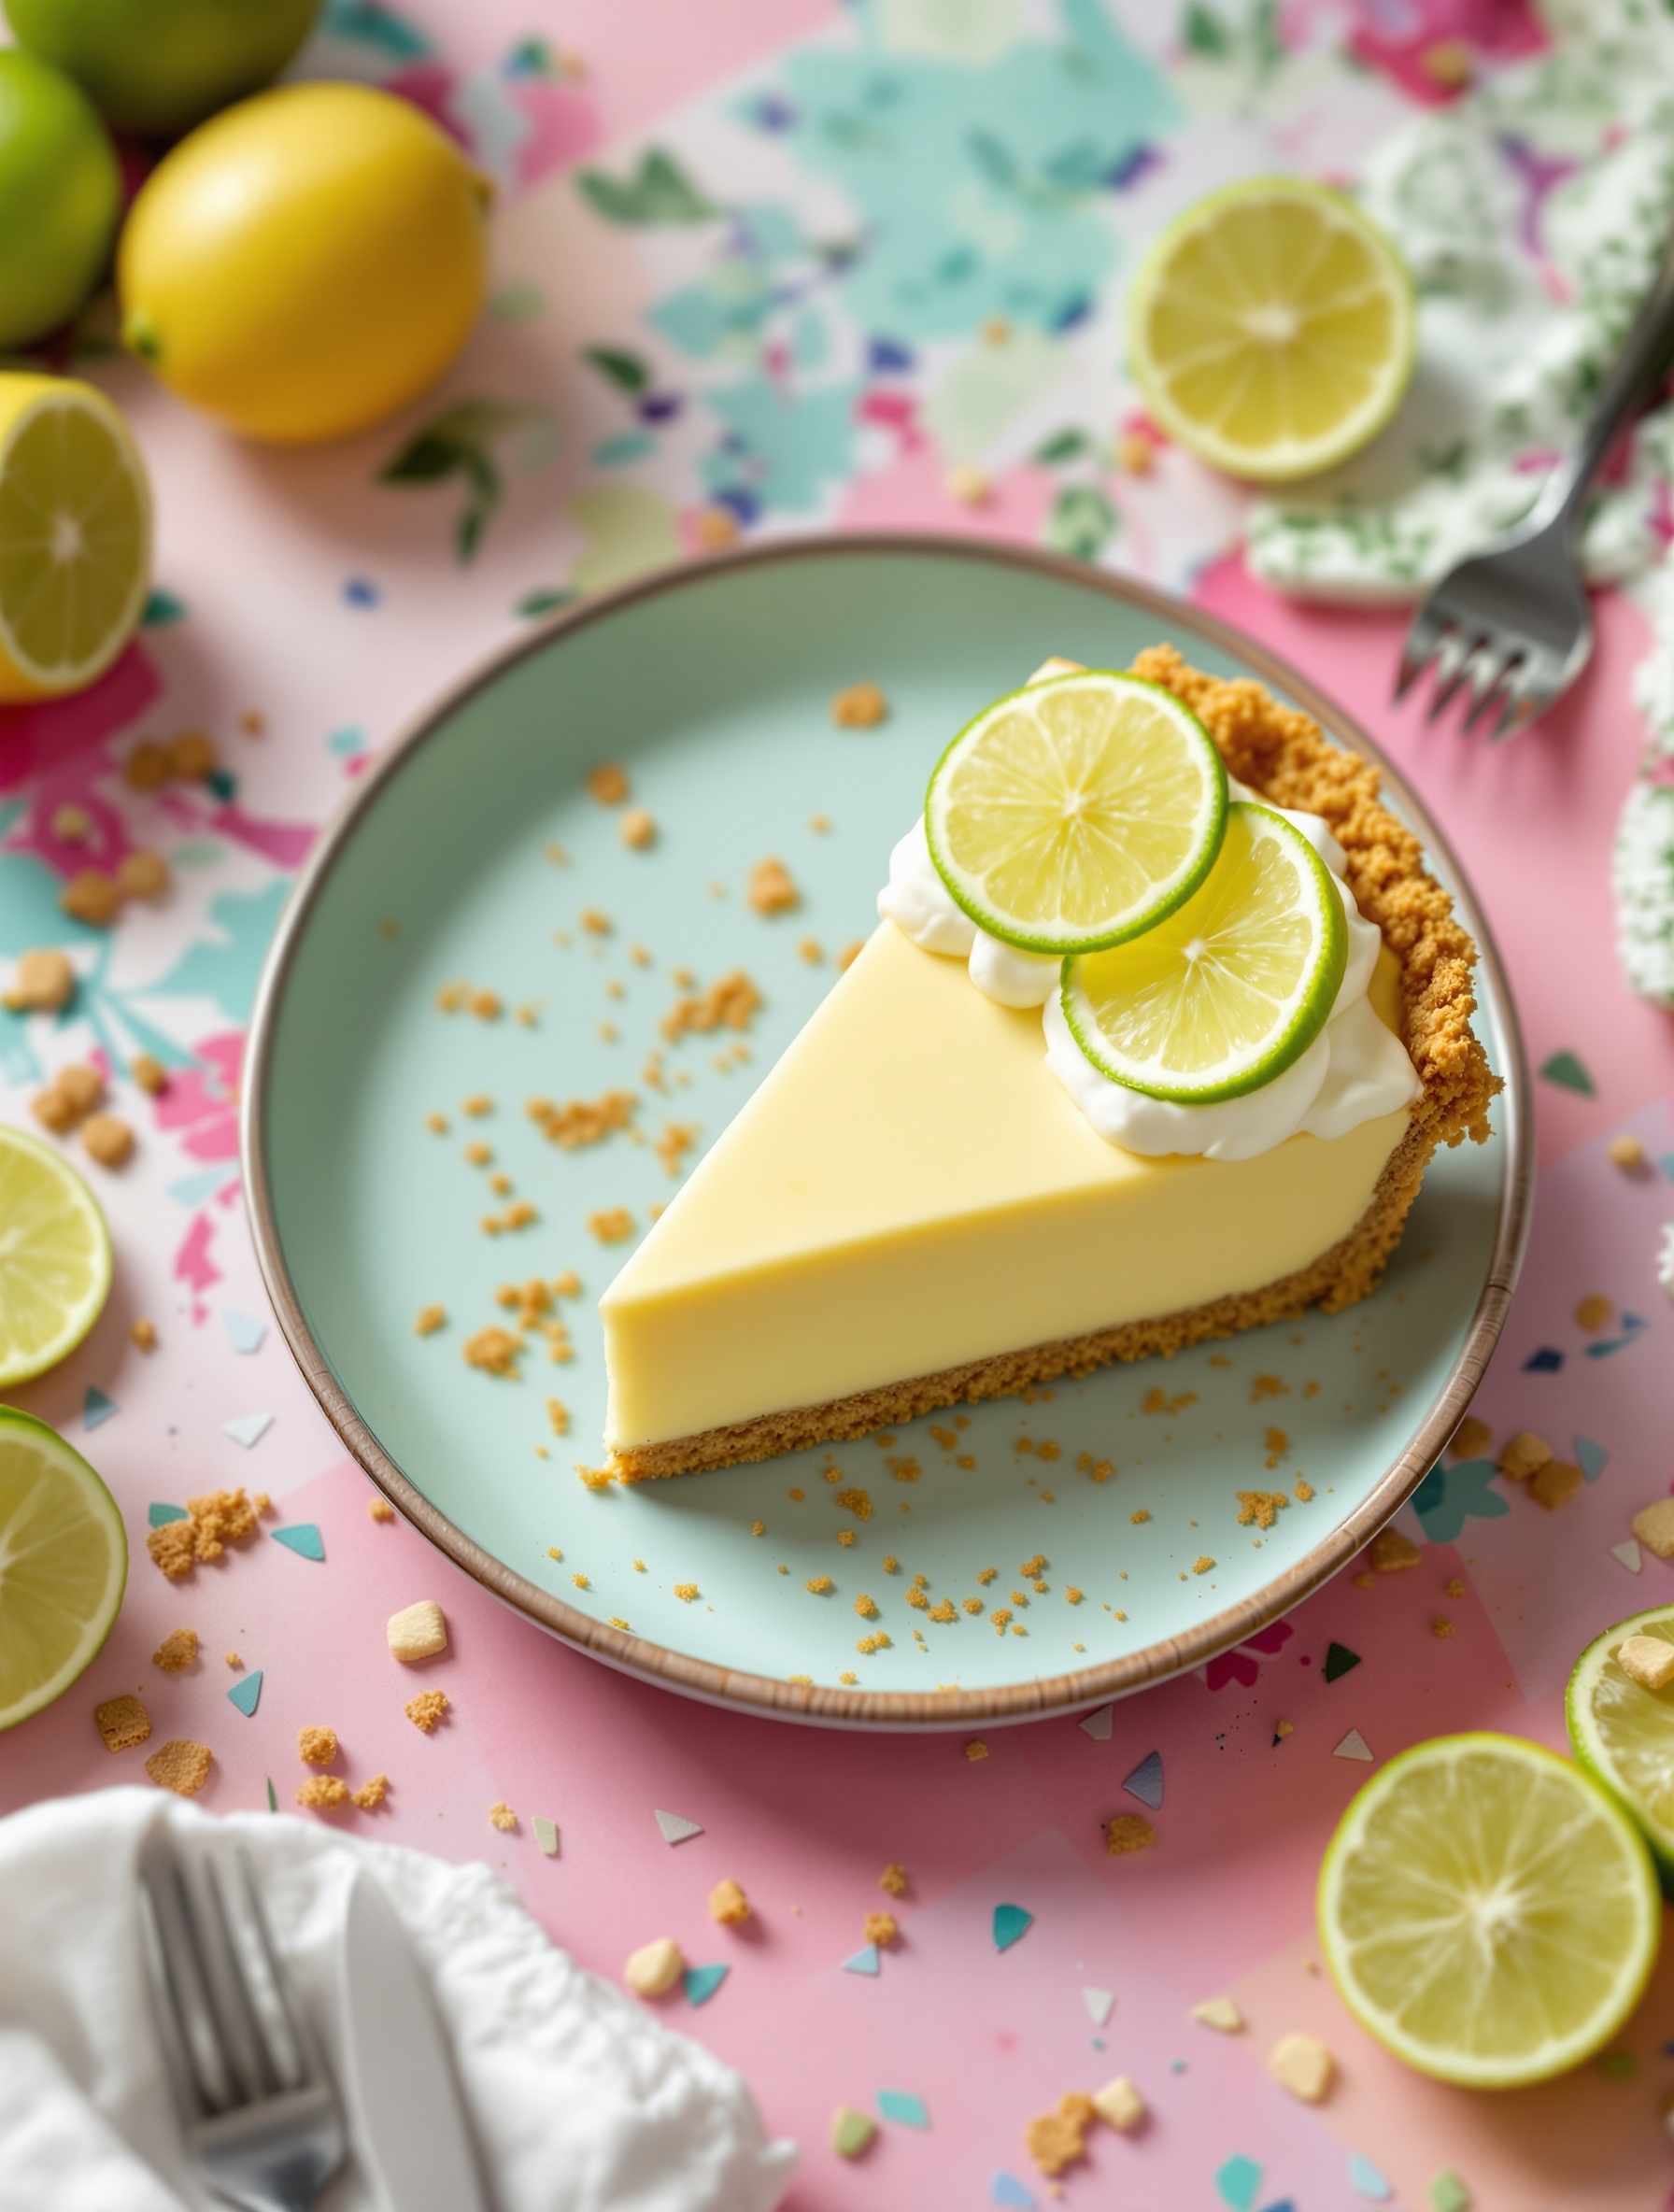
Key lime pie is a classic summer dessert that brings a burst of citrus flavor to your table. Its creamy filling is perfectly balanced with the tangy taste of key limes, making it refreshing on a hot day. The graham cracker crust adds a delightful crunch, complementing the smooth texture of the filling.
In the image, you can see a slice of key lime pie topped with fresh lime slices and a dollop of whipped cream. The vibrant colors of the pie and the garnishes make it visually appealing. Surrounding the pie are fresh limes and crumbs from the crust, hinting at the deliciousness that awaits.
This dessert is not only easy to make but also a crowd-pleaser. Whether you’re hosting a summer barbecue or simply enjoying a quiet evening at home, key lime pie is sure to impress.
Ingredients
- 1 ½ cups graham cracker crumbs
- ½ cup granulated sugar
- ½ cup unsalted butter, melted
- 4 large egg yolks
- 1 can (14 oz) sweetened condensed milk
- ½ cup fresh key lime juice
- 1 teaspoon lime zest
- Whipped cream for topping
- Fresh lime slices for garnish
Instructions
- Preheat your oven to 350°F (175°C).
- In a bowl, mix graham cracker crumbs, sugar, and melted butter until combined. Press this mixture into the bottom and sides of a pie pan to form the crust.
- Bake the crust for 8-10 minutes until lightly golden. Remove from the oven and let it cool.
- In another bowl, whisk together egg yolks, sweetened condensed milk, key lime juice, and lime zest until smooth.
- Pour the filling into the cooled crust and bake for an additional 15 minutes.
- Allow the pie to cool at room temperature, then refrigerate for at least 3 hours before serving.
- Top with whipped cream and garnish with fresh lime slices before slicing and serving.
Peach Cobbler with Vanilla Ice Cream
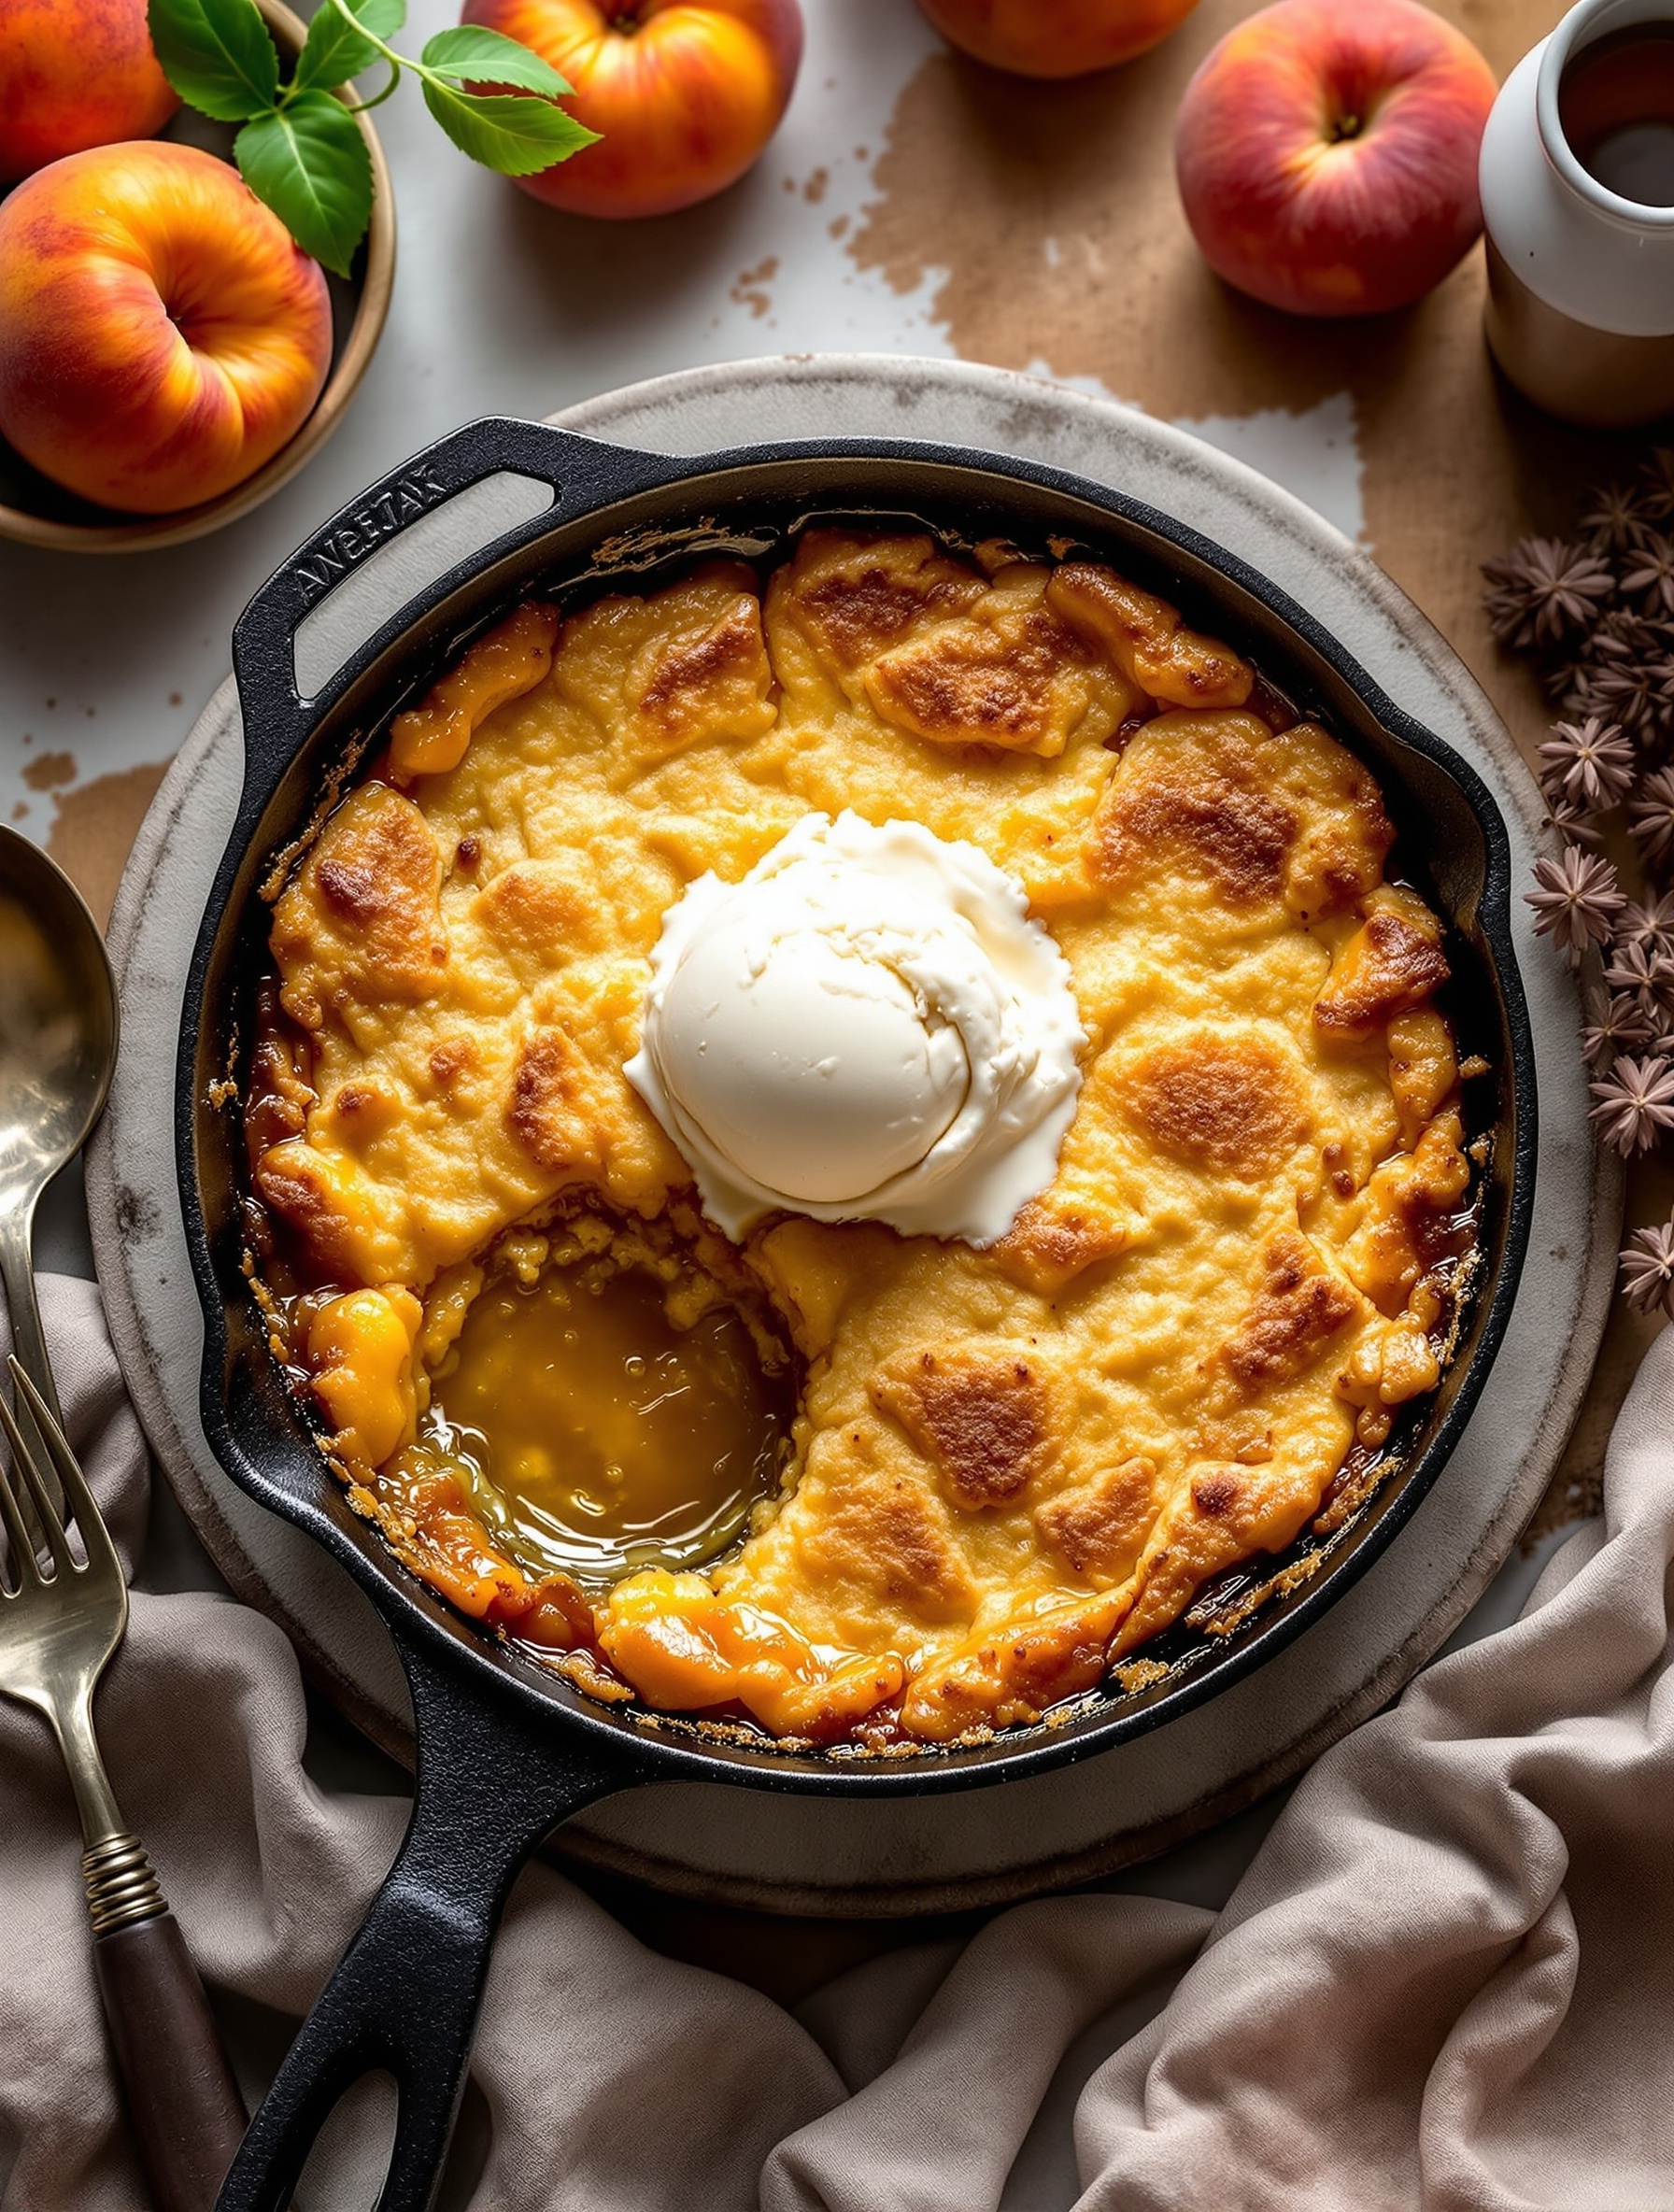
Peach cobbler is a classic summer dessert that brings warmth and comfort to any gathering. The image showcases a golden, bubbly cobbler topped with a generous scoop of vanilla ice cream, melting slightly into the warm peaches below. Fresh peaches, with their sweet and juicy flavor, are the star of this dish, making it perfect for summer celebrations.
This dessert is not just about taste; it’s also about the experience. Picture yourself enjoying a slice of this cobbler on a sunny afternoon, surrounded by friends and family. The combination of warm cobbler and cold ice cream creates a delightful contrast that everyone loves.
Making peach cobbler is quite simple. You’ll need fresh peaches, sugar, flour, and butter. The best part? It can be prepared in one pan, making cleanup a breeze. Serve it warm for the best experience, and don’t forget the ice cream!
Ingredients
- 4 cups fresh peaches, peeled and sliced
- 1 cup granulated sugar, divided
- 1 teaspoon cinnamon
- 1 tablespoon lemon juice
- 1 cup all-purpose flour
- 1 tablespoon baking powder
- 1/2 teaspoon salt
- 1 cup milk
- 1/2 cup unsalted butter, melted
- Vanilla ice cream, for serving
Instructions
- Preheat your oven to 350°F (175°C).
- In a bowl, combine sliced peaches, 1/2 cup sugar, cinnamon, and lemon juice. Toss to coat and set aside.
- In another bowl, mix flour, baking powder, salt, and the remaining 1/2 cup sugar. Stir in milk and melted butter until combined.
- Pour the batter into a greased baking dish. Spoon the peach mixture over the batter, but do not stir.
- Bake for 40-45 minutes or until the top is golden brown and bubbly.
- Let it cool slightly before serving. Top with a scoop of vanilla ice cream and enjoy!
Raspberry Lemonade Bars
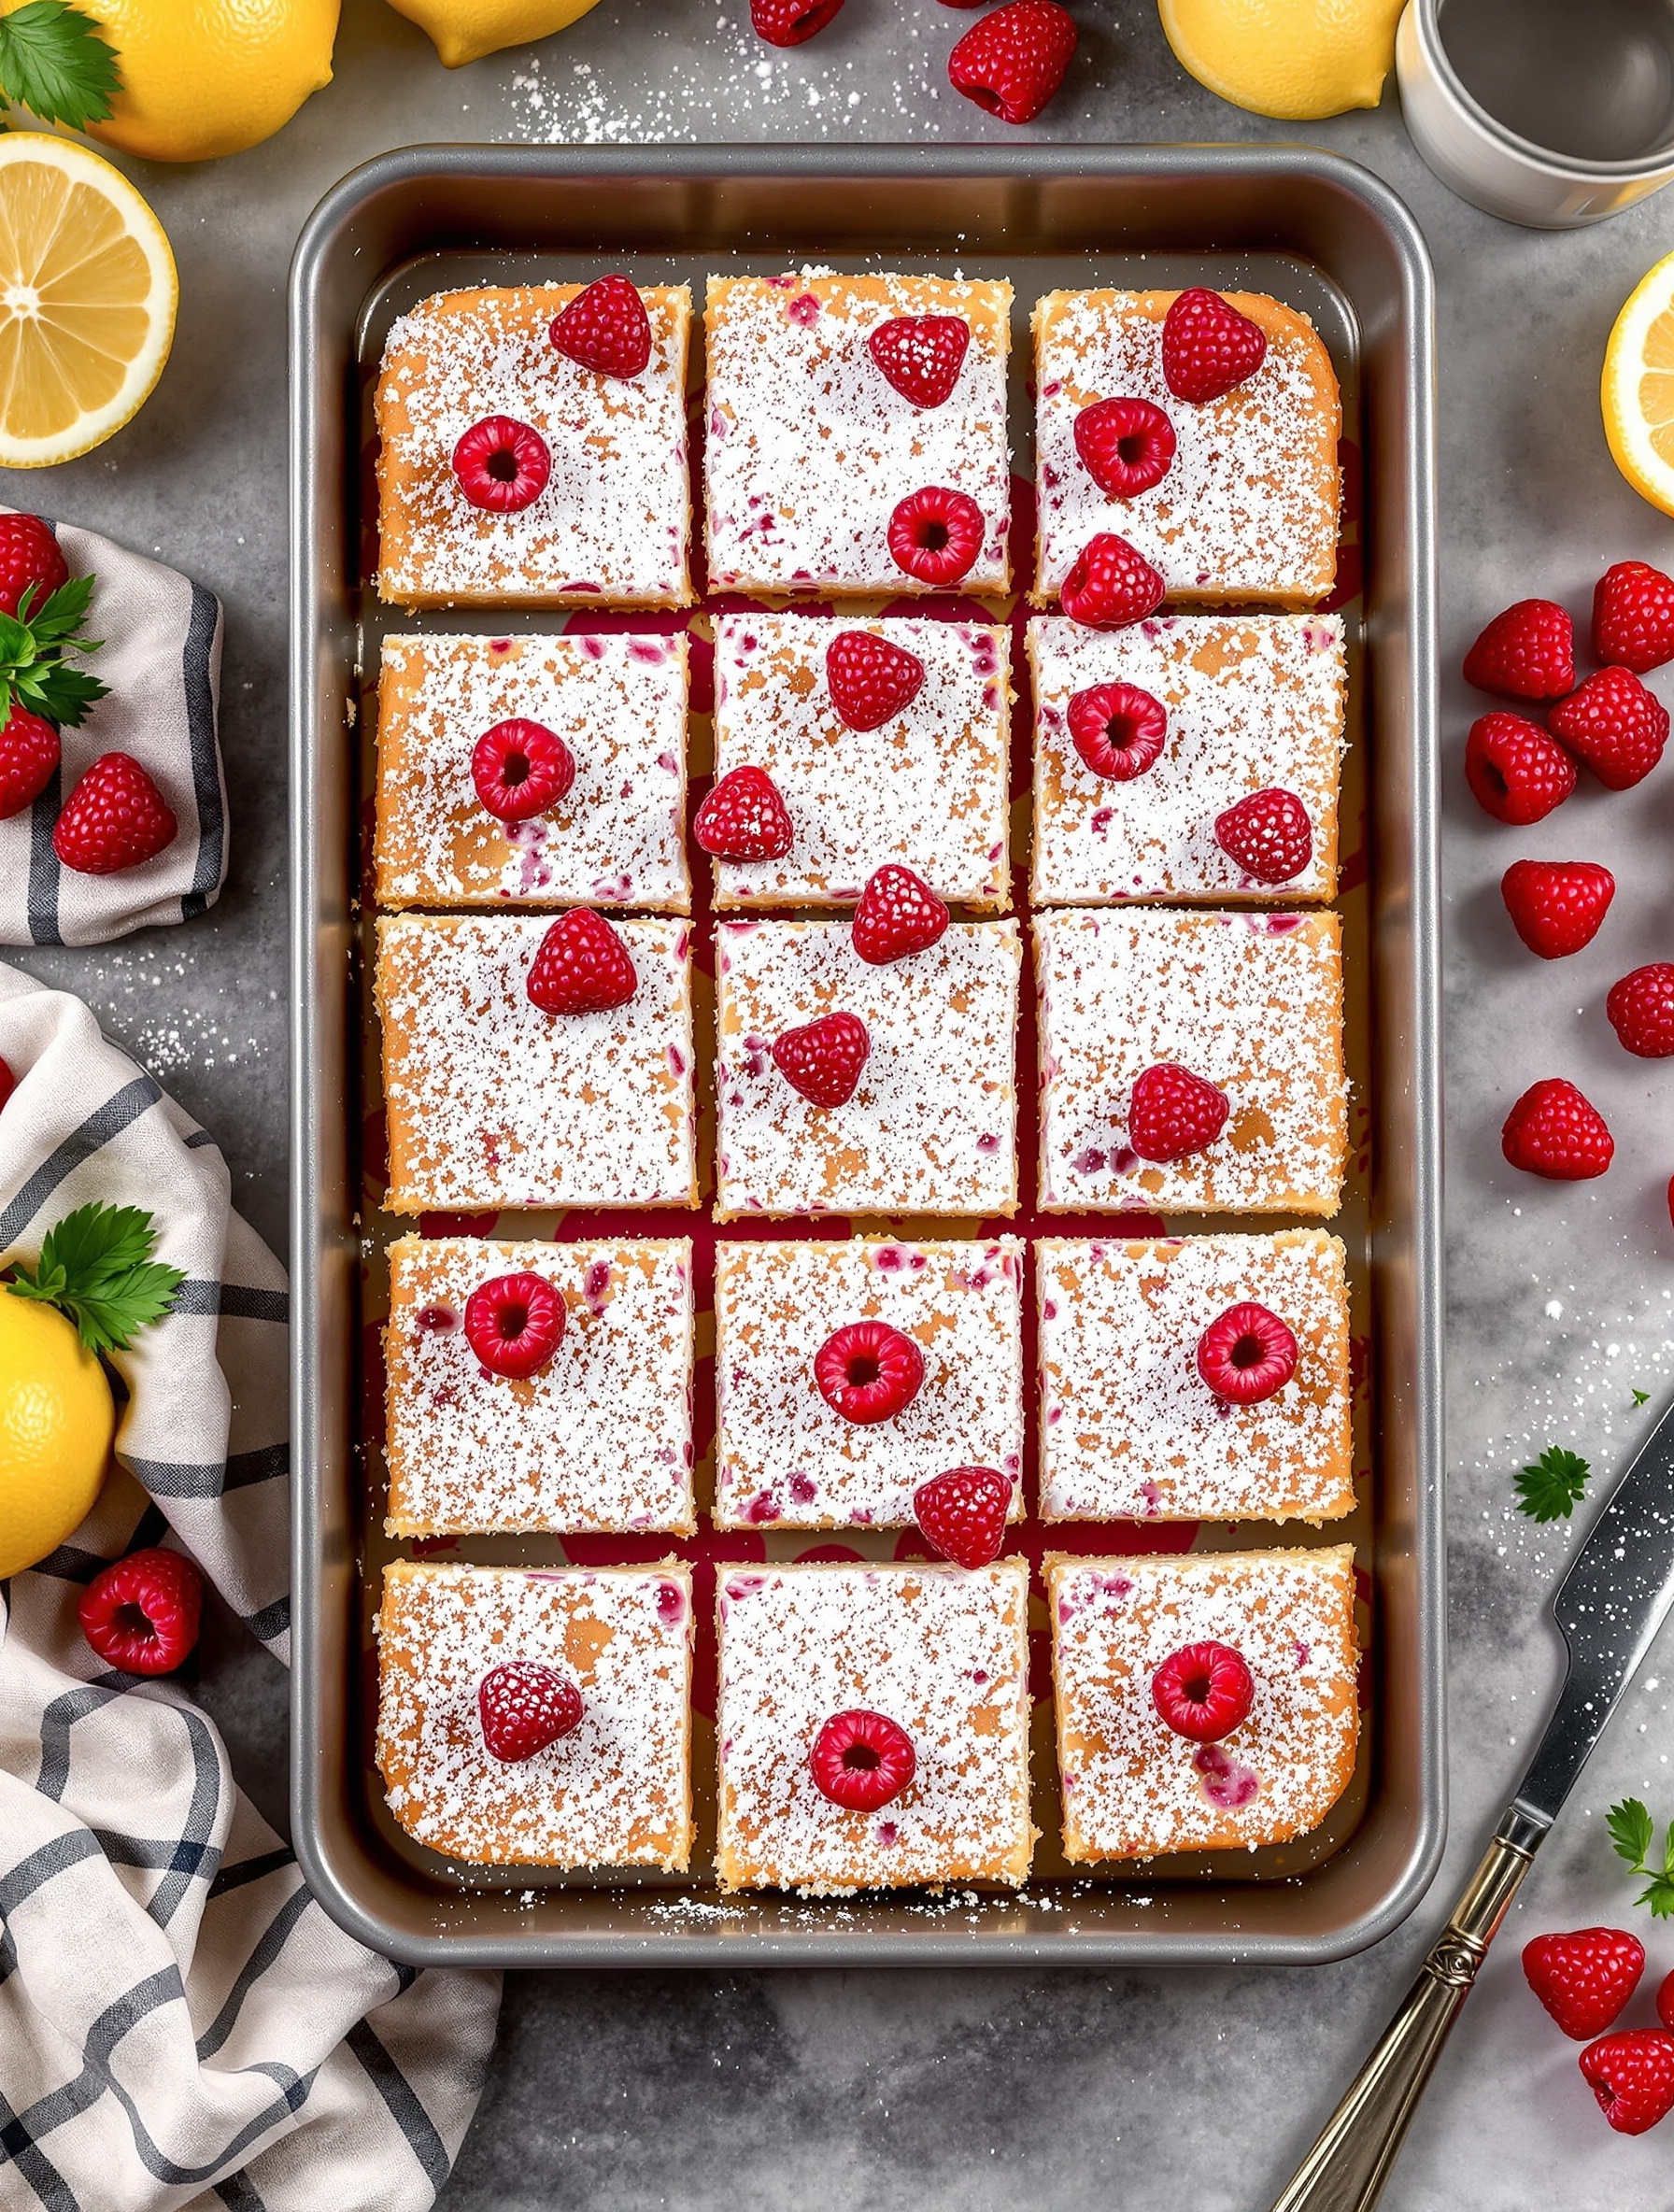
Raspberry lemonade bars are a delightful treat perfect for summer. The image showcases a tray filled with beautifully cut squares, topped with fresh raspberries and a dusting of powdered sugar. The bright yellow of the lemonade filling contrasts nicely with the vibrant red of the raspberries, making it visually appealing.
These bars are not just pretty; they pack a punch of flavor. The tartness of the lemon combined with the sweetness of the raspberries creates a refreshing dessert that is perfect for warm days. Whether you’re hosting a picnic or just enjoying a sunny afternoon, these bars will surely impress.
Making raspberry lemonade bars is simple and fun. You’ll love how easy it is to whip up this tasty dessert. Let’s get into the ingredients and instructions!
Ingredients
- 1 cup all-purpose flour
- 1/2 cup granulated sugar
- 1/4 cup unsalted butter, melted
- 2 large eggs
- 1 cup granulated sugar (for filling)
- 1/4 cup fresh lemon juice
- 1 tablespoon lemon zest
- 1/2 cup fresh raspberries
- 1/4 teaspoon salt
- Powdered sugar for dusting
Instructions
- Preheat the oven to 350°F (175°C). Grease an 8×8 inch baking dish.
- In a bowl, mix together flour, 1/2 cup sugar, and melted butter until crumbly. Press this mixture into the bottom of the prepared baking dish.
- Bake the crust for about 15 minutes until lightly golden.
- In another bowl, whisk together eggs, 1 cup sugar, lemon juice, lemon zest, and salt until smooth. Gently fold in the raspberries.
- Pour the lemon-raspberry mixture over the baked crust and return to the oven.
- Bake for an additional 20-25 minutes until set. Let cool completely before cutting into squares.
- Dust with powdered sugar before serving.
Watermelon Cake with Cream Cheese Frosting
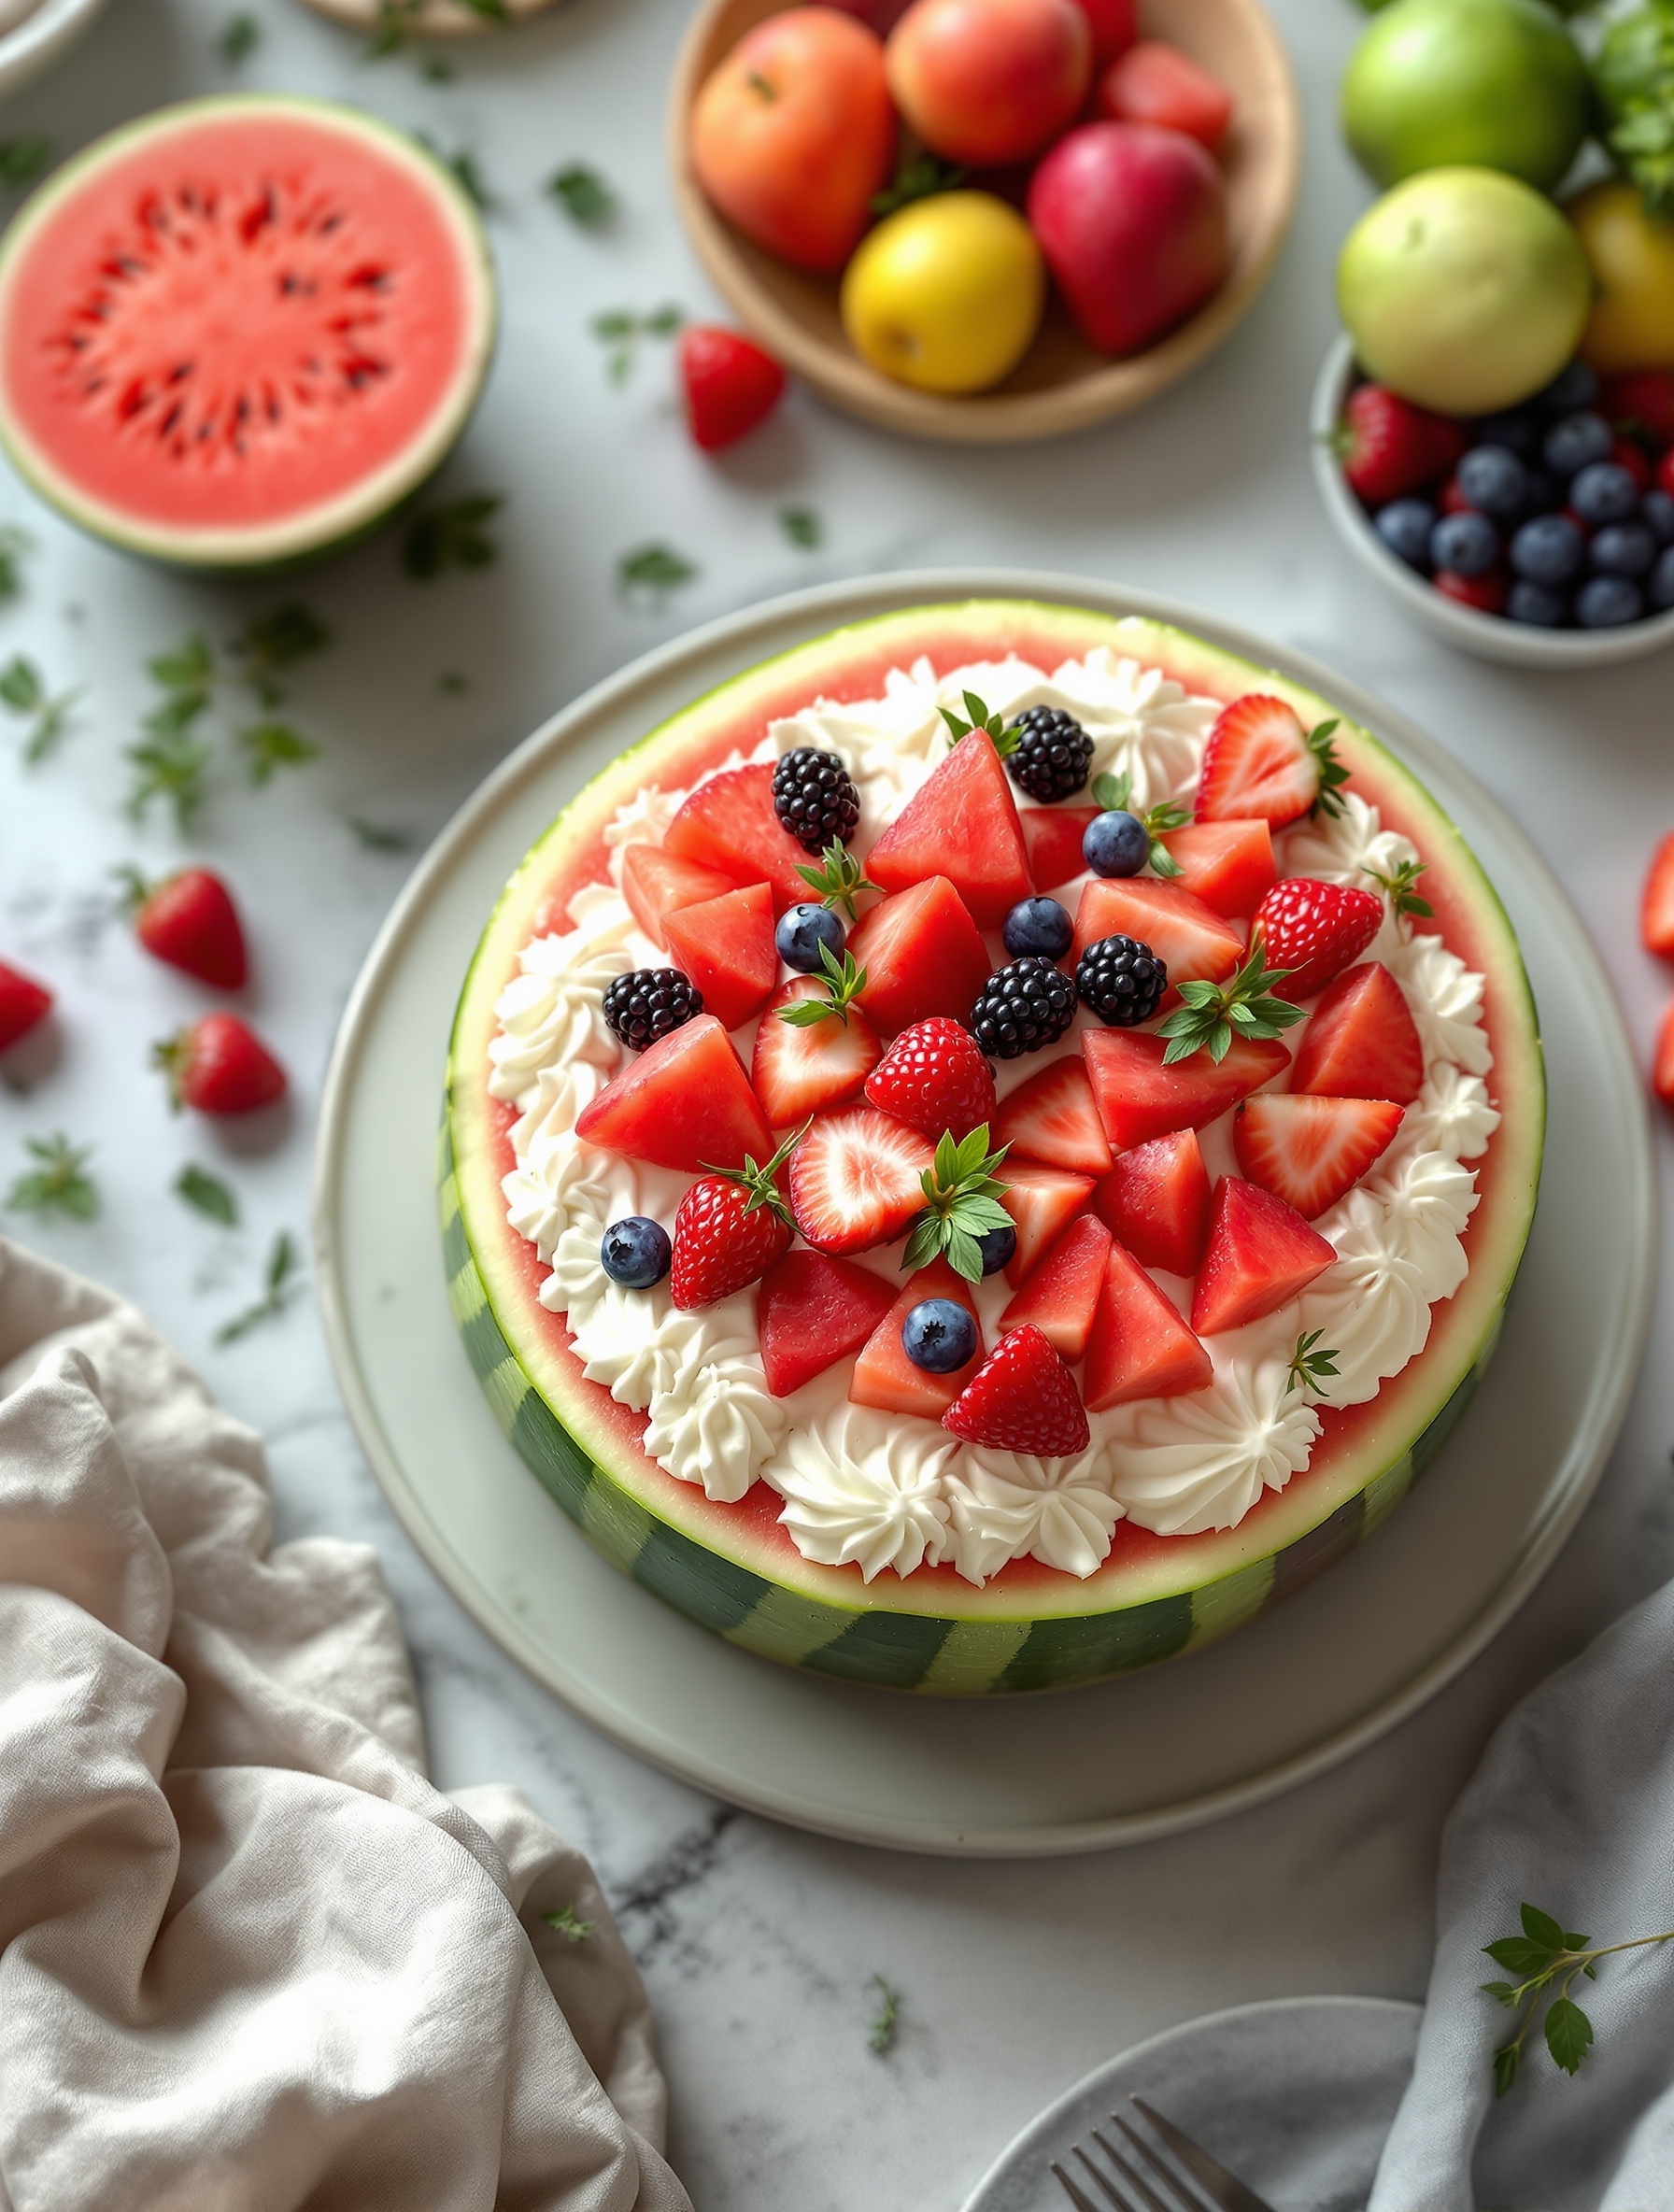
Watermelon cake is a fun and refreshing dessert that’s perfect for summer gatherings. This unique cake looks like a traditional cake but is made from a watermelon base. Topped with creamy frosting and fresh fruits, it’s a delightful treat that everyone will love.
The bright colors of the watermelon and the vibrant fruits create an eye-catching presentation. You can see the juicy watermelon slices peeking through the fluffy cream cheese frosting. The berries and mint add a pop of color and flavor, making it not just a dessert but a centerpiece for your summer table.
This cake is not only visually appealing but also easy to make. It’s a great way to enjoy the sweetness of watermelon while keeping things light and refreshing. Perfect for picnics or barbecues, this dessert will surely impress your guests.
Ingredients
- 1 large seedless watermelon
- 8 oz cream cheese, softened
- 1/2 cup powdered sugar
- 1 teaspoon vanilla extract
- 1 cup heavy whipping cream
- Fresh berries (strawberries, blueberries, blackberries)
- Fresh mint leaves for garnish
Instructions
- Prepare the Watermelon: Cut the watermelon into a round shape, removing the rind to create a cake-like base.
- Make the Frosting: In a bowl, beat the softened cream cheese until smooth. Gradually add powdered sugar and vanilla extract. In another bowl, whip the heavy cream until soft peaks form, then gently fold it into the cream cheese mixture.
- Frost the Watermelon: Spread the cream cheese frosting evenly over the watermelon base, covering all sides.
- Add Toppings: Decorate the top with fresh berries and mint leaves for a colorful finish.
- Chill and Serve: Place the watermelon cake in the refrigerator for about an hour before slicing and serving. Enjoy this refreshing dessert on a hot summer day!
Coconut Macaroons Dipped in Dark Chocolate
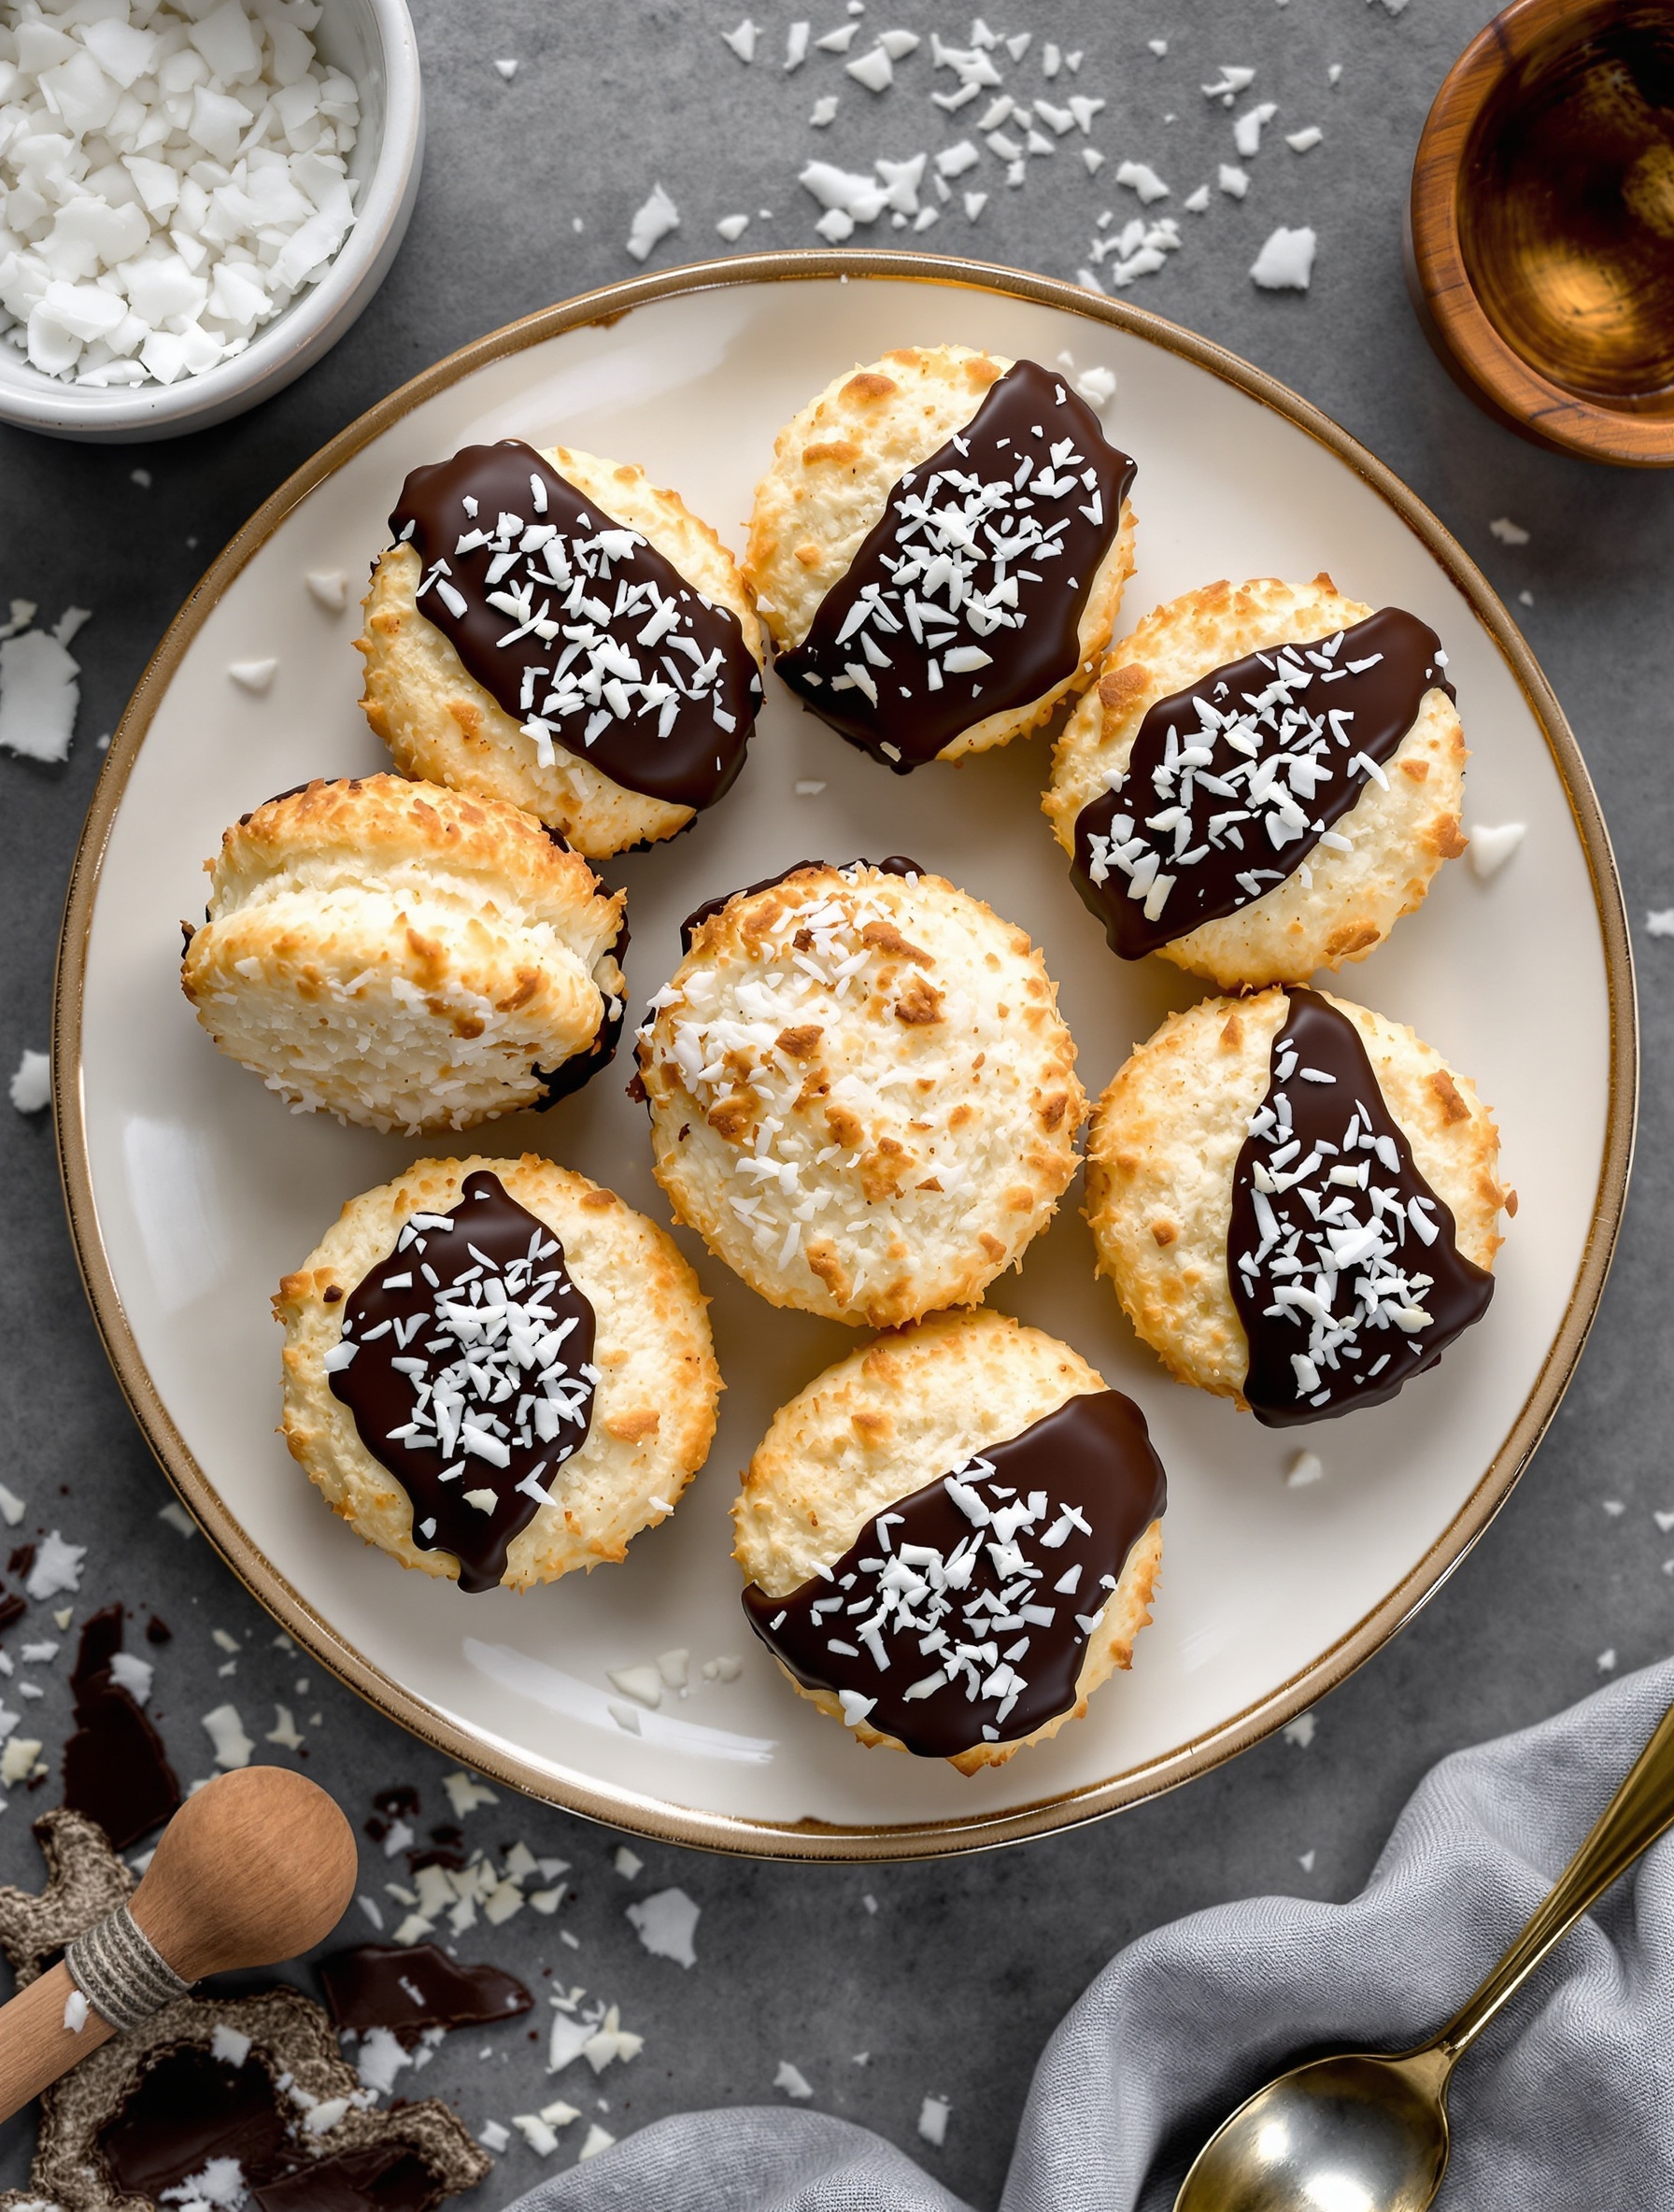
Coconut macaroons are a delightful treat that perfectly capture the essence of summer. These little bites are chewy, sweet, and have a wonderful coconut flavor that shines through. The addition of dark chocolate takes them to another level, adding a rich contrast that makes them irresistible.
These macaroons are easy to make and require just a few ingredients. They are perfect for summer gatherings, picnics, or simply enjoying at home with a cup of tea. The combination of toasted coconut and smooth chocolate creates a delicious balance that everyone will love.
To make these treats, you’ll need shredded coconut, sweetened condensed milk, vanilla extract, and dark chocolate for dipping. The process is simple: mix the ingredients, shape them into mounds, and bake until golden. Once cooled, dip them in melted dark chocolate and sprinkle with extra coconut for a beautiful finish.
Ingredients
- 2 2/3 cups sweetened shredded coconut
- 1/2 cup sweetened condensed milk
- 1 teaspoon vanilla extract
- 1/4 teaspoon salt
- 8 ounces dark chocolate, chopped
- Extra shredded coconut for garnish
Instructions
- Preheat the oven to 325°F (160°C) and line a baking sheet with parchment paper.
- In a large bowl, combine the shredded coconut, sweetened condensed milk, vanilla extract, and salt. Mix until well combined.
- Using your hands, form small mounds of the mixture and place them on the prepared baking sheet, spacing them about 1 inch apart.
- Bake for 20-25 minutes, or until the tops are golden brown. Remove from the oven and let cool completely.
- While the macaroons cool, melt the dark chocolate in a microwave-safe bowl in 30-second intervals, stirring until smooth.
- Dip the bottom half of each macaroon into the melted chocolate, then place them back on the parchment paper. Sprinkle with extra shredded coconut if desired.
- Allow the chocolate to set before serving. Enjoy your delicious coconut macaroons!
S’mores Brownies with Toasted Marshmallows
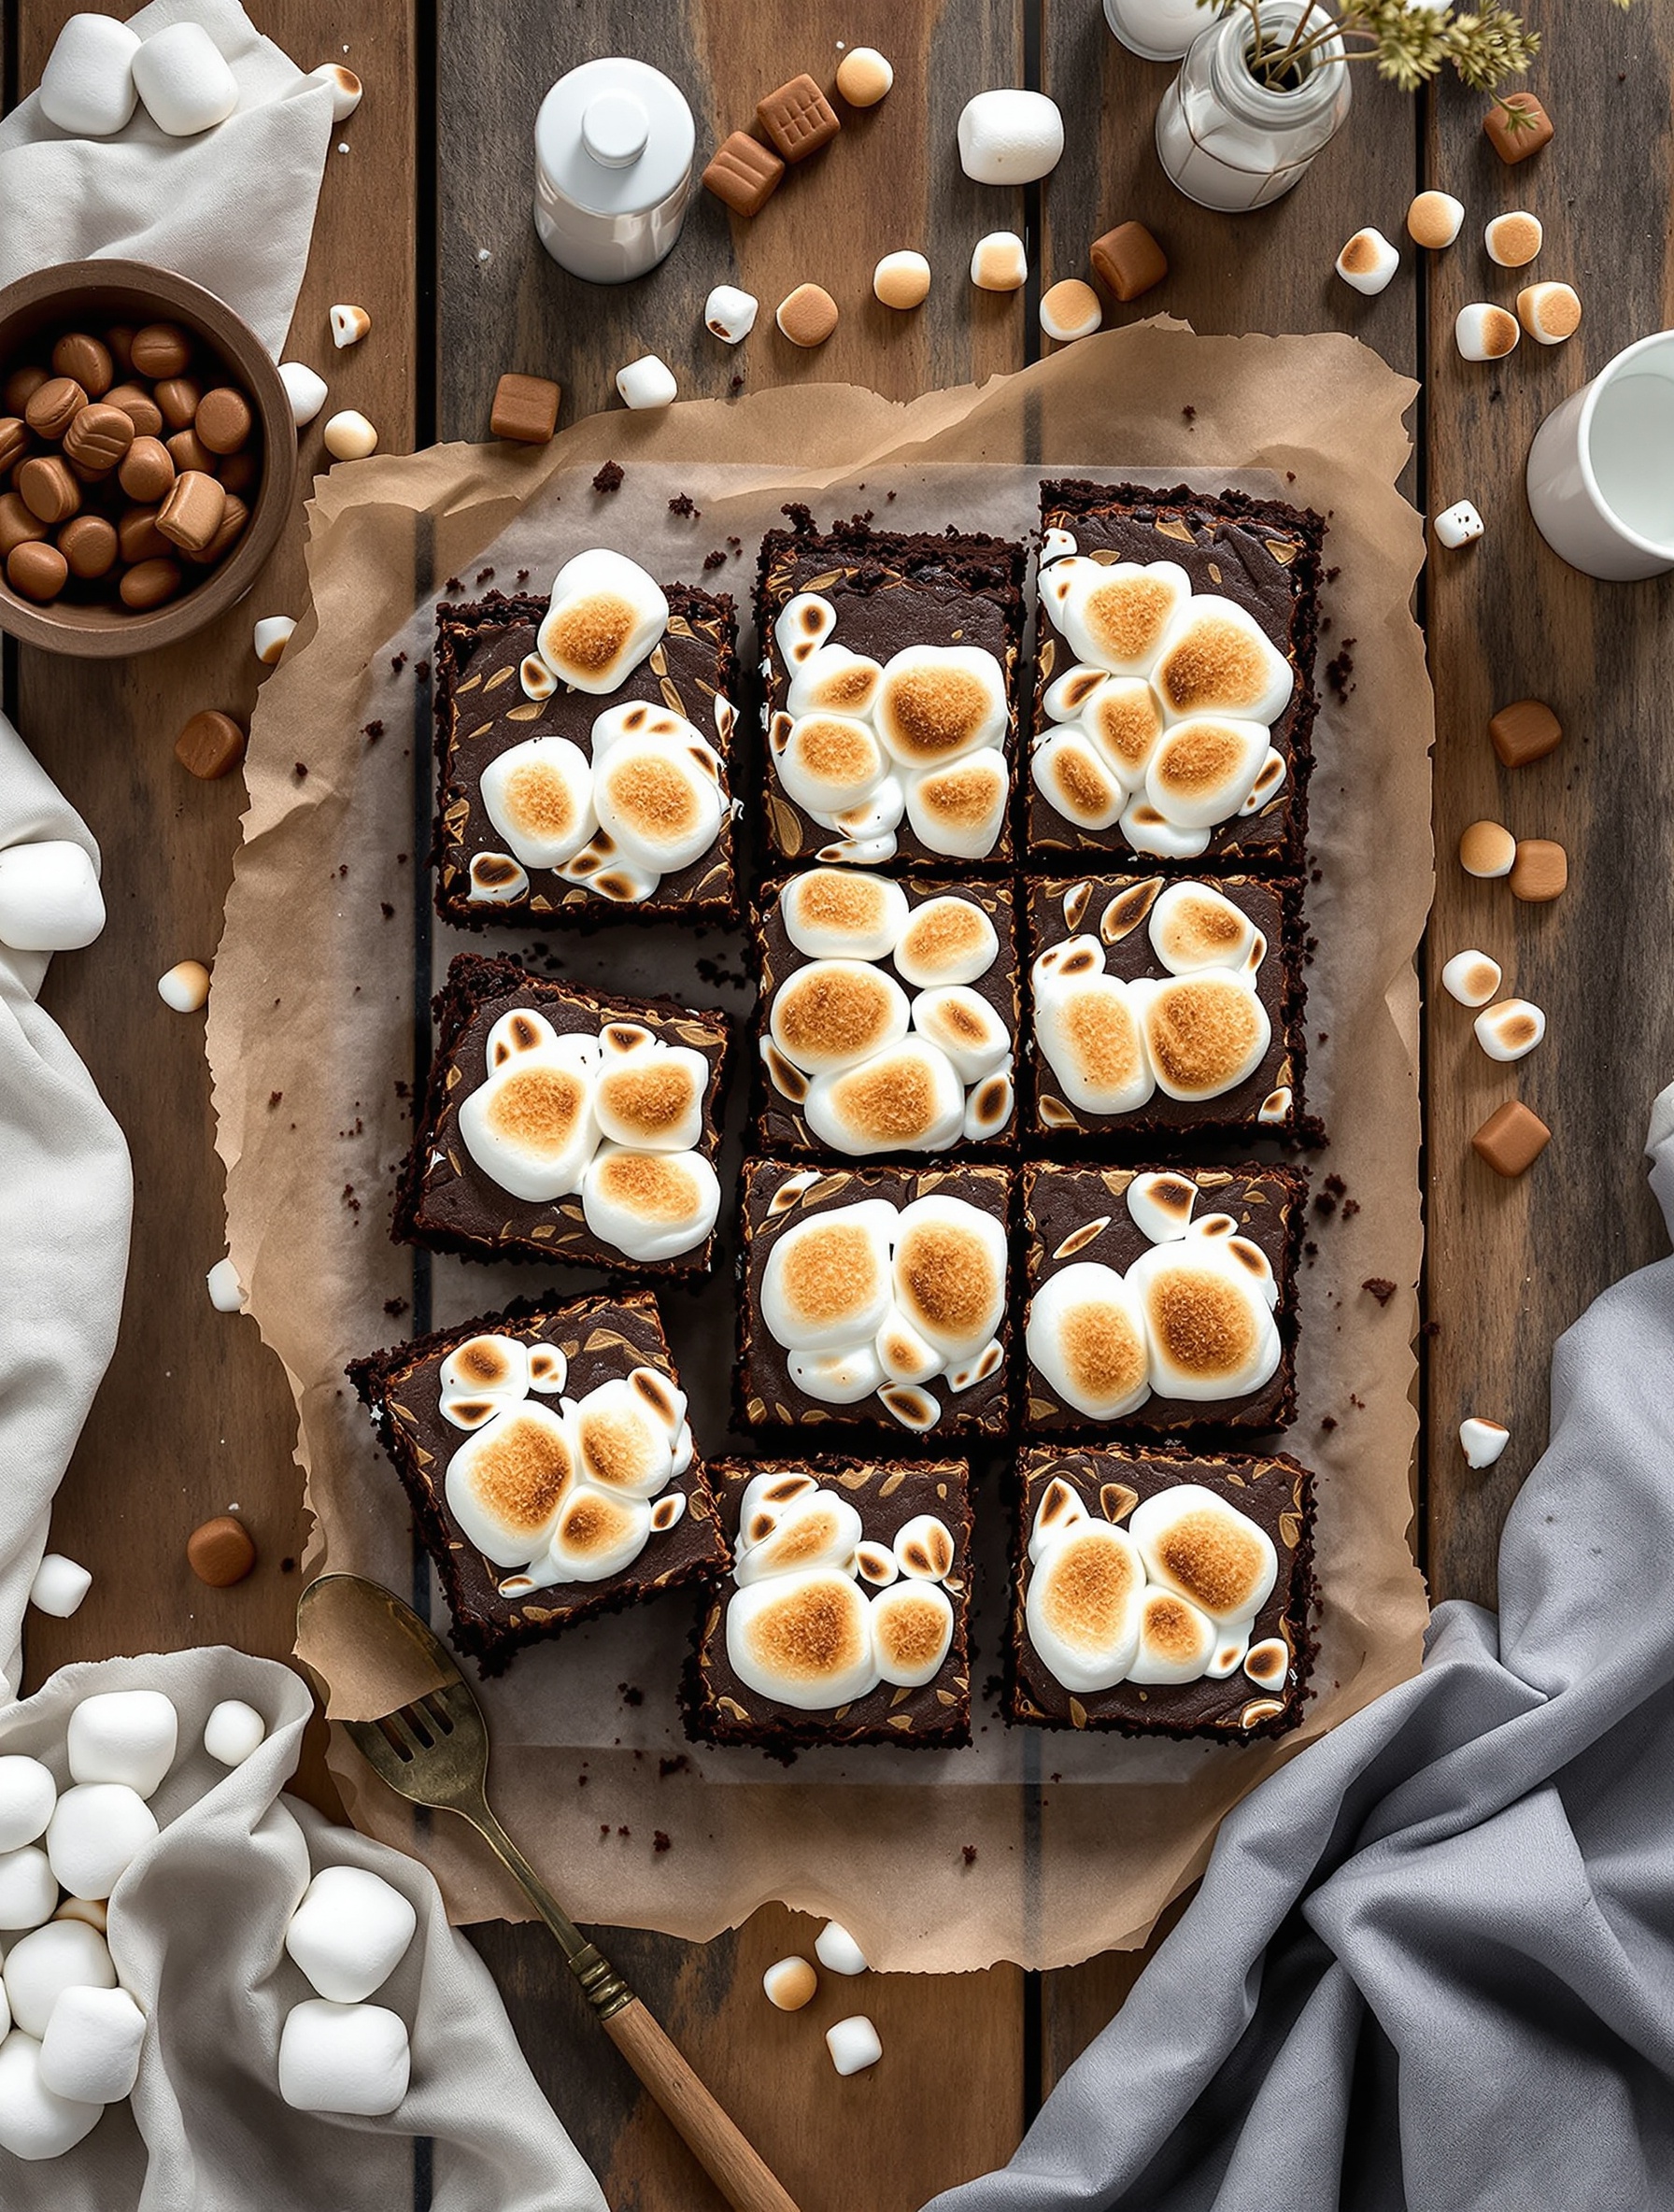
Summer is the perfect time for sweet treats, and these S’mores Brownies are a delightful twist on a classic favorite. Imagine rich, fudgy brownies topped with fluffy, toasted marshmallows and a hint of chocolate. They’re perfect for gatherings or just a cozy night in.
The image showcases a beautiful arrangement of brownies, each topped with perfectly toasted marshmallows. The contrast of the dark chocolate brownie and the golden-brown marshmallows makes them irresistible. Surrounding the brownies are scattered marshmallows and caramel candies, adding to the fun and inviting vibe.
To make these delicious brownies, you’ll need simple ingredients that come together easily. The combination of chocolate, graham crackers, and marshmallows captures the essence of summer campfires in every bite.
Ingredients
- 1 cup unsalted butter
- 2 cups granulated sugar
- 4 large eggs
- 1 teaspoon vanilla extract
- 1 cup all-purpose flour
- 1 cup unsweetened cocoa powder
- 1/2 teaspoon salt
- 1 cup chocolate chips
- 1 cup mini marshmallows
- 1 cup crushed graham crackers
Instructions
- Preheat your oven to 350°F (175°C) and grease a 9×13 inch baking pan.
- In a saucepan, melt the butter over medium heat. Remove from heat and stir in the sugar, eggs, and vanilla until smooth.
- Add the flour, cocoa powder, and salt. Mix until just combined, then fold in the chocolate chips.
- Pour the batter into the prepared pan and spread evenly. Bake for 25-30 minutes or until a toothpick comes out with a few moist crumbs.
- Remove from the oven and sprinkle the crushed graham crackers and mini marshmallows on top. Return to the oven for an additional 5-7 minutes until the marshmallows are golden.
- Let cool before cutting into squares. Enjoy your S’mores Brownies warm or at room temperature!
Mango Sorbet in Fresh Mango Shells
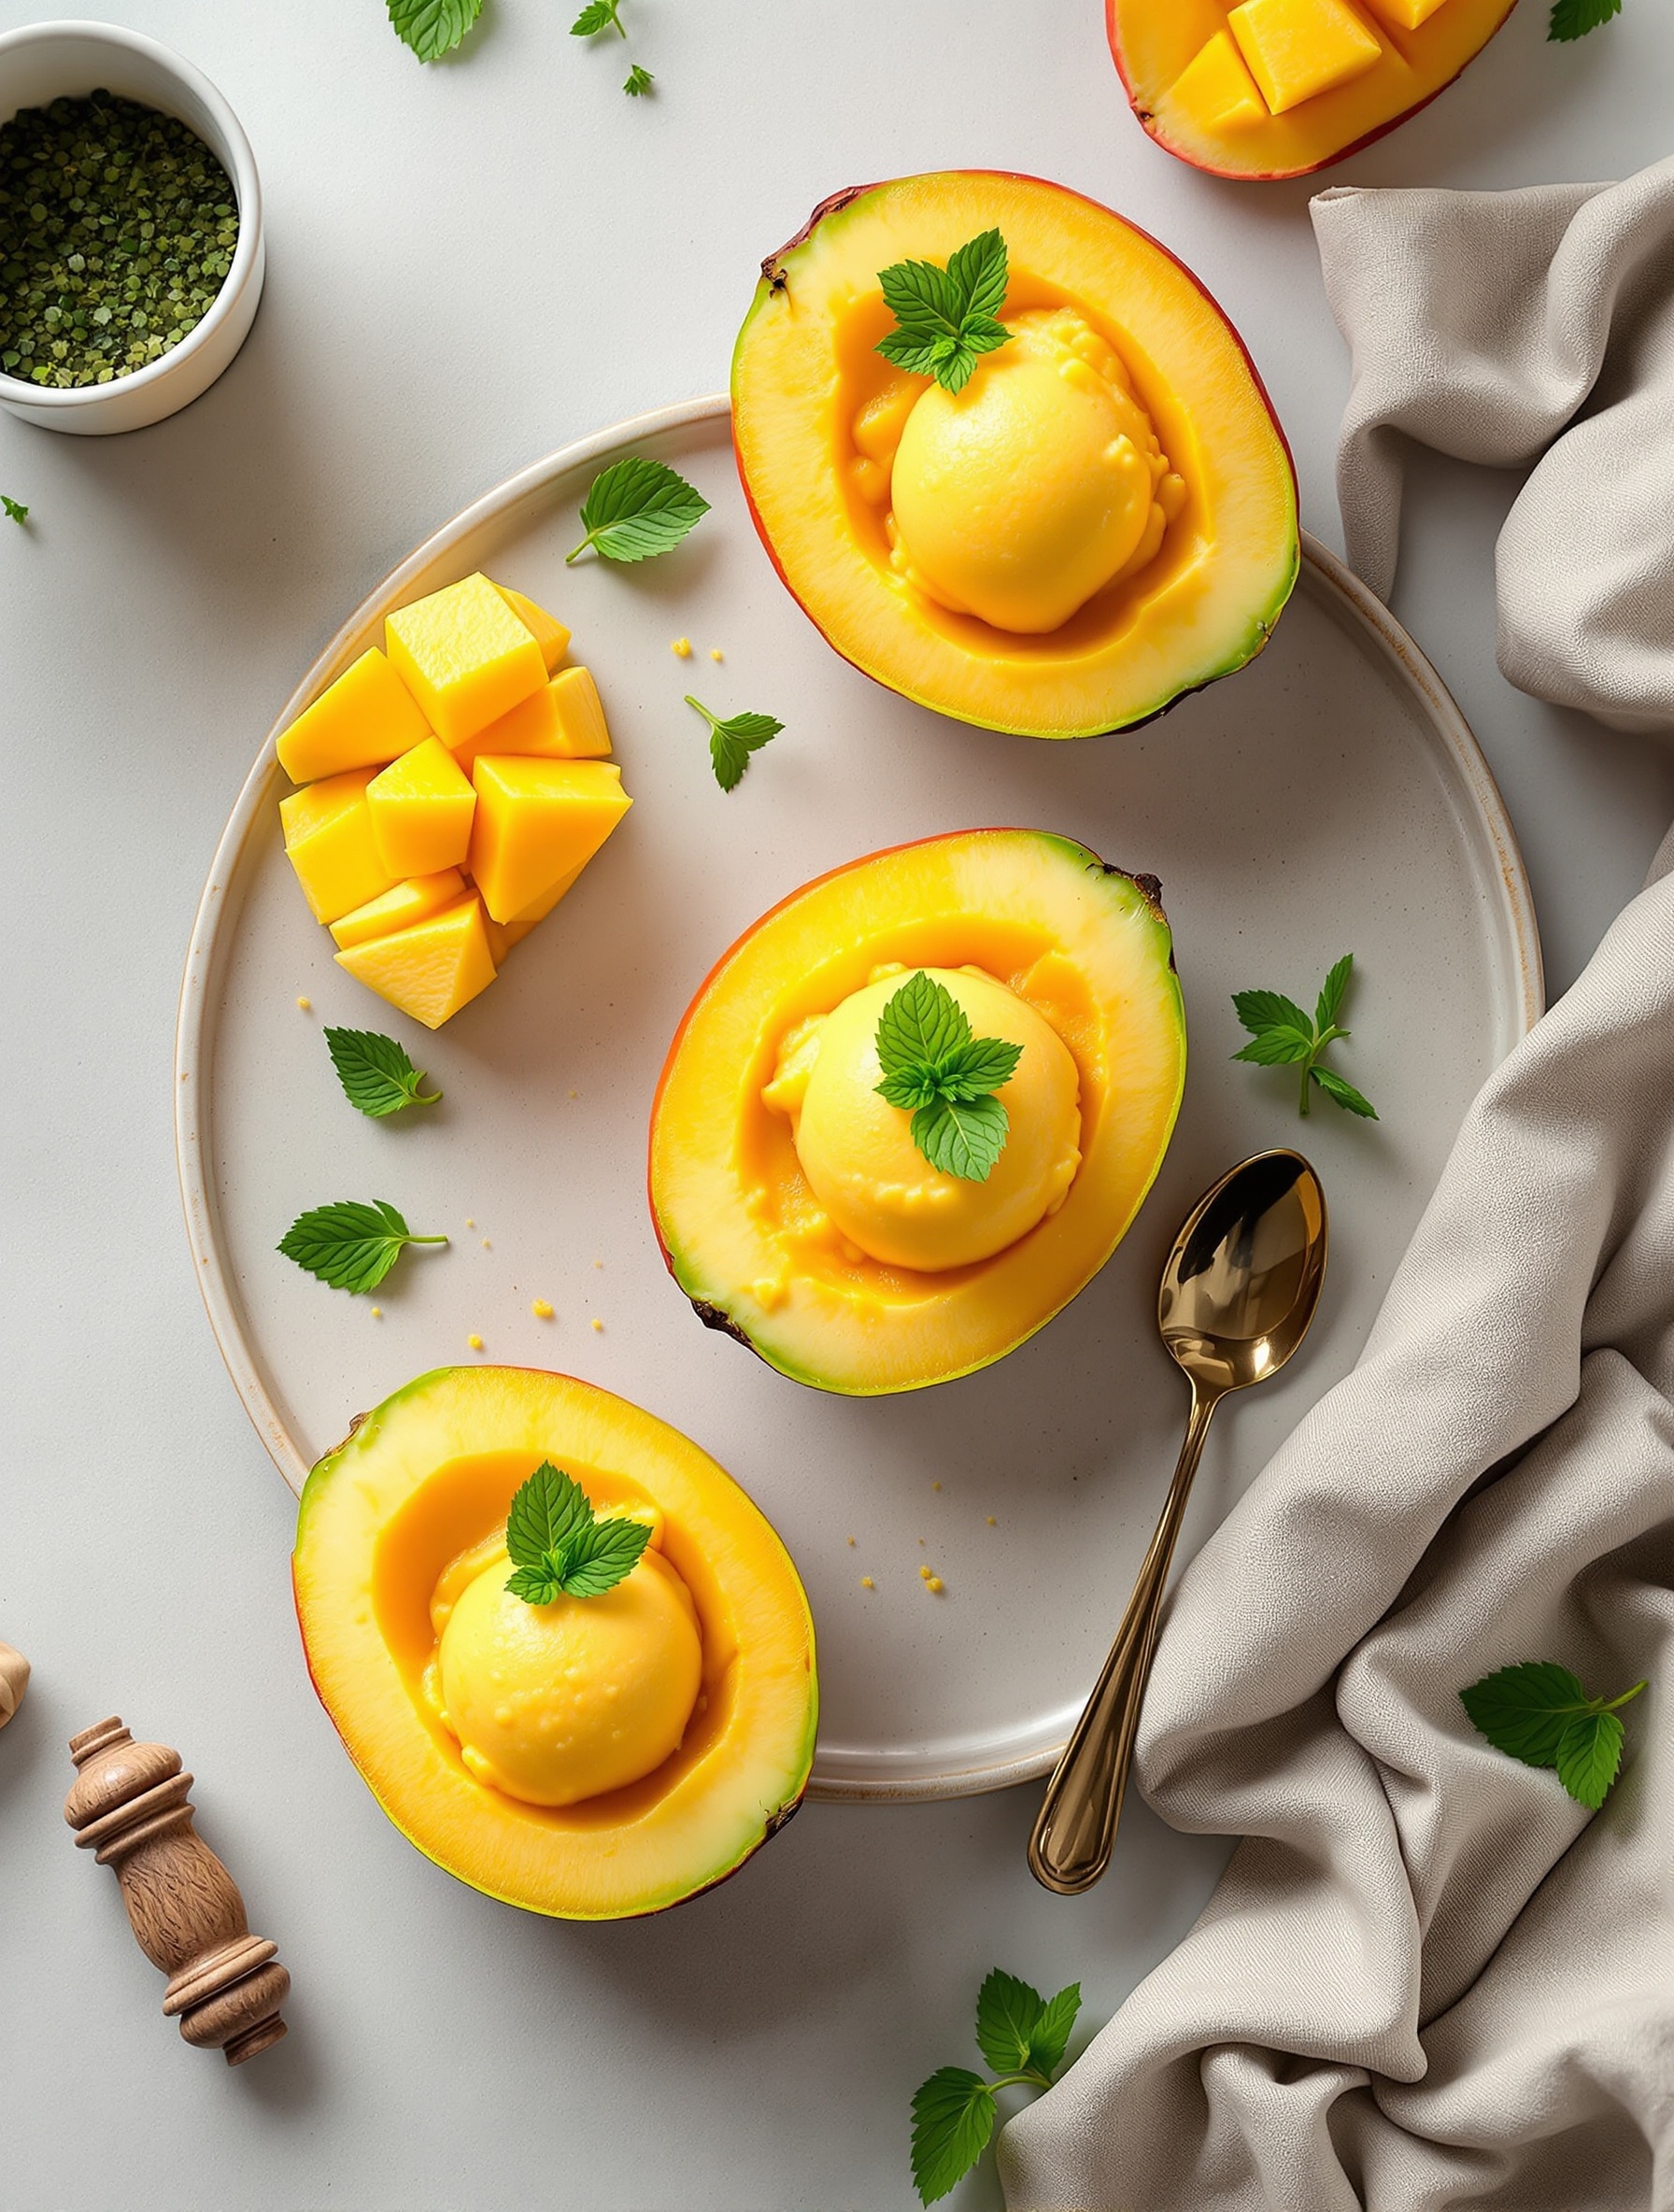
Mango sorbet is a refreshing treat perfect for summer. Imagine a bright, sunny day where you can enjoy a cool dessert that’s both fruity and creamy. The image shows vibrant mango shells filled with smooth, golden sorbet, garnished with fresh mint leaves. This dessert not only looks stunning but also tastes amazing!
Using fresh mango shells adds a fun twist. They serve as natural bowls, making your dessert feel special. Plus, you get to enjoy the sweet mango flesh while savoring the sorbet. It’s a delightful way to cool down on a hot day.
Making mango sorbet is simple and requires just a few ingredients. You can whip it up in no time and impress your friends and family. Let’s get into the recipe!
Ingredients
- 4 ripe mangoes
- 1 cup sugar
- 1/2 cup water
- 1 tablespoon lemon juice
- Fresh mint leaves for garnish
Instructions
- Prepare the Mangoes: Peel and chop the mangoes, discarding the pits. Reserve two mango halves to use as bowls.
- Make the Syrup: In a small saucepan, combine sugar and water. Heat over medium until the sugar dissolves. Let it cool.
- Blend: In a blender, combine the chopped mango, cooled syrup, and lemon juice. Blend until smooth.
- Freeze: Pour the mixture into a shallow dish and freeze for about 4 hours, stirring every hour until it’s fluffy.
- Serve: Scoop the sorbet into the reserved mango shells. Garnish with fresh mint leaves and enjoy!
Chocolate Chip Cookie Ice Cream Sandwiches
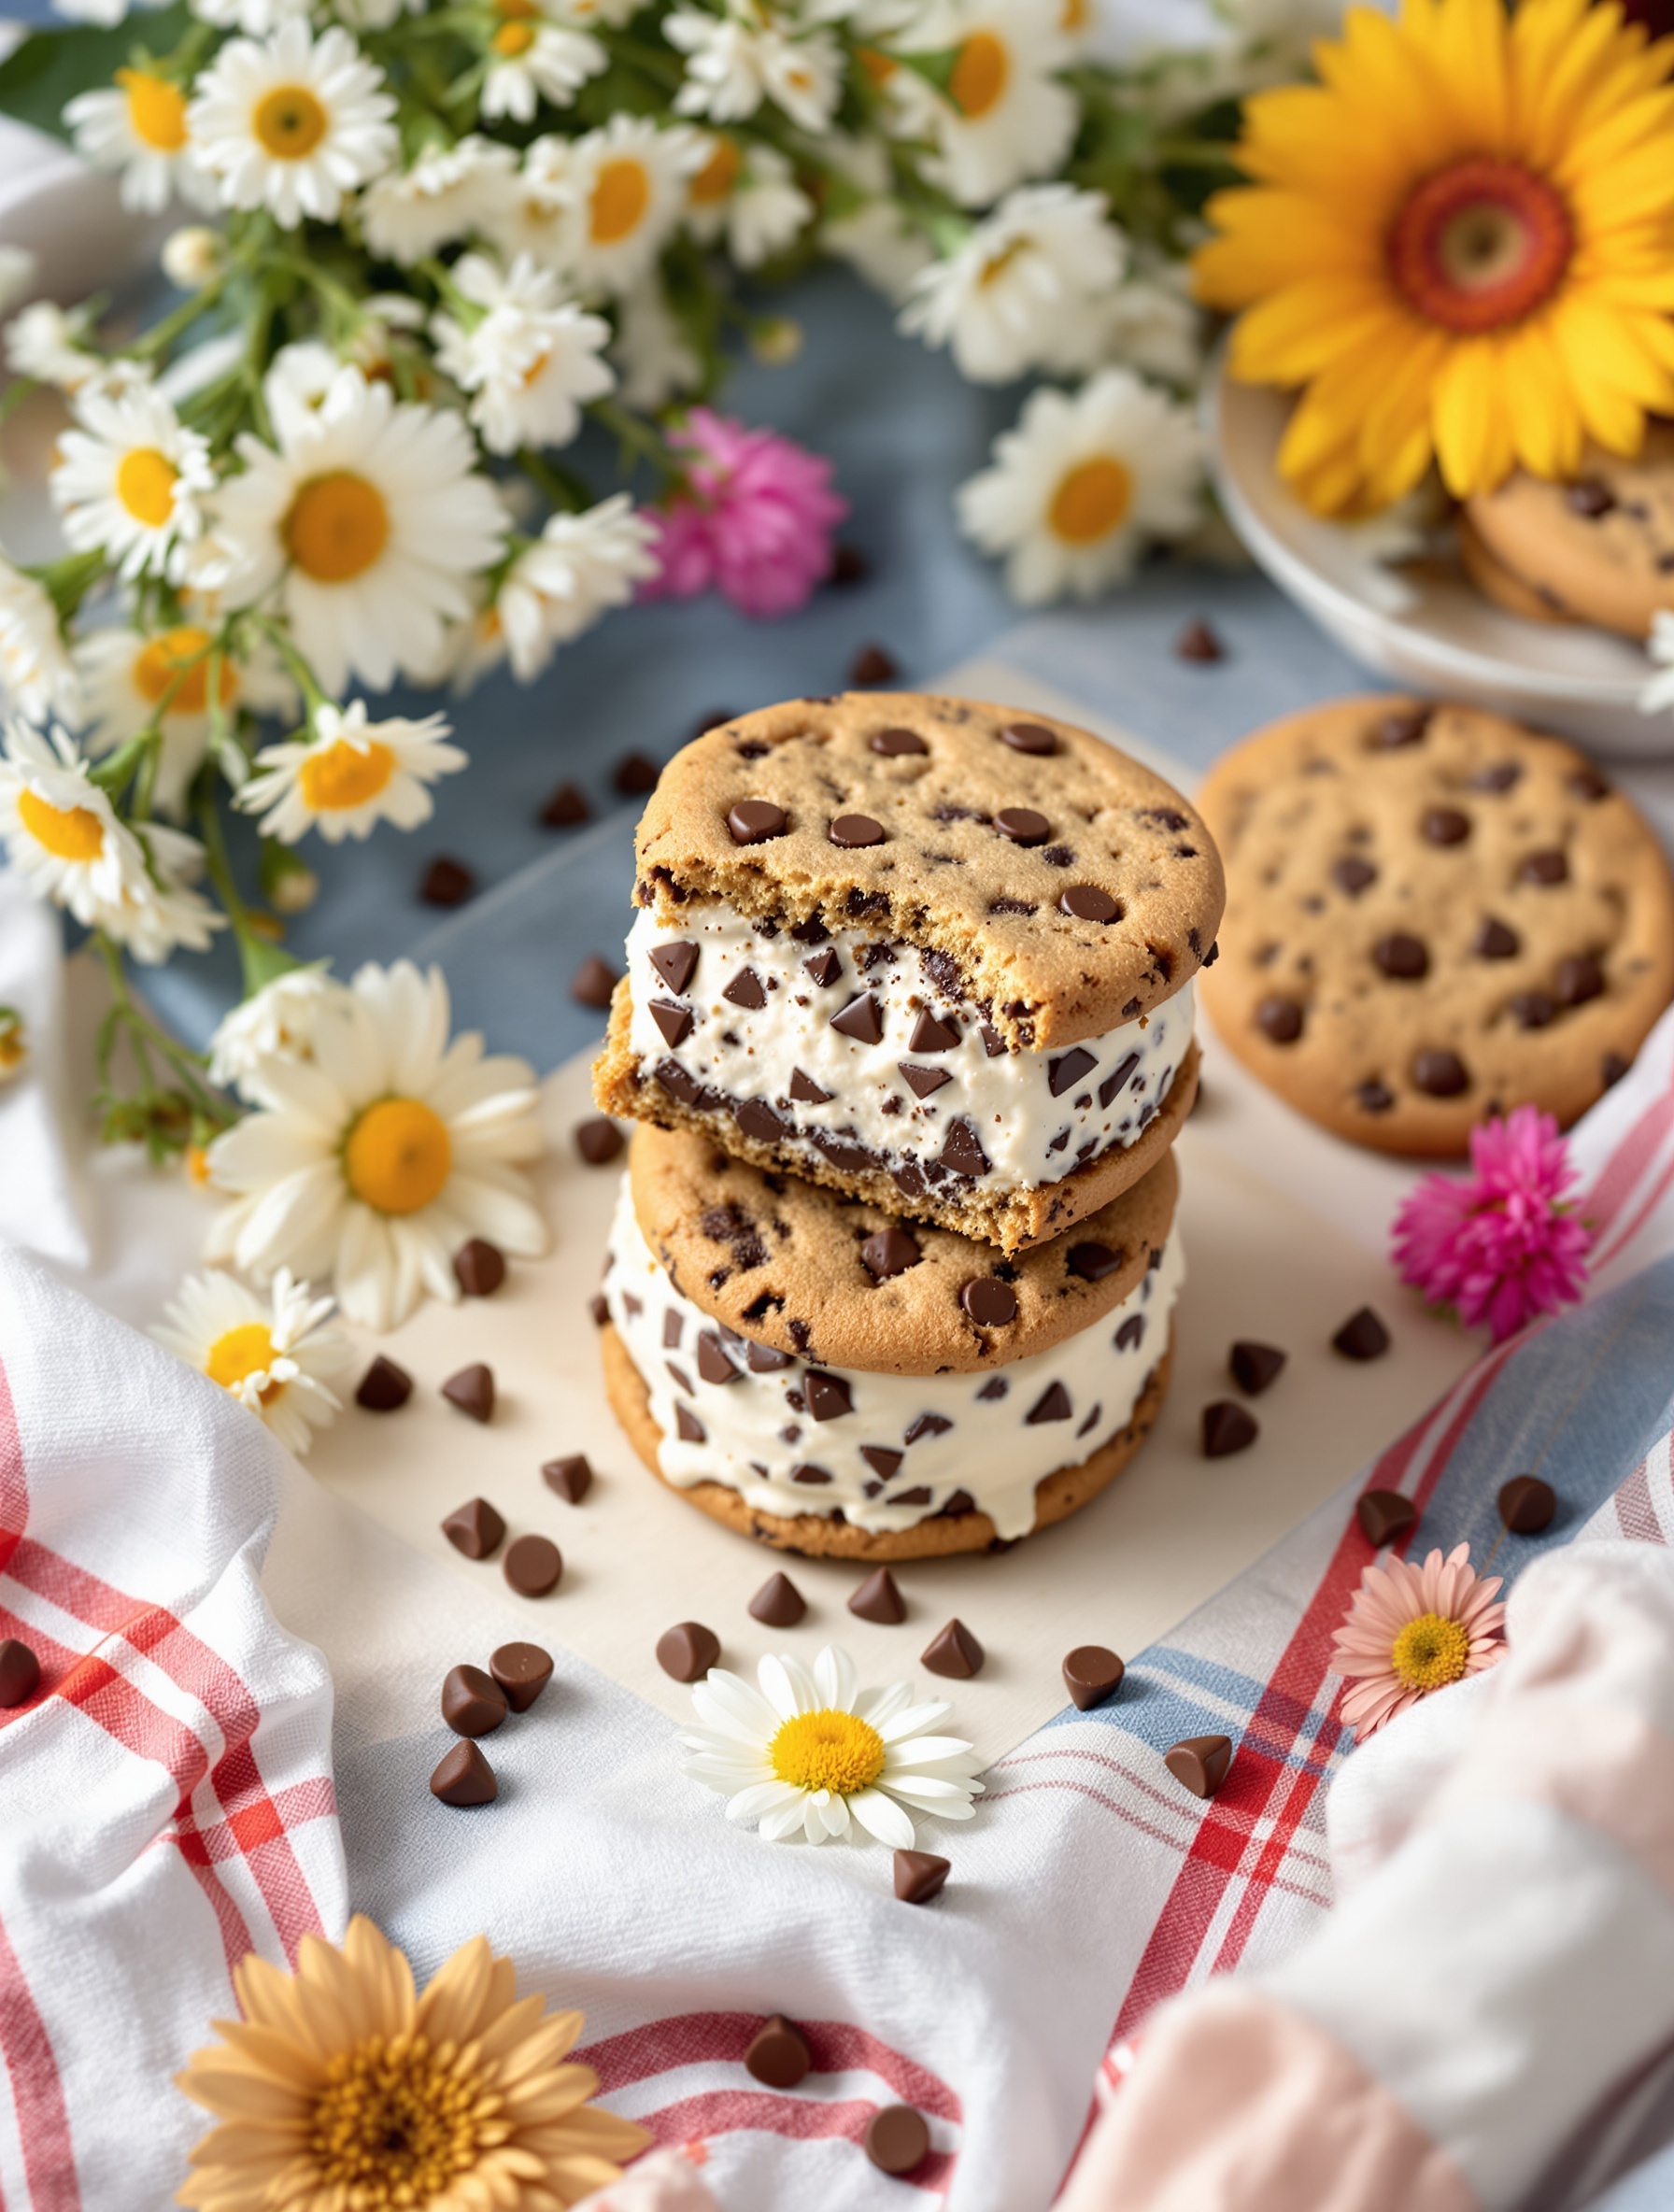
Chocolate chip cookie ice cream sandwiches are a delightful treat for summer. They combine the classic flavors of warm, gooey cookies with cold, creamy ice cream. The contrast of textures makes each bite a joy. Imagine biting into a soft cookie, only to find a cool scoop of ice cream waiting inside. It’s a simple yet satisfying dessert that everyone loves.
Making these sandwiches is easy and fun. You can customize them with your favorite ice cream flavors and even add toppings like sprinkles or crushed cookies. They are perfect for summer gatherings, picnics, or just a sweet treat at home.
Gather your friends and family to enjoy this delicious dessert. They’re sure to be a hit at any summer celebration!
Ingredients
- 1 cup unsalted butter, softened
- 3/4 cup granulated sugar
- 3/4 cup brown sugar, packed
- 1 teaspoon vanilla extract
- 2 large eggs
- 2 1/4 cups all-purpose flour
- 1 teaspoon baking soda
- 1/2 teaspoon salt
- 2 cups chocolate chips
- 1 quart of your favorite ice cream
Instructions
- Preheat your oven to 350°F (175°C). Line baking sheets with parchment paper.
- In a large bowl, cream together the softened butter, granulated sugar, brown sugar, and vanilla extract until smooth.
- Add the eggs one at a time, mixing well after each addition.
- In another bowl, whisk together the flour, baking soda, and salt. Gradually add this to the butter mixture until combined.
- Fold in the chocolate chips.
- Drop rounded tablespoons of dough onto the prepared baking sheets, spacing them about 2 inches apart.
- Bake for 10-12 minutes, or until the edges are golden brown. Let them cool on the baking sheets for a few minutes before transferring to wire racks.
- Once the cookies are completely cool, scoop a generous amount of ice cream onto the flat side of one cookie. Top with another cookie, pressing gently to create a sandwich.
- Repeat with the remaining cookies and ice cream. For an extra touch, roll the edges in mini chocolate chips or sprinkles.
- Enjoy immediately or wrap in plastic wrap and freeze for later!
Frozen Yogurt Bark with Mixed Berries
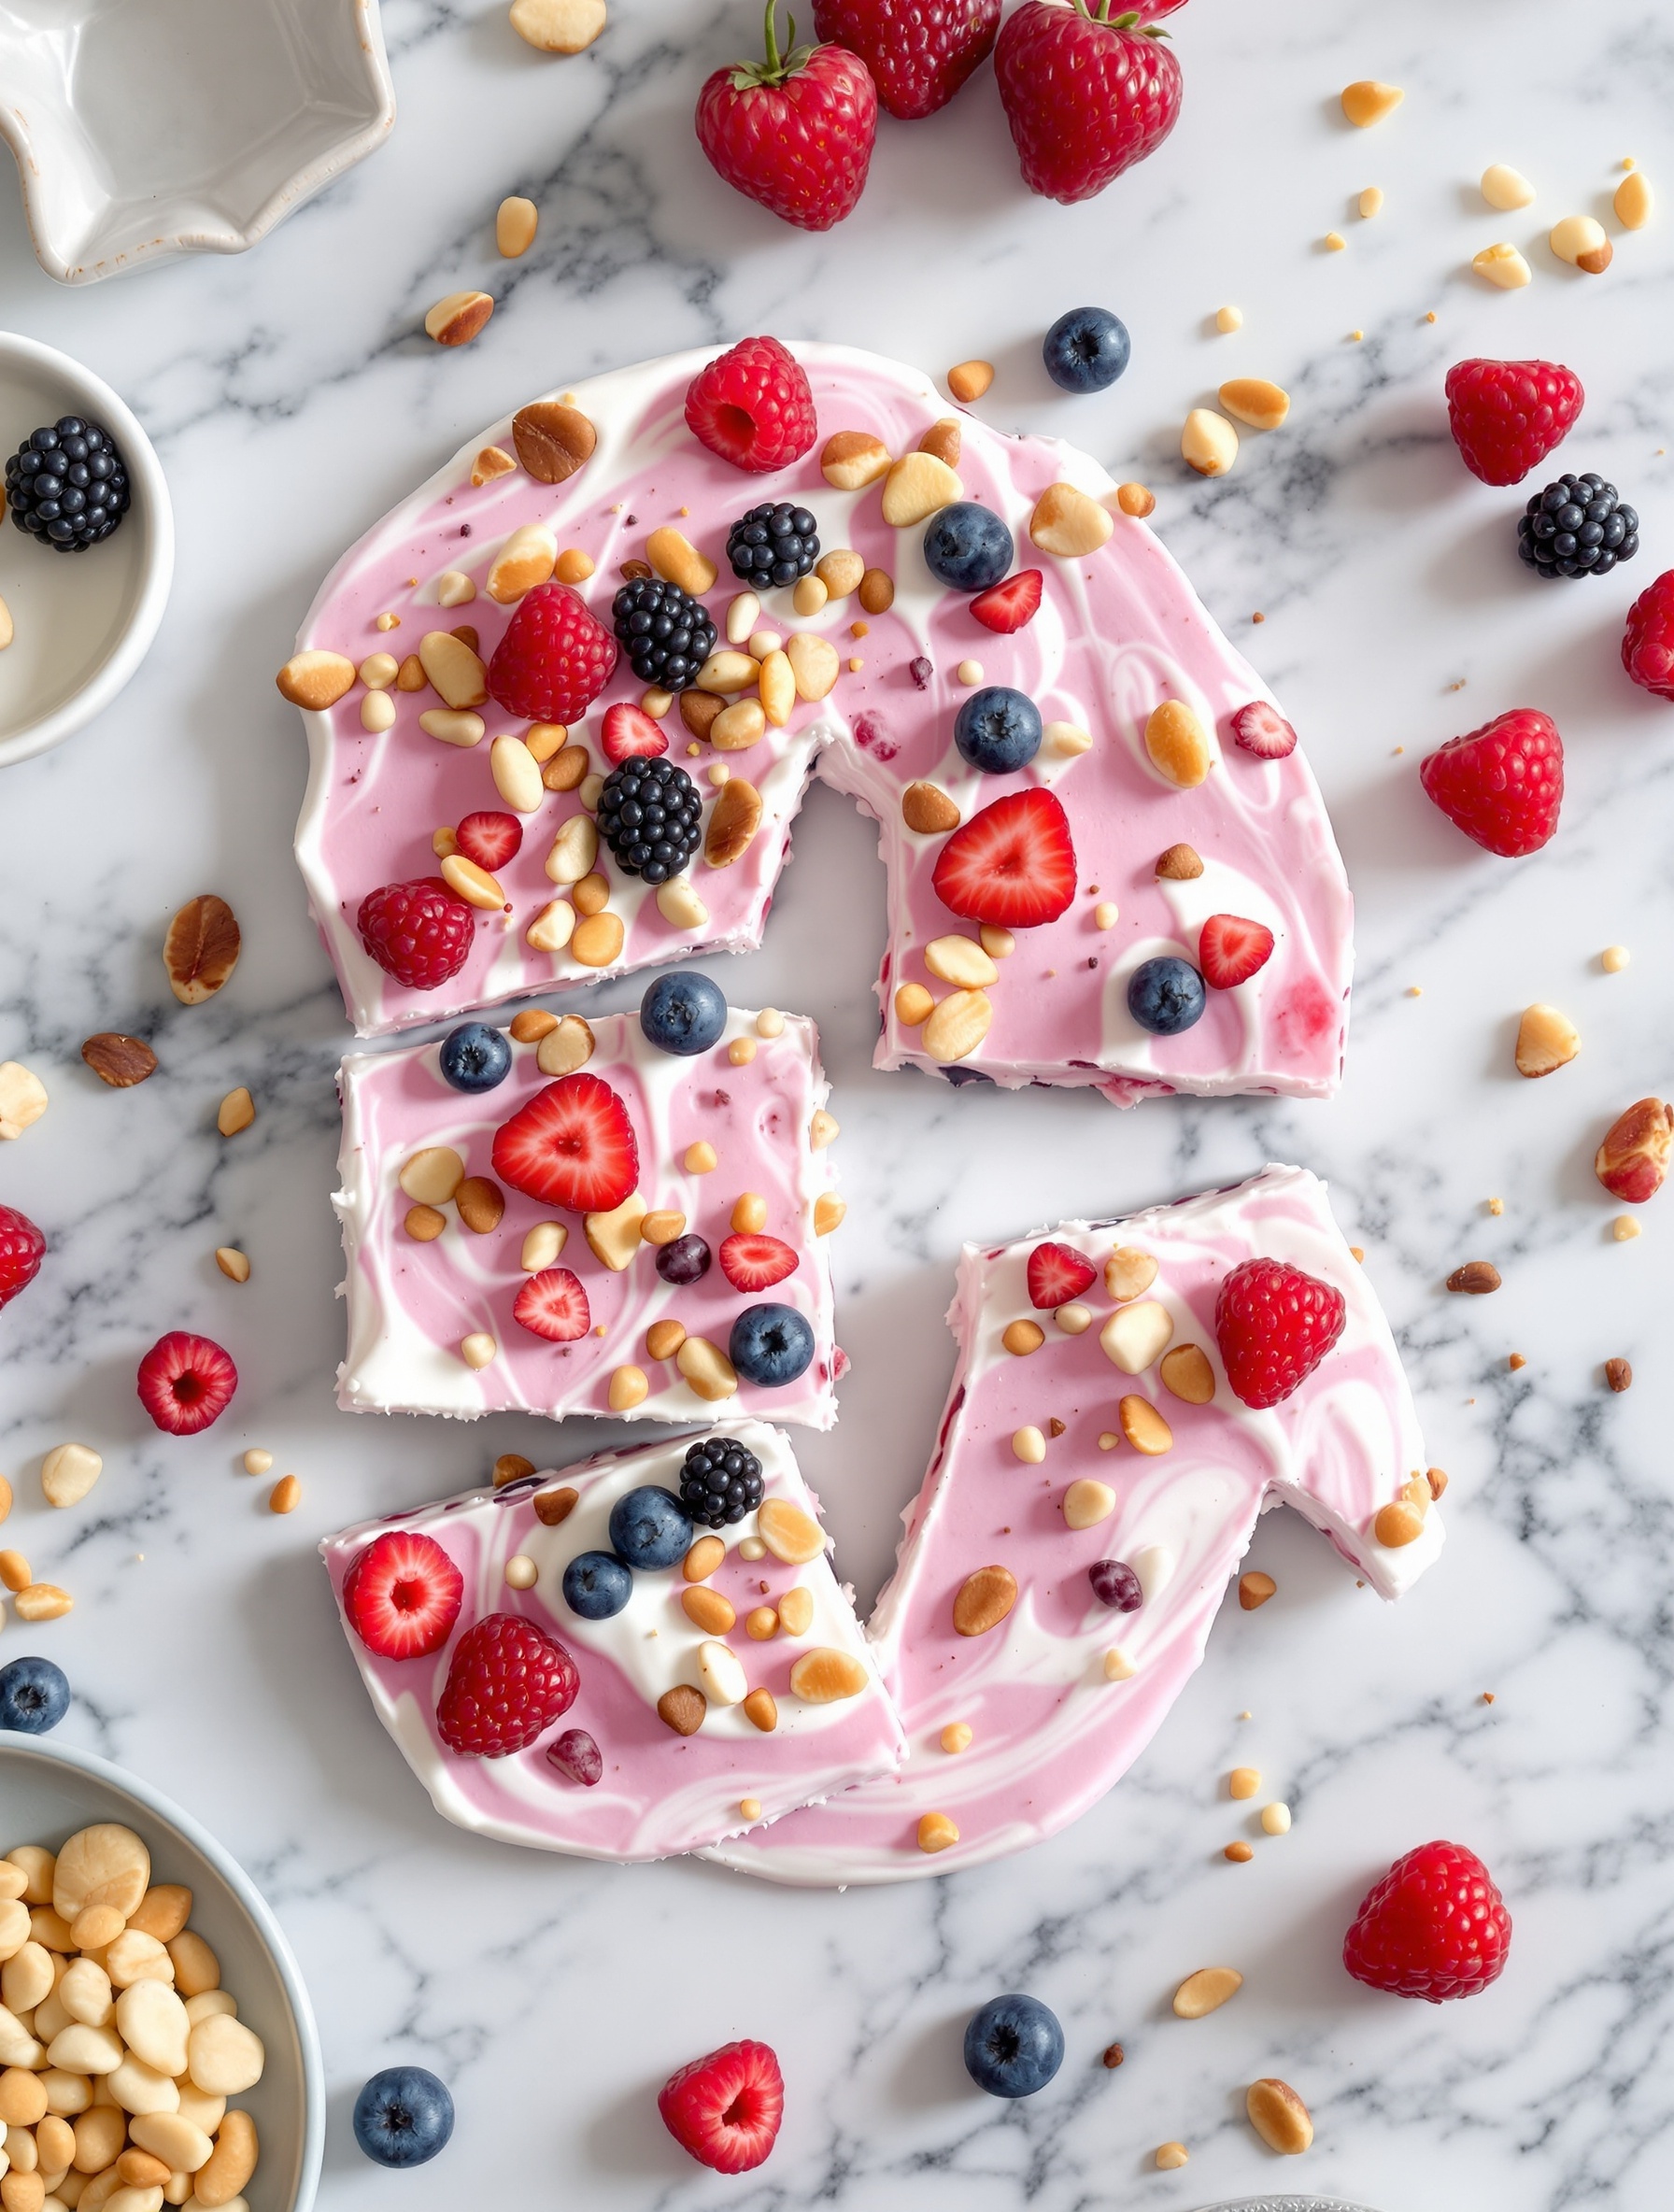
Frozen yogurt bark is a fun and refreshing treat perfect for summer. This dessert is not only easy to make but also customizable. The image shows a colorful spread of yogurt bark topped with vibrant mixed berries and crunchy nuts. It’s a delightful way to enjoy yogurt and fruit in a new form.
To make this delicious treat, start with your favorite yogurt. Greek yogurt works great for a thicker texture, but any yogurt will do. Spread it out on a baking sheet lined with parchment paper. Then, sprinkle a mix of fresh berries like strawberries, blueberries, and blackberries on top. For some added crunch, toss on a handful of nuts or granola.
Once you’ve added all your toppings, pop the baking sheet in the freezer. After a few hours, the yogurt will set into a solid bark. Break it into pieces and enjoy! It’s a perfect snack for hot days or a light dessert after dinner.
Ingredients
- 2 cups Greek yogurt (plain or flavored)
- 1 cup mixed berries (strawberries, blueberries, blackberries)
- 1/4 cup chopped nuts (almonds, walnuts, or your choice)
- 2 tablespoons honey or maple syrup (optional)
Instructions
- Line a baking sheet with parchment paper.
- Spread the yogurt evenly over the parchment paper.
- Sprinkle the mixed berries and nuts over the yogurt.
- If desired, drizzle honey or maple syrup on top.
- Freeze for at least 4 hours or until solid.
- Once frozen, break the yogurt bark into pieces and serve immediately.
Blueberry Lemonade Popsicles
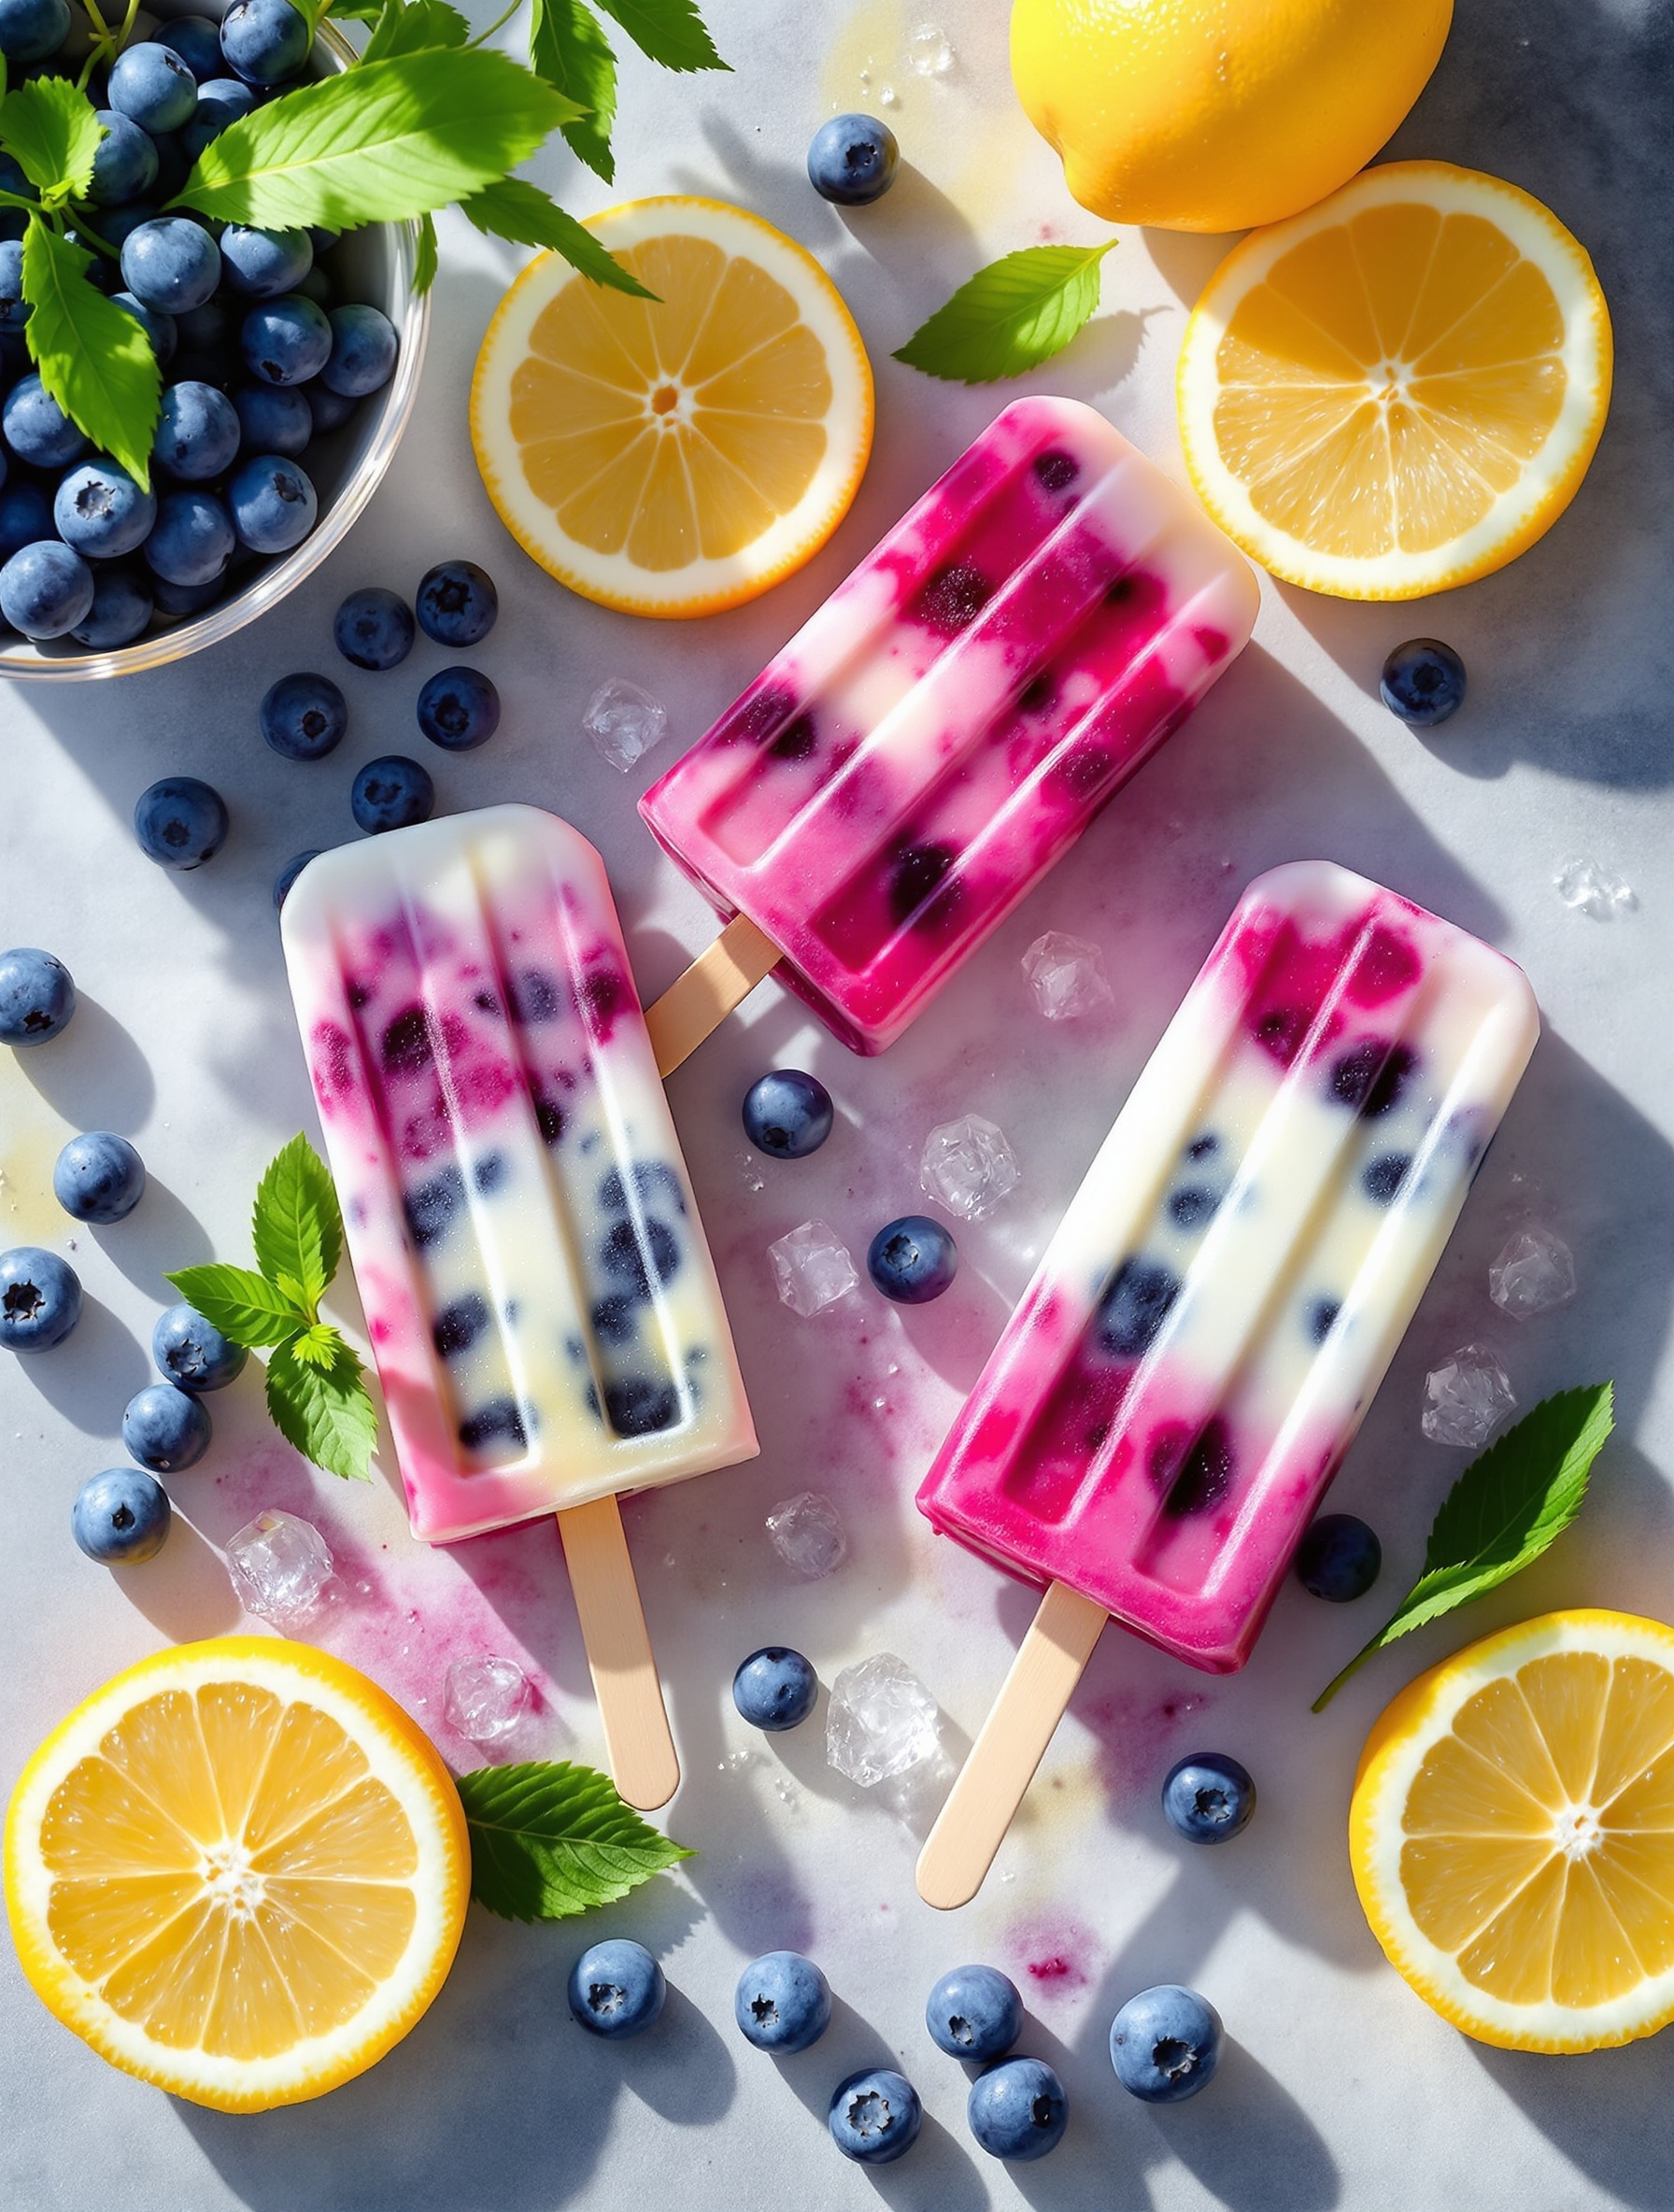
Summer is the perfect time for refreshing treats, and blueberry lemonade popsicles are a delightful choice. These popsicles combine the sweet-tart flavor of blueberries with the zesty brightness of lemonade. They not only look stunning with their vibrant colors but also taste amazing!
The popsicles are layered, showcasing a beautiful mix of blueberry puree and creamy lemonade. This makes them not just a treat for your taste buds but also a feast for the eyes. They are easy to make and perfect for cooling down on hot days.
Gather your friends and family for a fun afternoon of making these popsicles together. It’s a simple process that everyone can enjoy, and the end result is sure to impress!
Ingredients
- 2 cups fresh blueberries
- 1/4 cup honey or sugar (adjust to taste)
- 1 cup lemonade (store-bought or homemade)
- 1 cup coconut milk or yogurt
- Fresh mint leaves for garnish (optional)
Instructions
- Make the Blueberry Puree: In a blender, combine the blueberries and honey. Blend until smooth. If you prefer a chunkier texture, pulse the blender a few times instead of blending completely.
- Prepare the Lemonade Layer: In a separate bowl, mix the lemonade with coconut milk or yogurt until well combined.
- Layer the Popsicles: Pour a layer of blueberry puree into popsicle molds, filling them about one-third full. Follow with a layer of the lemonade mixture, filling another third. Repeat the layers until the molds are full, finishing with the lemonade layer on top.
- Add Sticks: Insert popsicle sticks into the molds and freeze for at least 4-6 hours or until solid.
- Unmold and Serve: To remove the popsicles, run warm water over the outside of the molds for a few seconds. Gently pull the popsicles out and enjoy! Garnish with fresh mint leaves if desired.
Pineapple Upside-Down Cake

Pineapple upside-down cake is a classic dessert that brings a tropical twist to your summer baking. The bright, golden pineapple rings on top create a stunning presentation, making it perfect for gatherings or a sweet treat at home.
This cake is not only beautiful but also delicious. The caramelized pineapple adds a lovely sweetness that pairs wonderfully with the moist cake. It’s a simple recipe that anyone can master, even if you’re new to baking.
To make this delightful dessert, you’ll need some basic ingredients. The combination of butter, sugar, and pineapple creates a rich flavor that will have everyone coming back for seconds.
Ingredients
- 1/4 cup unsalted butter
- 1/2 cup brown sugar, packed
- 1 can (20 oz) sliced pineapple in juice, drained
- Maraschino cherries (optional)
- 1 cup all-purpose flour
- 1 teaspoon baking powder
- 1/4 teaspoon salt
- 1/2 cup granulated sugar
- 1/2 cup milk
- 1 large egg
- 1 teaspoon vanilla extract
Instructions
- Preheat your oven to 350°F (175°C). Melt the butter in a 9-inch round cake pan. Sprinkle the brown sugar evenly over the melted butter.
- Arrange the pineapple slices on top of the brown sugar mixture. Place a cherry in the center of each pineapple ring if desired.
- In a bowl, mix the flour, baking powder, and salt. In another bowl, combine the granulated sugar, milk, egg, and vanilla. Gradually add the dry ingredients to the wet ingredients, mixing until just combined.
- Pour the batter over the pineapple layer in the cake pan. Bake for 30-35 minutes or until a toothpick inserted in the center comes out clean.
- Let the cake cool for about 10 minutes, then carefully invert it onto a serving plate. Serve warm or at room temperature.
Cherry Almond Tart with Flaky Crust
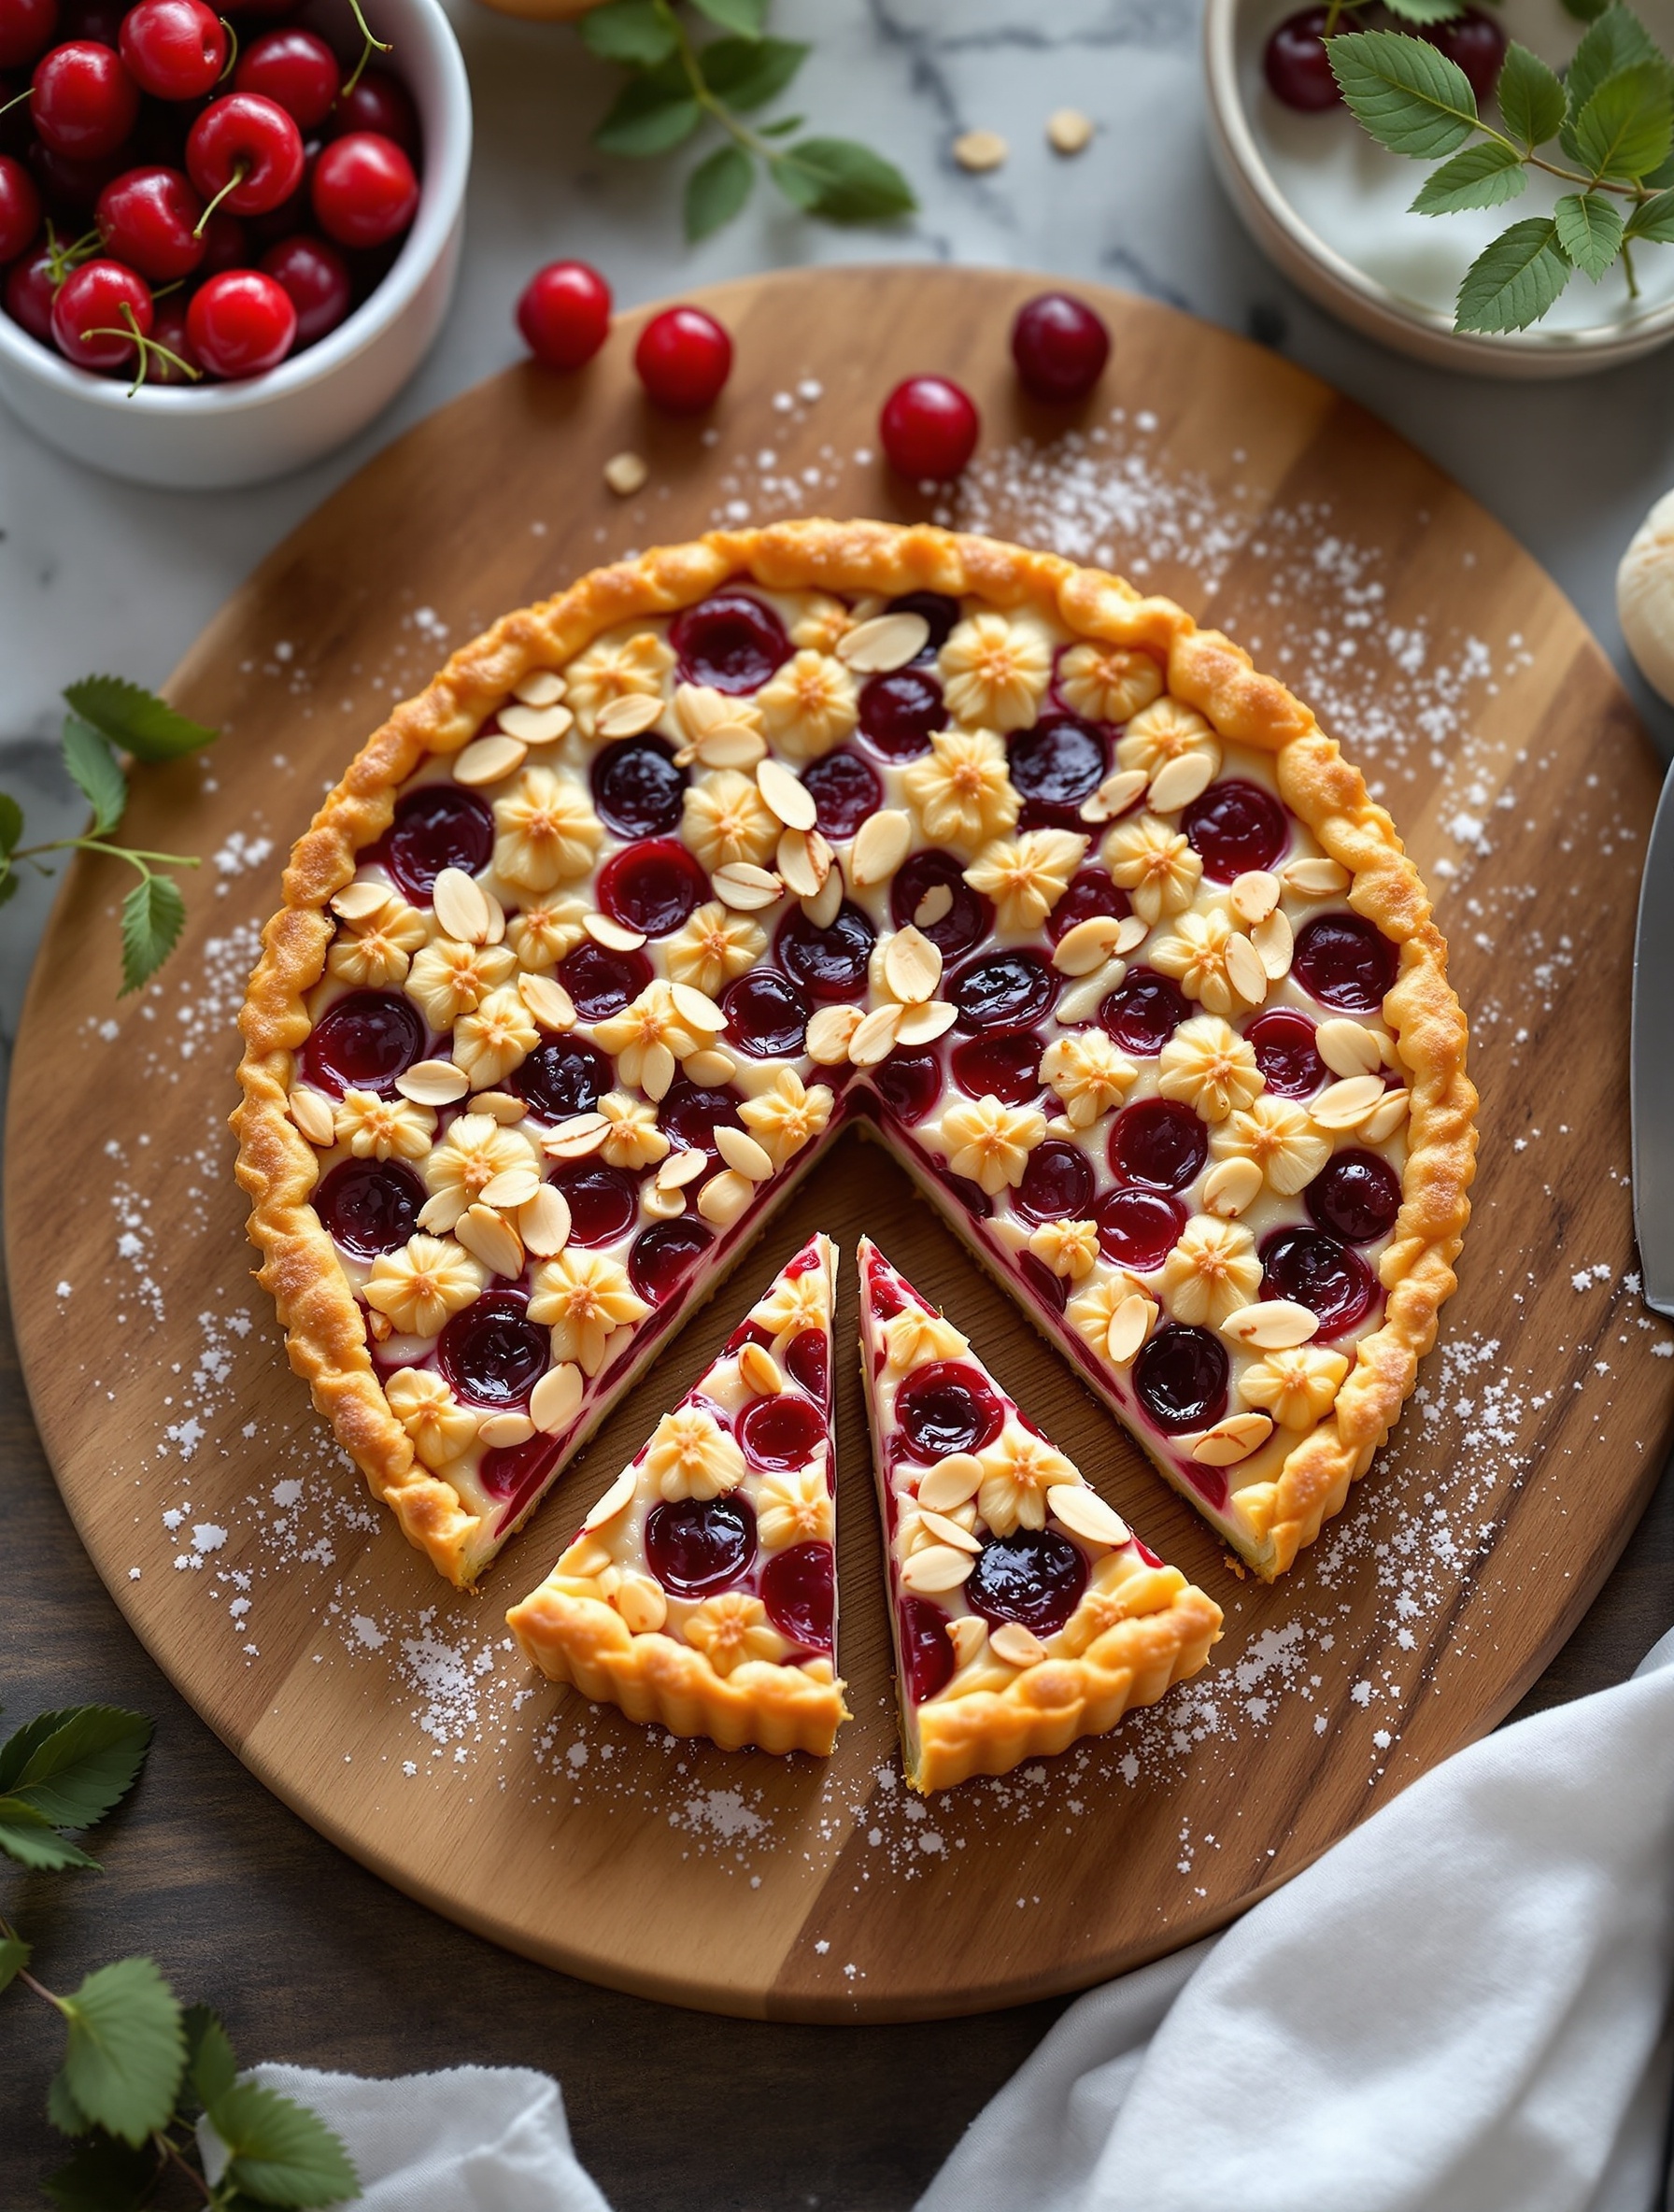
Summer is the perfect time to enjoy fresh fruits, and a cherry almond tart is a delightful way to celebrate the season. This tart features a flaky crust that cradles a creamy filling, topped with juicy cherries and a sprinkle of almond slices. The combination of sweet and tart flavors makes each bite a treat.
The vibrant red cherries pop against the golden crust, creating a beautiful dessert that’s sure to impress. Whether you’re hosting a gathering or just treating yourself, this tart is a fantastic choice. Serve it with a dollop of whipped cream or a scoop of vanilla ice cream for an extra special touch.
Ingredients
- 1 1/4 cups all-purpose flour
- 1/4 cup powdered sugar
- 1/2 cup unsalted butter, chilled and cubed
- 1 egg yolk
- 2 tablespoons cold water
- 1 cup pitted cherries, halved
- 1/2 cup almond meal
- 1/2 cup heavy cream
- 1/4 cup granulated sugar
- 1 teaspoon vanilla extract
- 1/4 cup sliced almonds
Instructions
- Make the Crust: In a bowl, mix flour and powdered sugar. Cut in butter until the mixture resembles coarse crumbs. Stir in egg yolk and cold water until a dough forms. Wrap in plastic and chill for 30 minutes.
- Preheat Oven: Preheat your oven to 350°F (175°C).
- Roll Out Dough: On a floured surface, roll out the chilled dough and fit it into a tart pan. Trim the edges and prick the bottom with a fork.
- Blind Bake: Line the crust with parchment paper and fill with pie weights. Bake for 15 minutes, then remove weights and parchment. Bake for another 10 minutes until golden.
- Prepare Filling: In a bowl, whisk together almond meal, heavy cream, sugar, and vanilla until smooth. Pour this mixture into the baked crust.
- Add Cherries: Arrange the halved cherries on top of the filling. Sprinkle sliced almonds over the cherries.
- Bake: Return the tart to the oven and bake for 25-30 minutes until the filling is set and lightly golden.
- Cool and Serve: Allow the tart to cool before slicing. Enjoy it chilled or at room temperature!
Wrap Up
And there you have it—your official roadmap to a very delicious summer! The best part about baking this time of year is that the fruit does most of the heavy lifting for you. You don’t need to be a master pastry chef when you have peak-season berries and sun-ripened peaches on your side.
I can’t wait to see which of these you tackle first! If you whip up one of these recipes, don’t forget to tag me in your photos or drop a comment below to let me know how it turned out. Now, go grab your apron, turn on the kitchen fan, and let’s get baking!