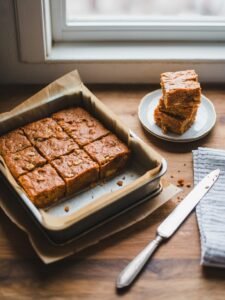
Y’all. Let me tell you about last Sunday morning. You know those mornings where everything goes sideways before 9 am? My 12-year-old had a friend sleeping over, my 8-year-old decided she HAD to have something “special” for breakfast, and my husband was supposed to be back from his Atlanta trip but got stuck at the airport.
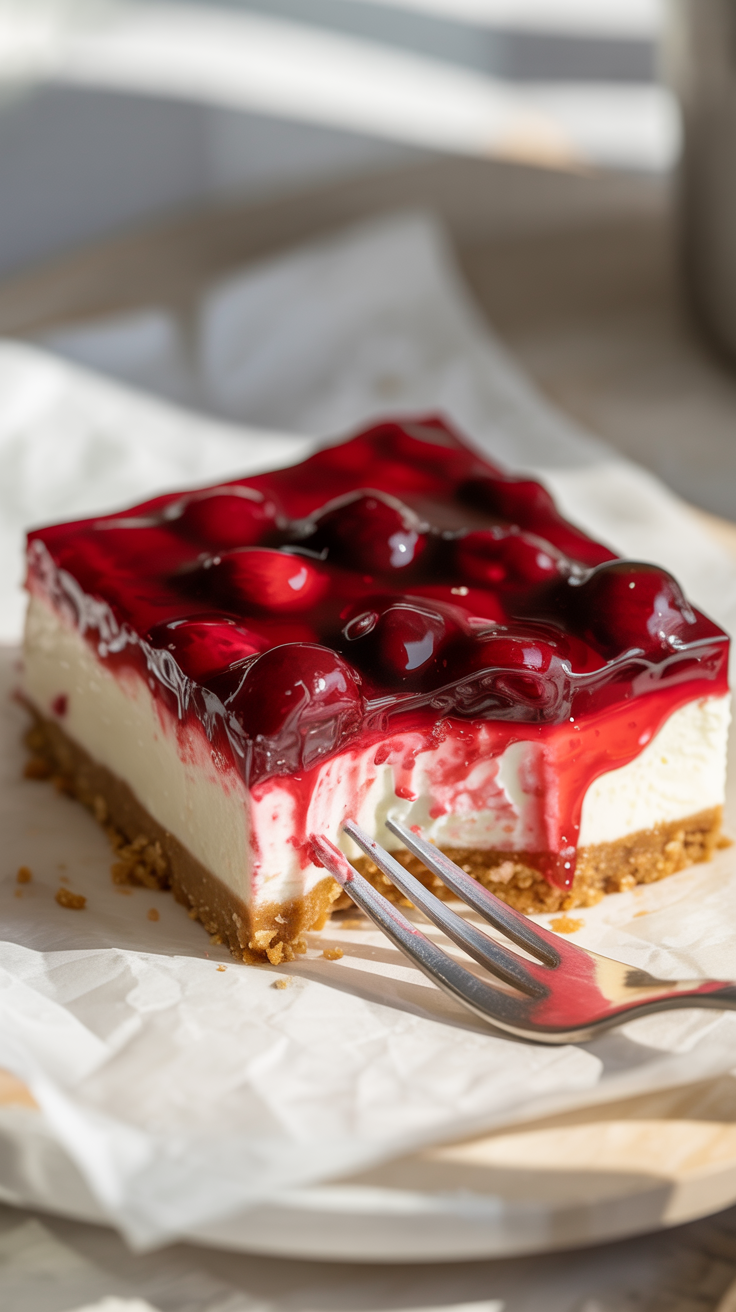
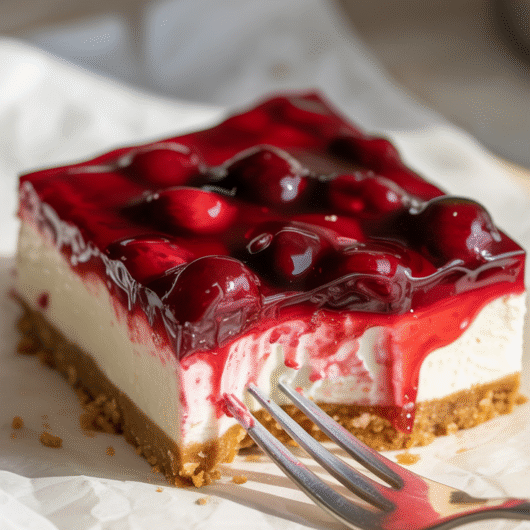
I’m standing in my kitchen in yesterday’s pajamas, staring at a fridge full of random ingredients, when I remember these cherry cheesecake bars, a game changer. Twenty minutes of actual work, and suddenly I’m the mom who serves fancy dessert bars for Sunday breakfast. Judge me if you want – my kids were happy, the sleepover friend was impressed, and I got to drink my coffee while it was still warm.

How I Discovered These Beauties
Honestly? This recipe started as a complete accident about two years ago. I was trying to make regular cheesecake for my daughter’s birthday, but I’d forgotten to buy a springform pan. (Anyone else constantly forget to buy the ONE thing you actually need?) So I dumped everything into a 9×13 pan and hoped for the best.
The texture was different – more like a cross between cheesecake and those lemon bars my mom used to make. But in the best possible way. Dense enough to hold its shape, creamy enough to feel indulgent. I’ve been tweaking it ever since.
The Mistake That Made It Perfect
Here’s my embarrassing confession: the first three times I made these, I completely forgot about them in the oven. Like, completely. I’d get distracted by homework drama or a work call, and next thing I know, I’m smelling something… not quite burned, but definitely overdone.
Turns out? That was exactly what these bars needed. The slightly golden top gives them this amazing texture contrast – soft and creamy underneath, but with just enough firmness on top that they slice cleanly. Now I intentionally bake them until they’re golden. Happy accident turned into a signature technique.
Ingredient Real Talk
Cream cheese: I’ve tried every brand, and honestly, the store brand works just fine. But here’s the thing – it HAS to be room temperature. I’ve learned to take it out the night before. If you’re like me and forget, unwrap it and microwave for 15-20 seconds, flip it, repeat. Just don’t melt it.
Graham crackers: Honey Maid, always. I’ve tried the off-brand ones and they just don’t crush the same way. Also? Buy the whole crackers and crush them yourself. The pre-made crumbs are too fine and make the crust weird.
Cherry topping: Lucky Leaf cherry pie filling is my go-to, but I’ve used fresh cherries when they’re in season (add a tablespoon of cornstarch and extra sugar). In a pinch, I’ve even used strawberry preserves thinned with a little lemon juice. My kids couldn’t tell the difference.
The Tricks I’ve Learned
- Line your pan with parchment paper. Trust me on this. Leave overhang on two sides so you can lift the whole thing out. Makes cutting SO much easier.
- Don’t overmix the cream cheese filling. I used to think more mixing = smoother, but it actually makes them dense and weird. Mix just until smooth.
- The toothpick test doesn’t work here. They’re done when the center is set but still slightly jiggly. They’ll firm up as they cool.
- Let them cool completely before cutting. I know it’s torture, but warm cheesecake bars are messy cheesecake bars. I usually make these after dinner and cut them the next morning.
Family Verdict
My 8-year-old thinks these are “fancy restaurant dessert” and asks for them for every school event. My 12-year-old, who’s in her “I don’t like anything” phase, actually requests these. My husband says they remind him of the cheesecake his grandmother used to make, which is the highest compliment he gives any dessert.
The sleepover friend’s mom texted me asking for the recipe. Win.

The Recipe
For the crust:
- 1½ cups graham cracker crumbs (about 12 crackers)
- ⅓ cup melted butter
- ¼ cup sugar
For the cheesecake layer:
- 16 oz cream cheese, room temperature
- ½ cup sugar
- 2 large eggs
- 1 teaspoon vanilla
- Pinch of salt
For the topping:
- 1 can cherry pie filling (or about 1½ cups)
- Optional: extra graham cracker crumbs for sprinkling
Instructions:
- Heat oven to 350°F. Line a 9×13 pan with parchment paper.
- Mix graham cracker crumbs, melted butter, and ¼ cup sugar. Press into bottom of pan. Bake 8 minutes.
- While crust bakes, beat cream cheese until smooth (don’t overmix). Add ½ cup sugar, then eggs one at a time, then vanilla and salt. Mix just until combined.
- Pour over warm crust. Bake 25-30 minutes until center is set but slightly jiggly.
- Cool completely (seriously, don’t skip this). Spread cherry topping over the top.
- Refrigerate at least 2 hours before cutting.
Makes 24 bars. Keeps covered in the fridge for up to a week, though they never last that long at my house.
Final Thoughts
These aren’t perfect Instagram-worthy bars. Sometimes the cherry topping slides around when you cut them. Sometimes the crust sticks a little, even with parchment paper. But they taste like the best cheesecake you’ve ever had, they’re impossible to mess up, and they make any morning feel a little more special.
Plus, they’re fancy enough for company but easy enough for a random Sunday morning when you need to feel like you have your life together. Even when you’re standing in your kitchen in yesterday’s pajamas.
What’s your go-to “fancy but easy” dessert? Drop a comment and let me know – I’m always looking for new tricks to add to my busy mom repertoire!
Cherry Cheesecake Bars That Saved Sunday Morning
Course: DessertCuisine: AmericanDifficulty: Easy24
servings15
minutes35
minutes180
kcal2
hours30
minutesThese creamy cherry cheesecake bars combine a buttery graham cracker crust with rich cheesecake filling and sweet cherry topping. Perfect for potlucks, family gatherings, or when you want cheesecake without the fuss of a springform pan.
Ingredients
For the Crust:
1½ cups graham cracker crumbs (about 12 whole crackers, crushed)
⅓ cup unsalted butter, melted
¼ cup granulated sugar
- For the Cheesecake Layer:
16 oz cream cheese, softened to room temperature
½ cup granulated sugar
2 large eggs, room temperature
1 teaspoon vanilla extract
Pinch of salt
- For the Topping:
1 (21 oz) can cherry pie filling
Optional: extra graham cracker crumbs for garnish
Directions
- Prepare the pan: Preheat oven to 350°F (175°C). Line a 9×13-inch baking pan with parchment paper, leaving overhang on two sides for easy removal.
- Make the crust: In a medium bowl, combine graham cracker crumbs, melted butter, and ¼ cup sugar. Mix until evenly moistened. Press mixture firmly into the bottom of prepared pan. Bake for 8 minutes.
- Prepare the filling: While crust bakes, beat cream cheese in a large bowl until smooth and creamy (don’t overmix). Gradually add ½ cup sugar, beating until combined. Add eggs one at a time, beating just until incorporated. Mix in vanilla and salt until smooth.
- Assemble and bake: Pour cheesecake mixture over warm crust, spreading evenly. Bake for 25-30 minutes, until center is set but still slightly jiggly. The top should be lightly golden.
- Cool completely: Remove from oven and cool completely at room temperature, about 1 hour. Do not skip this step.
- Add topping: Spread cherry pie filling evenly over cooled cheesecake layer.
- Chill and serve: Refrigerate for at least 2 hours before cutting. Use parchment overhang to lift bars from pan, then cut into squares with a sharp knife, wiping blade between cuts.
Notes
- Room temperature ingredients: Make sure cream cheese and eggs are at room temperature for smooth mixing. Take cream cheese out the night before, or microwave unwrapped blocks for 15-20 seconds, flip, and repeat.
Don’t overmix: Mix cheesecake filling just until smooth to avoid dense, heavy bars.
Doneness test: Bars are done when center is set but still has a slight jiggle. They’ll firm up as they cool.
Clean cuts: For neat squares, chill completely before cutting and wipe knife blade between each cut.
Storage: Store covered in refrigerator for up to 1 week. Can be frozen for up to 3 months.
