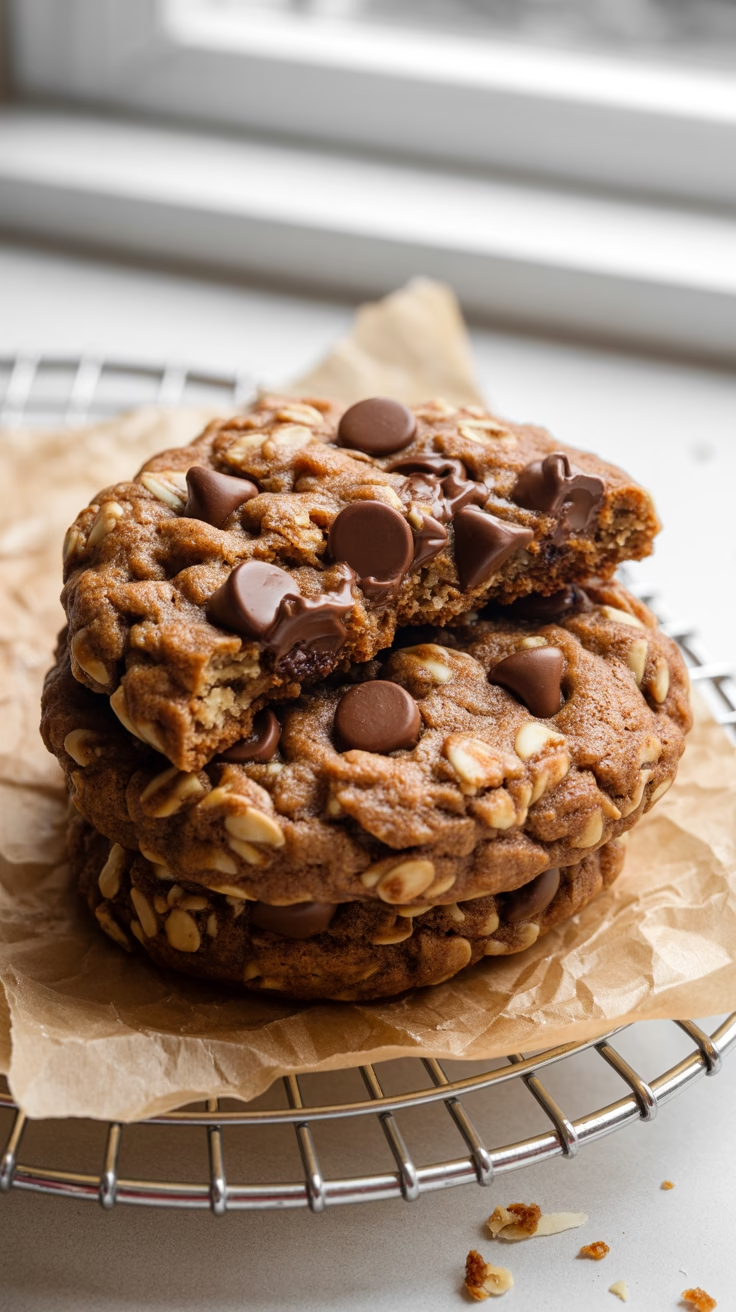
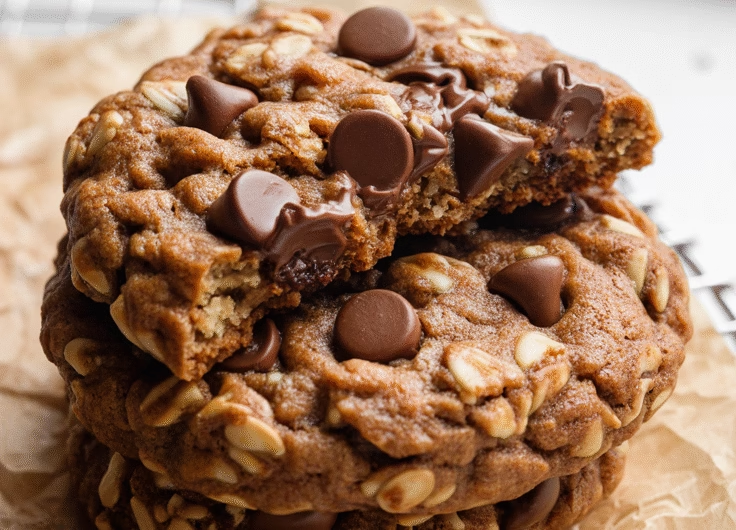
If you love cookies that are chewy in the center, crispy at the edges, and just sweet enough to highlight the toasty oats and melty chocolate, this recipe is for you. I’m Sarah from Bake My Sweet. I’ve spent months testing batch after batch to find the perfect balance of texture and flavor for oatmeal chocolate chip cookies. What makes mine different? We use browned butter for nutty depth, a touch of molasses for warmth, and rest the dough overnight, a step that’s optional but so worth it for flavor and texture. Promise: these cookies will have that coveted “wrinkled top” bakery look, stay soft for days, and won’t spread too thin. Pro tip: Brown your butter until it’s golden and smells nutty, don’t rush or let it burn. That’s where the magic starts.
Why This Recipe Works (Baking Science)
Most oatmeal cookie recipes are either crisp all over or cakey, but here, the chew comes from the perfect balance of sugar types and hydration. Brown sugar keeps the centers soft, white sugar helps the edges crisp up, and molasses adds moisture and a subtle caramel note.
Oats add fiber and chew, but too much dry ingredient can make cookies tough. That’s why we toast the oats first, it dries them out just enough so the cookies don’t end up gummy. Browning butter does two things: it drives off water (making the butter behave more like oil) and adds toasty flavor. Letting the dough rest overnight (even 12 hours) hydrates the oats and flour, reducing graininess and improving flavor.
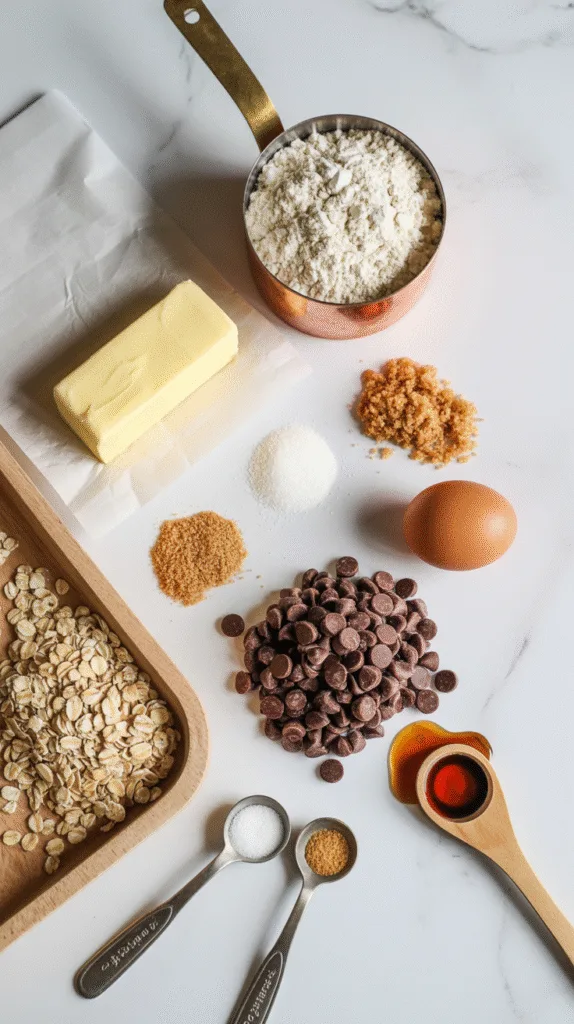
Ingredients with Weights and Purpose
| Ingredient | Grams | Cups (approx.) | Purpose |
|---|---|---|---|
| Unsalted butter | 170 | 3/4 cup | Fat base, flavor; browned for depth |
| Old-fashioned oats* | 150 | 1.5 cups | Texture, chew; toasted for nuttiness and to reduce gumminess |
| All-purpose flour | 150 | 1.25 cups | Structure (gluten) |
| Brown sugar (light) | 100 | 1/2 cup, packed | Moisture, chew, flavor (molasses content) |
| White sugar | 75 | 1/3 cup | Sweetness, crisp edges |
| Molasses | 5 | 1 tsp | Moisture, caramel note (optional, but recommended) |
| Egg (large, room temp) | 50 | 1 large | Binding, structure, tenderness |
| Vanilla extract | 5 | 1 tsp | Flavor |
| Baking soda | 3 | 1/2 tsp | Leavening, lift |
| Baking powder | 2 | 1/4 tsp | Leavening, stability |
| Salt | 2 | 1/2 tsp | Flavor balance |
| Semi-sweet chocolate chips | 175 | 1 cup | Sweet, melty pockets (use bar chocolate chopped for better texture) |
*Use old-fashioned (rolled oats)—quick oats can make the cookies fall apart.
**For browning butter, unsalted butter is best for control.
Pro tip: Weigh your ingredients for consistency, but if you must use cups, use the spoon-and-level method.
Equipment
Required:
- Large, heavy skillet (for browning butter and toasting oats)
- 2 mixing bowls (1 large, 1 medium)
- Wire whisk and spatula
- Digital kitchen scale
- Half-sheet baking tray (38x29cm, standard cookie sheet)
- Parchment paper or silicone mat
- Oven (conventional or OTG), preferably with a thermometer
Nice-to-have:
- Oven thermometer (to confirm temperature)
- Mesh strainer (to filter browned butter)
- Ice cream scoop (for even cookies)
- Cooling rack
Step-by-Step Instructions
Step 1: Prep (15 min)
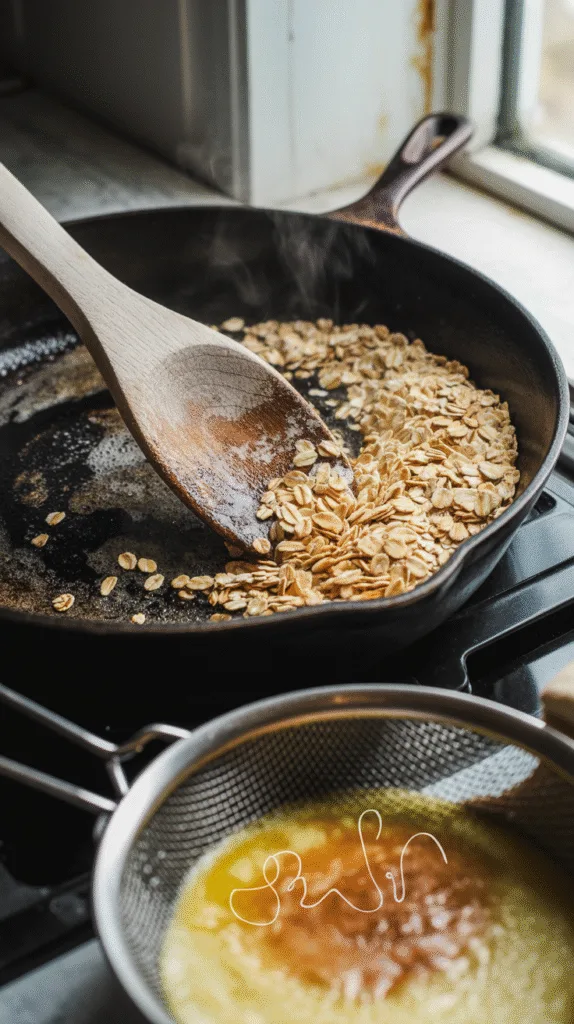
Toast oats in a dry skillet over medium heat until fragrant (5–7 min), stirring often. Let cool.
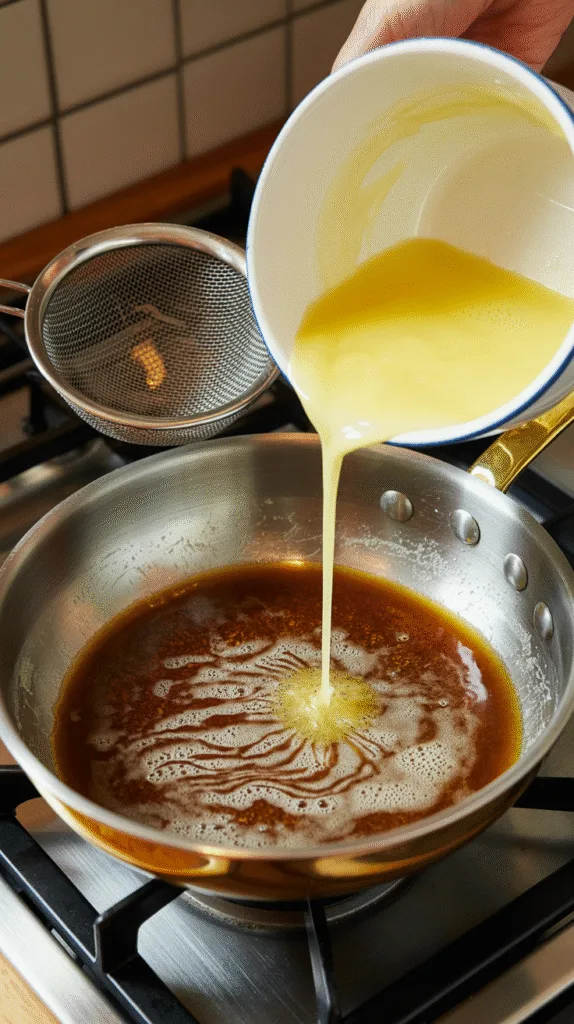
Meanwhile, brown butter: melt butter in a skillet, swirling, until it foams, turns golden-brown, and smells nutty (5–8 min). Strain through a mesh strainer into a mixing bowl, scraping in the brown bits. Let cool 10 min.
Step 2: Mix Wet Ingredients (5 min)
To the browned butter, add both sugars, molasses, egg, and vanilla. Whisk vigorously until smooth and slightly fluffy.

Step 3: Combine Dry Ingredients (5 min)
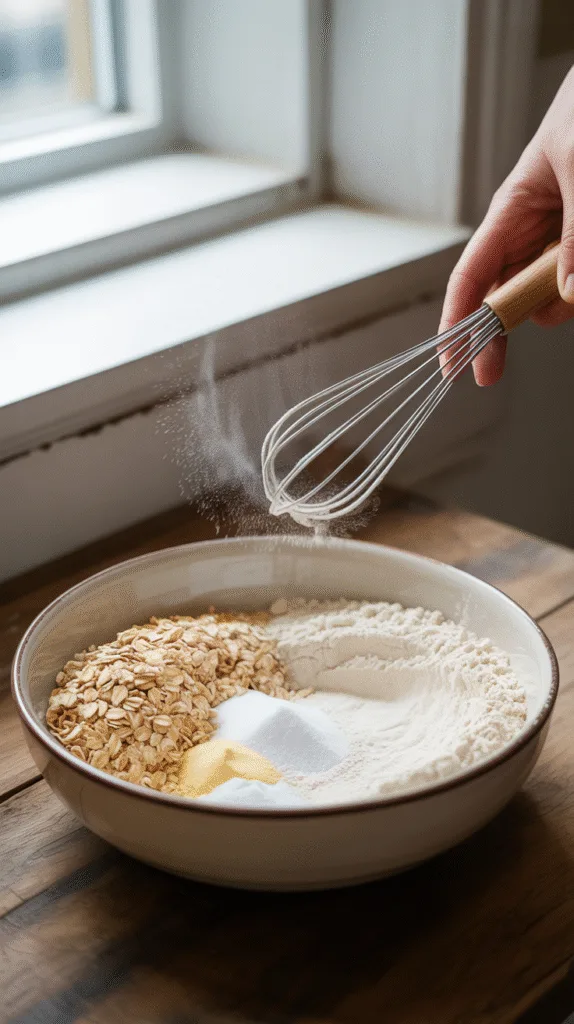
In another bowl, whisk flour, baking soda, baking powder, salt, and cooled toasted oats.
Step 4: Combine Wet and Dry (3 min)
Gradually add dry to wet, mixing with a spatula until just combined. Fold in chocolate chips.

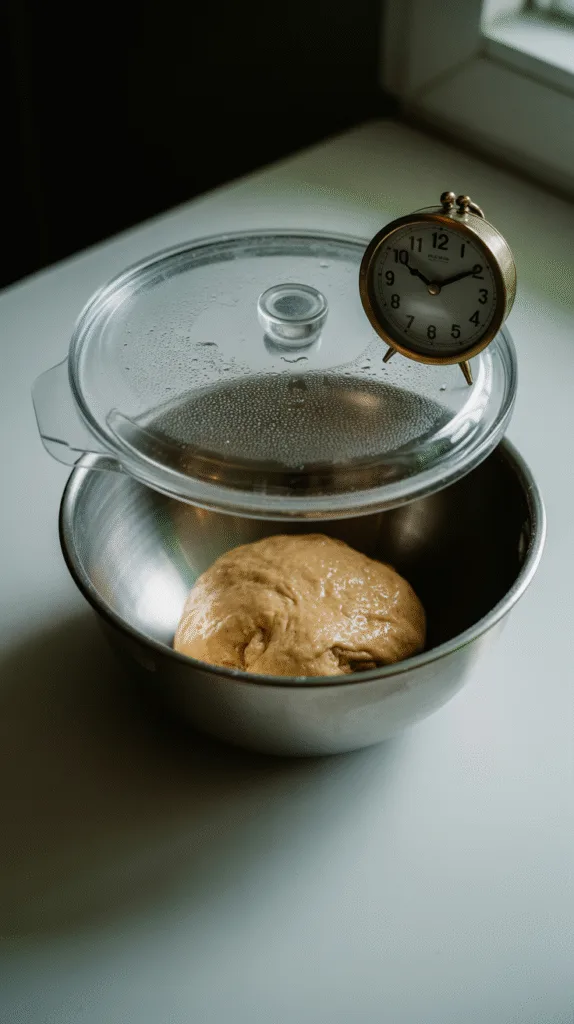
Step 5: Rest (Optional but Recommended, 12–48 hrs)
Cover and refrigerate dough at least 1 hour, ideally overnight.
Pro tip: Resting hydrates the oats and flour, prevents spreading, and deepens flavor.
Step 6: Bake (10–12 min per batch)
Preheat oven to 175°C (350°F), middle rack. Scoop dough into 30g balls (tablespoon-sized), spacing 5 cm apart. Bake 10–12 min, until edges are golden but centers are still slightly soft.
Doneness test: Edges will be crisp and slightly darkened; centers will look underdone but firm up as they cool.

Step 7: Cool (10 min)
Let cookies cool on tray 5 min, then transfer to rack.
Yield: 22–24 cookies, 8cm each
Troubleshooting
Problem: Cookies spread too much
Causes: Dough too warm, butter not cooled enough, incorrect flour measure, not enough oats
Fix: Chill dough longer, weigh flour, check butter temp, use correct oat type
Problem: Cookies too cakey
Causes: Too much flour or leavening, overmixing
Fix: Weigh dry ingredients, fold gently, don’t overmix
Problem: Cookies burn at edges
Causes: Oven too hot, dark tray
Fix: Check temp with thermometer, use parchment, shift light-colored tray
Problem: Dough tastes bland
Causes: Forgot salt, underwhelming chocolate
Fix: Use flaky sea salt atop finished cookies, chop quality chocolate bars
Problem: Cookies too dry
Causes: Overbaked, too much oat/flour, not enough brown sugar
Fix: Bake less, re-check measurements, add molasses
Substitutions and Variations
Dairy-Free: Use coconut oil (for browning, omit milk solids) or vegan butter.
Egg-Free: Substitute 50g applesauce or mashed banana; expect softer texture.
Gluten-Free: Use GF flour blend and certified GF oats; texture may be crumblier.
Sugar Swap: Use all brown sugar for extra chew, but edges may not crisp as much.
Chocolate: Use dark, milk, or chopped chocolate (not chips) for texture. Add nuts, dried fruit, or coconut.
Spice: Add 1 tsp cinnamon or 1/2 tsp nutmeg for warmth.
Scaling:
For a 6-inch batch (12 cookies), halve all ingredients. For a crowd, double everything—works fine.
Pro tip: Bake one test cookie to check spread before committing a whole tray.
Storage, Make-Ahead, and Freezing
Counter: 5 days in airtight container; re-crisp in a 150°C (300°F) oven for 3 min.
Fridge: Not needed, but dough keeps 4 days (let come to room temp before baking).
Freezer: Dough freezes well for 2 months; bake from frozen, add 2 min. Baked cookies freeze 1 month; thaw at room temp.
Avoid freezing underbaked or greasy cookies—texture suffers.
Serving Suggestions
Serve warm with cold milk, as an ice cream sandwich, or as a base for cookie sundaes.
Pair with a sprinkle of flaky salt, drizzle of caramel, or alongside a spiced chai.
Internal links:
- Guide: [How to brown butter for extra flavor]
- Recipe: [Eggless brown butter cookies]
- Tip: [Cookie storage and freshness tricks]
- Technique: [Melting chocolate properly for baking]
- Variation: [Muesli chocolate chip cookies]
FAQs
Can I use instant oats?
Instant oats can make cookies too soft and pasty. If you must, cut the amount by 25%.
How do I prevent flat cookies?
Chill the dough thoroughly and use the right oat and flour amounts. Warm kitchens or trays can cause spread.
Can I skip browning the butter?
Yes, but you’ll lose a lot of flavor. If skipping, use room-temp butter, not melted.
How do I make them gluten-free?
Use a 1:1 GF flour blend and GF oats. The texture will be more delicate; handle dough gently.
What’s the best chocolate for these cookies?
Chopped chocolate bars melt into pools—much better than chips. But chips are easier and still good.
Can I bake these in an air fryer or OTG?
Yes, use 160°C for 8–10 min, checking often, as smaller batches can cook faster.
Notes from My Kitchen
Batch 1: Skipped toasting oats—cookies were gummy inside. Adjusted by lightly toasting oats, which improved chew and dried out excess moisture.
Batch 2: Used all brown sugar—edges didn’t crisp, cookies stayed soft but lost structure. Mixed white and brown for best of both.
Batch 3: Chilled dough only 1 hour—cookies spread too much. Overnight chill made them thicker with a chewy center.
Batch 4: Subbed oil for butter—texture was greasy, lacked flavor. Stick with browned butter for depth.
Final Batch: Toasted oats, chilled dough, mixed sugars, browned butter, chopped chocolate—perfect chew, flavor, and look. Bake on parchment for easy release.
Nutrition and Disclaimer
Per cookie (approximate): 150 kcal, 8g fat, 19g carbs, 2g protein.
Note: Values are estimates; adjust for brands and portion size. Bake safely and enjoy fresh.
The Oatmeal Chocolate Chip Cookies Recipe
Course: Dessert, SnacksCuisine: AmericanDifficulty: Easy24
servings30
minutes10
minutes150
kcal1
hour10
minutesChewy centers, crispy edges, and rich nutty flavor—these cookies are loaded with toasted oats, pools of chocolate, and just a hint of molasses for warmth. Browned butter is the secret to depth, and resting the dough overnight (for best results) deepens the flavor and improves texture. No stand mixer required; just a bowl, a whisk, and a little patience.
Ingredients
Unsalted butter: 170 grams (3/4 cup)
Old-fashioned oats: 150 grams (1.5 cups)
All-purpose flour: 150 grams (1.25 cups)
Light brown sugar: 100 grams (1/2 cup, packed)
White sugar: 75 grams (1/3 cup)
Molasses: 5 grams (1 teaspoon)
Large egg: 1 (about 50 grams)
Pure vanilla extract: 5 grams (1 teaspoon)
Baking soda: 3 grams (1/2 teaspoon)
Baking powder: 2 grams (1/4 teaspoon)
Salt: 2 grams (1/2 teaspoon)
Semi-sweet chocolate chips (or chopped chocolate bar)
Directions
- Toast oats:
In a dry skillet over medium heat, toast oats for 5–7 minutes, stirring often, until fragrant and lightly golden. Set aside to cool. - Brown butter:
In the same skillet, melt butter over medium heat. Continue cooking, swirling the pan, until butter turns golden brown and smells nutty (5–8 minutes). Pour into a mixing bowl, scraping in the browned bits (or filter through a mesh strainer for cleaner butter). Let cool 10 minutes. - Mix wet ingredients:
To the browned butter, add both sugars, molasses, egg, and vanilla. Whisk vigorously until smooth and creamy, about 2–3 minutes. - Combine dry ingredients:
In a separate bowl, whisk together flour, baking soda, baking powder, salt, and cooled toasted oats. - Combine wet and dry:
Add dry ingredients to wet, mixing with a spatula until just combined. Fold in chocolate chips. - Chill dough:
Cover dough and chill for at least 1 hour, or ideally overnight. (Dough can be refrigerated up to 4 days or frozen for later use.) - Bake:
Preheat oven to 175°C (350°F) with a rack in the middle. Scoop dough into 30g (1 tablespoon-sized) balls and space 5 cm apart on a parchment-lined baking sheet. Bake 10–12 minutes, until edges are golden and centers look slightly underdone. - Cool:
Let cookies cool on tray 5 minutes, then transfer to a wire rack to cool completely.
Notes
- Tips
Pro tip: Toasting oats and browning butter are not mandatory, but they make a noticeable difference in flavor and texture.
Chill tips: If you skip chilling, cookies may spread more. Overnight rest gives the best flavor and chew.
Bake test: Bake one cookie first to check spread and adjust oven time if needed.
Storage: Keep in an airtight container at room temperature up to 5 days. Cookies can be frozen (up to 1 month) and reheated in a low oven to refresh crispness. - Serving Suggestion
Enjoy warm with a glass of milk, crumble over ice cream, or serve with a sprinkle of flaky salt for a sweet-salty finish.
