Last Updated: August 27, 2025
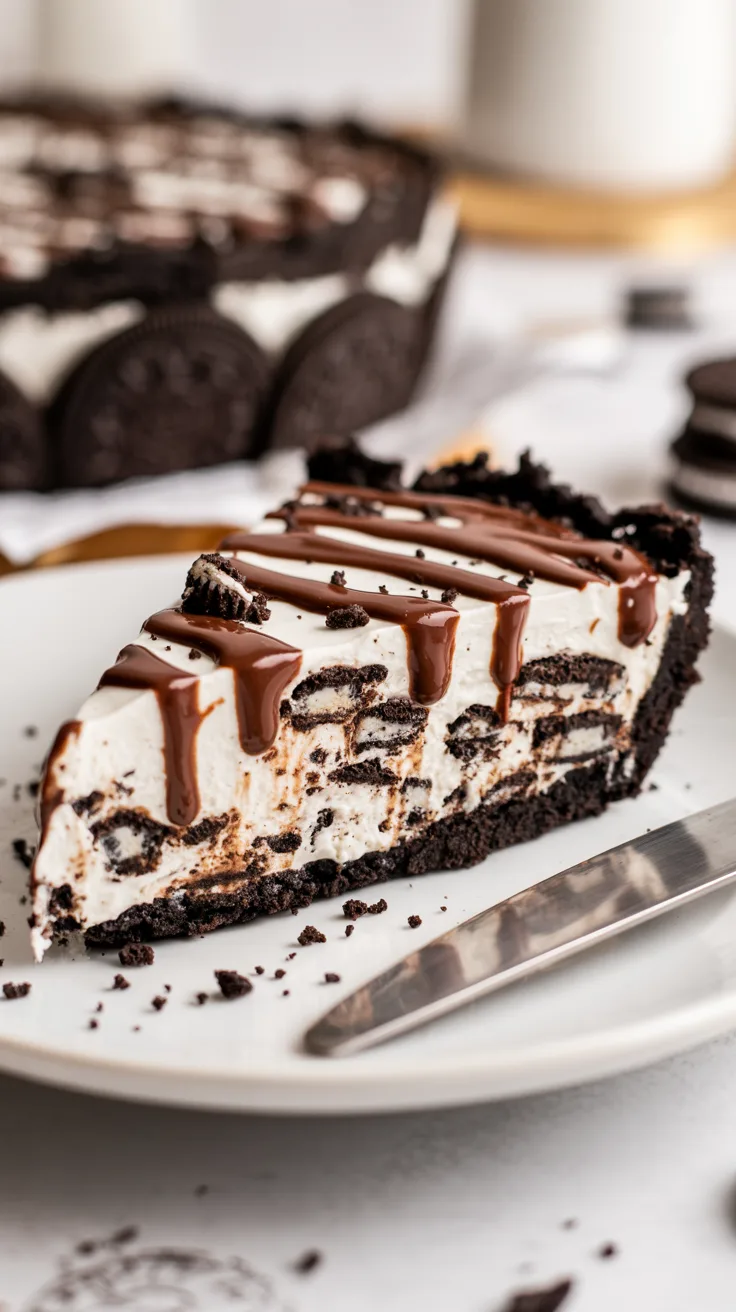
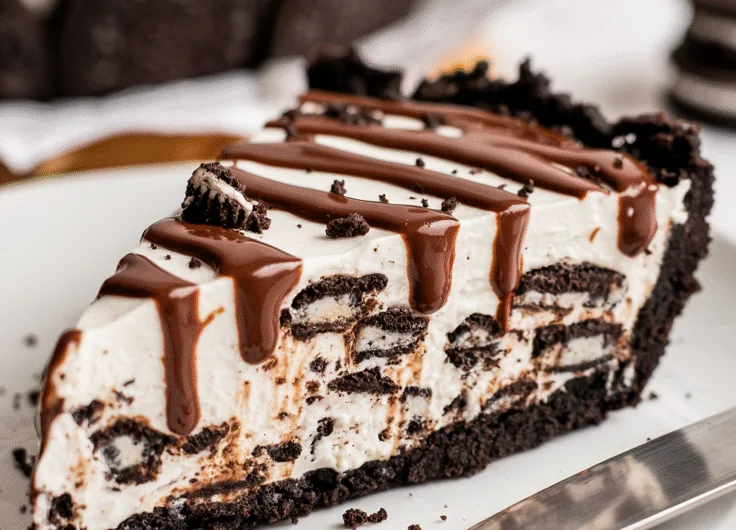
Craving a showstopper dessert that’s impossibly creamy, chocolaty, and requires zero oven time? My No-Bake Oreo Pie is the ultimate fix for hot summer days, busy weeks, or whenever you want a fuss-free treat that delights everyone. Unlike most no-bake pies, this version skips gelatin—so it’s naturally egg-free—and uses a clever cocoa press-in crust that stays crisp for days. The filling is lush, not overly sweet, with a hint of salt to balance the Oreo crunch.
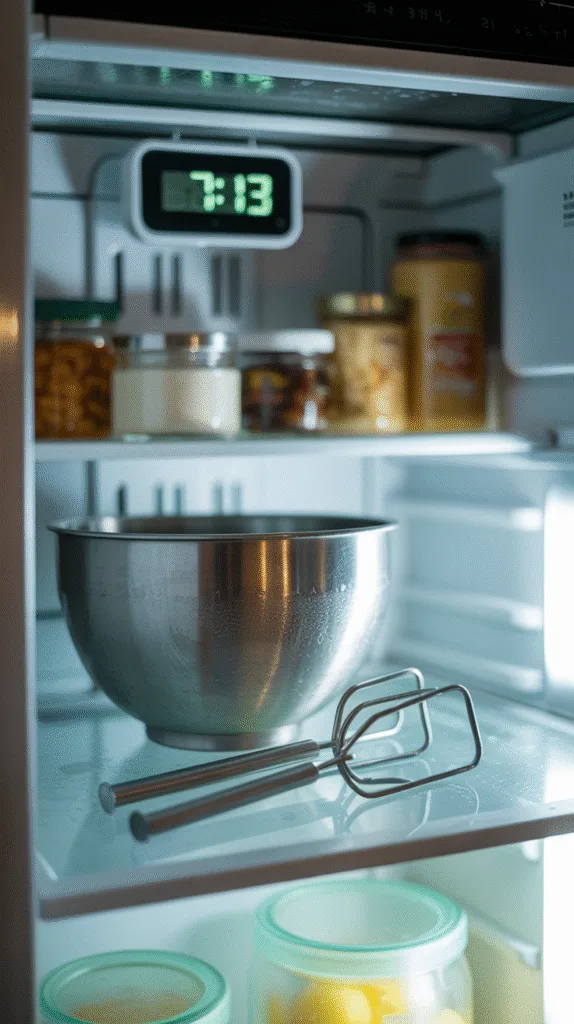
Pro tip: Chill your mixing bowl and beaters before whipping the cream—this one step makes the difference between soft peaks and a stable, sliceable filling. Promise: you’ll get a silky-smooth, perfectly set pie that slices cleanly and wows guests every time.
Why This Recipe Works
No-bake desserts rely on smart ingredient ratios and technique to set without heat. Here, crushed Oreos form a sturdy, flavorful base that won’t get soggy, thanks to a touch of cocoa powder and just enough butter to bind. The creamy filling gets its structure from well-whipped heavy cream and cream cheese—the fat and protein in cream cheese help the pie hold its shape without gelatin, while the acidity brightens the overall flavor.
Science note 1: Heavy cream whips best when very cold (4°C/40°F or below); fat crystals are firm, trapping air for maximum volume.
Science note 2: Cocoa in the crust absorbs moisture, preventing sogginess without making the base dry or bitter.
Science note 3: A pinch of salt in both crust and filling enhances chocolate flavor and balances sweetness, a trick learned from professional pastry kitchens.
Ingredients (with Purpose)
- Oreo cookies (regular, with filling) — 300g (about 32–34 cookies) — 10 oz (1 standard pack in India) — Crust base, flavor, and texture
- Unsalted butter, melted — 70g — 5 tbsp — Binds crust, adds richness
- Cocoa powder (natural, unsweetened) — 10g — 2 tbsp — Prevents sogginess, deepens chocolate flavor
- Heavy cream (min 35% fat), chilled — 475ml — 2 cups — Provides lush, stable filling
- Cream cheese (full-fat, brick-style, room temp) — 225g — 8 oz — Adds structure, tang, and creaminess
- Powdered (icing) sugar, sifted — 60g — ½ cup — Sweetens filling without grittiness
- Vanilla extract — 1 tsp — 5ml — Balances flavors
- Fine sea salt — ¼ tsp — Enhances chocolate, balances sweetness
Optional: Mini Oreos or chocolate curls for garnish
Note: Use full-fat dairy for best texture. Low-fat alternatives may cause a soft, weepy filling.
Equipment
- 9-inch (23cm) pie dish or springform pan (metal or glass)
- Food processor (or zip-top bag + rolling pin for crushing cookies)
- Mixing bowls (2 medium, 1 large)
- Electric hand mixer or stand mixer (whisk attachment)
- Rubber spatula
- Measuring cups + kitchen scale
- Spatula for pressing crust
- Plastic wrap or pie cover
Nice-to-have: Offset spatula for smoothing, sieve for sifting cocoa, parchment for easy removal
Step-by-Step Instructions
Step 1: Make the Crust
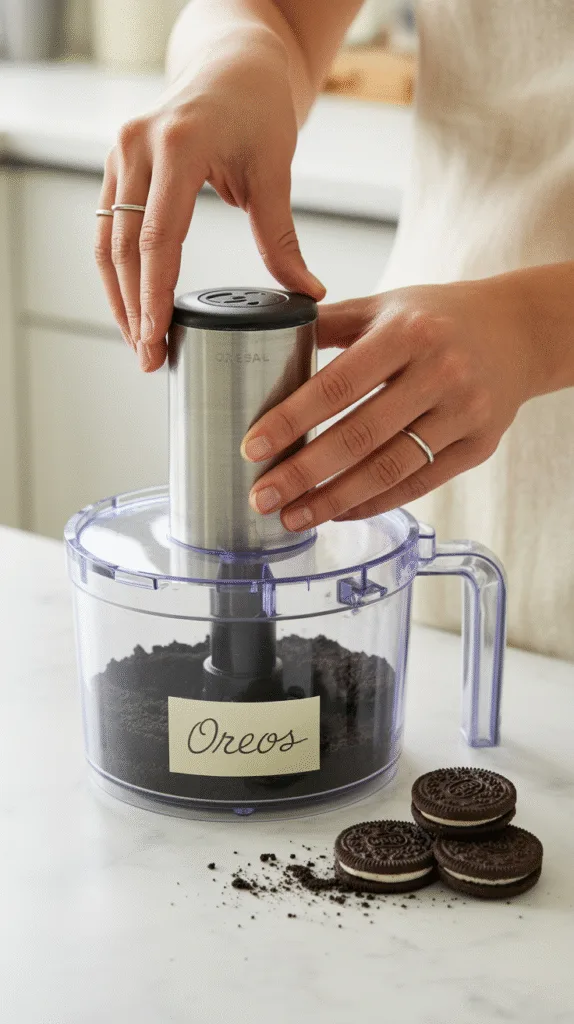
Action: Pulse Oreos (with filling) and cocoa in a food processor until fine crumbs (20–30 sec).
Time: 5 min.
Visual cue: Mixture should look like dark sand, no large chunks. If crushing by hand, aim for uniform crumbs—no bigger than peppercorns.
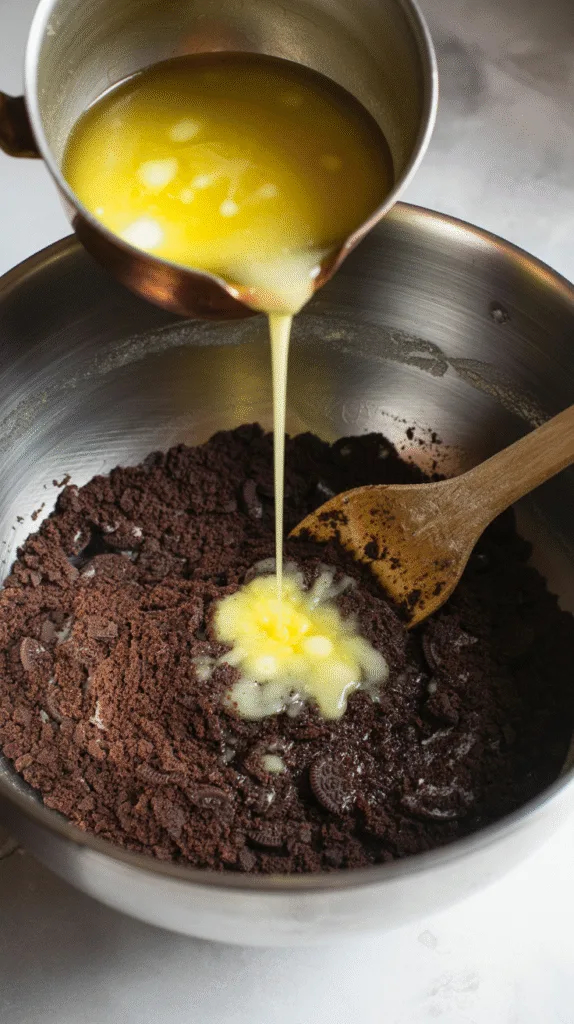
Mix: Pour in melted butter and pulse (or stir) until crumbs are evenly coated and hold together when squeezed.
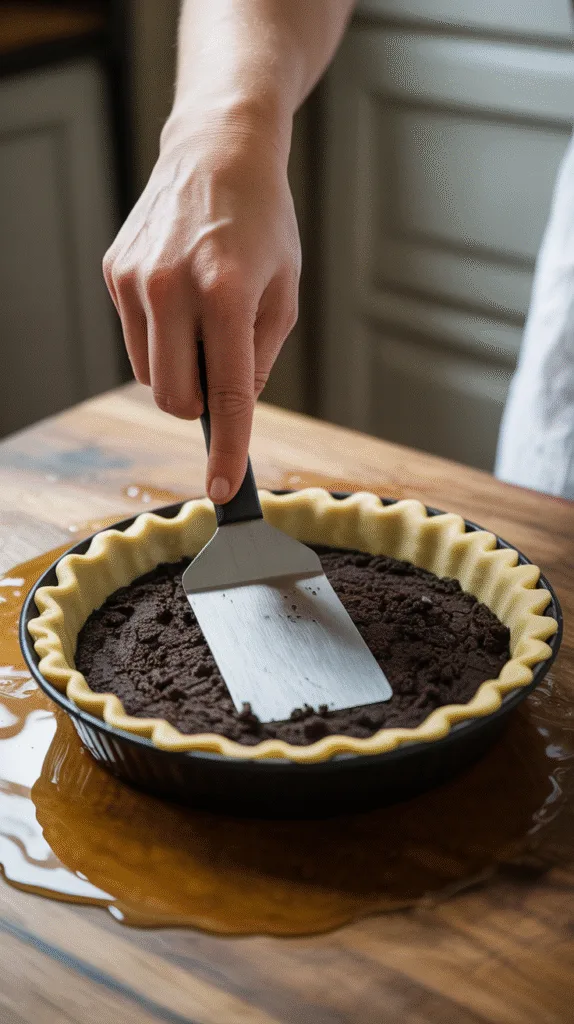
Press: Dump into pie dish. Use a flat-bottomed cup or spatula to press firmly into bottom and up sides (about 3–4mm thick). Ensure even thickness.
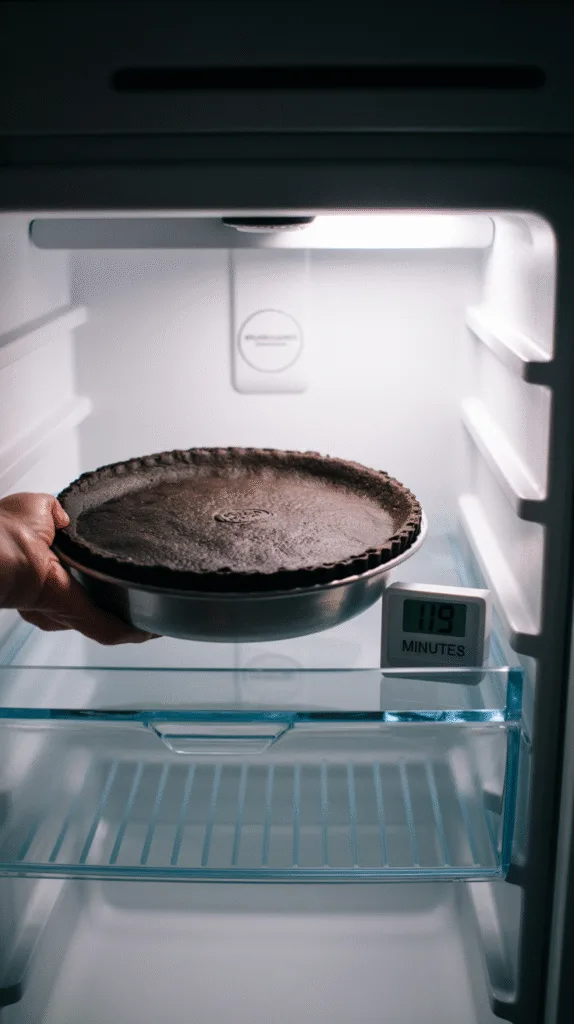
Chill: Freeze crust 15 min to set. Meanwhile, wash and chill your mixing bowl and beaters.
Pro tip: Press the crust firmly—this prevents crumbling when sliced.
**Step 2: Whip the Cream
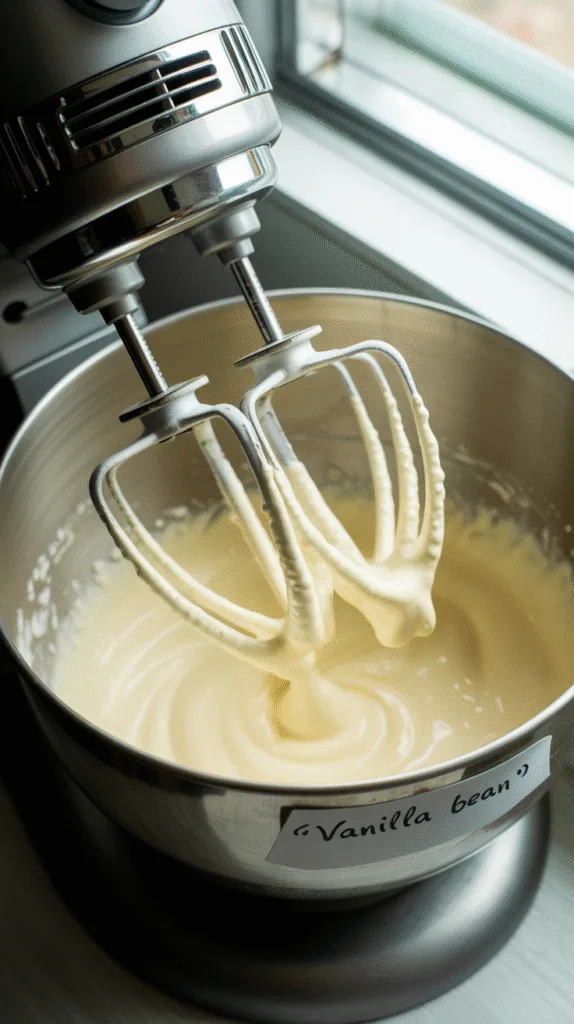
Action: In the chilled bowl, whip heavy cream on medium-high until soft peaks form (2–3 min).
Time: 5 min.
Visual cue: When you lift the beaters, peaks should gently droop. If over-whipped, cream will look grainy or curdled.
Set aside: Transfer to another bowl. No need to wash the mixer bowl.
Step 3: Beat Cream Cheese Mixture
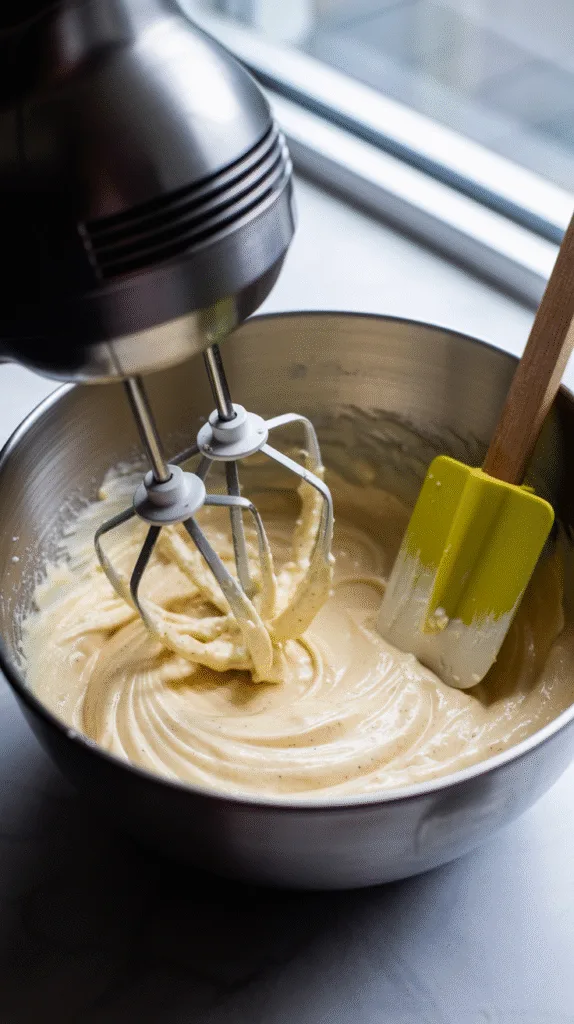
Action: Beat cream cheese, powdered sugar, vanilla, and salt on medium until smooth and no lumps remain (1–2 min).
Time: 5 min.
Visual cue: Mixture should be completely smooth, slightly fluffy, and pale. Scrape bowl well.
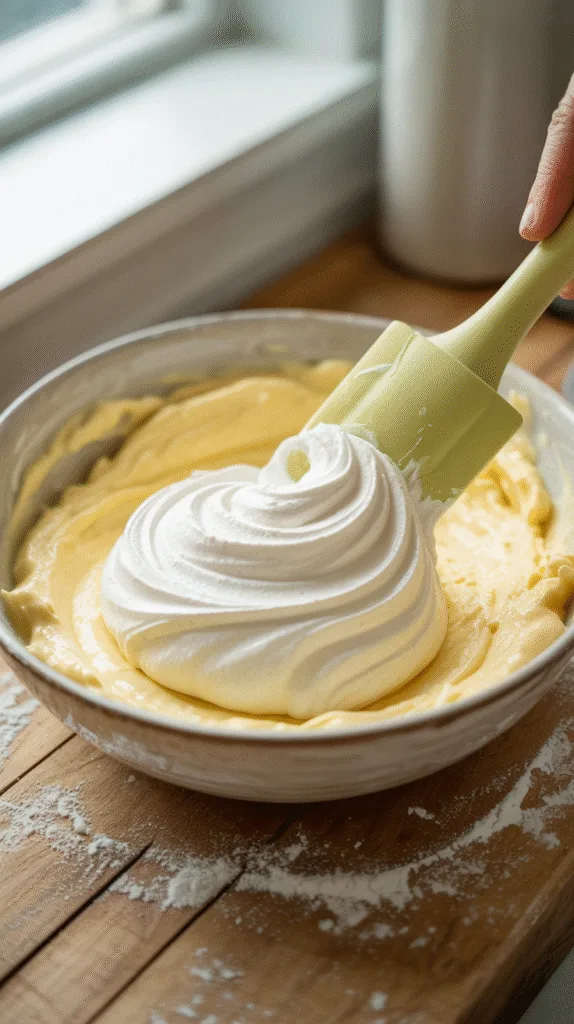
Fold: Gently fold in half the whipped cream to lighten, then add the rest, folding until no streaks remain. Don’t overmix.
**Step 4: Assemble & Chill
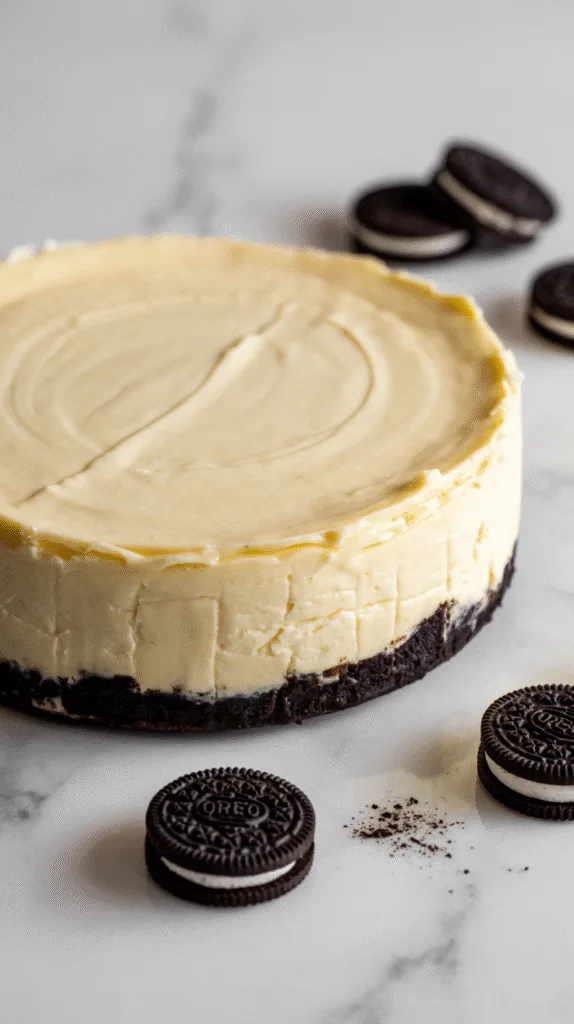
Action: Pour filling into chilled crust, smooth top with spatula.
Time: 2 min.
Garnish: Top with mini Oreos or chocolate curls if desired.
Chill: Cover loosely and refrigerate at least 6 hours (overnight is best for clean slices).
Visual cue: Filling should be thick and hold its shape when spread. If it’s runny, the cream wasn’t whipped enough or the bowl was too warm.
**Step 5: Serve
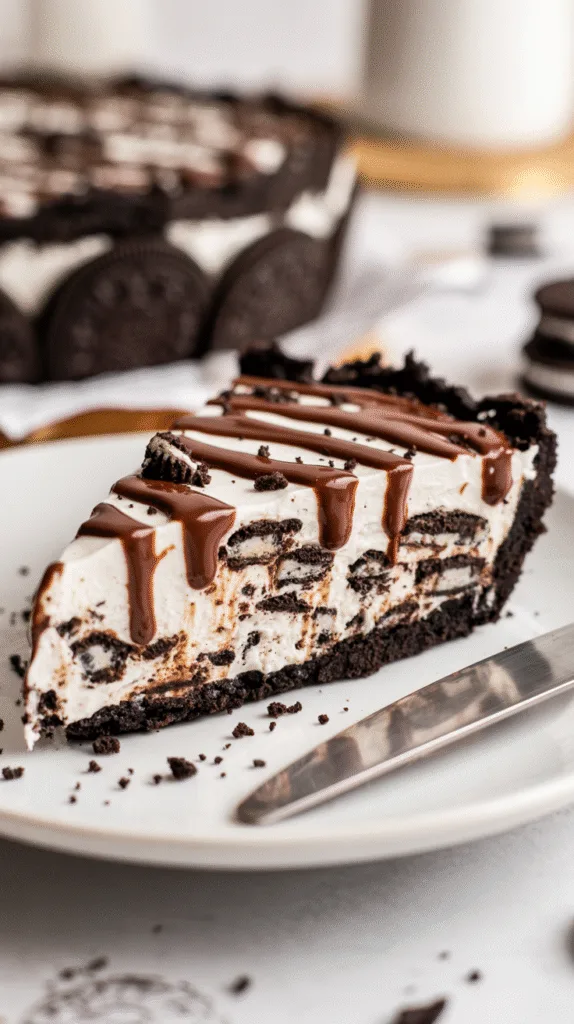
Slice: Use a sharp knife dipped in hot water for clean cuts.
Serve: Straight from the fridge. The filling will be creamy and set, the crust crisp.
Troubleshooting: Common Failures & Fixes
Problem: Crumbly, falling-apart crust
Cause: Not enough butter, uneven pressing, or crumbs too coarse.
Fix: Add 1–2 tbsp more melted butter, press more firmly, grind crumbs finer next time.
Problem: Runny, soft filling
Cause: Cream not whipped enough, cream cheese too warm, or overmixed.
Fix: Chill bowl and cream thoroughly, whip to stiff peaks, mix filling gently.
Problem: Bitter or dry crust
Cause: Too much cocoa, or baker’s cocoa (Dutch process) instead of natural.
Fix: Use natural cocoa powder, stick to the measured amount.
Problem: Filling separates or looks curdled
Cause: Overmixed or ingredients at different temperatures.
Fix: Make sure everything is chilled (cream) or room temp (cream cheese), fold gently.
Problem: Soggy crust after a day
Cause: Pie stored uncovered, or high humidity.
Fix: Cover tightly with plastic wrap, store in coldest part of fridge.
Substitutions & Variations
Dietary swaps:
- Egg-free: Already egg-free!
- Dairy-free: Use vegan cream cheese and coconut cream (chilled, minimum 24% fat). Whip coconut cream as you would dairy—results are similar but slightly coconutty.
- Gluten-free: Use GF sandwich cookies (available in India) and double-check labels.
Flavor swaps:
- Mint: Add ½ tsp peppermint extract to filling.
- Mocha: Mix 1 tbsp instant coffee into cream cheese mixture.
- Peanut butter: Swirl ¼ cup smooth peanut butter into filling.
Scaling:
For a 6-inch pie, halve all ingredients. For a deeper 9-inch, increase filling by 50% (heavy cream to 3 cups, cream cheese to 12 oz), but keep crust the same—just press thicker.
Storage, Make-Ahead & Freezing
Counter: Not recommended (dairy safety).
Fridge: Up to 4 days, covered. Crust stays crisp.
Freezer: Slice and freeze individual portions up to 1 month. Thaw 30–60 min in fridge. Texture remains creamy, crust may soften slightly.
What not to freeze: Avoid freezing the whole pie—slicing is easier before freezing, and texture is best when thawed just until creamy.
Refresh: If crust softens, crisp in a 160°C (325°F) oven for 5 min, then cool.
Serving Suggestions & Pairings
Serve solo for pure Oreo bliss, or pair with a tart berry coulis (raspberry or strawberry) for contrast. A sprinkle of sea salt on top amplifies the chocolate. For a dinner party, offer coffee or a vanilla bean ice cream scoop alongside.
Internal links: Try this with my Small-Batch Chocolate Ganache, 5-Minute Berry Compote, or Whipped Cream Stabilizing Guide for extra flair.
FAQs (Frequently Asked Questions)
Can I replace cream cheese with mascarpone?
Yes, but mascarpone is richer and less tangy. Use the same weight, but expect a denser, softer set. For best texture, add 1 tsp lemon juice to mimic cream cheese’s acidity.
Can I make this pie ahead for a party?
Absolutely! Assemble up to 24 hours in advance—the crust stays crisp, and the filling firms up beautifully. Add garnishes just before serving.
Why is my filling not setting?
Likely, the cream wasn’t whipped enough, or the cream cheese was too soft. Always chill your bowl and cream, and whip until you get firm (but not grainy) peaks. If your kitchen is very warm, place the bowl in the freezer for 10 minutes before starting.
Can I use store-bought whipped cream?
Not recommended for this recipe. Pre-whipped cream is too soft (due to stabilizers) and won’t hold the structure. Fresh heavy cream is essential.
Can I make this in mini jars or as bars?
Yes! Use small jars or a square pan lined with parchment. Press crust as above; layer filling and chill. For bars, freeze before slicing for clean cuts.
How do I prevent the crust from sticking to the pan?
A metal springform pan is easiest to release. For glass or ceramic, line the base with a parchment circle. Once set, run a thin knife around the edge before removing the sides.
Notes From My Kitchen (Sarah’s Testing Log)
Batch 1: Crust was too thick and hard to slice. Reduced crust thickness to 3–4mm for easier cutting. Also, the filling was a bit sweet—cut powdered sugar by 10g.
Batch 2: Tried coconut cream (dairy-free)—whipped nicely, but filling was softer after thawing. Best served same day for DF version. Added ½ tsp salt for depth.
Batch 3: Over-whipped the cream—filling was grainy. Fixed by stopping at stiff peaks and folding gently.
Batch 4: Tested gluten-free cookies—worked perfectly; crust held up well.
Batch 5: Skipped cocoa in crust—ended up too soft after a day. Cocoa is key for structure.
Final: Settled on the above recipe for the best balance of crisp crust, creamy filling, and clean slices. Loved the hint of salt and reduced sugar—guests couldn’t tell it was lighter!
Nutrition & Disclaimer
Per serving (1/10 slice, approx.):
Calories: ~380 kcal
Carbs: 33g | Fat: 26g | Protein: 4g | Sugar: 22g
Values are estimates. Actual nutrition varies by brands and exact portion size. For dairy-free versions, macros will differ. Always check labels for allergens. Store dairy desserts properly and serve chilled for food safety.
Final Tips & Pro Advice
- Chill everything: Bowl, beaters, even your pie plate if your kitchen is warm.
- Press crust evenly: An uneven crust bakes (well, chills) unevenly.
- Taste as you go: Adjust salt and sweetness to your preference—Indian palates often prefer less sugar.
- Slice cold: For picture-perfect pieces, chill the pie overnight and use a hot knife.
- Serve creatively: Offer with a dusting of cocoa, a drizzle of salted caramel, or a handful of toasted nuts.
Conclusion
Whether you’re an experienced baker or just starting out, this No-Bake Oreo Pie is a reliable, impressive crowd-pleaser. It’s endlessly adaptable, easy to make ahead, and perfect for every occasion—birthdays, potlucks, or just because. Trust the process, follow the visual cues, and don’t skip the chill time. You’ll love the creamy, chocolaty results—and so will everyone who tries it.
If you enjoyed this recipe, check out my Eggless Chocolate Mousse, 3-Ingredient Strawberry Icebox Cake, and Foolproof Whipped Cream Guide for more no-bake inspiration.
No-Bake Oreo Pie Recipe
Course: DessertCuisine: InternationalDifficulty: Easy10
servings25
minutes380
kcal6
hours25
minutesChill Time: 6 hours (overnight best)
Creamy, sliceable Oreo pie with a crisp chocolate-cookie crust—no eggs, no oven, no stress. Chilled heavy cream and cream cheese make a rich, stable filling, while a cocoa-kissed Oreo base adds crunch. Perfect for warm days, busy bakers, and Oreo lovers everywhere.
Ingredients
Oreo cookies
300g (about 32–34)
10 oz (1 standard pack)Unsalted butter, melted
70g
5 tbspCocoa powder (natural, unsweetened)
10g
2 tbspHeavy cream (35% fat, chilled)
475ml
2 cupsCream cheese (brick-style, room temp)
225g
8 ozPowdered sugar, sifted
60g
½ cupVanilla extract
5ml
1 tspFine sea salt
1.25ml
¼ tspMini Oreos or chocolate curls (optional garnish)
Directions
- Step 1: Make the Crust
In a food processor, pulse Oreos and cocoa powder to fine crumbs. Pour in melted butter and pulse (or mix by hand) until evenly moist. Press firmly into the pie dish, creating an even 3–4mm layer over the bottom and up the sides. Freeze 15 minutes.
Timing: 10 minutes active + 15 minutes chill. - Step 2: Whip the Cream
Chill a mixing bowl and beaters in the freezer 10 minutes. Whip cold heavy cream on medium-high until soft peaks form, about 2–3 minutes. Set aside.
Timing: 5 minutes, plus chilling time. - Step 3: Beat Cream Cheese Mixture
In a separate bowl, beat cream cheese, powdered sugar, vanilla, and salt until smooth and fluffy, about 1–2 minutes.
Timing: 2 minutes. - Step 4: Assemble & Chill
Gently fold half the whipped cream into the cream cheese mixture to lighten, then fold in the rest until just combined—do not overmix. Pour into the chilled crust, smooth the top, and garnish with mini Oreos or chocolate curls if desired. Cover loosely and refrigerate at least 6 hours, preferably overnight.
Timing: 10 minutes active + 6 hours+ chill. - Step 5: Serve
Slice with a hot, dry knife for clean cuts. Serve cold.
Timing: 2 minutes.
Notes
- Success Cues
Crust: Should be dark, firm, and hold together when pressed (not powdery or greasy).
Cream: Should form soft, glossy peaks—over-whipped cream looks grainy.
Filling: Should be thick, smooth, and hold its shape—not runny or soft.
Slice: Should stand up on its own, with a crisp base and creamy center. - Tips from Sarah’s Kitchen
Chill everything—bowl, beaters, pie plate—for best results.
Press the crust firmly to prevent crumbling.
Don’t overmix after folding in cream—streaks are okay; they’ll disappear.
Slice cold for the cleanest cuts.
Garnish just before serving for a fresh look.
