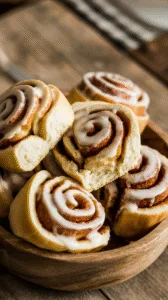
There’s something almost magical about the smell of biscuits baking with golden edges, soft middles, and that quiet nudge to grab the butter before they’ve even cooled. Hi, I’m Sarah, and whether it’s early morning or after a football match, I’ve spent far too much time in my kitchen fine-tuning this recipe. Frankly, most biscuit recipes expect more equipment or experience than most of us have, so I wanted something honest: a method that works in a tiny kitchen, with basic tools, and even for those just getting started.
I’ll admit, not every batch was a winner. There were some dense rounds, a couple overbaked bottoms, and a memorable episode with freezer-burned butter—but eventually, I found a rhythm. You don’t need a stand mixer. In fact, hand-mixing may even be better here, since it keeps you in control. My one real obsession? Cold butter. Not “kind of” cold, but “just-out-of-the-fridge” cold. It’s worth planning ahead for.
Why These Biscuits (Usually) Turn Out Right
The secret, if we can call it that, might just be restraint. Biscuits rely on cold fat (I use unsalted and cut the salt a bit if you’re using salted), which melts as it bakes and pushes the dough apart—those airy pockets are the flaky layers you want. If you overwork the dough, the gluten gets tough, and your biscuits show up to the table with a grudge. There’s a sort of “shaggy” texture you’re after—picture damp sand, not smooth bread dough. Sticky? Don’t panic. A whisper of flour and a gentle hand fix most issues.
I keep baking powder just on the right side of “enough”—too much, and you’re left with a bitter back-note. A pinch of sugar isn’t really for sweetness, but for balance and color. You can skip it if you’re going savory, but I like what it does for the crust.
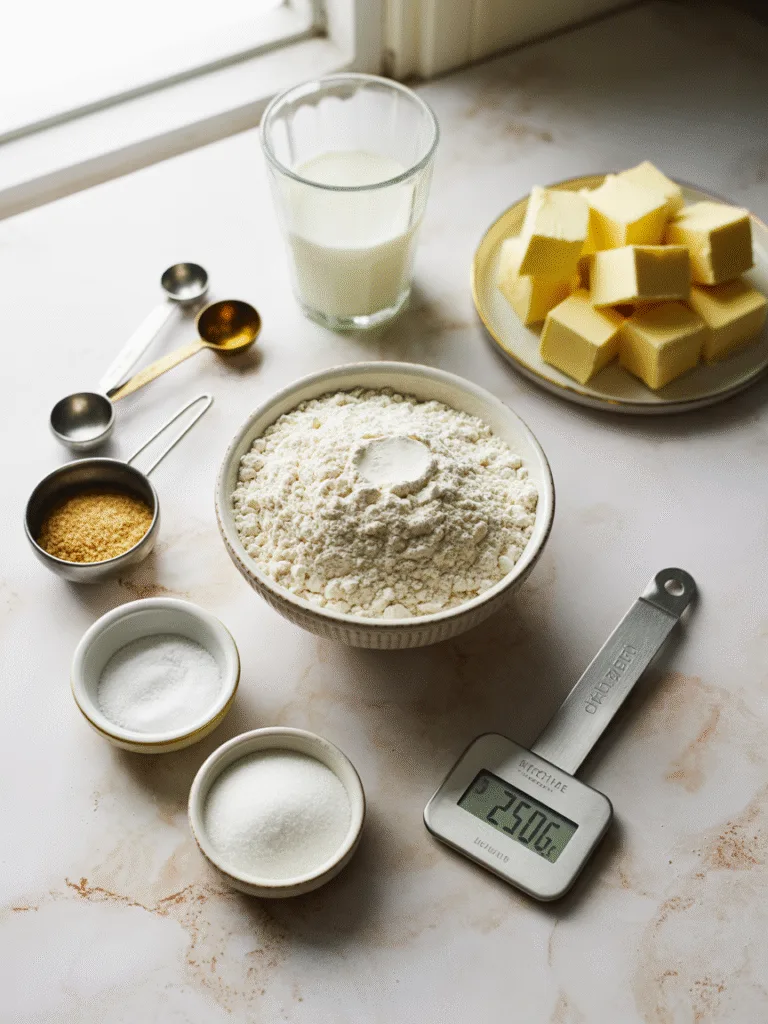
Ingredients
- All-purpose flour: 250g / 2 cups (structure, but don’t overpack)
- Baking powder: 15g / 1 tbsp (for lift, but check the expiry; my first flat batch taught me that lesson)
- Salt: 5g / 1 tsp (less if your butter’s salted—taste as you mix)
- Sugar: 10g / 2 tsp (optional, but I usually add it)
- Unsalted butter: 115g / ½ cup (cold, cubed)
- Whole milk: 240g / 1 cup (any milk will do, but whole gives the plush texture I like)
Equipment
- Large bowl (metal or glass is fine)
- Fork, pastry cutter, or your fingers (I’ve used all three, and fingers honestly give good control)
- Baking sheet (lined if you care about cleanup)
- Ruler or something straight (for even cutting; a knife works, but I like the precision)
- Oven or OTG (an oven thermometer is a game-changer if yours runs hot)
- Kitchen scale (not strictly necessary, but I weigh everything—less guesswork)
Nice-to-haves: bench scraper (for gathering the dough), pastry brush (for milk wash), parchment (ease of lifting), and a cup of tea (completely optional, but highly recommended).
Step-by-Step, With Notes From My Notebook
Step 1: Mix Dry Ingredients
Whisk together flour, baking powder, salt, and sugar. No need to get fussy—just make sure it’s even. I’ve found that clumps of baking powder can lead to those unpleasant bitter bites.

Step 2: Cut in the Butter
Drop in cold, cubed butter and start breaking it up. Don’t warm up the bowl with your hands—if your kitchen’s hot, stick everything in the freezer for five minutes. You want pea-sized bits of butter, not a paste. Sometimes I even freeze the butter, then grate it in. Not essential, but it works.

Step 3: Add the Milk
Pour in cold milk, mix until it just holds together. The dough should be sticky and shaggy—not pretty, but the less you mess with it, the better. If it’s really clinging to your hands, a tiny dusting of flour helps.

Step 4: Shape and Cut
Turn it out onto a floured surface, pat it into a rectangle about ¾ inch thick, and fold it over itself a few times—three to five folds is about right, but don’t obsess. Cut into squares or circles. I like squares for less waste, but rounds have that classic look.

Step 5: Bake
Line them up on a tray, brush the tops with milk if you like, and bake at 220°C (425°F) on the middle rack for 12–15 minutes. They should be golden and sound hollow when you tap the bottom. Some ovens are sneaky—if yours runs hot, check a couple minutes early.

Troubleshooting: What I’ve Learned the Hard Way
| Problem | Likely Culprit | Try This Next Time |
|---|---|---|
| Dense, tough | Overmixed or warm butter | Mix less, chill the bowl |
| Flat, no rise | Old baking powder, not enough leavener | Check the expiry, weigh it |
| Soggy bottom | Oven too cool, pan on a low rack | Preheat fully, use middle rack |
| Dry, crumbly | Too much flour, baked too long | Weigh the flour, shorten bake time |
| Burnt edges | Oven too hot or uneven | Get an oven thermometer |
| Bitter taste | Too much baking powder, uneven mix | Weigh leavener, whisk dry mix |
Swaps and Twists
- Dairy-free: Coconut oil and almond milk work, but the texture’s a bit more cakey.
- Gluten-free: 1:1 flour blend—add xanthan gum if your mix doesn’t have it.
- Flavor ideas: Throw in some fresh herbs, garlic powder, or grated cheese for savory bites. Want them sweeter? Add a bit more sugar or a splash of vanilla or citrus zest.
Scaling: Double or halve as needed, but mix in batches to avoid overworking the dough.
Storage
Best eaten same-day, but you can keep them in an airtight container for a day or two. Warm them in the oven for a few minutes and they’ll feel almost like new. Freeze unbaked dough and bake directly from frozen, adding a couple minutes. Baked biscuits don’t freeze well—they lose that special something.
Serving
Honestly, I rarely get past slathering them with butter. But they’re great with soup, gravy, or jam if you’re feeling fancy. I’ve even used them for breakfast sandwiches—shh, don’t tell the purists.
Notes From My Kitchen
Dense, but not bad with plenty of jam.
Tried frozen grated butter—flaky, but tricky to mix.
Half whole wheat—better for savory, a little tough plain.
Ghee works, especially if butter’s hard to find, and brings a deeper flavor.
Final method: Cold butter, gentle folds, minimal mixing. OTG at 220°C is my go-to.
Nutrition: Per biscuit (1/8 batch), roughly 220 calories, 12g fat, 24g carbs, 4g protein—but this stuff varies by brand, so take it as a guide.
FAQs
- Can I use oil? Yes, but the texture changes—you get soft, cakey layers instead of flaky. It’s edible, just different.
- Why did they spread too much? Dough probably got too warm. Chill them before baking if your kitchen’s hot.
- OTG or stovetop? OTG is best, but I’ve done stovetop in a pinch—low heat, cover, and flip. Texture’s not the same, but it works.
- How to double? Double all, but mix in two batches to avoid overmixing.
- Why sugar if they’re savory? Just for browning and balance—leave it out if you prefer.
Perfect Homemade Biscuit Recipe for Small Kitchens
Course: Breakfast, SnacksCuisine: AmericanDifficulty: Easy8
servings15
minutes15
minutes220
kcal30
minutesThese easy, foolproof biscuits rise tall, bake up golden and crisp on the outside, and stay tender inside. My method uses simple kitchen tools, minimal mixing, and real-testing tips so you get flaky buttery biscuits every time—without a stand mixer. You can make them savory or slightly sweet, and I’ll show you how to freeze the dough for future baking.
Ingredients
250g/2 cups all-purpose flour
15g/1 tablespoon baking powder
5g/1 teaspoon salt
10g/2 teaspoons granulated sugar
115g/½ cup (1 stick) very cold unsalted butter, cubed (in India, Amul salted butter works—reduce added salt to ½ teaspoon)
240ml/1 cup cold whole milk (or use chilled plant milk for dairy-free biscuits)
Directions
- Step 1: Mix Dry Ingredients
Whisk together flour, baking powder, salt, and sugar in a large bowl until evenly blended—no streaks should remain. - Step 2: Cut in Butter
Add the very cold, cubed butter. Use a pastry cutter, fork, or your fingertips to work the butter into the flour until the mixture looks like coarse crumbs with some pea-sized butter bits. Do this quickly to keep the butter from warming. - Step 3: Add Milk
Make a well in the center and pour in the cold milk. Gently stir with a fork just until the dough comes together—it will look shaggy and a little sticky. - Step 4: Shape and Cut
Turn the dough out onto a lightly floured surface. Gently pat into a rectangle about 2 cm (¾ inch) thick. Fold the dough over itself 3–5 times, pressing lightly each time, to build layers. Cut into 8 squares/rectangles (or use a round cutter for classic rounds). Don’t twist the cutter; press straight down. - Step 5: Bake
Place the biscuits close together (but not touching) on a lined baking sheet. Optionally brush the tops with milk for extra browning. Bake in a preheated 220°C (425°F) oven or OTG on the middle rack for 12–15 minutes, until golden brown on top and hollow-sounding when tapped underneath. For extra precision, an instant-read thermometer inserted into a biscuit should read about 95°C (203°F).
Notes
- Troubleshooting
Dense, tough biscuits: Overmixed the dough or let butter get too warm.
Flat biscuits: Old baking powder or not enough leavening.
Soggy bottoms: Oven too cool or pan on the lower rack.
Dry, crumbly: Added too much flour or overbaked.
Bitter aftertaste: Too much baking powder or it wasn’t mixed in well.
Burnt edges: Oven runs hot—use an oven thermometer to double-check. - Variations
Cheesy: Add 30g/¼ cup grated cheddar or processed cheese.
Herbed: Add 1 tablespoon fresh chopped herbs or garlic powder.
Sweet: Increase sugar to 25g/2 tablespoons and add 1 teaspoon vanilla extract.
Cheese & Herb: Combine cheese and herbs for a savory snack.