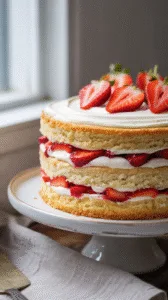
Boston Cream Pie looks fancy, but it’s secretly a very doable home-baker dessert. You’ll end up with two soft vanilla sponge layers, a silky pastry cream that actually sets, and a glossy chocolate glaze that slices cleanly instead of cracking. No stand mixer, no weird ingredients, no pastry-school stress.
This recipe is designed for beginner to intermediate home bakers, baked in a regular oven or OTG, using a whisk or hand mixer. If you follow the visual cues and temperatures, you’ll get a cake that’s light but sturdy, creamy without being runny, and balanced—not overly sweet.
Pro tip: The real secret isn’t the cake—it’s letting the pastry cream cool completely before assembly. Warm custard = sliding layers.
Why this recipe works (the baking science)
Boston Cream Pie is all about contrast: airy cake, rich cream, snappy chocolate. Each component is tuned so they support each other instead of fighting gravity.
- Oil-based sponge stays moist.
Using neutral oil instead of butter keeps the crumb soft even after refrigeration (butter firms up when cold; oil doesn’t). - Cornstarch-thickened pastry cream sets cleanly.
A small amount of cornstarch stabilizes the custard so it slices neatly without tasting starchy. Eggs alone would be softer and looser. - Chocolate glaze uses cream, not butter.
Warm cream emulsifies with chocolate, creating a glaze that stays glossy and flexible instead of cracking on the cake. - Room-temperature eggs = better structure.
Eggs at ~20–22°C emulsify more smoothly, trapping air evenly for a finer crumb. Cold eggs = dense layers.
Ingredients (with weights & purpose)
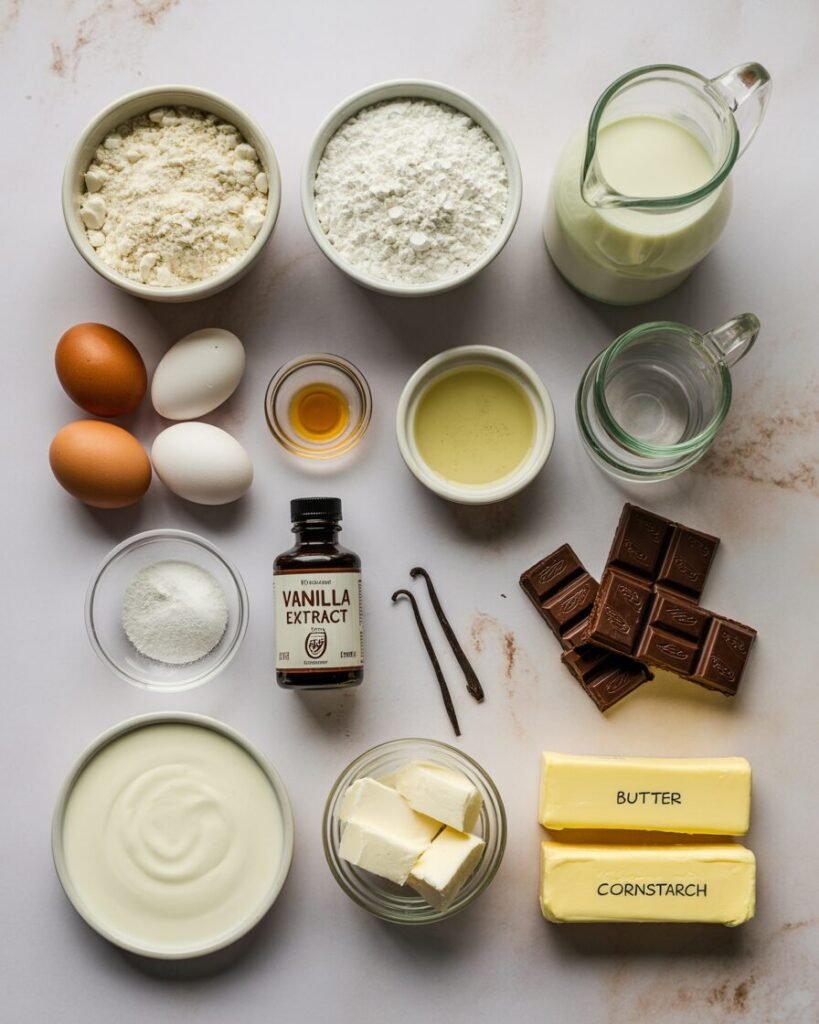
Vanilla sponge (2 layers)
- All-purpose flour — 180 g (1½ cups) — structure
- Granulated sugar — 150 g (¾ cup) — sweetness & moisture
- Baking powder — 6 g (1½ tsp) — lift
- Salt — 3 g (½ tsp) — balance
- Eggs, room temp — 3 large (150 g without shells) — structure & richness
- Neutral oil — 90 g (⅓ cup) — moisture
- Milk — 120 g (½ cup) — hydration
- Vanilla extract — 2 tsp — flavor
Pastry cream
- Milk — 500 g (2 cups) — base
- Egg yolks — 4 — richness
- Sugar — 100 g (½ cup) — sweetness
- Cornstarch — 30 g (¼ cup) — thickening
- Butter — 25 g (2 tbsp) — silkiness
- Vanilla — 2 tsp — flavor
Chocolate glaze
- Dark chocolate (55–65%) — 120 g — flavor
- Heavy cream — 120 g (½ cup) — smooth glaze
Equipment
Required:
- Two 8-inch (20 cm) round pans
- Whisk or hand mixer
- Saucepan
- Digital scale
- Oven or OTG
Nice to have:
- Parchment circles
- Offset spatula
- Instant-read thermometer
Step-by-step instructions
1. Bake the sponge
- Preheat oven to 170°C / 340°F, middle rack. Line pans.
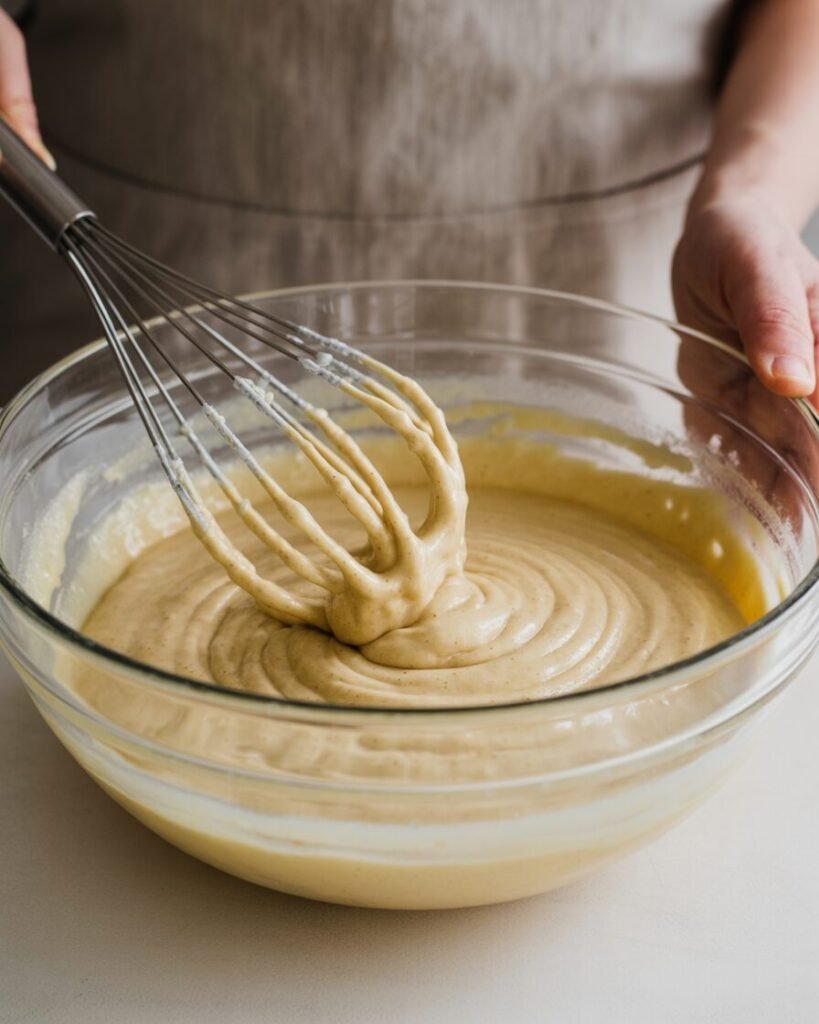
- Whisk eggs + sugar 2–3 min until pale and slightly thick.
Visual cue: Batter falls in ribbons that sit for 3–4 seconds. - Whisk in oil, milk, vanilla.
- Sift flour, baking powder, salt; fold gently.
- Divide batter evenly.
- Bake 28–32 min.
Doneness: Top springs back; internal temp 96–98°C (205–208°F). - Cool 10 min, then unmold and cool fully.
2. Make pastry cream
- Heat milk until steaming, not boiling.
- Whisk yolks, sugar, cornstarch until smooth.
- Slowly pour hot milk into yolks while whisking.
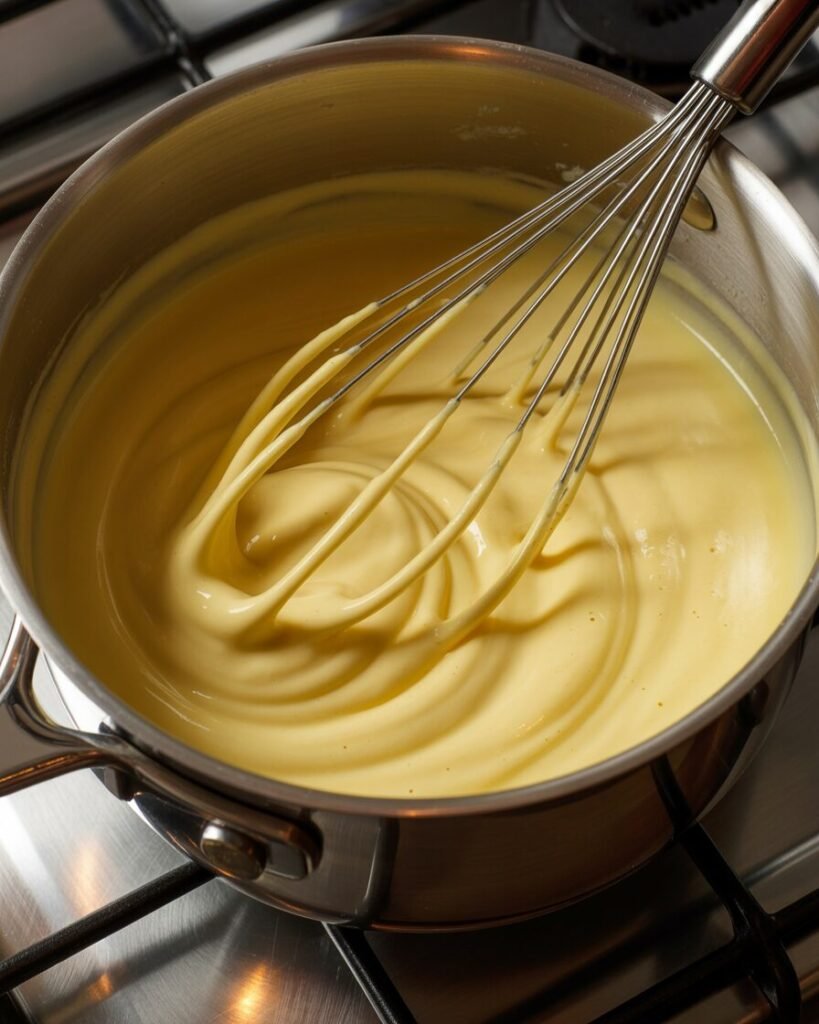
- Return to pan; cook on medium, whisking 2–3 min.
Visual cue: Thick bubbles like lava; whisk leaves clear trails. - Remove from heat; stir in butter + vanilla.
- Press plastic wrap directly on surface. Chill 1–2 hours.
3. Chocolate glaze
- Heat cream until just simmering.
- Pour over chopped chocolate. Rest 1 min, then stir smooth.
Correct texture: Thick but pourable, like warm honey.
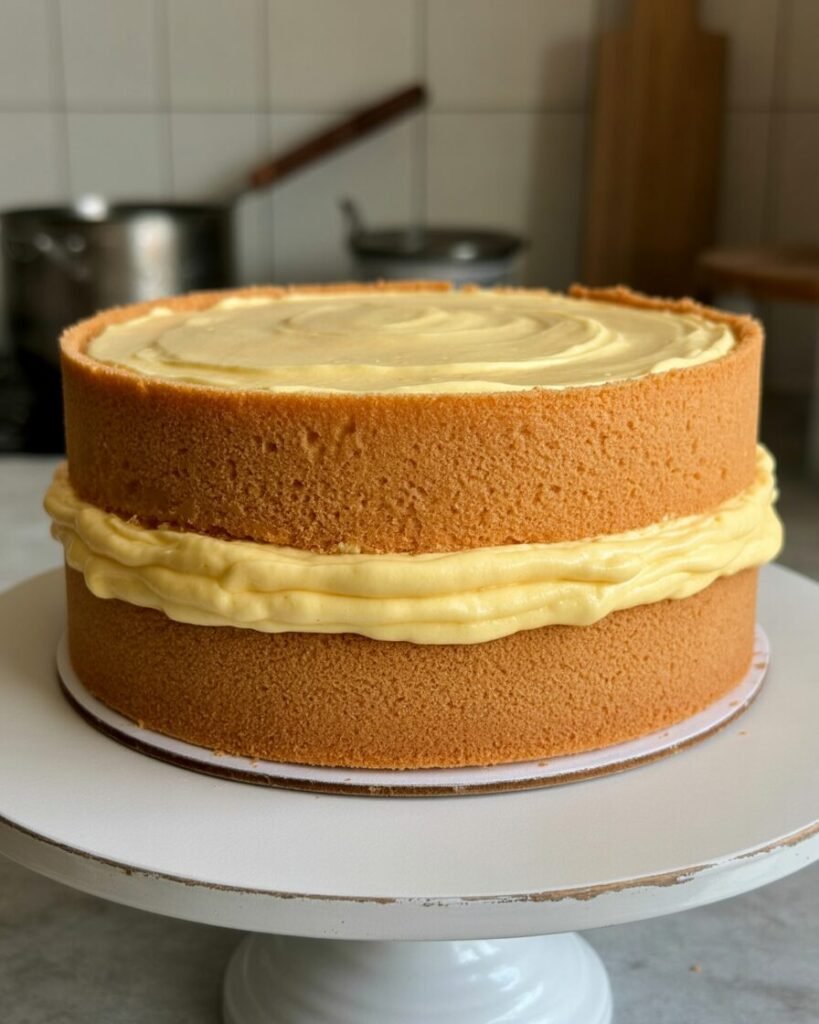
4. Assemble
- Place one cake layer on plate.
- Spread all pastry cream evenly, stopping 1 cm from edge.
- Top with second layer.
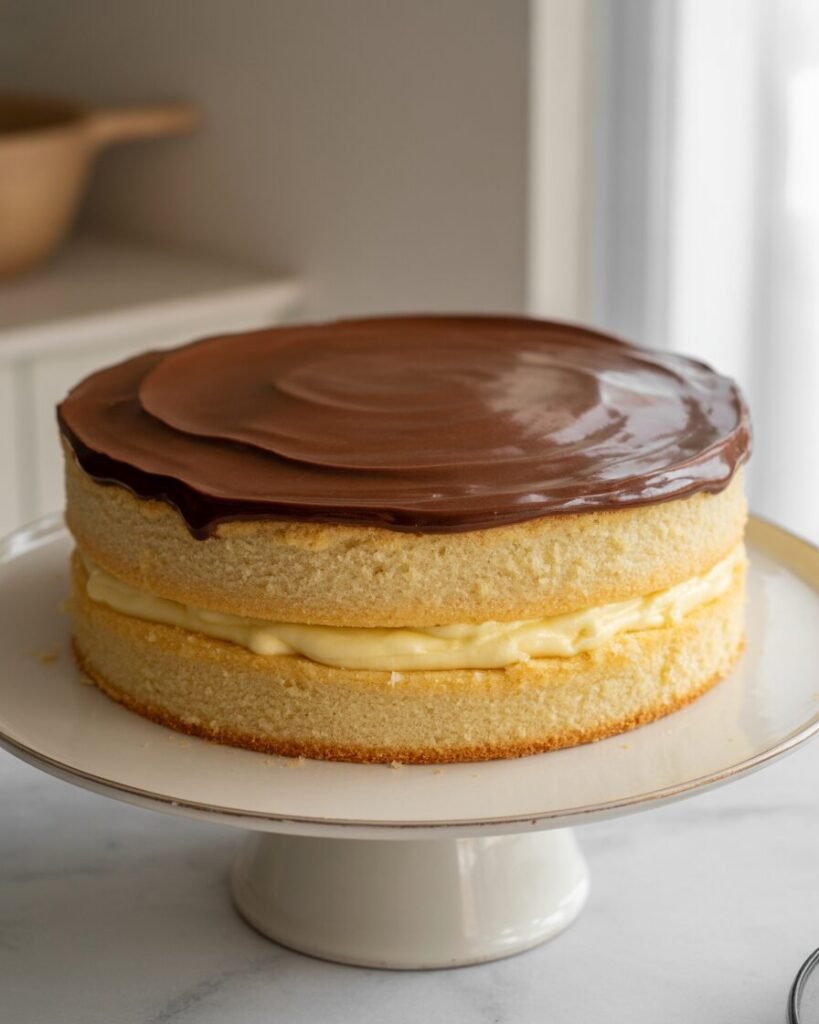
- Pour glaze in center; gently push toward edges.
- Set 20–30 min before slicing.
Troubleshooting (common failures & fixes)
- Cake sinks: underbaked → bake to temp, not just color
- Dense crumb: overmixed batter → fold just until combined
- Runny cream: undercooked custard → boil 30 sec longer
- Creamy but gummy: too much cornstarch → reduce by 5 g
- Cracked glaze: chocolate too hot → let cream cool 30 sec
- Sliding layers: cream not chilled → always assemble cold
Substitutions & variations
Dietary swaps
- Egg-free cake: Replace eggs with 180 g thick yogurt + ½ tsp baking soda (texture is denser).
- Dairy-free: Use soy milk for custard + coconut cream for glaze.
- Gluten-free: 1:1 GF flour blend; add ¼ tsp xanthan gum if blend lacks it.
Flavor ideas
- Add orange zest to pastry cream
- Swap glaze for coffee-infused chocolate
- Add ½ tsp cinnamon to sponge for warmth
Scaling
- 6-inch pans: Multiply all ingredients by 0.65
- Cupcakes: Makes 12, bake 18–20 min
Storage & make-ahead
- Counter: 1 day (cool room only)
- Fridge: 3 days, covered
- Freezer: Freeze cake layers only, up to 2 months
Do not freeze assembled cake—custard breaks when thawed.
FAQs
Can I use butter instead of oil?
Yes, but cake will firm up in the fridge. Oil keeps it softer.
Why is my custard grainy?
Heat was too high. Whisk constantly and remove as soon as thick.
Can I halve the recipe?
Yes—use one 8-inch pan and slice horizontally.
Can I bake this in an OTG?
Absolutely. Use middle rack, same temp, and rotate once.
Notes from my kitchen (testing log)
- Batch 1: Butter cake—too firm cold. Switched to oil.
- Batch 2: No cornstarch—cream slid. Added 30 g.
- Batch 3: Higher sugar—too sweet. Reduced to 150 g.
- Final: Oil sponge + starch-set cream = clean slices, stable layers.
Conclusion: Bringing it all together
Boston Cream Pie doesn’t need shortcuts or gimmicks—just good ratios, patience, and attention to texture. Once you understand why each step matters, this becomes a reliable go-to celebration cake that feels classic but never boring.
If you’re baking for guests, birthdays, or just because you want a bakery-style dessert at home, this recipe delivers confidence along with flavor. Chill the cream, trust the visual cues, and don’t rush the glaze—and you’ll nail it on the first try.