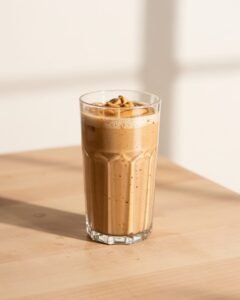
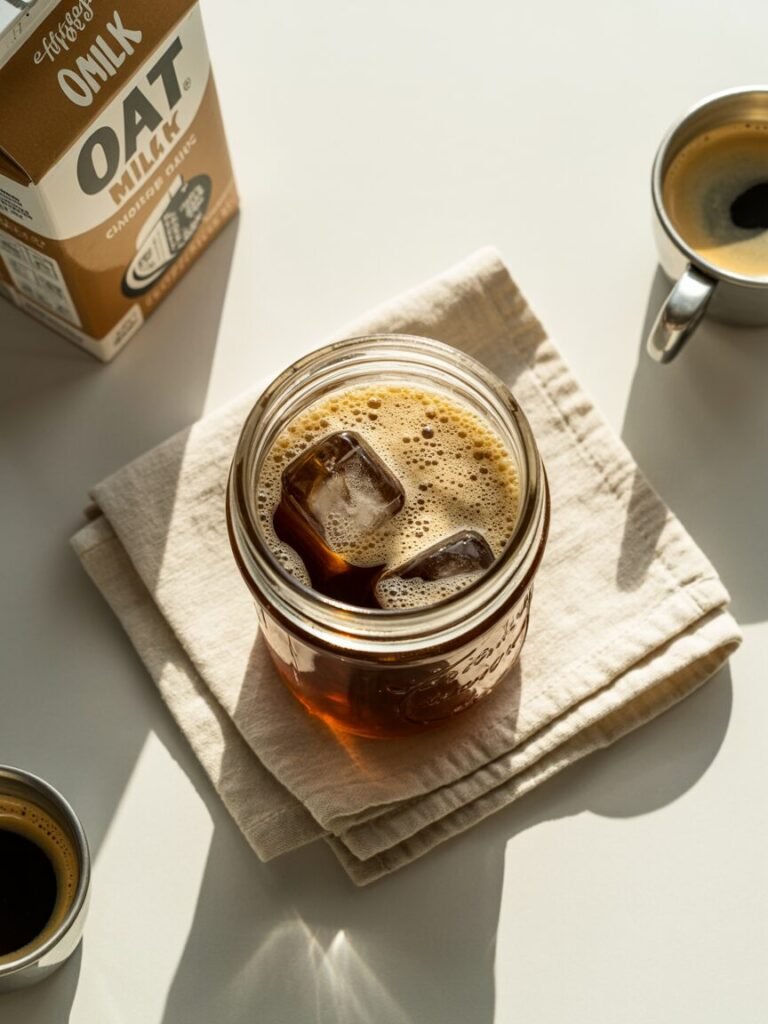
If you’re craving a creamy, coffee-shop-style shaken espresso at home but want something with a cozy twist and a hint of sweetness, this Brown Sugar Oatmilk Shaken Espresso is your answer. Made with just a few pantry staples, this recipe delivers a rich, velvety espresso shot with a smooth oatmilk foam and a deep caramel note from brown sugar. The result? A balanced, lightly sweet drink that’s perfect for mornings or afternoon pick-me-ups. My pro tip: shake the mixture vigorously for 30 seconds to create the fluffiest foam without a fancy milk frother.
Why This Recipe Works
This shaken espresso recipe stands out because it uses brown sugar instead of white, which adds a subtle molasses depth and helps stabilize the foam. Oatmilk is chosen for its creaminess and natural sweetness, making it a great dairy-free option that still froths beautifully. The key to a good shaken espresso is the ratio of espresso to milk and the temperature of the milk. Cold milk froths better, and the agitation from shaking emulsifies the fats and sugars, creating a silky, stable foam. The acidity in espresso also interacts with the sugars, balancing the overall flavor profile.
Ingredients (with Purpose)
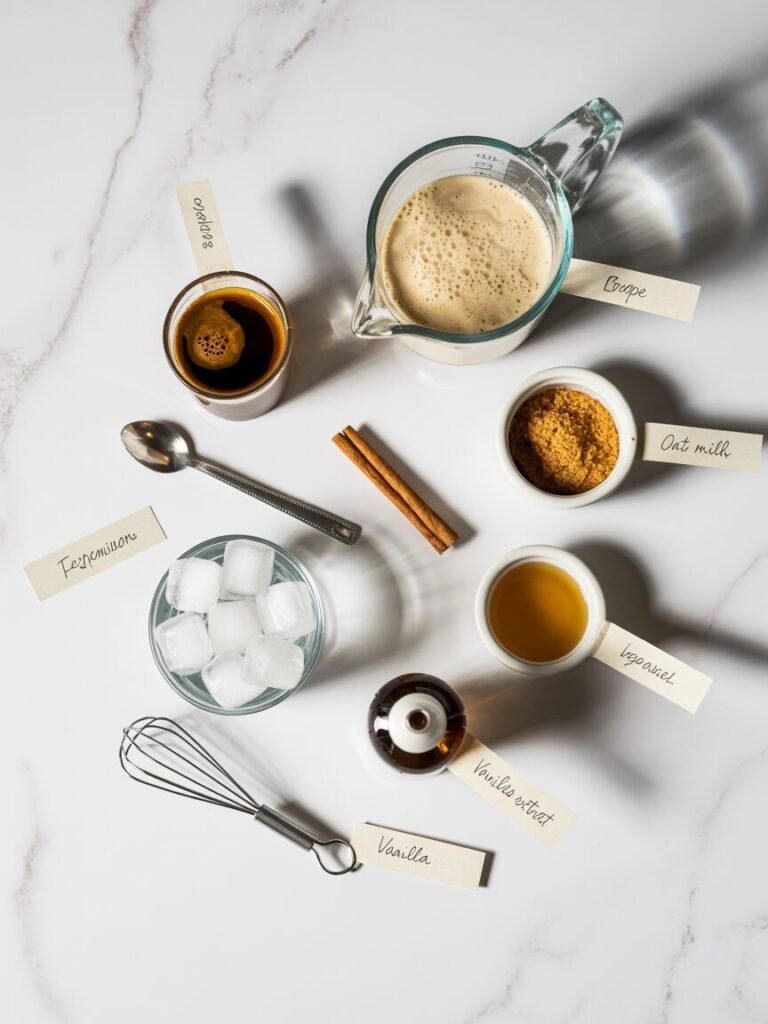
- Espresso (freshly brewed) — 60g (2 oz) — Provides the coffee base and caffeine kick. Use a double shot or strong coffee for best results.
- Oatmilk (cold, unsweetened or lightly sweetened) — 120g (½ cup) — Adds creaminess and froths well; choose barista-style for best foam.
- Brown sugar (light or dark, finely granulated) — 10g (1 tbsp) — Sweetens and stabilizes the foam; dark brown adds more molasses flavor.
- Ice cubes — 100g (about 1 cup) — Cools the drink and helps create foam during shaking.
Equipment
- Espresso machine or Moka pot (for brewing espresso)
- Mason jar or cocktail shaker (with tight lid)
- Scale (for accurate weights)
- Measuring spoons/cups
- Fine mesh strainer (optional, for smoother texture)
Step-by-Step Instructions
Step 1: Brew Espresso
Brew 60g (2 oz) of espresso. Let it cool slightly for 1–2 minutes.
Visual cue: The espresso should be dark and aromatic, not watery.
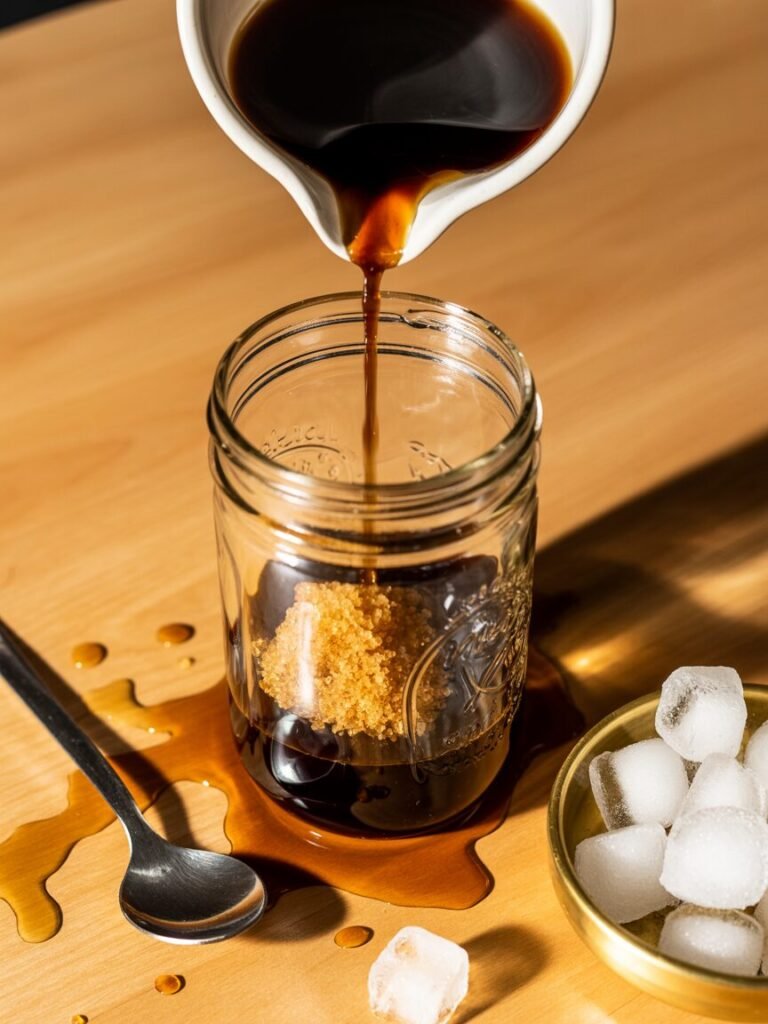
Step 2: Combine Ingredients
Add espresso, oatmilk, and brown sugar to a shaker or mason jar.
Visual cue: The mixture should be a uniform brown, with sugar dissolving quickly.
Step 3: Shake Vigorously
Seal the shaker and shake for 30 seconds.
Visual cue: The mixture should become frothy, with small bubbles forming on the surface.
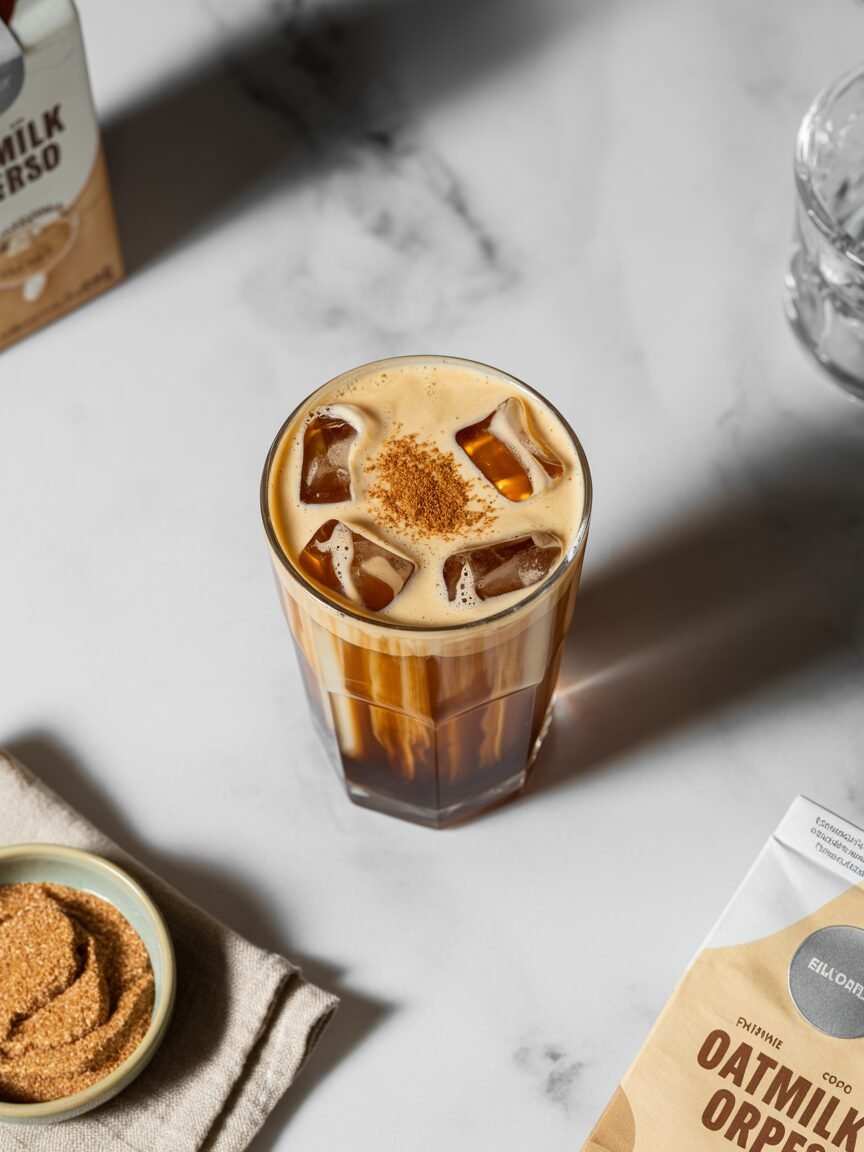
Step 4: Strain and Serve
Pour over ice and serve immediately.
Visual cue: The drink should have a thick, creamy foam layer on top.

Troubleshooting: Common Failures and Fixes
- Problem: Foam is thin or disappears quickly
Likely causes: Milk is too warm, not shaken enough, or using low-fat oatmilk.
Fix: Use cold milk, shake for 30 seconds, and choose barista oatmilk. - Problem: Drink is too bitter
Likely causes: Over-extracted espresso or too much espresso.
Fix: Use a balanced espresso shot and adjust ratio to 1:2 espresso to milk. - Problem: Sugar doesn’t dissolve
Likely causes: Sugar is coarse or not shaken enough.
Fix: Use finely granulated sugar and shake until no granules remain. - Problem: Drink is too sweet
Likely causes: Too much sugar or using sweetened oatmilk.
Fix: Reduce sugar to 5g (½ tbsp) and use unsweetened oatmilk.
Substitutions and Variations
- Dairy-free: Already dairy-free with oatmilk. Almond or soy milk can work, but foam may be less stable.
- Gluten-free: All ingredients are naturally gluten-free.
- Egg-free: No eggs needed.
- Flavor swaps: Add a pinch of cinnamon or vanilla extract for extra warmth.
- Scaling:
- 1 serving: 60g espresso, 120g oatmilk, 10g brown sugar
- 2 servings: 120g espresso, 240g oatmilk, 20g brown sugar
Storage, Make-Ahead, and Freezing
- Counter: Not recommended; best served fresh.
- Fridge: Can store espresso and oatmilk separately for up to 2 days. Shake before serving.
- Freezer: Not recommended; foam and texture will not survive freezing.
- What not to freeze: Oatmilk foam and shaken espresso, as texture will break down.
Serving Suggestions and Pairing Ideas
Pair with a buttery croissant or a slice of banana bread for a balanced breakfast. For dessert, serve alongside a chocolate chip cookie or a slice of apple pie. The drink’s sweetness pairs well with slightly tart or nutty flavors.
FAQs
- Can I use regular sugar instead of brown sugar?
Yes, but brown sugar gives a richer, caramel-like flavor and helps foam stability. - How to prevent the foam from collapsing?
Use cold milk, shake vigorously, and serve immediately. - Can I make this with instant coffee?
Yes, but use a strong brew (1 tbsp instant coffee in 60g hot water) for best results. - How to double the recipe?
Simply double all ingredients and use a larger shaker or jar. - Best oatmilk for foam?
Barista-style oatmilk froths best due to added oils and stabilizers. - How to make this in an air fryer/OTG?
Not applicable; this is a shaken espresso, not a baked item.
Notes from My Kitchen (First-Hand Testing Log)
- Batch 1: Used regular oatmilk and white sugar. Foam was thin and disappeared quickly. Adjusted to barista oatmilk and brown sugar.
- Batch 2: Shook for only 15 seconds. Foam was weak. Increased shaking to 30 seconds for a thick, lasting foam.
- Final: Settled on 60g espresso, 120g barista oatmilk, 10g brown sugar, shaken for 30 seconds. Delivers a creamy, caramel-sweet foam with balanced bitterness.
Nutrition and Disclaimer
Approximate per serving (60g espresso, 120g oatmilk, 10g brown sugar):
- Calories: ~100
- Carbs: 18g
- Fat: 3g
- Protein: 2g
Values are estimates; adjust for brands and portion size. Follow food-safety best practices.
Final Thoughts
This Brown Sugar Oatmilk Shaken Espresso is a simple, foolproof way to recreate a coffee-shop favorite at home. With just a few tweaks—cold milk, brown sugar, and a good shake—you’ll get a creamy, sweet, and balanced drink every time. Whether you’re a beginner or an experienced home barista, this recipe is sure to become a staple in your morning routine.