If you’ve ever wanted those glossy, jewel-like candied orange slices you see on boutique cakes or in fancy pastry shops, this is the recipe you bookmark and make on repeat. These slices come out perfectly translucent, tender (never mushy), and full of bright citrus flavor without any bitterness. They’re gorgeous on cakes, dipped in chocolate, or simply eaten as a sweet snack.
What makes this version unique? A temperature-controlled simmer and a two-stage sugar syrup technique I refined after several test batches. Want the big pro tip? Keep the syrup below a gentle simmer so the peels stay intact and glossy. Trust me, once you learn the visual cues, you’ll nail these every time.
Why This Recipe Works
Candied fruit is all about controlled dehydration. When orange slices slowly absorb sugar, their water activity lowers, creating that chewy, candy-like texture while preserving flavor.
Here’s the science behind what you’ll taste:
- Sugar concentration creates structure. As the syrup thickens, it replaces moisture inside the orange membranes, helping them hold their shape and become beautifully translucent.
- Low heat = no bitterness. High heat breaks down the pith and can cause toughness and bitter flavors. Maintaining a quiet simmer (around 85–90°C / 185–195°F) ensures the peel softens gently.
- Thin, even slices absorb syrup evenly. Uneven slicing leads to collapsed edges or over-firm centers.
By the end, you get orange slices with a soft bite, glowing color, and evenly distributed sweetness.
Ingredients

Yields: 20–24 candied slices
- 3 medium oranges (450–500 g total) — Use thin-skinned navel or Cara Cara; they candy more evenly.
- 400 g (2 cups) granulated sugar — Creates the candy syrup and structure.
- 240 ml (1 cup) water — Hydrates the syrup; evaporates during simmering to concentrate sweetness.
- 1 tsp vanilla extract (optional) — Rounds out the citrus edges.
- Pinch of salt — Balances bitterness slightly.
Equipment
Required
- Very sharp knife or mandoline
- Medium saucepan (at least 2.5 liters)
- Wire rack or parchment sheet
- Digital kitchen scale
- Candy or instant-read thermometer
- OTG or oven (for optional drying)
Nice to Have
- Slotted spoon
- Silicone mat (helps prevent sticking)
- Offset spatula for lifting delicate slices
Step-by-Step Instructions
Step 1: Slice the oranges (5 minutes)

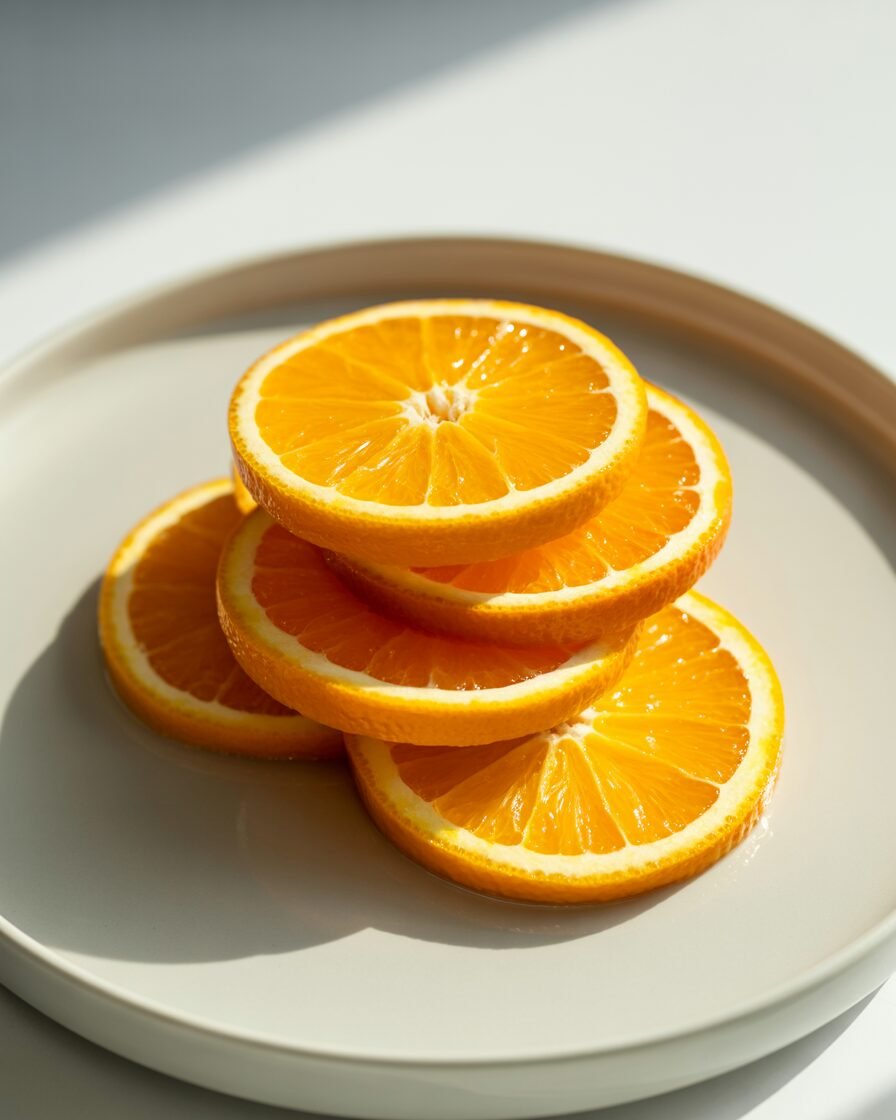
Slice into 3–4 mm (⅛ inch) rounds.
Visual cue: Slices should be thin enough that light shows through but thick enough to stay intact.
Avoid: Ragged cuts — these tear in syrup.
Step 2: Pre-blanch to remove bitterness (2 minutes)
Place slices in a pot of boiling water for 2 minutes, then drain.
Visual cue: Peels turn slightly brighter; fruit softens a touch.
Why: Removes harsh pith bitterness and prevents chewiness.
Step 3: Make the sugar syrup (3 minutes)
Combine 400 g sugar + 240 ml water in a saucepan. Heat on medium until sugar dissolves completely; do not boil.
Visual cue: Clear syrup with no granules at the bottom.
Step 4: Simmer the orange slices (45–60 minutes)

Lower heat to the gentlest simmer (85–90°C / 185–195°F). Add oranges in a single layer. Cook for 45–60 minutes, flipping once.
Visual cue:
- They should look glossy and translucent, not falling apart.
- Syrup should thicken but not caramelize.
Checkpoint: If bubbles become vigorous, lower heat immediately to avoid bitterness.
Step 5: Dry the slices
Lift slices gently with a slotted spoon and place them on a wire rack. Dry for 6–8 hours at room temp or 1½–2 hours in an oven at 90°C (195°F).
Visual cue: Surface feels tacky but not wet; slices bend without tearing.
Troubleshooting: Common Failures & Fixes
1. Slices turn bitter
- Cause: Heat too high or no pre-blanching.
- Fix: Keep syrup below a gentle simmer; blanch next time.
2. Slices fall apart
- Cause: Sliced too thin or boiled.
- Fix: Slice at 3–4 mm; maintain 85–90°C max.
3. Syrup crystallizes
- Cause: Stirring after heating or sugar on the saucepan walls.
- Fix: Wash down sides with a wet pastry brush early on.
4. Dull, cloudy slices
- Cause: Inconsistent heat or undercooking.
- Fix: Extend simmering by 10–15 minutes.
5. Sticky, never-dry slices
- Cause: Undercooked syrup or high humidity.
- Fix: Dry in the oven for 20–30 minutes longer.
Substitutions & Variations
Dietary Swaps
- Vegan: Recipe is naturally vegan.
- Refined-sugar-free: Use coconut sugar (400 g). Note: slices will be darker and less glossy.
- Gluten-free: Naturally GF.
Flavor Variations
- Spiced Orange Slices: Add 1 cinnamon stick + 2 cloves to syrup.
- Vanilla Citrus: Add vanilla bean instead of extract.
- Mixed Citrus: Swap 1 orange for blood orange or Meyer lemon (adjust drying time).
Chocolate-Dipped Candied Slices
Dry thoroughly, then dip halfway into melted dark chocolate (70%). Chill 10 minutes.
Scaling the Recipe
| Batch Size | Oranges | Sugar | Water |
|---|---|---|---|
| Half batch | 1–2 oranges | 200 g | 120 ml |
| Double batch | 6 oranges | 800 g | 480 ml |
Note: Do not overcrowd the pot—candy in batches.
Storage, Make-Ahead & Freezing
- Room Temperature: Store in an airtight container for 7–10 days.
- Refrigerator: Keeps for 3 weeks; allow to come to room temp so syrup softens.
- Freezer: Freeze individually on parchment, then store in a zip-top bag for up to 3 months. Thaw at room temp.
Do Not Freeze: Chocolate-dipped slices — chocolate may bloom.
Serving Suggestions
Use candied orange slices on:
- Cream cakes, cheesecakes, or tarts
- Holiday breads
- Breakfast yogurt bowls
- Chocolate desserts
- Charcuterie boards (they pair beautifully with dark chocolate + nuts)
FAQs
1. Can I candy lemons or grapefruits the same way?
Yes, but simmer 10–15 minutes less for lemons and 10 minutes more for grapefruit due to thicker skin.
2. Why are my slices turning brown?
Your syrup got too hot. Keep temperature under 90°C (195°F).
3. Can I reuse the leftover syrup?
Absolutely! Brush it on cakes, mix into cocktails, or drizzle over pancakes.
4. Can I make these in an air fryer?
Only for drying: air-fry at 90°C (195°F) for 60–90 minutes. Do not candy in an air fryer.
5. How do I stop them from sticking together?
Dust lightly with sugar after drying or store with parchment between layers.
Notes From My Kitchen (Testing Log)
Batch 1: Sliced too thin; half the slices tore. Adjusted to 3–4 mm thickness.
Batch 2: Syrup crystallized due to stirring; next batch I avoided touching the syrup after dissolving.
Batch 3: Heat crept above 95°C; slices browned. Switched to thermometer monitoring.
Batch 4: Finally got perfect translucency after maintaining a gentle simmer and flipping once.
Final Method:
Low heat + steady syrup = best structure, shine, and even sweetness.
Nutrition & Disclaimer
Approx. per slice (estimate): 60 kcal, 0 g fat, 15 g carbs, 0 g protein.
Values vary based on orange size and sugar absorption. Always follow food-safety best practices.
Conclusion
Candied orange slices look fancy, but once you understand the slow-simmer method, they become one of the easiest homemade candy projects you can master. They’re versatile, make-ahead friendly, and add a professional touch to your desserts. If you’re a home baker looking to elevate cakes or holiday treats, this recipe is a reliable staple worth keeping in your repertoire.