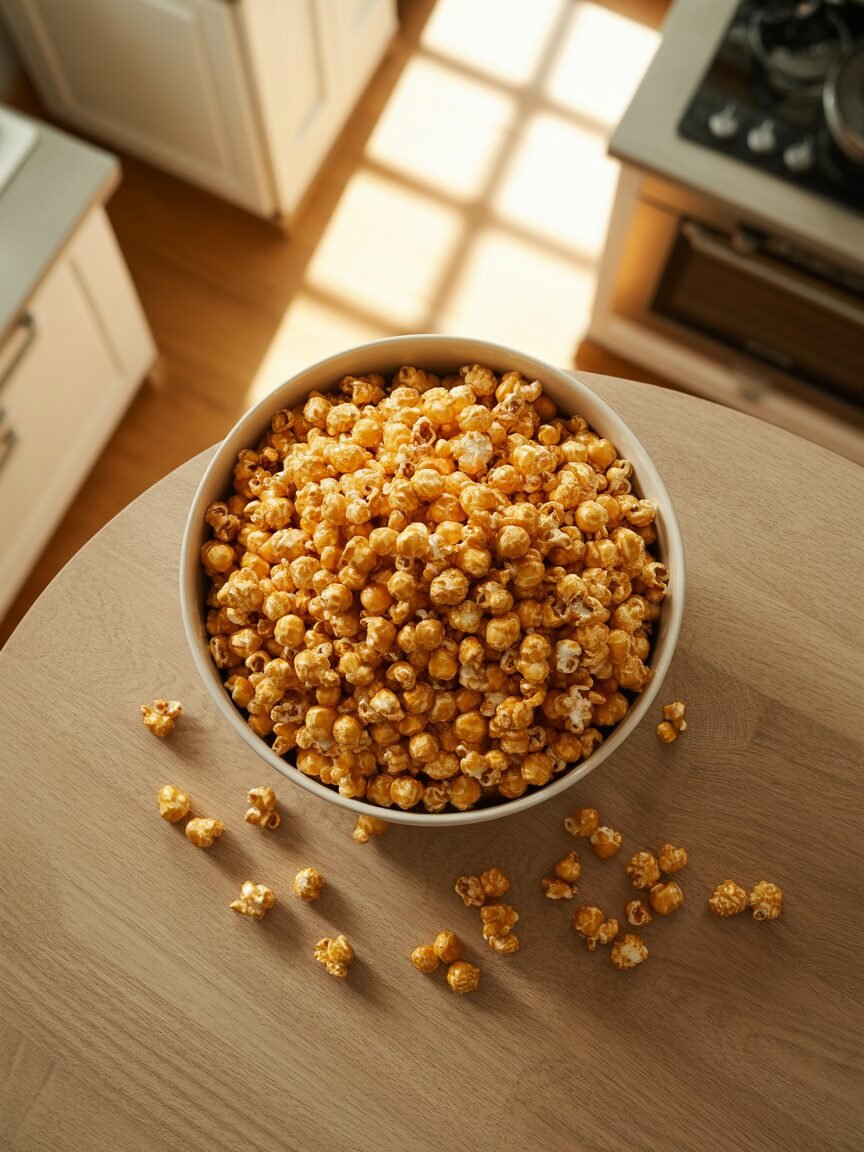
This recipe delivers the perfect balance of sweet, salty, and crunchy that you crave in theater-style caramel popcorn. What makes this recipe stand out is the precise caramel temperature and the addition of baking soda, which gives a glossy, even coating that stays crisp for days. My pro tip: use a candy thermometer to hit the “hard crack” stage (150°C/300°F) for guaranteed crunch—no more soggy or clumpy popcorn!
Why This Recipe Works
Caramel popcorn relies on a precise sugar-to-butter ratio and careful caramelization. The hard crack stage ensures the sugar sets crisp, not sticky. Baking soda is key—it aerates the caramel, making it light and glossy, and helps it coat the popcorn evenly without clumping. Vanilla and salt balance the sweetness and bring out the popcorn’s natural flavor. The science: when sugar hits 150°C, its structure changes and sets firmly, giving you that signature snap. Rushing or overheating can cause crystallization or bitterness, so patience is essential.
Ingredients (Yields: 10 cups)
- Popped popcorn: 10 cups (about 100g unpopped kernels)
- Unsalted butter: 115g (½ cup) — use European or high-fat butter for a richer flavor
- Light brown sugar: 200g (1 cup) — packed; Dutch-processed works best for smooth caramel
- Light corn syrup: 120ml (½ cup) — prevents crystallization and adds shine
- Salt: 1 tsp — enhances flavor and balances sweetness
- Vanilla extract: 1 tsp — adds depth
- Baking soda: ½ tsp — crucial for texture and gloss
Equipment
- Heavy-bottomed saucepan (3-4 quart)
- Candy thermometer (strongly recommended)
- Large mixing bowl (stainless steel or heatproof glass)
- Silicone spatula
- Parchment-lined baking sheet
- Metric scale (for accurate weights)
Step-by-Step Instructions
Step 1: Pop the Corn
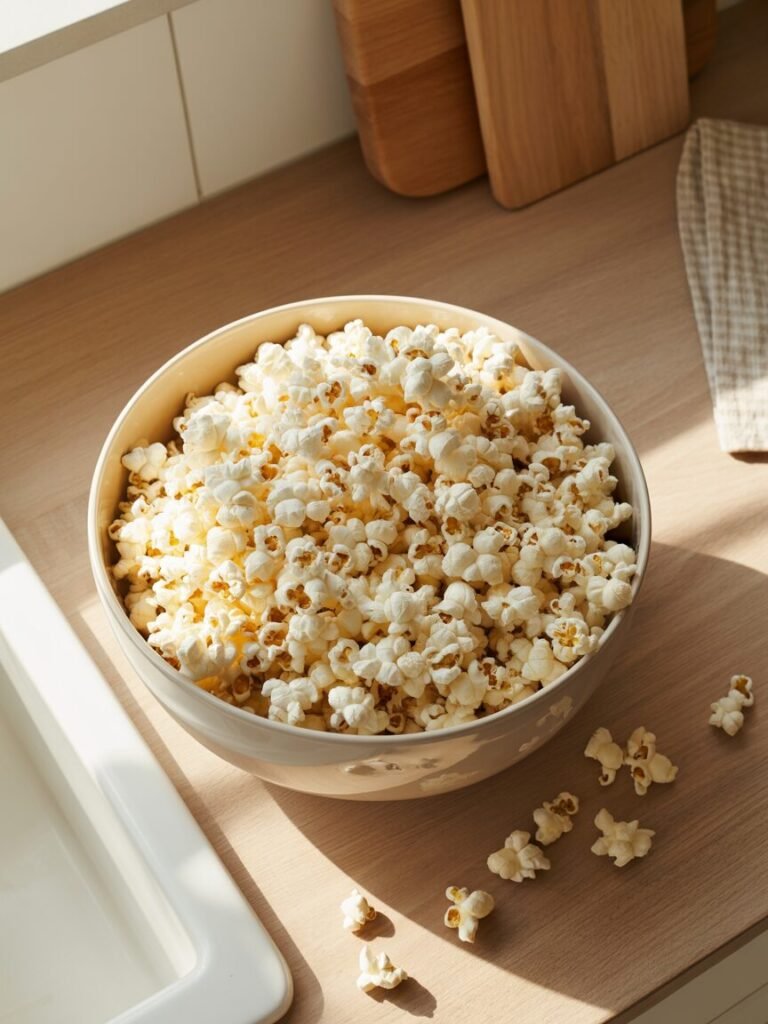
Pop 100g kernels using oil or an air popper. Remove any unpopped kernels. Let cool slightly.
Visual cue: Popcorn should be dry and fluffy—no moisture.
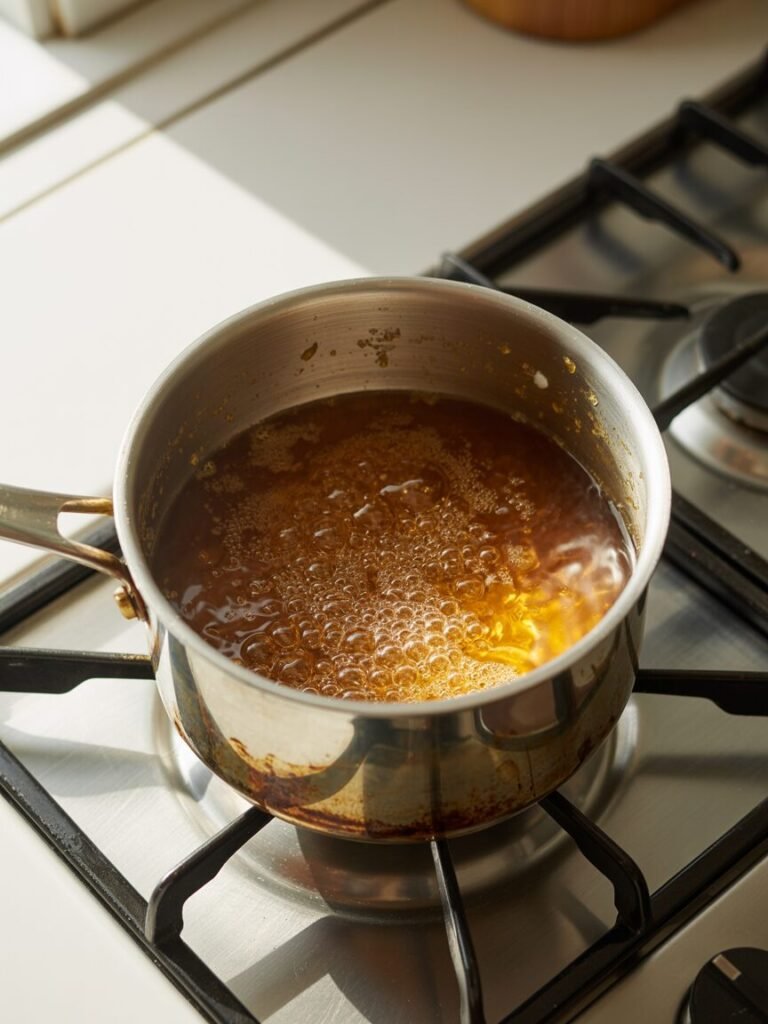
Step 2: Make the Caramel
In the saucepan, combine butter, brown sugar, corn syrup, and salt. Cook over medium heat, stirring until butter melts and mixture boils. Clip on the candy thermometer and cook without stirring until it reaches 150°C (300°F).
Visual cue: The mixture will be thick and glossy, not runny.
Step 3: Add Flavor and React
Remove from heat. Stir in vanilla and baking soda—watch for foaming! Stir until smooth.
Visual cue: Caramel will bubble and lighten in color. This foam is normal and creates the ideal texture.
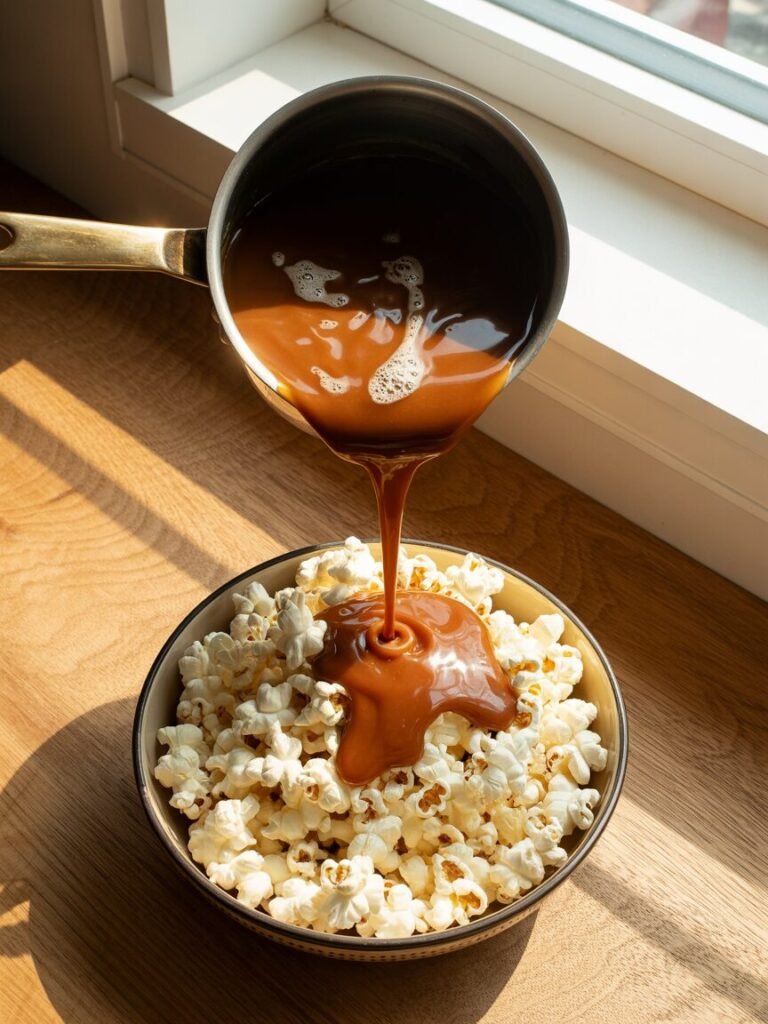
Step 4: Coat the Popcorn
Pour caramel over popcorn and mix gently with a spatula until every piece is coated.
Visual cue: Popcorn should look evenly shiny, not greasy or clumped.
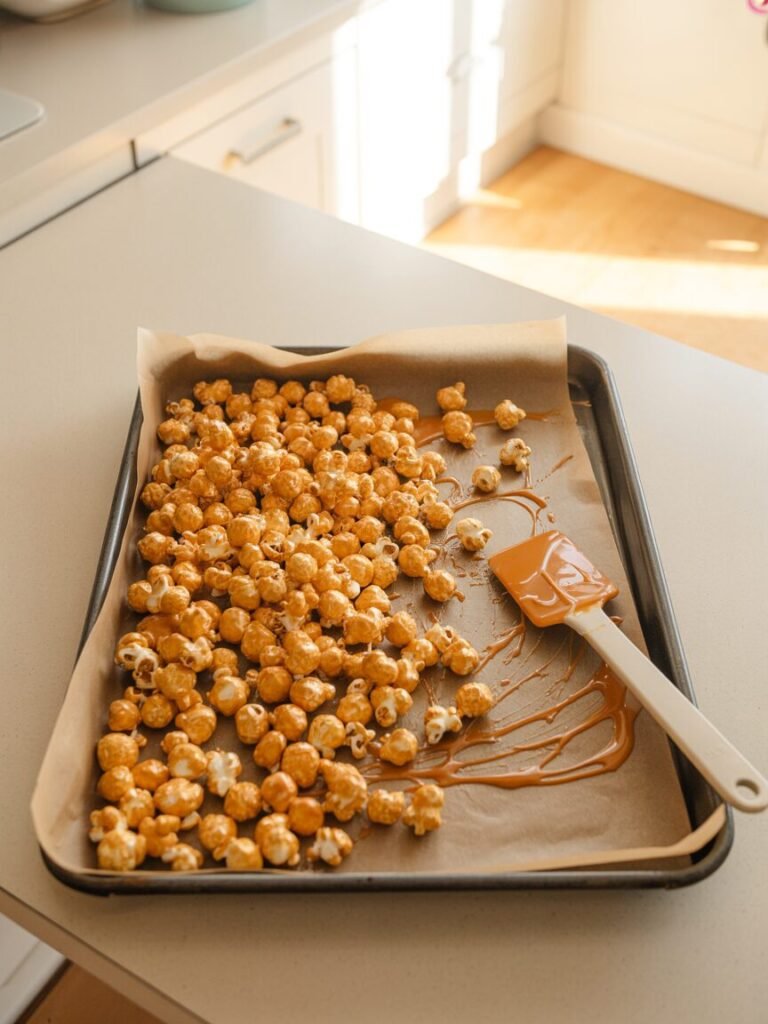
Step 5: Cool and Set
Spread on the parchment-lined baking sheet. Let cool completely (about 30 minutes). Break apart and serve or store.
Visual cue: The popcorn should snap cleanly and feel dry.
Troubleshooting: Common Failures and Fixes
- Problem: Caramel is clumpy or gritty.
Cause: Sugar crystallized during cooking.
Fix: Add a splash of water next time, or use corn syrup to prevent crystallization. Ensure no sugar sticks to pan sides. - Problem: Popcorn is soggy.
Cause: Caramel didn’t reach hard crack stage.
Fix: Use a candy thermometer; cook until 150°C. - Problem: Caramel burns or tastes bitter.
Cause: Overheated or burned sugar.
Fix: Cook on medium heat and watch closely. - Problem: Popcorn sticks together in clumps.
Cause: Caramel cooled too fast or too much butter was used.
Fix: Reduce butter slightly, and spread popcorn while warm.
Substitutions and Variations
- Egg-Free: Already egg-free.
- Dairy-Free: Replace butter with refined coconut oil or vegan butter. Avoid nut-based oils for neutral flavor.
- Gluten-Free: Naturally gluten-free if all ingredients are certified GF.
- No Corn Syrup: Substitute with brown rice syrup, honey, or golden syrup, but expect slightly more crystallization.
- Flavor Swaps: Add a pinch of cinnamon, nutmeg, or a few drops of almond extract to the caramel.
- Scaling: For 6-inch batch, halve all ingredients. For larger batches, use a bigger pan and adjust caramel accordingly.
Storage, Make-Ahead, and Freezing
- Counter: Store in an airtight container for up to 1 week.
- Fridge: Not recommended; humidity softens the coating.
- Freezer: Can be frozen for up to 1 month. Thaw at room temperature and re-crisp in a 150°C (300°F) oven for 5 minutes.
- What Not to Freeze: Popcorn with added nuts or chocolate—these can become soggy.
Serving Suggestions
Pair with coffee, tea, or as a movie-night snack. Add a pinch of flaky sea salt before serving for extra crunch. Try it as a topping for desserts or as a party favor in small bags.
FAQs
Can I replace corn syrup with honey?
Yes, but expect a slightly more brittle, less glossy caramel.
How to prevent caramel from burning?
Use medium heat, a candy thermometer, and don’t leave the pan unattended.
Can I double the recipe?
Yes, use a larger saucepan and increase cooking time slightly. Mix in batches if needed.
Best butter for caramel popcorn?
European-style butter with higher fat content for the richest flavor.
Can I bake this in an OTG or air fryer?
You can re-crisp in an OTG at 150°C for 5 minutes. Air fryers can dry out the popcorn—use sparingly.
Notes from My Kitchen
- Batch 1: Used only brown sugar—caramel was sticky. Switched to brown sugar + corn syrup for the perfect texture.
- Batch 2: Overheated caramel; result was bitter. Learned to use a thermometer and stop at 150°C.
- Final: Sticking to the hard crack stage and adding baking soda after removing from heat gives consistent crunch and shine.
Nutrition and Disclaimer
- Estimated per serving (1 cup): 180 kcal, 7g fat, 28g carbs, 1g protein.
- Values are estimates; adjust for brands and portion size. Follow food-safety best practices and avoid reheating caramel in the microwave, as it can burn quickly.
Final Thoughts
Homemade caramel popcorn looks fancy, but once you’ve made it a couple of times, it quickly becomes a “pull out anytime” treat for movie nights, gifting, or party bowls. The real magic is in slowing down for the caramel stage, watching the color and bubbles, and trusting your thermometer so you get that perfect crisp snap instead of sticky, soggy clumps.
If a batch doesn’t turn out exactly how you hoped—too soft, a little bitter, or slightly clumpy—treat it as feedback, not failure. Each pan teaches you something about your stove, your pan, and your timing, and those tiny adjustments are what turn a basic recipe into your signature version. With the visual cues, troubleshooting notes, and make-ahead tips in this post, you’re set up to get reliably crunchy, glossy caramel popcorn that tastes like it came from a specialty shop—only warmer, fresher, and made in your own kitchen.