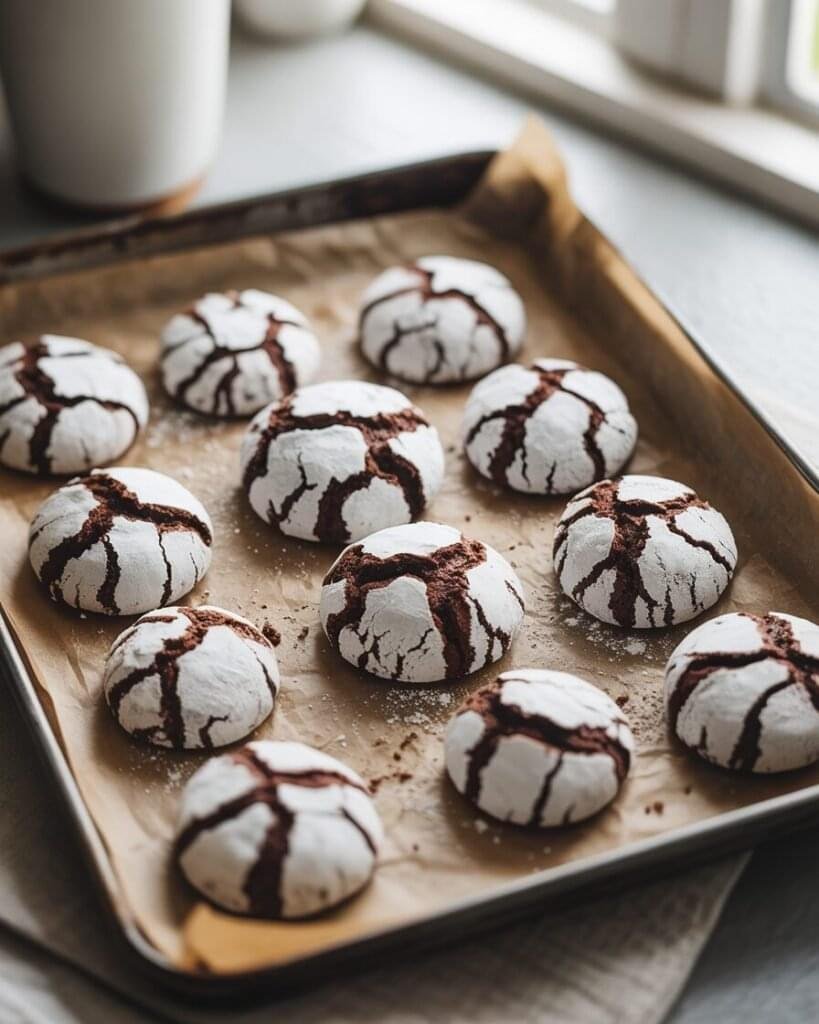
If you love fudgy brownies and soft cookies, these Chocolate Crinkle Cookies give you the best of both worlds. Think: a crackly, powdered-sugar shell that shatters into a rich, brownie-like center. These bake beautifully even in a small OTG, with only a bowl and whisk—no stand mixer needed.
What makes this version special? I use Dutch-process cocoa, a touch of espresso, and a carefully balanced chill time to guarantee deep flavor and dramatic crinkles. The dough looks sticky at first (don’t panic!), but that’s exactly what creates those iconic snowy cracks.
Pro Tip: Chill the dough just long enough (1 hour) to firm up without dulling the rise—this is key for bold, bakery-style crinkles.
Why This Recipe Works
Chocolate crinkle cookies rely on a controlled balance of fat, sugar, and leavening. Here’s what makes this formula reliable even for beginners:
- Oil instead of butter
Oil coats flour proteins more thoroughly than solid fat, reducing gluten formation and keeping the centers soft and brownie-like for days. Butter makes them cakier and dries faster. - Dutch-process cocoa for deeper cracks
Dutch cocoa has lower acidity and blends smoothly into the fat–sugar mixture, creating a darker color and richer chocolate notes. Its alkalinity also interacts better with baking powder for uniform spread and lift. - Double sugar coating ensures crinkle contrast
Rolling the dough in granulated sugar first prevents the powdered sugar from melting during baking. That keeps the white coating intact so the cracks pop dramatically. - Sticky dough = better cracks
Crinkles require high moisture. A stiff dough won’t spread or break open. This recipe manages moisture intentionally so you get defined cracks instead of flat, pale cookies.
Ingredients (With Weights & Purpose)
Makes 16–18 cookies
- All-purpose flour — 150g (1 ¼ cups)
Provides structure; measured lightly to prevent dense cookies. - Dutch-process cocoa — 55g (½ cup)
Rich color, smoother chocolate flavor; do not use natural cocoa here. - Granulated sugar — 200g (1 cup)
Gives spread + crackle; dissolves easily in oil. - Brown sugar — 50g (¼ cup)
Adds moisture and chew; helps the centers stay fudgy. - Baking powder — 6g (1 ½ tsp)
Primary lift source for the dramatic cracks. - Salt — 3g (½ tsp)
Balances chocolate bitterness. - Large eggs — 2 (room temp, 100g)
Binds and adds moisture; room temperature improves volume. - Vegetable oil — 80g (⅓ cup)
Keeps cookies soft for days; neutral flavor. - Vanilla extract — 5g (1 tsp)
Enhances chocolate flavor. - Instant espresso powder — 2g (½ tsp)
Optional, but deepens chocolate flavor. - Granulated sugar (for rolling) — 40g (3 tbsp)
First barrier to prevent melting of the powdered sugar. - Powdered sugar — 90g (¾ cup)
Final coating that gives the snowy effect.
Equipment
Required:
- Mixing bowls
- Whisk + rubber spatula
- Baking tray (standard or OTG size)
- Parchment paper
- Kitchen scale
- OTG/oven
- Cooling rack
Nice-to-have:
- Cookie scoop (1.5 tbsp) for uniform size
- Fine sieve for aerating cocoa
- Oven thermometer for accuracy
Step-by-Step Instructions With Visual Cues
Step 1 — Mix Wet Ingredients (2–3 minutes)
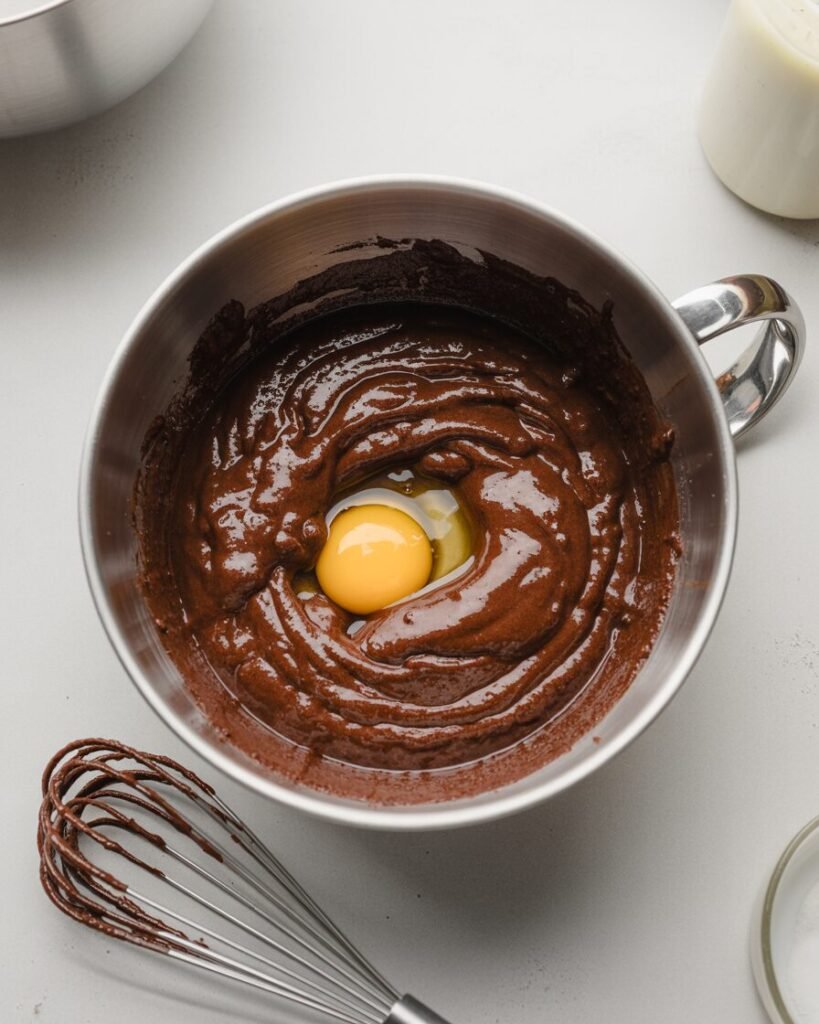
Whisk together eggs, granulated sugar, brown sugar, oil, and vanilla until the mixture is glossy and smooth.
Visual cue: Should look like loose brownie batter—thick but pourable, no grainy sugar at the bottom.
Step 2 — Combine Dry Ingredients (1 minute)
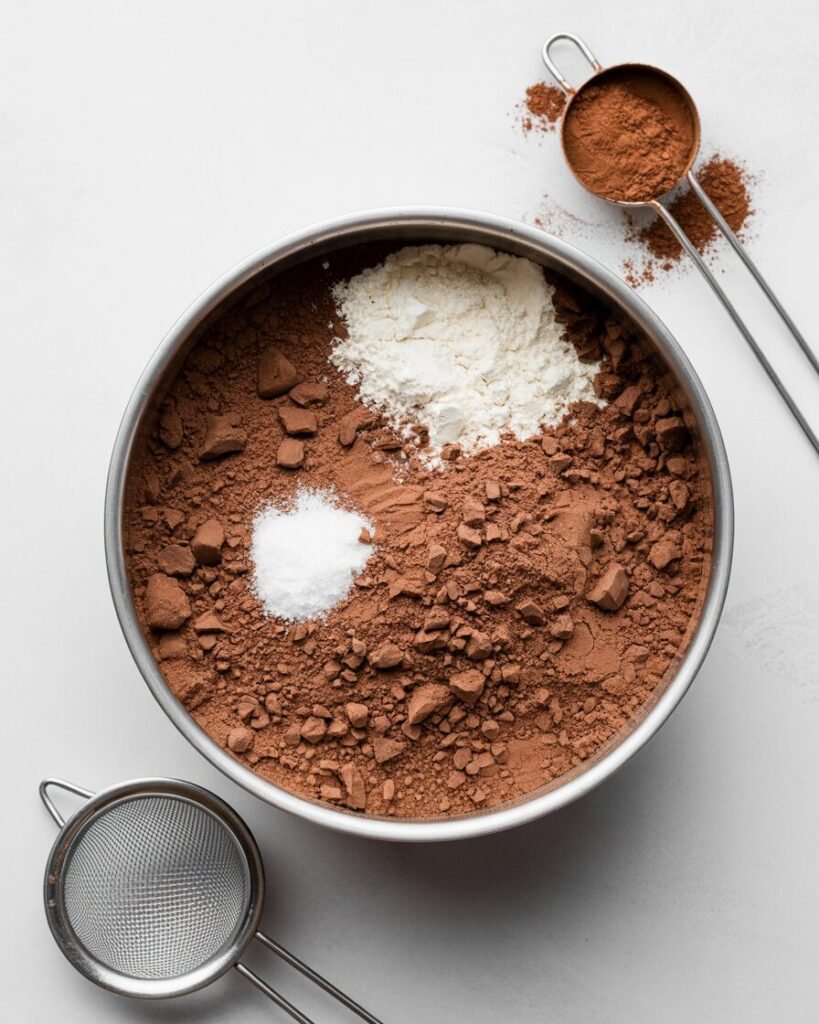
In another bowl, whisk flour, cocoa, baking powder, salt, espresso.
Visual cue: Cocoa should be lump-free; dry mix should be uniform in color.
Step 3 — Bring Together (30–60 seconds)
Add the dry mix into the wet ingredients. Fold gently until just combined—stop as soon as you don’t see dry patches.
Visual cue: Dough will look wet, sticky, and soft—closer to thick brownie batter than cookie dough. This is correct.
Step 4 — Chill (1 hour)
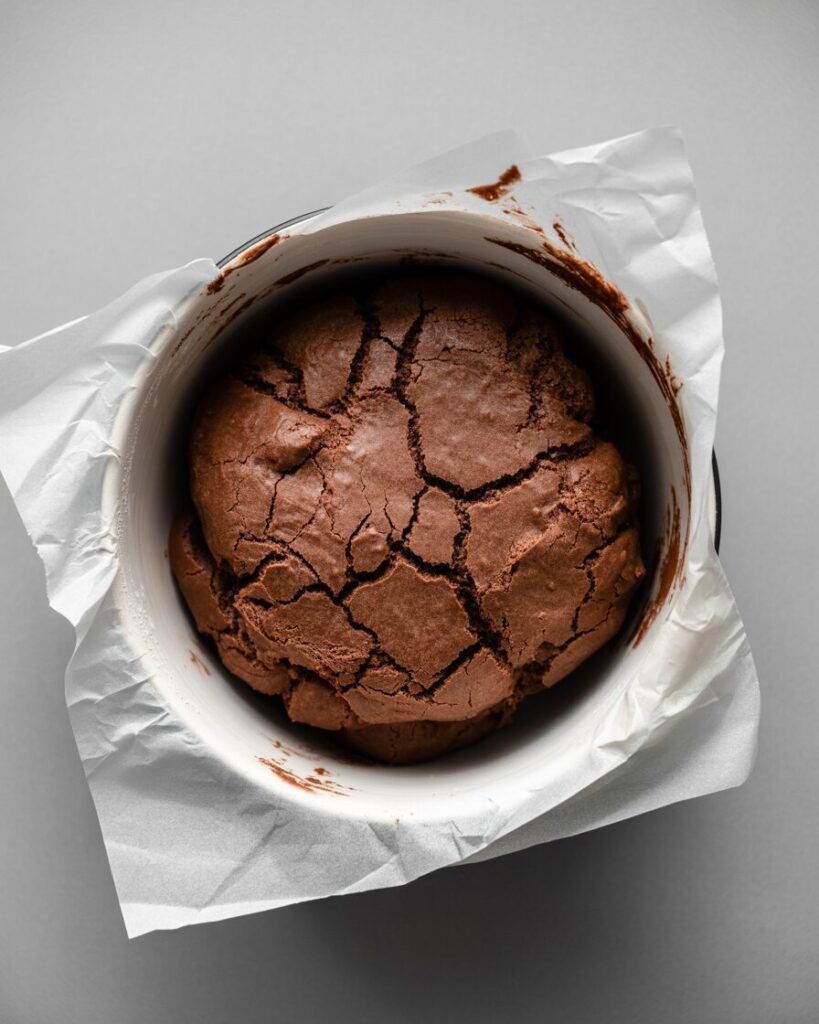
Cover and refrigerate for 60 minutes.
Visual cue: Dough should firm up enough to scoop but still tacky. Over-chilling (2+ hours) reduces spread and weakens cracks.
Step 5 — Preheat Oven
Preheat to 175°C (350°F). Place rack in the middle. Line tray with parchment.
Step 6 — Roll & Coat (5–7 minutes)
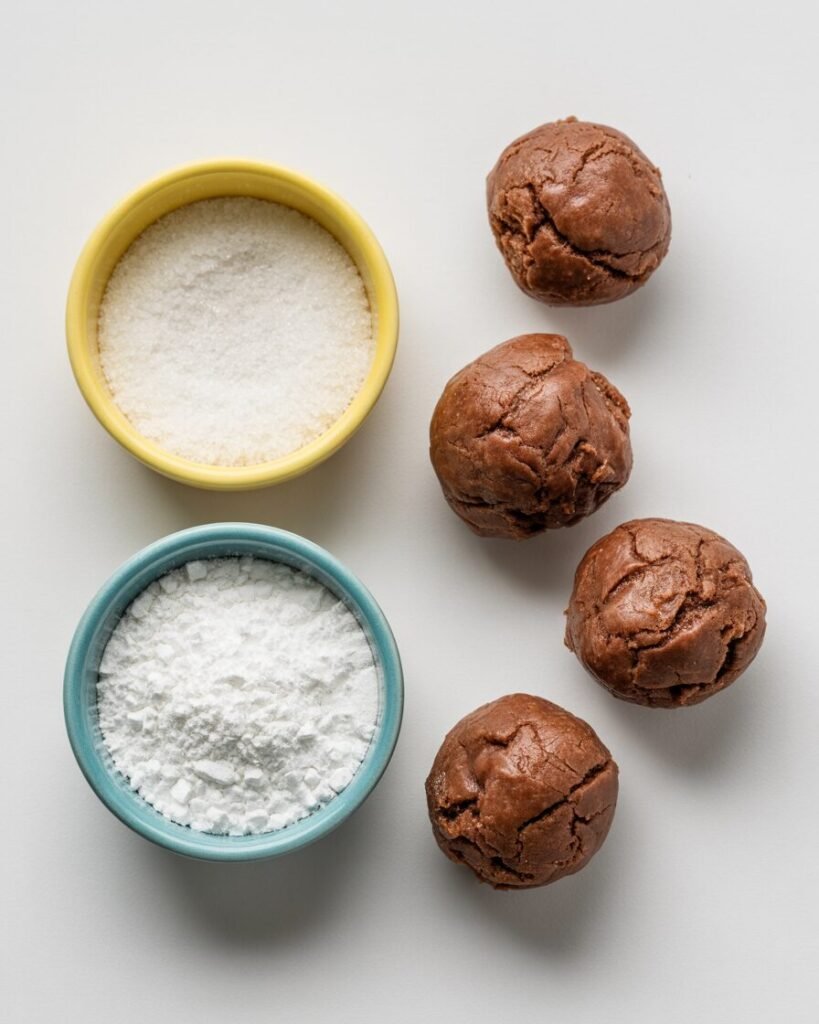
Scoop 1.5 tbsp dough, roll lightly in your palms (work quickly—warmth softens dough).
Roll each ball in:
- Granulated sugar
- Powdered sugar
Visual cue: Each dough ball should be fully coated, like a snowball.
Step 7 — Bake (10–12 minutes)
Bake until cracks appear and centers look slightly underbaked.
Doneness cues:
- Edges set but centers soft
- Cracks visibly open
- Cookies puff slightly, then settle on cooling
Do not overbake—residual heat finishes the job.
Step 8 — Cool (10–15 minutes)
Cool on tray 5 minutes, then rack.
Visual cue: Cracks remain bright white; cookies stay soft but sturdy.
Troubleshooting (6 Key Fixes)
1. Cracks didn’t form
Likely cause: Dough too cold or too dry; oven too cool.
Fix: Chill only 1 hour; ensure oven reaches actual 175°C.
2. Sugar coating melted
Cause: Skipped granulated sugar step; dough too warm.
Fix: Use double-coating method; chill dough between batches.
3. Dry cookies
Cause: Overbaked, too much flour, natural cocoa instead of Dutch.
Fix: Weigh flour; bake 10–11 minutes max; use Dutch-process.
4. Cookies spread too much
Cause: Warm dough, low cocoa %, expired baking powder.
Fix: Chill longer; check leavening freshness; don’t reduce cocoa.
5. Cookies too puffy and cakey
Cause: Too much baking powder.
Fix: Stick to 6g; level teaspoons for accuracy.
6. Bitter aftertaste
Cause: Low-quality cocoa or too much espresso.
Fix: Use Dutch-process; reduce espresso to a pinch.
Substitutions & Variations
Egg-Free Version
Replace 2 eggs with:
- 120g (½ cup) unsweetened yogurt, OR
- 2 flax eggs (2 tbsp flax + 6 tbsp water)
Note: Flax results in slightly denser cracks and less shine.
Dairy-Free Version
Recipe is naturally dairy-free.
Gluten-Free Version
Swap flour with:
- 1:1 gluten-free baking blend (150g)
Add 10g cornstarch for smoother texture.
Flavor Variations
- Peppermint: Add ¼ tsp peppermint extract.
- Orange: Add 1 tsp zest + reduce vanilla to ½ tsp.
- Spicy Mexican: Add ⅛ tsp cinnamon + pinch cayenne.
Storage & Make-Ahead
- Room temp: Airtight container, 4–5 days.
- Refrigerator: Not needed; can dry the texture.
- Freeze dough balls: Up to 2 months—roll in sugars after thawing slightly.
- Freeze baked cookies: Up to 1 month; thaw uncovered 15 minutes to retain crisp edges.
- Do not freeze: Fully sugar-coated raw dough—the coating clumps.
Serving Suggestions
- Serve with vanilla ice cream, hot coffee, or a dusting of cocoa.
- Sandwich two cookies with chocolate ganache for a decadent treat.
- Drizzle with melted white chocolate for contrast.
FAQs
1. Can I use natural cocoa?
Technically yes, but expect lighter color and weaker cracks.
2. Why is my dough too sticky to roll?
It needs more chilling; refrigerate an extra 20 minutes.
3. How do I double the recipe?
Double all ingredients; chill time remains the same.
4. Can I bake these in an OTG?
Yes—middle rack, same temp. Rotate tray at the 6-minute mark.
5. Why are my cookies flat?
Check baking powder freshness and avoid overmixing.
Notes From My Kitchen (Testing Logs)
Batch 1: Reduced cocoa to 40g—cookies spread too much and tasted weak. Increased to 55g.
Batch 2: Chilled 2 hours—cracks were shallow. Adjusted chill to 1 hour.
Batch 3: Tested butter version—more cakey, less fudgy. Returned to oil.
Batch 4: Tried skipping granulated sugar—powdered sugar melted. Added double-coating step.
Final: This combination gave dramatic cracks, fudgy centers, and consistent spread across OTG and full oven.
Nutrition & Safety Disclaimer
Approx per cookie (estimate): 140 kcal, 6g fat, 20g carbs.
Values vary based on brands and portion size. Always follow safe storage practices.
Conclusion & Final Thoughts
Chocolate Crinkle Cookies look fancy but are incredibly beginner-friendly once you understand the moisture–temperature balance that creates those beautiful cracks. With Dutch cocoa, proper chill time, and accurate weighing, these bake perfectly even in compact home kitchens. If you love brownie textures and cozy winter flavors, this is a must-save recipe for your cookie rotation.