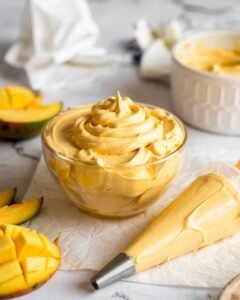
If you want a no-bake, soft-chewy, naturally sweet coconut vanilla protein bar that tastes nothing like chalky store-bought ones, you’re in the right kitchen. These bars stir together in minutes, set beautifully in the fridge, and slice cleanly without crumbling. My version focuses on balanced protein, real flavor, and a texture that stays soft even after freezing.
The secret? Hydration control. Protein powder absorbs liquid aggressively, so we balance it with the right ratio of nut butter + coconut + syrup. Follow my mixing cues and you’ll get bars that hold shape, never dry out, and taste like a coconut-vanilla dessert—just higher in protein.
Why This Recipe Works
Protein bars fail for the same reason cookies fail—structure vs. moisture imbalance. Protein powders (especially whey and plant protein blends) absorb liquid very differently, which is why you often see bars turn crumbly or overly dense. In this recipe:
- Fat + Liquid Equilibrium: Almond butter adds fat to make the bars soft, while maple syrup contributes moisture and binding power. Together they prevent the powder from absorbing too much liquid.
- Coconut as a Moisture Regulator: Shredded coconut adds volume without making the bars dry. It also absorbs and slowly releases moisture as the bars chill, giving that perfect chewy bite.
- No-Bake Heat Science: Because we’re not applying heat, the protein doesn’t denature further—meaning the bars stay tender, not rubbery or spongy.
These bars aren’t just convenient—they’re engineered for texture stability, freezer friendliness, and flavor clarity.
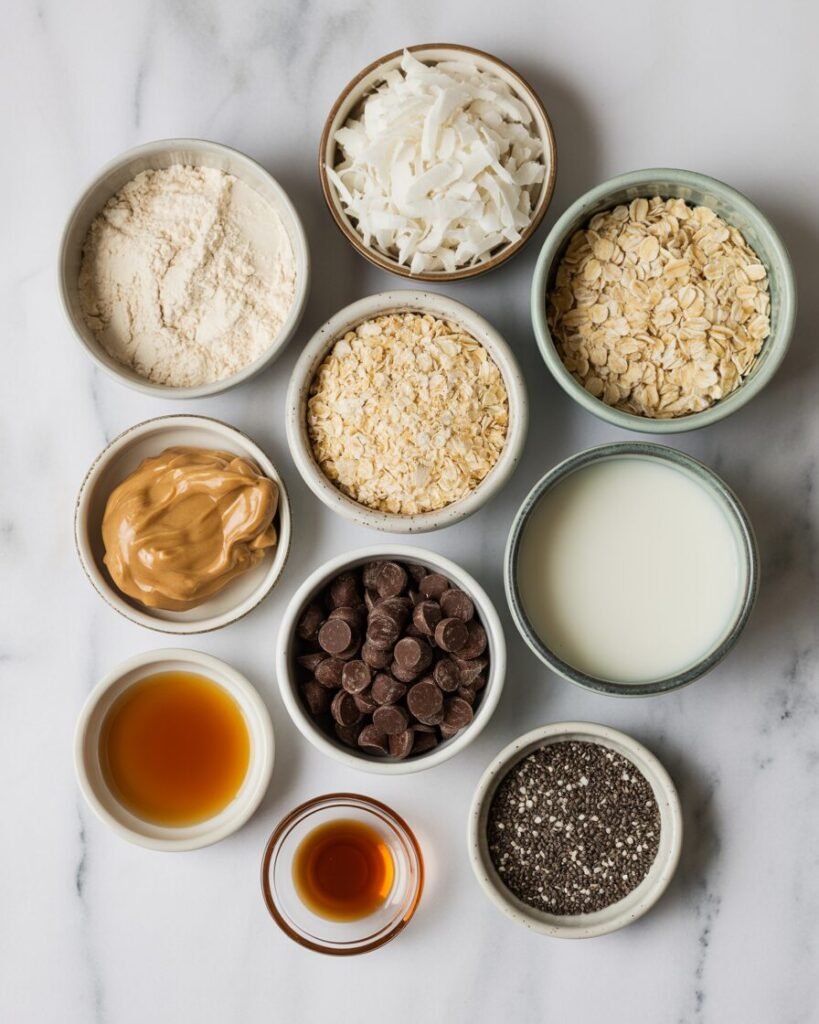
Ingredients
Dry Ingredients
- Vanilla whey protein powder — 120 g (1 cup)
Provides structure and protein; use whey for soft bars or plant protein for firmer texture. - Unsweetened shredded coconut — 50 g (½ cup)
Adds chew, volume, and moisture balance. - Rolled oats, finely ground — 60 g (¾ cup after grinding)
Adds body and prevents gumminess.
Wet Ingredients
- Almond butter — 150 g (½ cup)
Fat source for softness and binding; smooth varieties mix best. - Maple syrup — 90 g (¼ cup + 1 tbsp)
Natural sweetness + stickiness to hold bars together. - Vanilla extract — 6 g (1½ tsp)
Boosts vanilla aroma. - Coconut milk (canned, full-fat) — 45 g (3 tbsp)
Adjusts moisture; adds richness.
Optional Add-Ins
- Mini chocolate chips — 40 g (¼ cup)
- Chia seeds — 10 g (1 tbsp) for added binding
- Pinch of sea salt — enhances sweetness
Equipment
Required
- 8×8-inch (20×20 cm) square pan
- Parchment paper
- Digital scale
- Mixing bowls
- Silicone spatula
- Fridge or freezer
Nice to Have
- Offset spatula for smoothing
- Bench scraper for clean slicing
- Food processor (if grinding oats yourself)
Step-by-Step Instructions With Visual Cues
Step 1 — Prep the Pan (2 minutes)
Line an 8×8-inch pan with parchment, leaving overhang on two sides.
Visual cue: Paper should lie flat—no buckling—so bars set evenly.
Step 2 — Mix Dry Ingredients (1 minute)
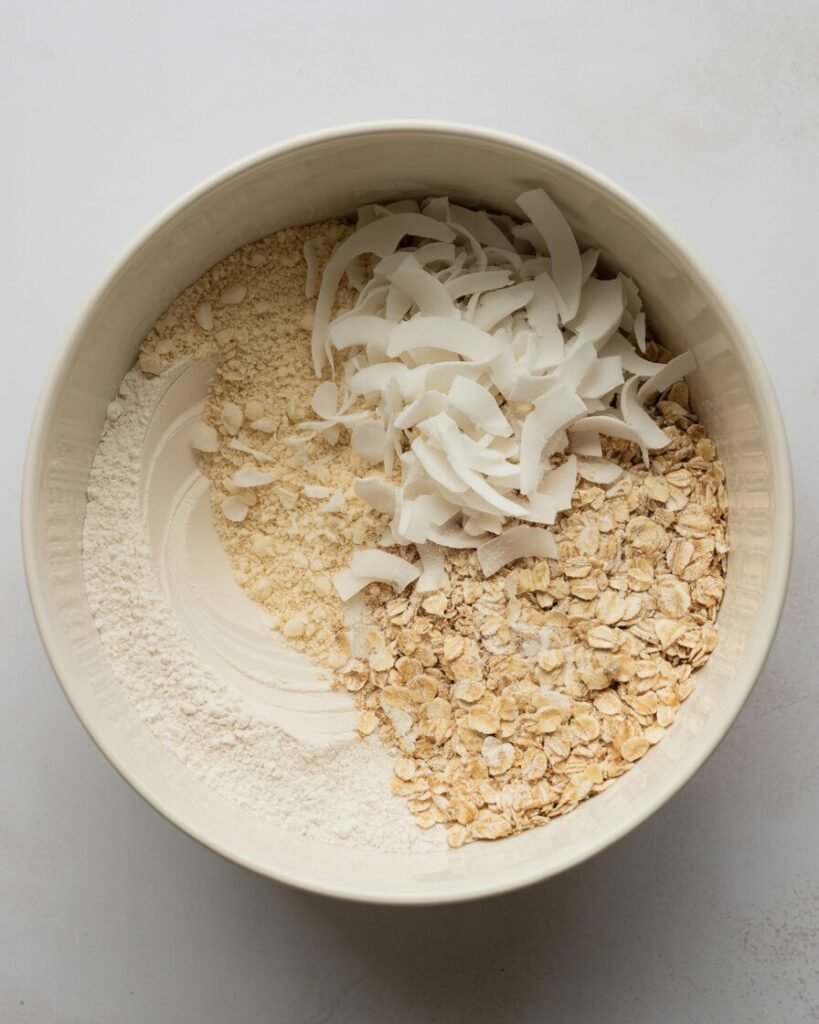
Combine protein powder, coconut, and ground oats in a medium bowl.
Visual cue: Mixture should look fluffy, not compacted—if clumpy, whisk briefly.
Step 3 — Warm the Wet Ingredients (2–3 minutes)
In another bowl, microwave almond butter + maple syrup for 15–20 seconds until fluid. Stir in vanilla and coconut milk.
Visual cue: Should look glossy and pourable, like loose caramel.
Step 4 — Combine (1–2 minutes)
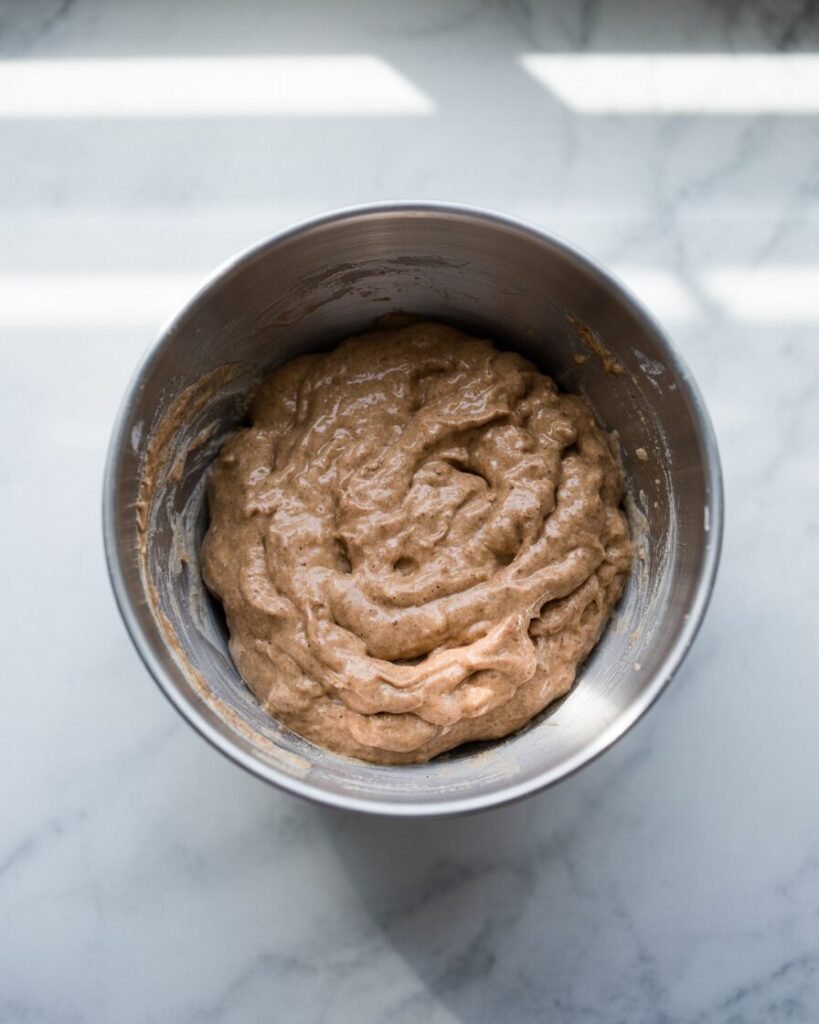
Pour wet mixture into dry. Stir with a firm spatula.
Visual cue: Dough should come together into a thick, pliable mass.
If it crumbles: Add 1 tsp coconut milk at a time.
If too sticky: Add 1 tbsp oats or coconut.
Step 5 — Press Into Pan (2 minutes)
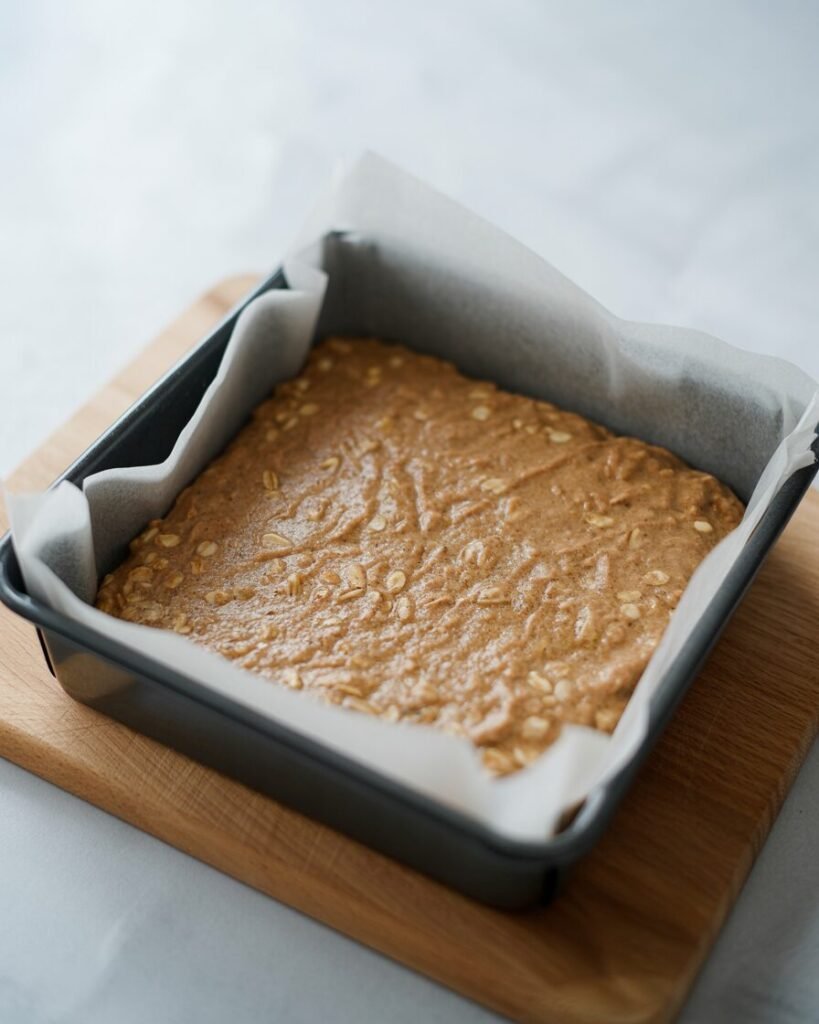
Transfer dough into the lined pan. Press firmly and evenly; smooth the top with an offset spatula.
Visual cue: Top should look compact and level—not dry or cracking.
Step 6 — Chill to Set (45–60 minutes)
Refrigerate 1 hour (or freeze 20 minutes) until firm enough to slice.
Visual cue: Bars should lift using parchment with no bending.
Step 7 — Slice (1 minute)

Cut into 12 bars.
Visual cue: Clean edges indicate the moisture level is correct.
Troubleshooting
Problem: Bars crumble when slicing
- Causes: Too little moisture; protein powder overly absorbent.
- Fix: Add 10–15 g more coconut milk next time.
Problem: Bars are sticky or gooey
- Causes: Too much syrup or coconut milk.
- Fix: Add 1–2 tbsp more oats to balance.
Problem: Bars turn hard in the fridge
- Cause: Plant protein absorbs moisture aggressively.
- Fix: Increase almond butter by 20–30 g.
Problem: Bars taste bland
- Cause: Weak protein powder flavor.
- Fix: Boost vanilla extract by ½ tsp; add pinch of salt.
Problem: Bars fall apart after freezing
- Cause: Not enough binding fat.
- Fix: Increase almond butter by 15 g or add 1 tbsp chia seeds.
Substitutions & Variations
Dietary Swaps
- Dairy-free: Use plant-based vanilla protein; increase coconut milk by 1 tbsp.
- Gluten-free: Use certified GF oats.
- Nut-free: Swap almond butter for sunflower seed butter (slightly earthier flavor).
Flavor Variations
- Chocolate Coconut Bars: Add 2 tbsp cocoa powder + 2 tbsp extra coconut milk.
- Citrus Vanilla Bars: Add zest of 1 lemon or orange; reduce coconut milk by 1 tsp.
- Berry Bars: Add 20 g freeze-dried berries, crushed.
Scaling
| Batch Size | Ingredient Multiplier |
|---|---|
| 16 bars (larger batch) | ×1.33 |
| 6 bars (small batch) | ×0.5 |
Storage, Make-Ahead & Freezing
Counter (best for 24 hours)
Keep in an airtight container; bars stay soft but slightly fragile at room temp.
Fridge (up to 7 days)
Store layered between parchment. Bring to room temp 10 minutes before eating for best flavor bloom.
Freezer (up to 3 months)
Freeze bars individually wrapped.
Thaw: 30 minutes at room temp.
Avoid freezing add-ins like chocolate drizzle—it can bloom and turn grayish.
Serving Suggestions & Pairing Ideas
- Dip half the bar in melted dark chocolate (once chilled).
- Serve with yogurt + berries for a complete breakfast.
- Crumble over smoothie bowls.
- Pair with black coffee, iced matcha, or a lightly sweet tea—the bars already lean sweet-rich.
FAQs
1. Can I replace maple syrup with honey?
Yes—honey makes the bars slightly firmer. Reduce by 1 tbsp if your honey is very thick.
2. How do I prevent crumbly bars?
Increase moisture (coconut milk) in 1-tsp increments. Whey protein gives the softest texture.
3. Can I double this recipe?
Yes—use a 9×13-inch pan and chill 20 minutes longer.
4. Best protein powder type?
Whey isolate = softest + cleanest flavor. Plant protein = firmer bars; adjust moisture upward.
5. Can I make these bars in an OTG?
No baking required. OTG only helpful for gently warming almond butter.
Notes From My Kitchen (Testing Log)
Batch 1: Used too much coconut milk (60 g). Bars were sticky and wouldn’t slice cleanly.
→ Reduced coconut milk to 45 g.
Batch 2: Tried plant protein. Bars turned firm and dry.
→ Increased almond butter by 25 g; texture improved.
Batch 3: Maple syrup reduced by 10 g. Crumbled when cutting.
→ Added oats + coconut adjustments.
Final Version: Balanced whey protein + coconut + almond butter gave the best chew, clean cuts, and freezer stability.
Nutrition & Disclaimer
Approx. per bar (12 bars): 190–210 calories depending on protein powder.
These values are estimates; actual numbers vary by brand. Always follow safe kitchen practices when storing homemade protein snacks.
Conclusion & Final Thoughts
These Coconut Vanilla Protein Bars are everything homemade bars should be—soft, chewy, naturally flavored, and customizable without frustration. They slice cleanly, hold up in lunchboxes, freeze beautifully, and mix together in a single bowl. If you’re aiming to replace store-bought protein snacks with something that tastes better and feels better, this is the recipe to keep in your weekly routine.
To conclude the post: Whether you’re meal-prepping for busy mornings or just want a freezer stash of high-protein treats, this recipe gives you dependable results every single time. Bake My Sweet readers love reliability—and these bars deliver it with every bite.