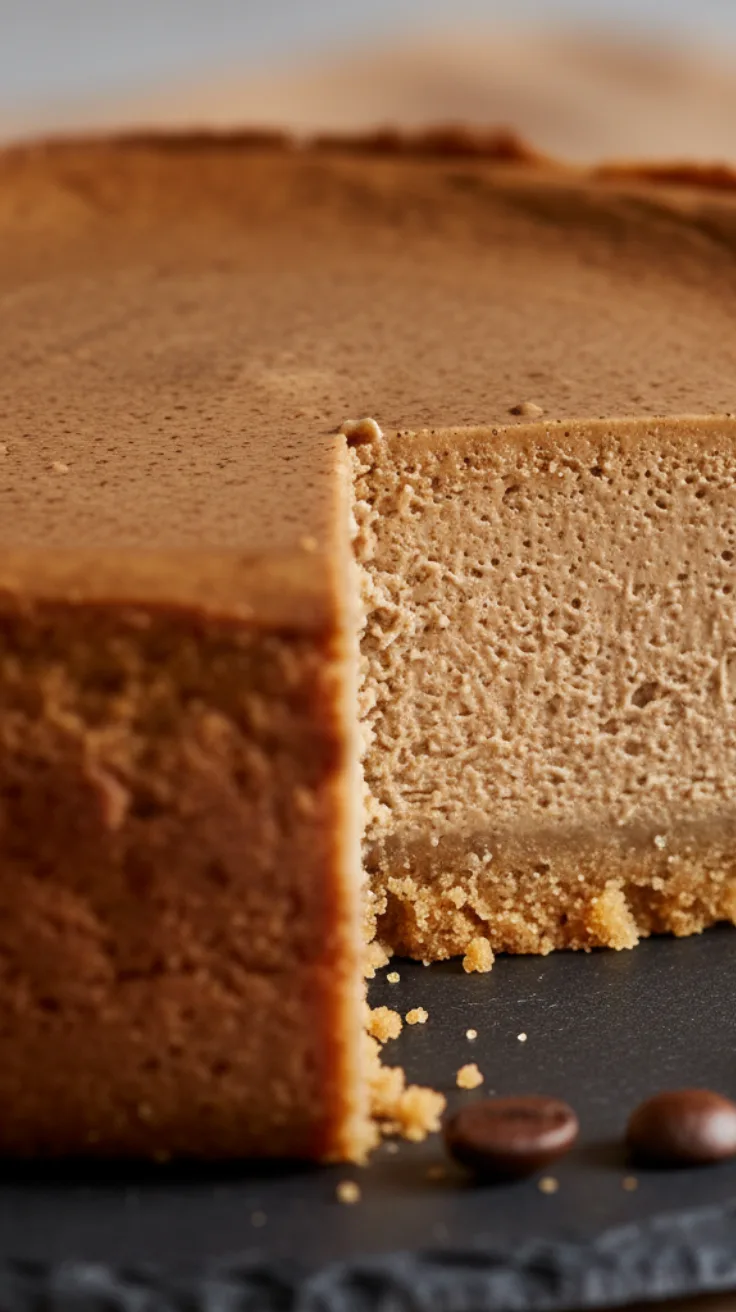
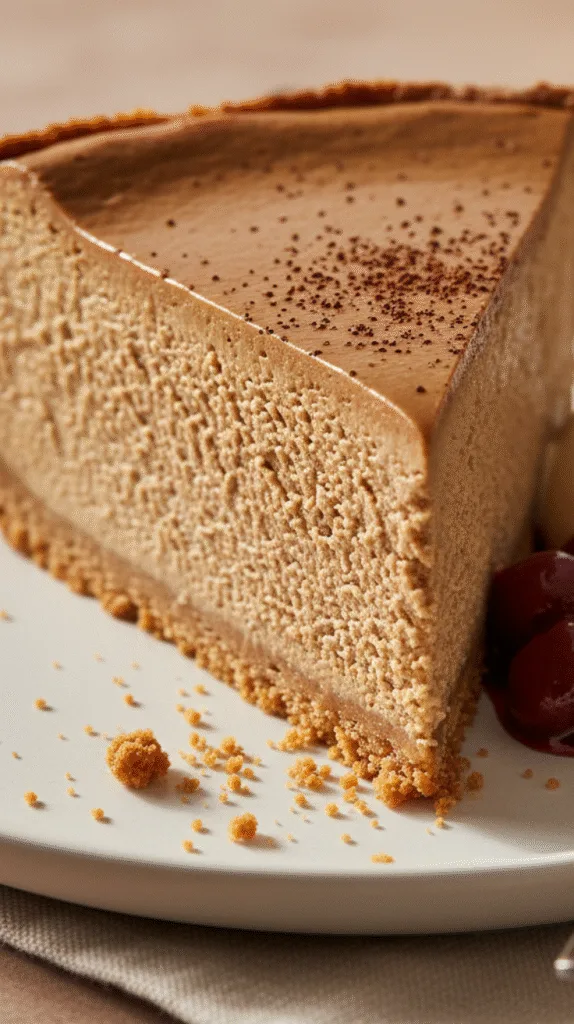
This baked coffee cheesecake delivers the kind of results you’d expect from a professional kitchen: smooth, rich, and deeply flavorful. It’s the dessert I keep coming back to when I want something comforting but not cloying, with a quiet intensity that lingers. The coffee isn’t loud or bitter; it’s woven into the creaminess, enhancing the tang of the cheese rather than masking it.
What sets this recipe apart is how it balances precision with practicality. There’s no water bath to wrestle with, yet the texture stays crack-free thanks to a slow cooling method that actually works. Every ingredient has a role, from the instant espresso powder that dissolves completely to the room-temperature dairy that ensures a lump-free batter. I’ve tested the pitfalls so you don’t have to gritty textures, sunken centers, soggy crusts, and refined each step to get it right, consistently.
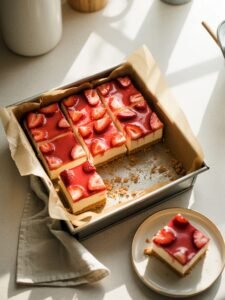
Whether you’re baking for a weekend gathering or just treating yourself, this cheesecake feels special without being difficult. It’s the kind of slice that pairs just as well with cold brew as it does with masala chai, and it holds up beautifully whether served plain or dressed up with a swirl of ganache or a spoonful of cherry compote.
Why This Recipe Works
Getting a creamy, crack-free cheesecake with a deep coffee flavor isn’t just about following steps, it’s about understanding what each one does. This version skips the water bath (a relief for most of us) but still delivers a smooth texture thanks to a few smart choices.
First, instant espresso powder just 2 tsp (5 g) dissolves completely, giving a rich coffee note without any grit. I’ve tried using finely ground coffee before, and it left a sandy texture no amount of beating could fix. Stick to instant, and go for a brand you’d actually drink. Nescafé or Starbucks work well.
Second, the slow cooling method makes a real difference. After baking, turning off the oven and leaving the door slightly open with a wooden spoon lets the temperature drop gradually. That small step helps prevent cracks better than any water bath I’ve used.
And yes, room-temperature ingredients matter. Cold cream cheese leads to lumps, and cold eggs can cause the batter to curdle.
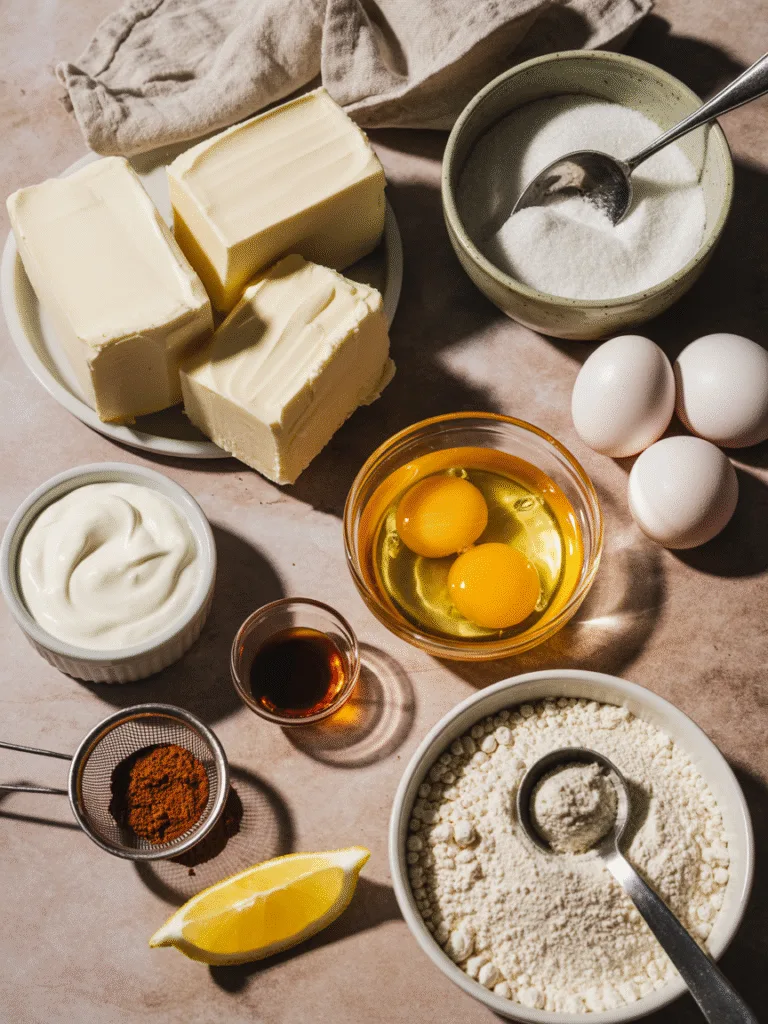
Ingredients with Weights and Purpose
All measurements are in grams (with US cups in parentheses) because baking is easier when it’s precise.
- Cream cheese — 800 g (3½ cups) — full-fat, softened. This is the base. Low-fat or cold blocks won’t blend smoothly.
- Granulated sugar — 150 g (¾ cup) — adds sweetness without making it cloying. Balances the coffee’s bitterness.
- Eggs — 4 large (approx. 200 g) — give structure. Add one at a time, and don’t overmix once they’re in.
- Sour cream — 120 g (½ cup) — keeps the texture soft and adds a slight tang.
- Vanilla extract — 2 tsp — rounds out the flavors. Skip artificial stuff.
- Instant espresso powder — 5 g (2 tsp) — this is where the coffee flavor comes from. Sift it in to avoid clumps.
- All-purpose flour — 10 g (1 tbsp) — a small amount helps stabilize the batter.
- Lemon juice — 1 tsp — just enough to cut the richness.
For the crust:
- Digestive biscuits — 200 g (2 cups crushed) — buttery, sturdy, and widely available.
- Unsalted butter — 100 g (7 tbsp melted) — binds the crumbs. Use real butter, not margarine.
- Sugar — 30 g (2 tbsp) — enhances flavor and helps with browning.
Equipment
Required:
- 9-inch (23 cm) springform pan
- Hand mixer or stand mixer (a whisk works, but it’ll take longer)
- Digital kitchen scale (highly recommended)
- Mixing bowls (one large, one medium)
- Spatula and fine sieve (for sifting flour and espresso)
- Oven preheated to 160°C (325°F)
- Cooling rack
Nice-to-have:
- Parchment paper (line the pan bottom to avoid sticking)
- Offset spatula (for a smooth top)
- Oven thermometer (ovens can run hot or cold)
Step-by-Step Instructions
Step 1: Prepare the crust
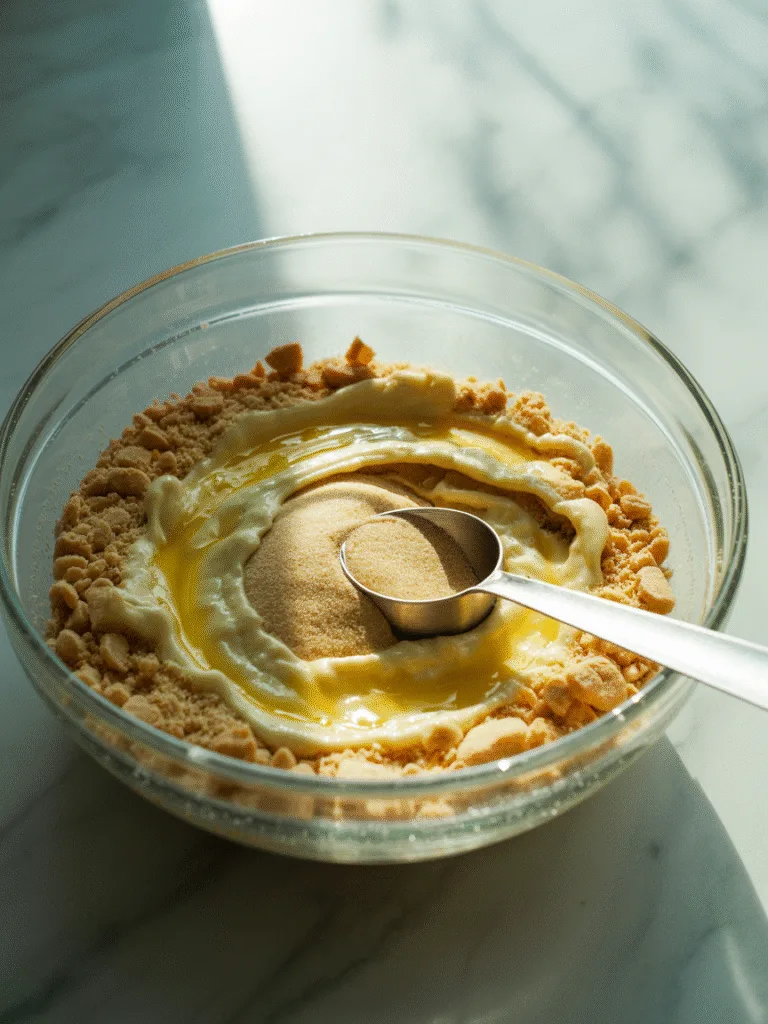
Crush 200 g digestive biscuits into fine crumbs (a food processor works best, but a zip-top bag and rolling pin do fine). Mix with 30 g sugar, then stir in 100 g melted butter until it looks like wet sand. Press firmly into the bottom of a parchment-lined springform pan. Bake at 160°C (325°F) for 10–12 minutes until set and lightly golden. Let it cool while you make the filling.
Visual cue: The crust should hold its shape when pressed, not crumble.
Step 2: Make the filling
In a large bowl, beat 800 g softened cream cheese on medium speed for 1–2 minutes until smooth. Scrape down the sides. Add 150 g sugar and beat until combined. Mix in 120 g sour cream and 2 tsp vanilla just until uniform.
Visual cue: The mixture should be pale and creamy, no lumps.
Sift in 10 g flour and 5 g instant espresso powder. Mix on low until just incorporated. Add the eggs one at a time, mixing each in just until it disappears. Overmixing here adds air, which can lead to cracks. Finally, mix in 1 tsp lemon juice.

Step 3: Bake and cool
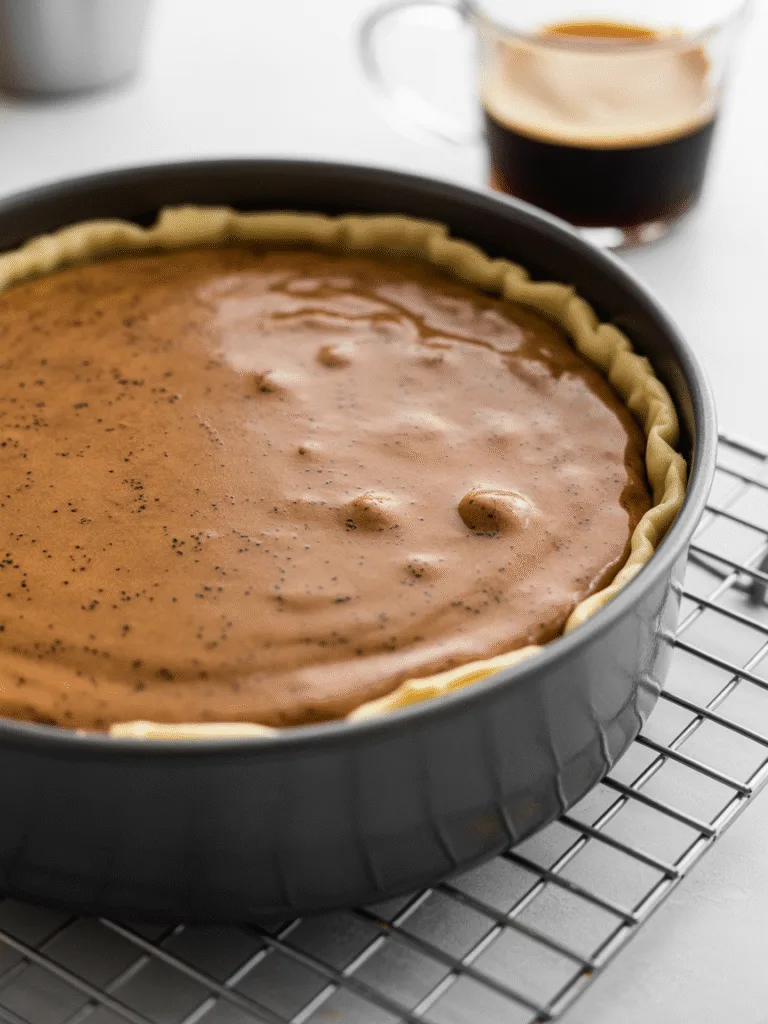
Pour the filling over the cooled crust. Tap the pan gently on the counter to release air bubbles. Bake at 160°C (325°F) on the center rack for 55–60 minutes.
Doneness test: The edges should be set, but the center should still wobble slightly—like Jell-O when nudged. The internal temperature should read around 74°C (165°F).
Turn off the oven, prop the door open with a wooden spoon, and let the cheesecake cool inside for 1 hour. This slow drop in temperature helps prevent cracks. Remove and let cool completely at room temperature before refrigerating.
Step 4: Chill and serve
Refrigerate for at least 6 hours, preferably overnight.
Visual cue: The surface should be firm and glossy. Run a thin knife around the edge before releasing the springform clasp to avoid pulling or tearing.
Troubleshooting: Common Failures and Fixes
Problem: Cracks on the surface
Likely causes: Overmixing after adding eggs, sudden temperature change, or underbaking.
Fix next time: Mix on low after eggs, cool slowly in the oven, and don’t pull it out too early.
Problem: Soggy crust
Likely causes: Filling poured over a warm crust or underbaked base.
Fix: Let the crust cool fully. Consider baking it 12 minutes instead of 10 for extra crispness.
Problem: Grainy texture
Likely causes: Cold cream cheese or undissolved espresso powder.
Fix: Ensure all dairy is at room temperature. Sift the espresso powder thoroughly.
Problem: Cheesecake sinks after baking
Likely causes: Overbaking or too much air in the batter.
Fix: Remove when the center is still slightly loose. Avoid overmixing after eggs.
Problem: Bitter coffee flavor
Likely causes: Low-quality espresso powder or too much.
Fix: Stick to 5 g max of a decent brand. A dollop of sweet whipped cream on top can balance it.
Substitutions and Variations
Egg-free option: Replace each egg with 60 g of silken tofu, blended until smooth. The texture will be denser but still creamy.
Dairy-free option: Use plant-based cream cheese (like Violife), dairy-free sour cream, and coconut oil in the crust. Note: the tang will be sharper, and sweetness may need adjusting.
Gluten-free option: Use gluten-free digestive biscuits or a mix of 150 g almond flour and 50 g oats for the crust.
Flavor twist: Add ½ tsp ground cinnamon or cardamom to the filling for warmth.
Topping ideas: Drizzle with chocolate ganache, dust with cocoa, or top with coffee whipped cream (1 cup heavy cream + 1 tsp instant coffee, whipped to soft peaks).
Storage, Make-Ahead, and Freezing
Counter: Keep covered for up to 6 hours if serving the same day.
Fridge: Stores well in an airtight container for up to 5 days. Let sit at room temperature for 20–30 minutes before serving for the best texture.
Freezer: Wrap tightly in plastic wrap, then foil. Freeze for up to 2 months. Thaw overnight in the fridge.
What not to freeze: Fresh whipped cream or fruit toppings—add those after thawing.
Serving Suggestions and Pairing Ideas
A small dollop of coffee-infused whipped cream and a light dusting of cocoa elevate the look and taste. Pair with a tart berry compote—cherry or cranberry work especially well—to cut through the richness. For drinks, a cold brew or a warm cup of masala chai complements the flavors nicely, making it a versatile dessert for both Western and Indian households.
FAQs
Can I use coffee grounds instead of espresso powder?
No. Coffee grounds won’t dissolve and will leave a gritty texture. Stick to instant espresso powder for a smooth result.
How do I prevent cracks?
Avoid overmixing, especially after adding eggs. Bake at a low temperature and cool slowly in the oven with the door ajar.
Can I make this in a smaller pan?
Yes. Use an 8-inch pan and increase baking time by 10–15 minutes. For a 6-inch pan, halve the recipe.
What’s the best cream cheese to use?
Full-fat block cream cheese—like Amul or Philadelphia—is ideal. Avoid spreadable tub cream cheese, which contains more moisture and can affect texture.
Can I bake this in an OTG?
Yes. Preheat properly and use the middle rack. OTGs often have even heat distribution, which works well for cheesecakes.
Why did my cheesecake turn out watery?
It was likely underbaked or had too much sour cream. Bake until the edges are set and the center still jiggles slightly.
Notes from My Kitchen (First-Hand Testing Log)
Batch 1: Tried using finely ground coffee—texture was gritty. Switched to instant espresso.
Batch 2: Overmixed after adding eggs—cracks appeared. Reduced mixing time to just until each egg disappeared.
Final: Used 5 g espresso, cooled slowly, and refrigerated overnight. Result: smooth, deeply flavored, crack-free slice with a firm yet creamy crumb.
Nutrition and Disclaimer
Approximate per serving (1/12th, 150 g): 380 kcal, 28 g fat, 26 g carbs, 7 g protein.
Values are estimates and may vary based on ingredient brands and portion size. Always follow food safety guidelines when preparing dairy-based

Café‑Style Coffee Cheesecake at Home
Course: DessertCuisine: AmericanDifficulty: Medium12
servings30
minutes1
hour380
kcal9
hours30
minutesChill Time: 8 hours (overnight recommended)
A creamy, crack-free coffee cheesecake with deep espresso flavor, a buttery digestive crust, and no water bath required. Baked low and slow, then cooled gradually to ensure a smooth, luxurious texture—perfect with chai or cold brew.
Ingredients
For the filling:
Cream cheese — 800 g (3½ cups)
Granulated sugar — 150 g (¾ cup)
Eggs — 4 large (approx. 200 g)
Sour cream — 120 g (½ cup)
Vanilla extract — 2 tsp
Instant espresso powder — 5 g (2 tsp)
All-purpose flour — 10 g (1 tbsp)
Lemon juice — 1 tsp
- For the crust:
Digestive biscuits — 200 g (2 cups finely crushed)
Unsalted butter — 100 g (7 tbsp)
Sugar — 30 g (2 tbsp)
Directions
- Step 1: Prepare the crust
Pulse 200 g digestive biscuits into fine crumbs using a food processor or crush in a zip-top bag with a rolling pin. Mix with 30 g sugar, then stir in 100 g melted butter until the mixture resembles wet sand. Press firmly and evenly into the bottom of a parchment-lined springform pan. Bake at 160°C (325°F) for 10–12 minutes until set and lightly golden. Let cool completely before adding the filling.
Visual cue: The crust should hold its shape when pressed, not crumble. - Step 2: Make the filling
In a large bowl, beat 800 g softened cream cheese on medium speed for 1–2 minutes until smooth. Scrape the bowl. Add 150 g sugar and beat until combined. Mix in 120 g sour cream and 2 tsp vanilla just until uniform.
Visual cue: The mixture should be pale, creamy, and free of lumps.
Sift in 10 g flour and 5 g instant espresso powder. Mix on low speed until just incorporated. Add eggs one at a time, mixing each in just until absorbed—do not overmix. Stop as soon as each egg disappears. Finally, mix in 1 tsp lemon juice. - Step 3: Bake and cool
Pour the filling over the cooled crust. Tap the pan gently on the counter to release trapped air bubbles. Bake at 160°C (325°F) on the center rack for 55–60 minutes.
Doneness test: The edges should be set and slightly pulled from the sides, but the center should still jiggle slightly like Jell-O. The internal temperature should read 74°C (165°F).
Turn off the oven, open the door slightly with a wooden spoon, and let the cheesecake cool inside for 1 hour. This gradual cooling prevents cracks. Remove and let cool completely at room temperature. - Step 4: Chill and serve
Refrigerate for at least 6 hours, preferably overnight.
Visual cue: The surface should be firm, glossy, and clean to the touch. Run a thin knife around the edge before releasing the springform clasp to prevent tearing.
Slice with a warm, dry knife for clean cuts.
Notes
- Substitutions and Variations
Egg-free: Replace each egg with 60 g silken tofu, blended until smooth. Texture will be denser but still creamy.
Dairy-free: Use plant-based cream cheese (e.g., Violife), dairy-free sour cream, and coconut oil in the crust. Flavor will be tangier.
Gluten-free: Use gluten-free digestive biscuits or a mix of 150 g almond flour + 50 g oats.
Flavor twist: Add ½ tsp cinnamon or cardamom to the filling.
Topping ideas: Drizzle with chocolate ganache, dust with cocoa, or top with coffee whipped cream (1 cup heavy cream + 1 tsp instant coffee, whipped to soft peaks). - Serving Suggestions and Pairing Ideas
Serve with a dollop of coffee-infused whipped cream and a light dusting of cocoa. Pairs beautifully with a tart cherry or cranberry compote. Drinks: cold brew or masala chai—especially fitting for Indian households. - Notes from My Kitchen (First-Hand Testing Log)
Batch 1: Used coffee grounds—gritty texture. Switched to instant espresso.
Batch 2: Overmixed after eggs—cracks appeared. Reduced mixing time to 10 seconds per egg.
Final: 5 g espresso, slow cooling, overnight chill. Result: smooth, deep-flavored, crack-free slice with a firm yet creamy crumb.