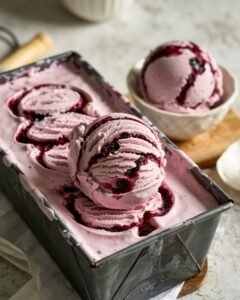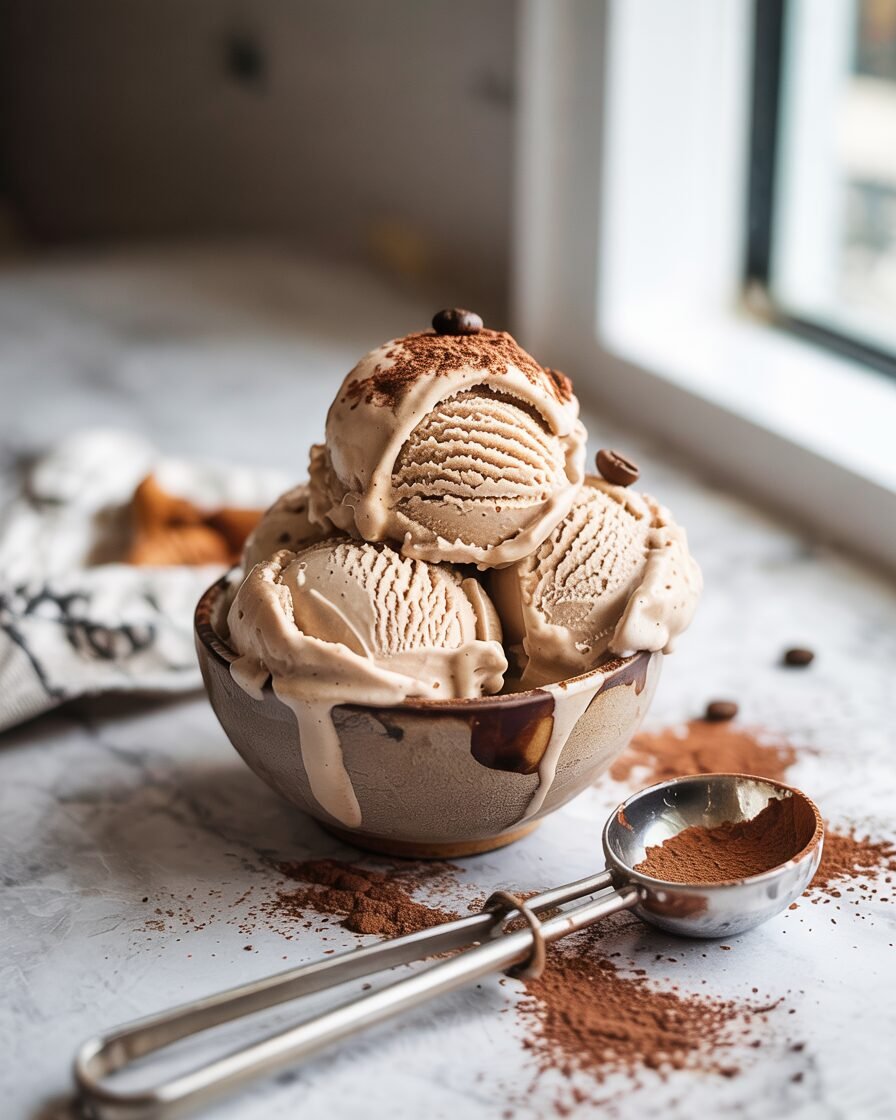
There’s something incredibly satisfying about homemade ice cream — especially when it doesn’t require an expensive ice cream maker. This Coffee Ice Cream (No Machine) Recipe is designed for home bakers who want rich, creamy ice cream with minimal equipment and maximum flavor.
With just a handful of ingredients and a simple folding technique, you’ll get a smooth, scoopable ice cream packed with bold coffee flavor and a velvety texture. No icy crystals, no complicated steps.
Pro tip: Dissolve the coffee fully in a small amount of warm cream before mixing — this prevents grainy bits and gives the ice cream a deeper, smoother coffee flavor.
Whether you’re serving it after dinner or pairing it with brownies, this recipe creates café-style coffee ice cream right from your freezer.
Why This Recipe Works
No-churn ice cream relies on a clever combination of whipped cream and sweetened condensed milk to mimic the texture of churned ice cream.
1. Whipped Cream = Built-in Air Structure
When heavy cream is whipped to soft peaks, it traps air bubbles. This aeration acts similarly to the churning process in an ice cream machine, creating a lighter texture instead of a solid frozen block.
2. Sweetened Condensed Milk Prevents Ice Crystals
Condensed milk contains concentrated sugar and milk solids. Sugar lowers the freezing point, which helps prevent large ice crystals from forming. This keeps the ice cream smooth and scoopable.
3. Dissolved Coffee = Even Flavor Distribution
Using instant coffee dissolved in warm cream ensures the flavor spreads evenly throughout the mixture. Undissolved granules can cause gritty texture.
Did you know? Fat slows ice crystal formation. That’s why heavy cream (36–40% fat) produces a richer, creamier ice cream than lighter dairy products.
Ingredients
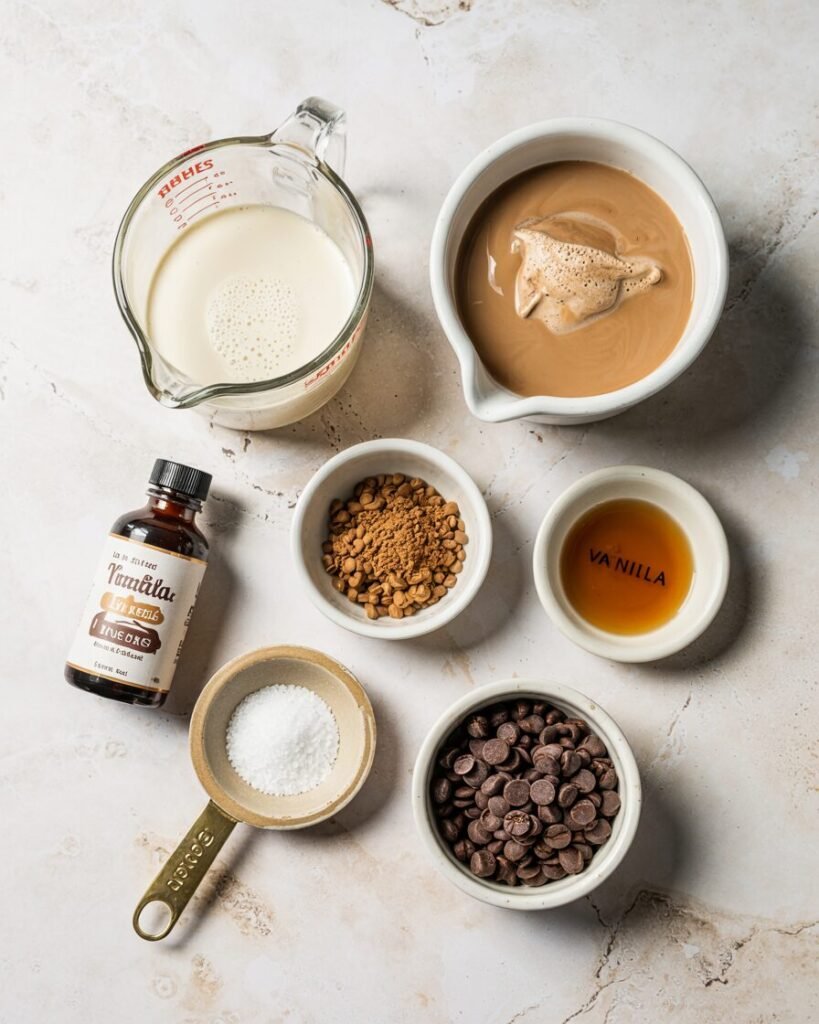
Yield: about 900 ml (roughly 6 servings)
- Heavy cream — 480 g (2 cups) — Base of the ice cream; provides fat and structure when whipped.
- Sweetened condensed milk — 395 g (1 standard can / 1¼ cups) — Sweetness and smooth texture; prevents ice crystals.
- Instant coffee granules — 8 g (2 tbsp) — Strong coffee flavor without adding extra liquid.
- Warm heavy cream — 30 g (2 tbsp) — Used to dissolve coffee granules smoothly.
- Vanilla extract — 5 g (1 tsp) — Rounds out the coffee flavor.
- Salt — 1 g (¼ tsp) — Enhances sweetness and balances bitterness.
Optional add-ins:
- 50 g (⅓ cup) chopped dark chocolate
- 40 g (¼ cup) chocolate chips
- 30 g crushed chocolate cookies
Equipment
Required
- Mixing bowl (large and cold)
- Hand mixer or whisk
- Rubber spatula
- Digital kitchen scale (recommended)
- Freezer-safe container (1-liter loaf pan or tub)
Nice to Have
- Fine sieve (to remove coffee sediment if needed)
- Offset spatula
- Parchment or lid for covering
Step-by-Step Instructions
Step 1: Dissolve the Coffee (2 minutes)
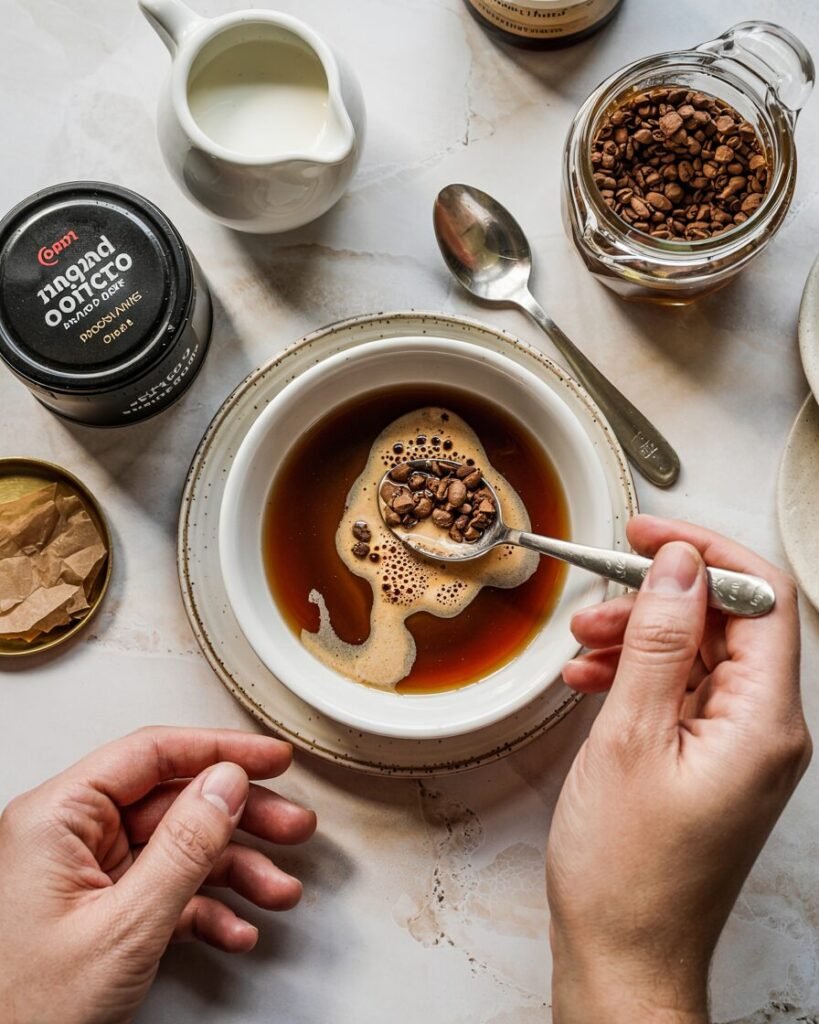
In a small bowl, combine instant coffee granules and 2 tbsp warm cream. Stir until fully dissolved.
Visual cue: The mixture should look like a thick coffee syrup with no visible granules.
Avoid this: Undissolved granules will create bitter pockets in the ice cream.
Step 2: Mix the Flavor Base (2 minutes)
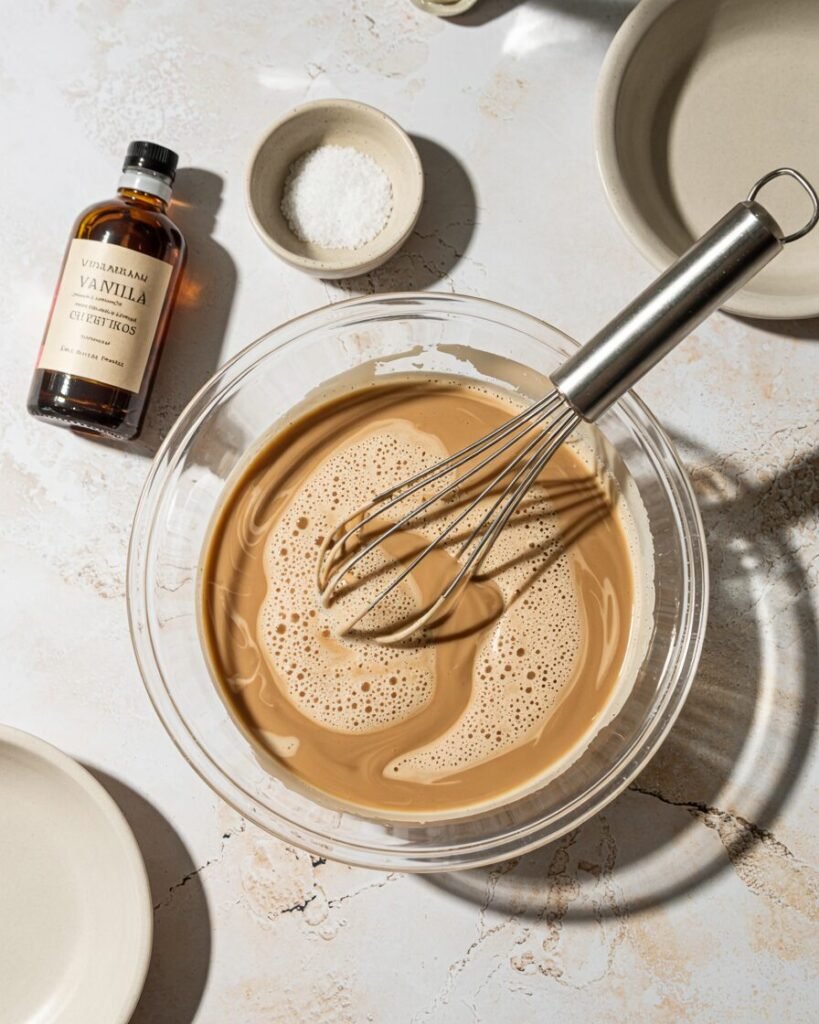
In a medium bowl, whisk together:
- sweetened condensed milk
- dissolved coffee mixture
- vanilla extract
- salt
Mix until completely smooth.
Visual cue: The mixture should look glossy and pourable, similar to caramel sauce.
Step 3: Whip the Cream (3–4 minutes)
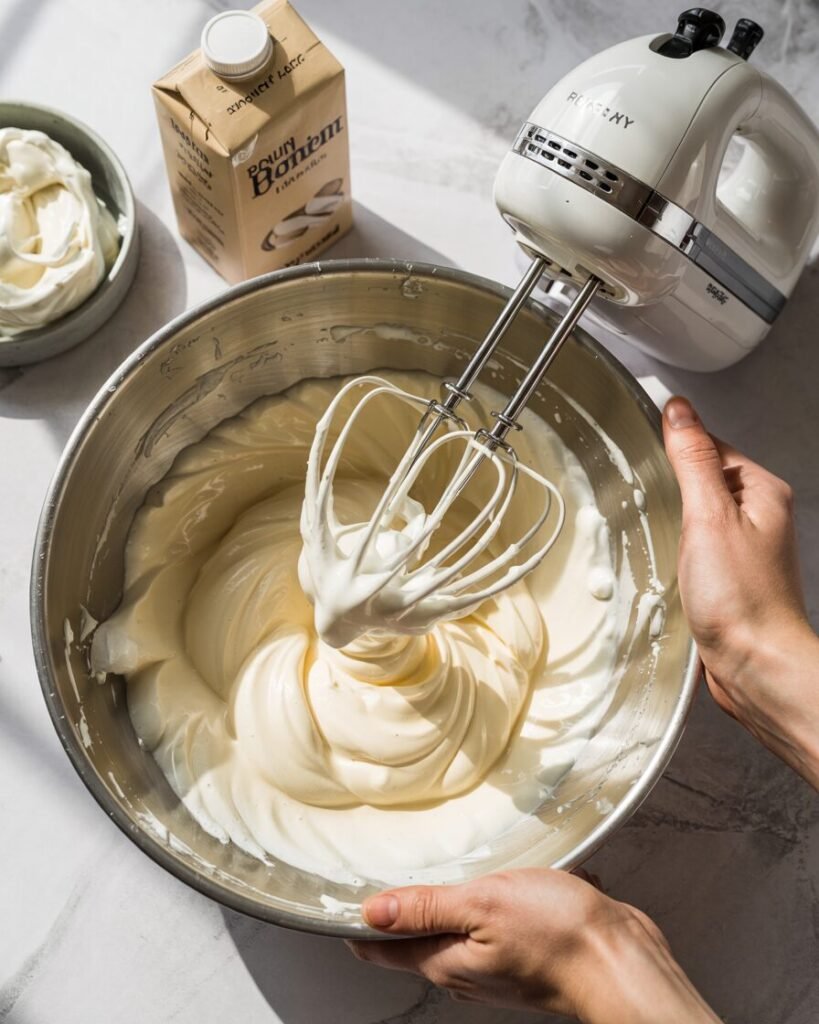
In a chilled bowl, whip 480 g heavy cream using a hand mixer on medium speed.
Whip until soft peaks form.
Visual cue: When lifting the whisk, the cream forms peaks that gently bend like a hook.
Avoid this: Overwhipped cream will look grainy and stiff.
Step 4: Fold the Mixture (2 minutes)
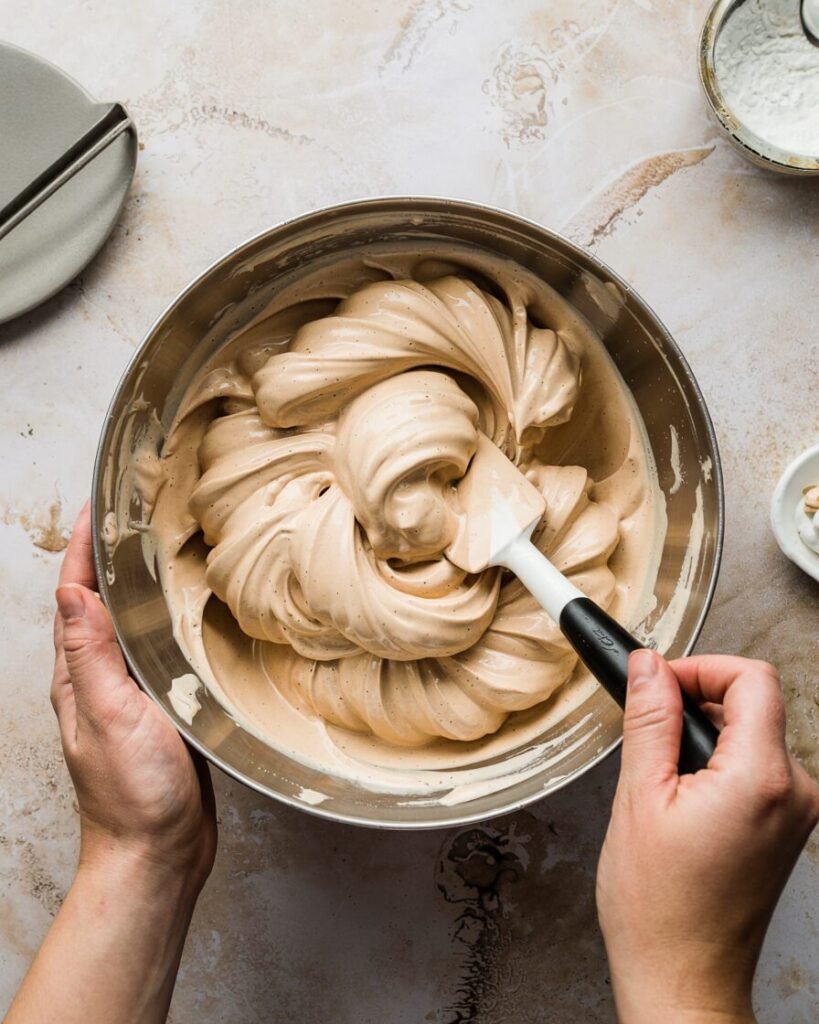
Add one third of the whipped cream into the coffee base and gently mix to lighten it.
Then fold the remaining whipped cream using a spatula.
Visual cue: The mixture should look airy, smooth, and light brown with no white streaks.
Step 5: Add Optional Mix-ins
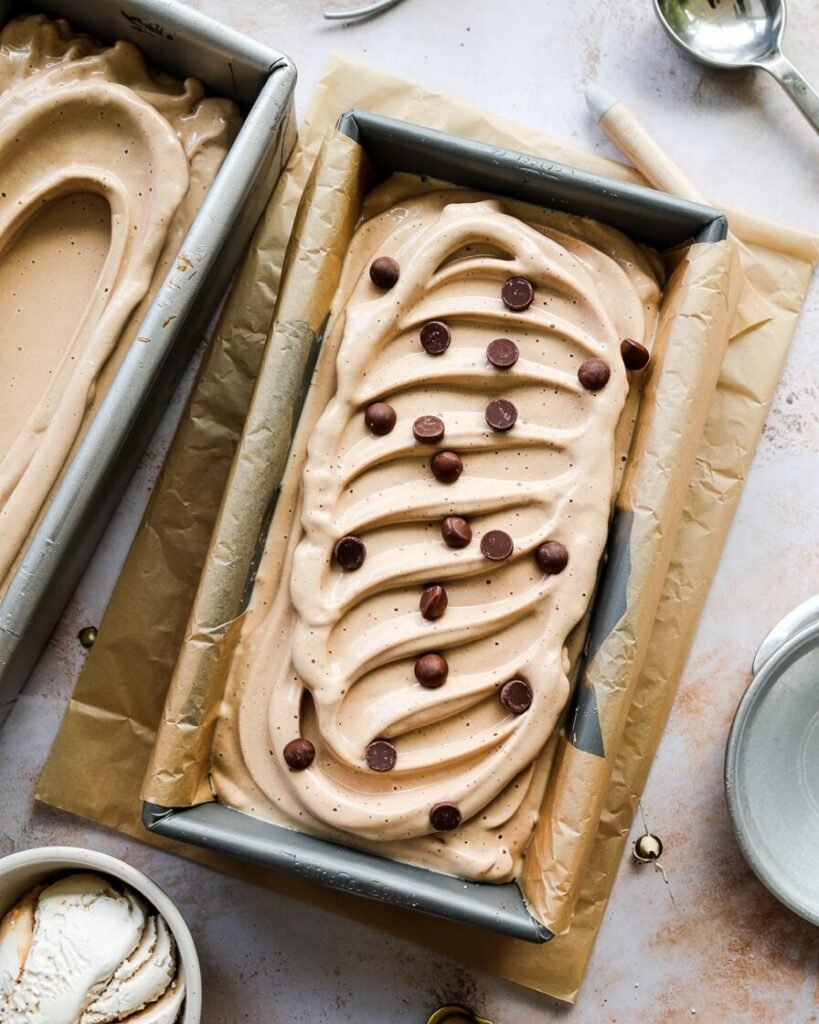
Fold in chocolate chips or chopped chocolate if desired.
Checkpoint: The batter should feel thick but still fluffy — similar to mousse.
Step 6: Freeze (6–8 hours)
Transfer the mixture to a 1-liter freezer container.
Smooth the top and cover with parchment or a lid.
Freeze for at least 6 hours or overnight.
Doneness cue: Ice cream should feel firm but scoopable, not rock solid.
Troubleshooting Common Problems

Ice Cream is Too Hard
Likely causes:
Too little sugar or freezer too cold.
Fix next time:
Let ice cream sit at room temperature 5 minutes before scooping.
Grainy Texture
Likely causes:
Coffee granules not fully dissolved.
Fix next time:
Always dissolve coffee in warm cream first.
Ice Cream Feels Icy
Likely causes:
Under-whipped cream or too much liquid flavoring.
Fix next time:
Whip cream until soft peaks.
Ice Cream Collapses
Likely causes:
Over-mixing during folding.
Fix next time:
Fold gently using a spatula.
Weak Coffee Flavor
Likely causes:
Low-quality coffee granules.
Fix next time:
Use strong instant espresso powder.
Substitutions and Variations
Dairy-Free Option
Replace:
- Heavy cream → coconut cream (480 g)
- Condensed milk → sweetened condensed coconut milk
Result: Slight coconut flavor but still creamy.
Egg-Free
Good news — this recipe is naturally egg-free.
Gluten-Free
The base recipe is gluten-free. Avoid cookie add-ins containing wheat.
Flavor Variations
Mocha Ice Cream
Add 15 g (2 tbsp) cocoa powder to the condensed milk mixture.
Coffee Chocolate Chip
Add 80 g chocolate chips before freezing.
Coffee Almond
Add ½ tsp almond extract and toasted almonds.
Scaling Guide
| Servings | Cream | Condensed Milk | Coffee |
|---|---|---|---|
| 4 servings | 320 g | 260 g | 1½ tbsp |
| 6 servings | 480 g | 395 g | 2 tbsp |
| 10 servings | 800 g | 650 g | 3½ tbsp |
Storage, Make-Ahead, and Freezing
Freezer:
Store in an airtight container for up to 2 weeks.
Best texture window:
First 7 days.
Serving tip:
Let sit at room temperature 3–5 minutes before scooping.
Do not refreeze repeatedly.
Repeated thawing creates ice crystals.
Serving Suggestions
This coffee ice cream pairs beautifully with:
- Warm brownies
- Chocolate lava cake
- Biscotti
- Affogato (espresso poured over ice cream)
The bitterness of coffee balances sweet desserts perfectly.
FAQs
Can I use brewed coffee instead of instant coffee?
It’s not recommended. Brewed coffee adds too much liquid and can create icy texture.
Can I make this without a mixer?
Yes. Whisk by hand for about 5–6 minutes until soft peaks form.
How do I make stronger coffee flavor?
Use espresso powder instead of regular instant coffee.
Can I halve the recipe?
Yes. Simply divide all ingredients by two and freeze in a smaller container.
Can I make this in an air fryer?
No. Ice cream requires freezing, not baking. Use a freezer only.
Notes From My Kitchen (Testing Log)
Batch 1:
Used brewed coffee. Result: icy texture and weak flavor.
Batch 2:
Used instant coffee but added it directly. Result: small gritty coffee bits.
Batch 3:
Dissolved coffee in warm cream first. Texture improved significantly.
Batch 4:
Whipped cream too stiff. Final ice cream was dense.
Batch 5 (final version):
Soft peaks + dissolved coffee gave the creamiest texture.
Key lesson:
The soft-peak whipped cream stage makes the biggest difference in texture.
Nutrition and Disclaimer
Approximate per serving (based on 6 servings):
- Calories: ~320
- Fat: 22 g
- Carbohydrates: 26 g
- Protein: 4 g
Values are estimates and will vary depending on ingredients and brands used.
Conclusion
Homemade ice cream doesn’t have to be complicated. This no-machine coffee ice cream recipe proves that with just a few ingredients and the right technique, you can create a creamy, scoopable dessert at home.
The secret lies in three things: properly whipped cream, dissolved coffee, and gentle folding. Once you master those steps, the result is a luxurious frozen treat with bold coffee flavor and a silky texture.