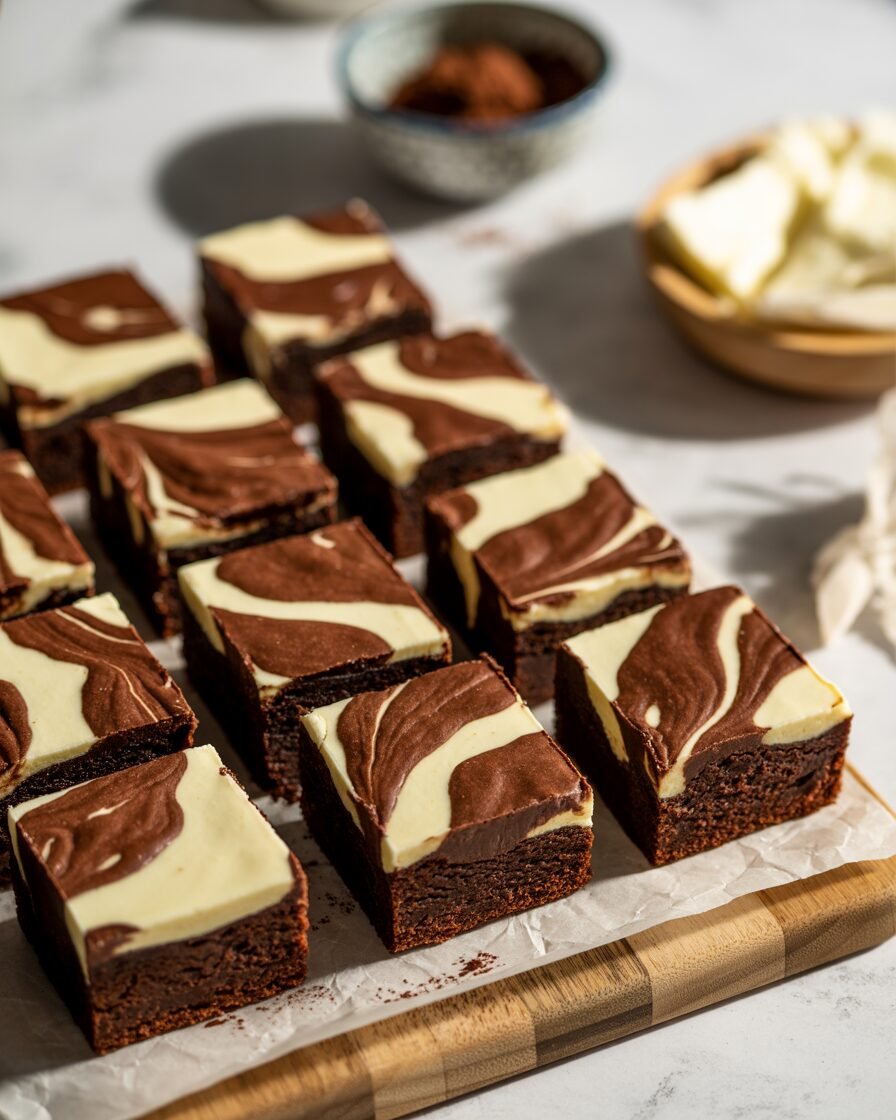
Some desserts are loud and dramatic, but Cream Cheese Brownies? They’re the quiet overachievers—the kind of bake that looks simple yet delivers a knockout every single time. I created this recipe for bakers who want something reliably rich and fudgy, but with that irresistible cheesecake swirl that makes everyone think you spent way more time in the kitchen than you actually did. These brownies strike the sweet spot between dense chocolate chew and creamy tang, and the best part is: you don’t need a mixer, fancy tools, or any advanced techniques.
If you follow the visual cues and one key pro tip—stop baking while the center still has a gentle jiggle—you’ll get brownies with perfect swirls, a silky interior, and clean, professional bakery-style slices every time.
Why This Recipe Works
Chocolate brownies rely on fat, cocoa, and controlled gluten development to stay fudgy rather than cakey. Here, we use melted butter for flavor and just enough flour to keep the structure intact, while cocoa powder intensifies chocolate notes without thinning the batter. Using both granulated and light brown sugar boosts moisture retention because brown sugar contains molasses, which binds water and keeps brownies soft for days.
For the cream-cheese swirl, room-temperature cheese blends smoothly with sugar and egg so it doesn’t curdle or bake grainy. A touch of cornstarch stabilizes the swirl, preventing it from sinking into the brownie layer.
Finally, baking at 175°C (350°F) gives the brownie enough time to set before the swirl browns too fast, and pulling it out while slightly jiggly ensures the classic fudgy texture once cooled.
Ingredients

Brownie Batter
- Unsalted butter — 115 g (½ cup)
Provides richness and fudgy texture. - Granulated sugar — 120 g (⅔ cup)
Sweetness + structure. - Light brown sugar — 50 g (¼ cup)
Moisture and chewiness. - Large egg — 1 (50–55 g)
Binds batter; adds shine and structure. - Vanilla extract — 1 tsp
Balances chocolate bitterness. - Cocoa powder (natural) — 40 g (⅓ cup)
Deep chocolate flavor; thicker batter than Dutch-process. - All-purpose flour — 60 g (½ cup)
Minimal gluten for fudgy texture. - Salt — ¼ tsp
Brightens and balances.
Cream Cheese Swirl
- Cream cheese (full-fat, brick style) — 120 g (about ½ cup)
Must be softened; low-fat becomes watery. - Granulated sugar — 40 g (3 tbsp)
Sweetens and helps smooth texture. - Egg yolk — 1
Richness + stability. - Vanilla extract — ½ tsp
- Cornstarch — 1 tsp
Prevents sinking and cracking.
Equipment
Required
- 8-inch (20 cm) square pan
- Mixing bowls
- Whisk + silicone spatula
- Digital scale
- OTG or conventional oven
- Parchment paper
- Oven thermometer (highly recommended)
Nice to Have
- Offset spatula
- Fine sieve (for cocoa lumps)
- Cooling rack
Step-by-Step Instructions
Step 1: Prep the pan & oven
- Preheat to 175°C (350°F) for at least 15 minutes.
- Line your pan with parchment, leaving overhangs.
Visual cue: pan should be fully covered so brownies lift out cleanly.
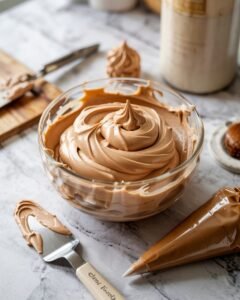
Step 2: Make the brownie base

- Melt butter gently until just liquid—avoid bubbling.
- Whisk in both sugars for 30–40 seconds until glossy.
- Whisk in the egg and vanilla for 20–30 seconds.
Visual cue: batter becomes thick, shiny, and slightly lighter in color. - Sift in cocoa, flour, and salt.
- Fold gently with a spatula.
Visual cue: batter should be thick but spreadable—similar to soft frosting.
Spread ¾ of the brownie batter into the pan; reserve the rest for swirling.
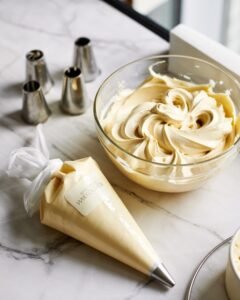
Step 3: Make the cream-cheese swirl

- Beat softened cream cheese with sugar until smooth.
- Add egg yolk, vanilla, and cornstarch; mix until velvety.
Visual cue: no lumps; should resemble thick yogurt.
Dollop over the brownie base.
Step 4: Swirl and finish layering

Spoon remaining brownie batter on top in small blobs.
Using a skewer or knife, swirl gently without overmixing.
Visual cue: distinct streaks of white and brown—NOT blended into beige.
Step 5: Bake (25–32 minutes)

Place pan on the middle rack.
Bake until edges look set but the center jiggles slightly when shaken.
Texture test: a toothpick inserted in the brownie portion should come out with moist crumbs, not raw batter.
Cool completely before slicing (at least 1 hour).
Troubleshooting: Common Failures & Fixes
1. Brownies baked dry
Cause: overbaking, too much flour, thin pan.
Fix: bake only until jiggly; verify flour weight; use metal pan over glass.
2. Cream cheese layer looks curdled
Cause: cold cream cheese; overbeating after adding yolk.
Fix: warm cheese to soft stage (18–21°C); mix gently.
3. Swirl sinks into batter
Cause: cheese mixture too thin; brownie base not thick enough.
Fix: don’t skip cornstarch; ensure cocoa is measured correctly.
4. Cracked swirl top
Cause: oven too hot; overbaked cheesecake portion.
Fix: verify temperature with thermometer; remove when edges set.
5. Gummy or undercooked center
Cause: not enough bake time; opened oven door too early.
Fix: avoid opening before 75% of bake time; extend 3–5 minutes.
Substitutions & Variations
Egg-Free Version (tested)
- Replace egg in brownies with 60 g (¼ cup) unsweetened applesauce.
- Replace yolk in swirl with 1 tbsp yogurt.
Note: texture becomes slightly softer but still fudgy.
Dairy-Free Version
- Substitute cream cheese with vegan block-style cream cheese (120 g).
- Replace butter with 100 g neutral oil.
Caution: swirl may brown faster; shield with foil at 20 minutes.
Gluten-Free Version
- Use 1:1 GF baking blend (60 g).
Note: brownies may be more crumbly; chill before slicing.
Flavor Variations
- Add 1 tsp instant espresso to intensify chocolate.
- Fold 60 g raspberries into the cream-cheese swirl.
- Add ½ tsp cinnamon for a warm, bakery-style depth.
Scaling
For a 9×13 pan: multiply recipe by 2.
For small-batch (6-inch pan): use ¾ of all ingredients.
Storage, Make-Ahead & Freezing
Room Temperature
- Keeps 2 days in an airtight container.
Refrigerator
- Keeps 4–5 days.
- Bring slices to room temp for best fudgy texture.
Freezer
- Freeze whole slab or individual slices, wrapped tightly, for 2 months.
- Thaw in fridge overnight.
- Do not microwave, as the swirl can split; let come to room temp naturally.
What Not to Freeze
- Avoid freezing if using fruit-swirl variation—moisture can cause separation.
Serving Suggestions
- Drizzle with warm chocolate sauce or salted caramel.
- Serve with berries to balance richness.
- Pair with a scoop of vanilla or coffee-flavored ice cream for contrast.
FAQs
1. Can I use Dutch-process cocoa?
Yes, but the batter becomes slightly looser and darker. Reduce butter by 10 g for best structure.
2. How do I prevent the swirl from cracking?
Don’t overbake; pull brownies once edges are set and center still jiggles slightly.
3. Can I halve the recipe?
Yes—use a 6-inch pan and bake 5–8 minutes shorter.
4. Can I bake these in an OTG?
Absolutely. Use the middle rack + both rods on. Monitor early browning.
5. Why is my brownie center sinking?
Underbaked or oven too hot. Bake until internal brownie temp is ~90–92°C (194–197°F).
Notes From My Kitchen (Testing Log)
Batch 1: Swirl sank; batter was too thin due to Dutch cocoa. Increased flour by 5 g and added cornstarch to swirl.
Batch 2: Edges too dry. Reduced bake time from 32 to 28 minutes.
Batch 3: Perfect swirl definition but slight cracking. Lowered oven temp from 180°C to 175°C.
Final Method: The current recipe gives the cleanest swirl, stable structure, and fudgiest center across three ovens (OTG + convection).
Nutrition (Estimate)
Per square (1 of 12): ~240 kcal, 3 g protein, 28 g carbs, 13 g fat.
Values are estimates. Adjust based on brands and portion size. Always follow general food-safety practices.
Final Thoughts
Cream Cheese Brownies combine the best of two worlds—chewy, indulgent chocolate and creamy, tangy cheesecake—with a method that’s simple enough for beginners and reliable enough for seasoned bakers. With the visual cues, testing notes, and troubleshooting guide above, you’ll be able to produce brownies that cut cleanly, swirl beautifully, and taste like a bakery classic every single time.