Why this recipe works
Oats thicken smoothies because their starches and soluble fiber (especially beta-glucan) absorb liquid as they blend and sit. That’s why this recipe gets noticeably thicker after 3–5 minutes totally normal, and honestly the goal.
Ripe bananas do two jobs: they add sweetness (so you don’t need much honey) and they create body because their natural pectin helps bind water. Yogurt contributes creaminess plus a little tang, which balances banana’s sweetness and makes the flavor taste “rounder,” not flat.
Finally, blending order matters. When you pulverize oats in liquid first, you reduce graininess and help the mixture emulsify. If you dump everything in at once, oats can stay sandy and you’ll chase smoothness by adding more liquid (which then makes it thin).
Ingredients (weights + purpose)
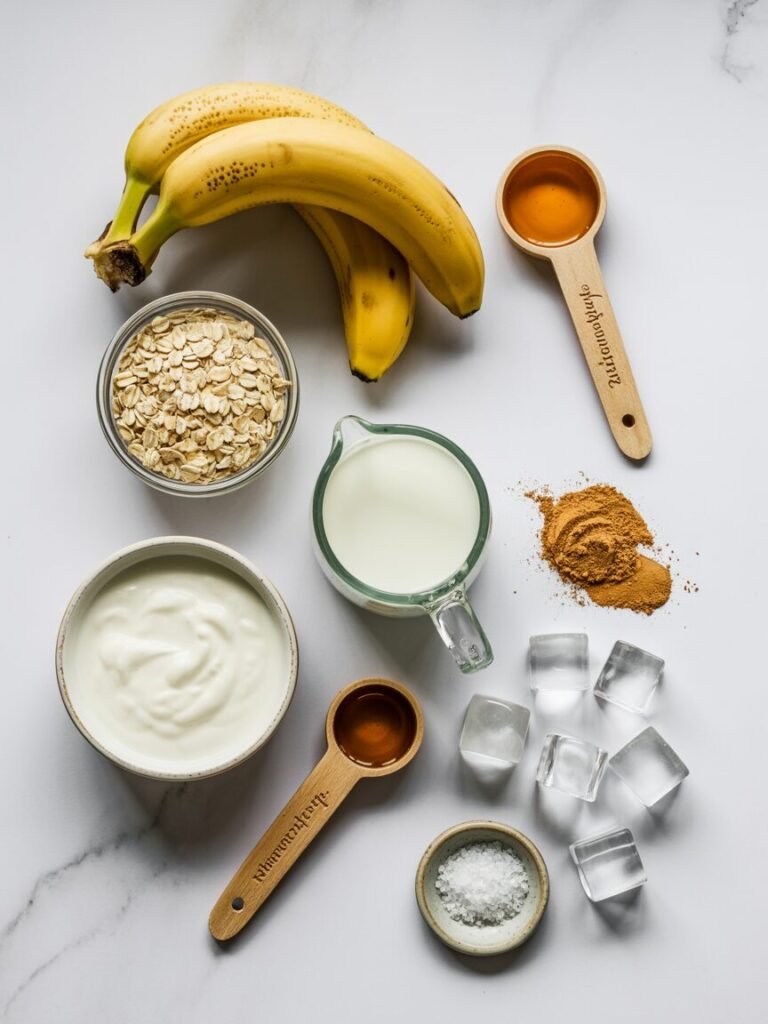
For 1 large smoothie (about 450–500 ml / 16–18 oz), or 2 small servings.
- Rolled oats — 40 g — 1/2 cup — Thickness + staying power (avoid steel-cut)
- Milk (dairy or unsweetened soy/almond) — 240 g — 1 cup — Blending liquid
- Ripe banana (peeled) — 120 g — 1 medium — Sweetness + creamy body
- Greek yogurt, plain (or thick curd/dahi) — 100 g — about 1/2 cup — Creaminess + tang + protein
- Honey or maple syrup (optional) — 10–15 g — 2–3 tsp — Adjust sweetness (skip if banana is very ripe)
- Chia seeds (optional) — 6 g — 1 tsp — Extra thickness + fiber (thickens after sitting)
- Cinnamon (optional) — 0.5 g — 1/4 tsp — Warm, “bakery” flavor
- Fine salt — 0.5 g — a pinch — Makes banana taste more banana
- Ice cubes — 80–120 g — 6–8 cubes — Colder + thicker (reduce if using frozen banana)
Ingredient notes:
- Use rolled oats (not instant if you hate “pasty” smoothies, and not steel-cut because they stay gritty).
- The best banana is heavily speckled or nearly brown. Greenish bananas taste chalky and won’t blend as creamy.
Equipment
Required:
- Blender (any sturdy mixer grinder/blender works; high-speed is a bonus)
- Kitchen scale (best) or measuring cups
- Spatula (to scrape down)
- Tall glass or jar, 500 ml capacity
Nice-to-have:
- Fine sieve (only if your blender struggles and you want ultra-smooth)
- Reusable straw
- Frozen banana slices (for consistent thickness)
[Process photo placeholder 1: measured ingredients on counter]
Step-by-step instructions (with timing + visual cues)
Step 1: Powder the oats in milk (30–45 seconds)
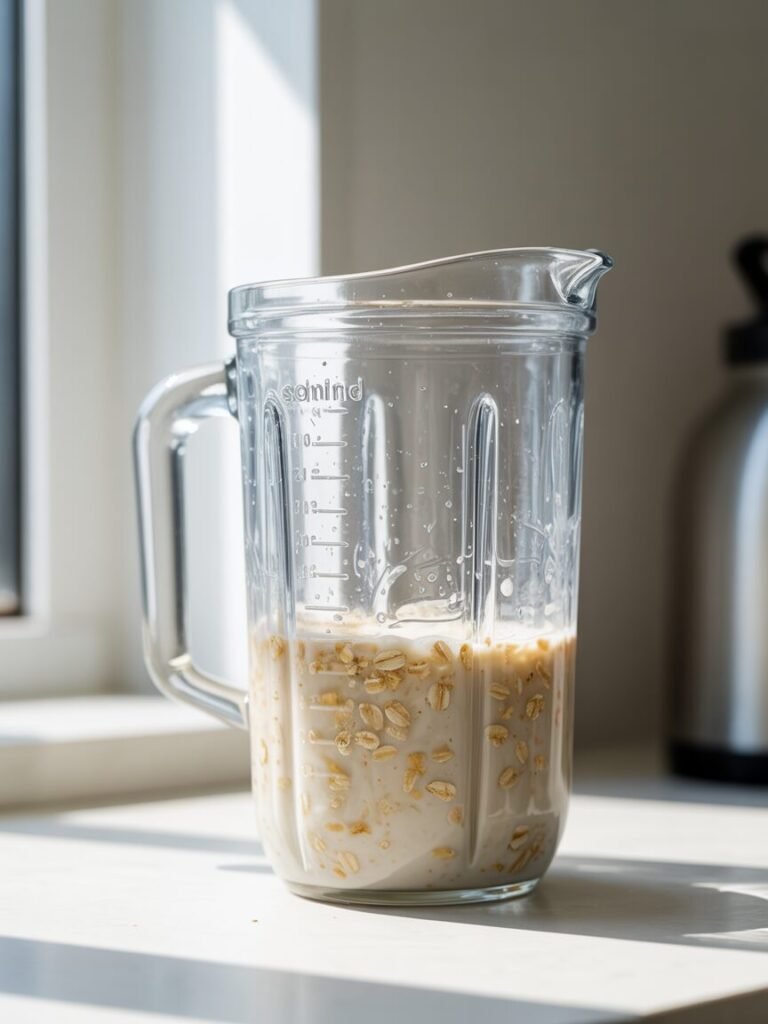
Add 40 g oats and 240 g milk to the blender.
Blend 20–30 seconds on medium-high (or until the liquid looks slightly beige and foamy).
Visual cue: you shouldn’t see oat flakes anymore; it should look like thin, creamy “oat milk.”
Avoid this: blending oats dry first in a weak blender can create dusty clumps that stick under the blades.
[Process photo placeholder 2: oats + milk blended to beige liquid]
Step 2: Add banana + yogurt (30–45 seconds)
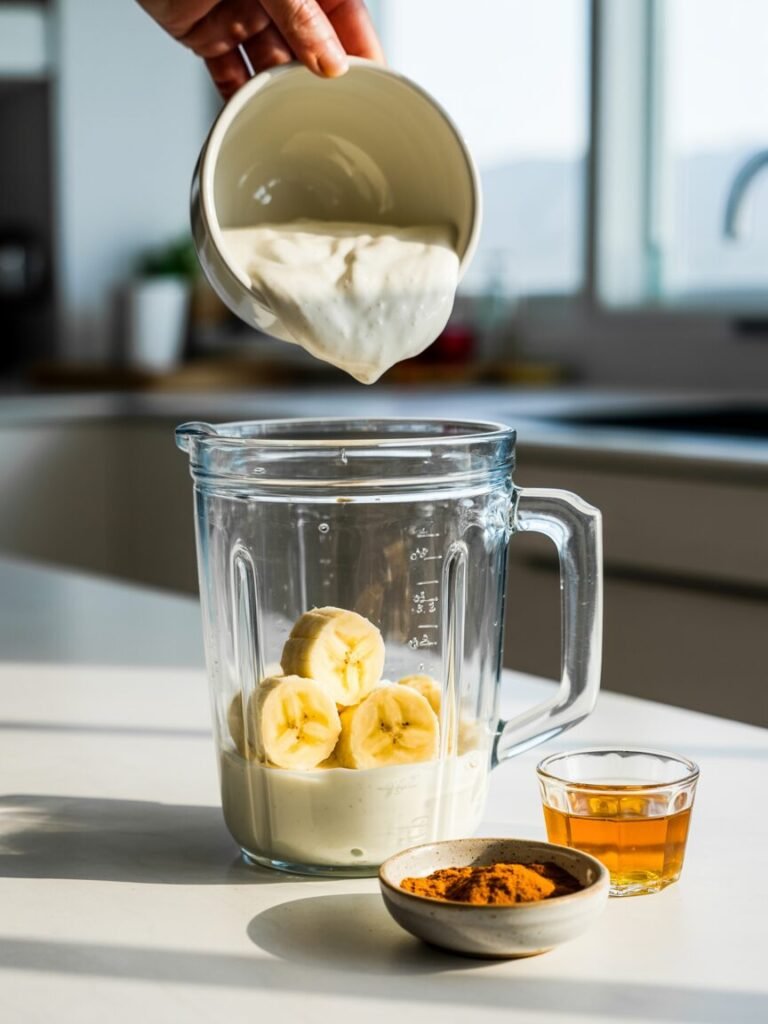
Add 120 g banana, 100 g yogurt, pinch of salt, plus cinnamon and honey if using.
Blend 20–40 seconds on high.
Visual cue: the smoothie should look glossy and uniform, with no banana strings. When you lift the lid, it should drip in thick ribbons—not splatter like milk.
[Process photo placeholder 3: adding banana + yogurt]
Step 3: Adjust thickness and temperature (10–20 seconds)
Add ice (80–120 g) and blend 10–15 seconds.
Checkpoint:
- Too thick (won’t pour): add 15–30 g (1–2 tbsp) milk and pulse.
- Too thin: add 10 g (2 tbsp) oats or 30 g frozen banana, blend again.
[Process photo placeholder 4: final texture in blender—ribboning]
Step 4: Rest (optional) and serve
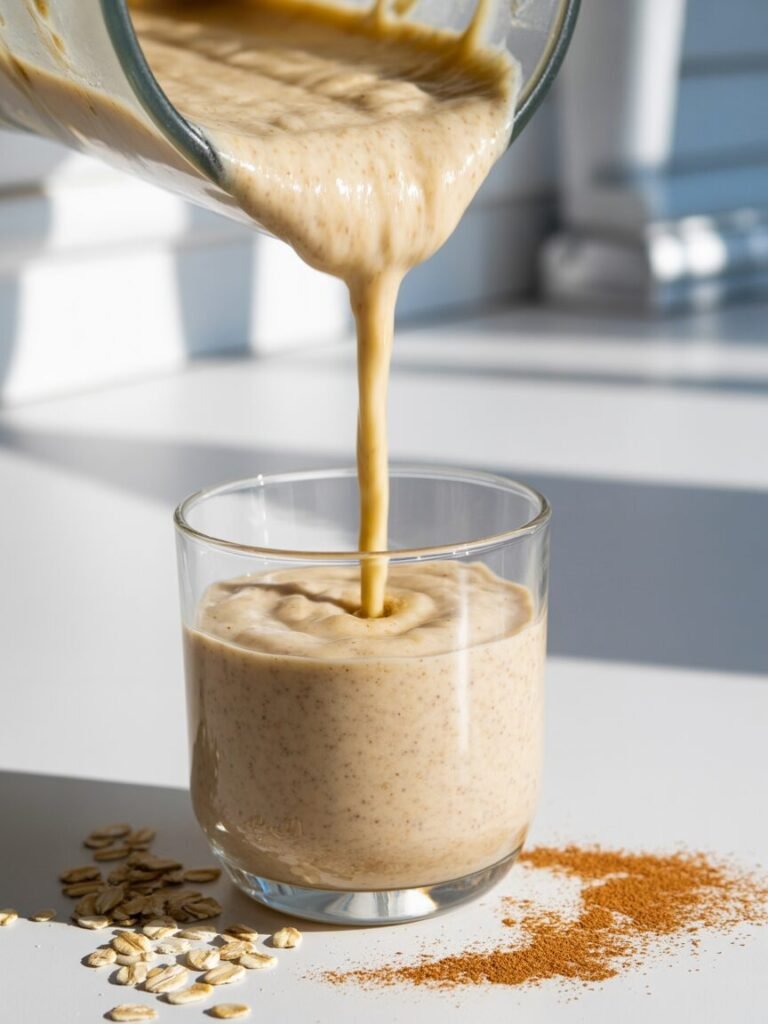
For the thickest texture, let it sit 3 minutes in the jar. Oats and chia (if used) will hydrate.
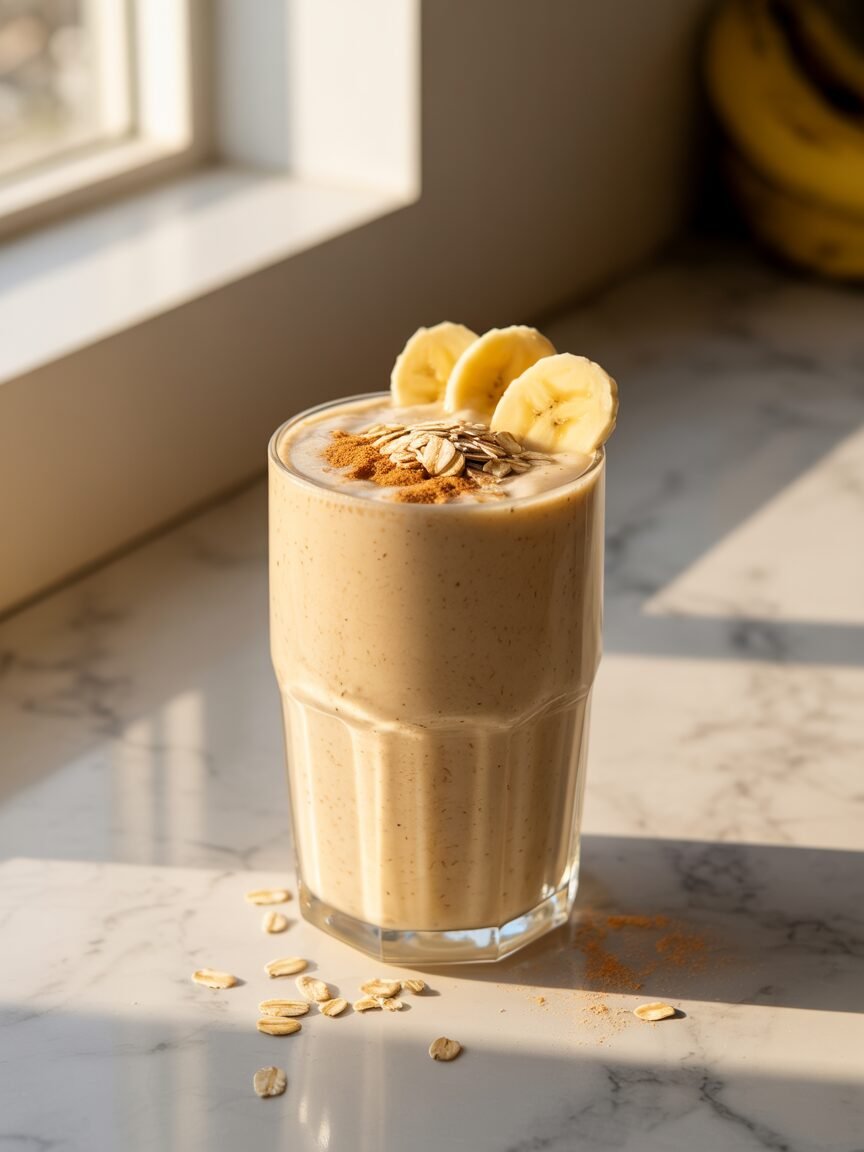
Serve immediately. If you want a “smoothie bowl,” pour into a bowl and top with sliced banana, toasted oats, or nut butter.
[Process photo placeholder 5: pouring into glass]
Troubleshooting (common problems + fixes)
- Problem: Smoothie is gritty or “raw oat” tasting
Likely causes: oats not blended first; blender not strong enough; steel-cut oats used
Fix next time: blend oats + milk first for 20–30 seconds; use rolled oats; try soaking oats in milk 10 minutes before blending - Problem: Too thick to drink
Likely causes: banana very large; chia added; rested too long; too much ice
Fix next time: reduce oats to 30 g; skip chia; reduce ice; add 30–60 g milk at the end and blend 5 seconds - Problem: Too thin / watery
Likely causes: small banana; low-fat runny yogurt; too much milk; not enough ice/frozen fruit
Fix next time: use 100 g thick yogurt; add 10 g more oats; use frozen banana; rest 3–5 minutes
Substitutions and variations
Dietary swaps
Dairy-free:
- Use unsweetened soy milk or almond milk (same weight).
- Replace yogurt with coconut yogurt or soy yogurt, 100 g. Choose a thick one or the smoothie turns thin.
Gluten-free:
- Use certified gluten-free rolled oats (same amount).
Egg-free:
- Naturally egg-free.
Lower sugar:
- Skip honey/maple syrup and rely on a very ripe banana.
- Add 1/8 tsp cinnamon + pinch salt to boost sweetness perception without adding sugar.
Flavor variations (tested-style)
- Peanut butter banana: add 16 g (1 tbsp) peanut butter. Thicker, richer.
- Coffee banana oat: replace 60 g milk with 60 g chilled brewed coffee. Add extra 5 g honey if needed.
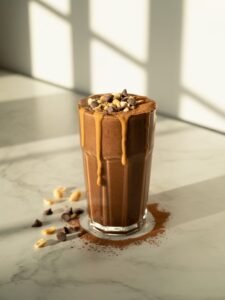
- Chocolate version: add 8 g cocoa powder (about 1 tbsp). If using cocoa, add a touch more honey and 30 g extra milk.
- Berry banana: add 80 g frozen berries. Expect it to thicken more and taste brighter.
Scaling
- Double batch: simply double all ingredients; blend in a large blender jar.
- Make for 1 small serving: halve everything, but keep blending times similar (small volumes still need time to smooth).
Storage, make-ahead, and freezing
Counter:
- Best within 30 minutes for peak texture and color.
Fridge:
- Store in a sealed jar up to 24 hours. It will thicken a lot as oats hydrate.
- To revive: add 30–60 g milk, shake hard, then blend 5–10 seconds.
Freezer:
- I don’t recommend freezing the finished smoothie (it can separate and get icy).
- Better method: freeze smoothie packs.
- In a freezer bag: 120 g banana (sliced) + optional berries + cinnamon.
- Blend with fresh milk/oats/yogurt when needed.
- Frozen banana packs keep 2 months for best flavor.
What not to freeze and why:
- Yogurt-based blended drinks often thaw grainy because the emulsion breaks; you’ll lose that creamy “milkshake” feel.
Serving suggestions and pairing ideas
- Breakfast pairing: toast with peanut butter, or a boiled egg on the side if you want extra protein.
- Dessert vibe: top with chocolate shavings or a drizzle of tahini for a nutty edge.
- For kids: blend in 1 soft date instead of honey (if your blender is strong enough).
FAQs
Can I use instant oats instead of rolled oats?
Yes, but the smoothie can turn slightly “pasty” and thicker faster. Start with 30 g instant oats and add more only if needed.
Can I make it without yogurt?
Yes. Replace 100 g yogurt with 80 g milk + 10 g nut butter (or 1/2 avocado for creaminess). Expect less tang and a slightly lighter body.
How do I prevent the smoothie from turning brown?
Banana oxidizes naturally. Drink it fresh, or add 5 g (1 tsp) lemon juice if you must store it—this helps slow browning and brightens flavor.
Can I use frozen banana?
Absolutely—my favorite for thickness. Use 120 g frozen banana slices and reduce ice to 0–40 g (or skip ice completely).
My blender leaves banana strings—what should I do?
Bananas that are not fully ripe can be stringier, and small blenders struggle. Slice banana thinly, blend longer (up to 60 seconds total), and scrape down once.
Nutrition and food-safety note
Approximate nutrition (1 large smoothie, using dairy milk + Greek yogurt + no honey): about 350–420 kcal, depending on banana size and milk fat. Values are estimates and will vary by brand and portion size.
Food-safety: if using dairy yogurt/milk, keep the smoothie refrigerated and consume within 24 hours. Discard if it smells sour beyond the yogurt’s normal tang.
Conclusion (final thoughts)
If you’ve ever made a banana oat smoothie that tasted healthy-but-grainy, this blending order is the fix. Powdering the oats in milk first and using a truly ripe (or frozen) banana gives you that creamy, bakery-smooth texture—no fancy protein powders required. Make it once as written, then tweak thickness with small milk/ice adjustments until it matches exactly how you like to drink (or spoon) it.