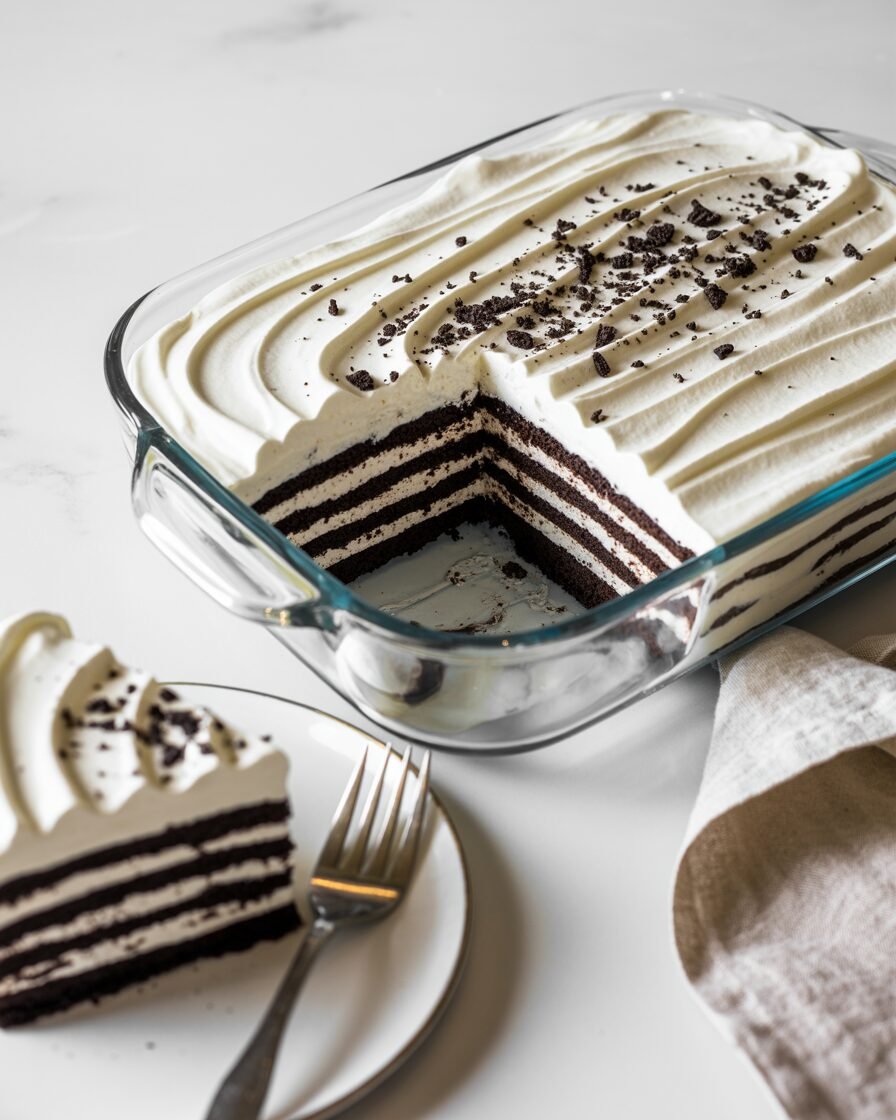
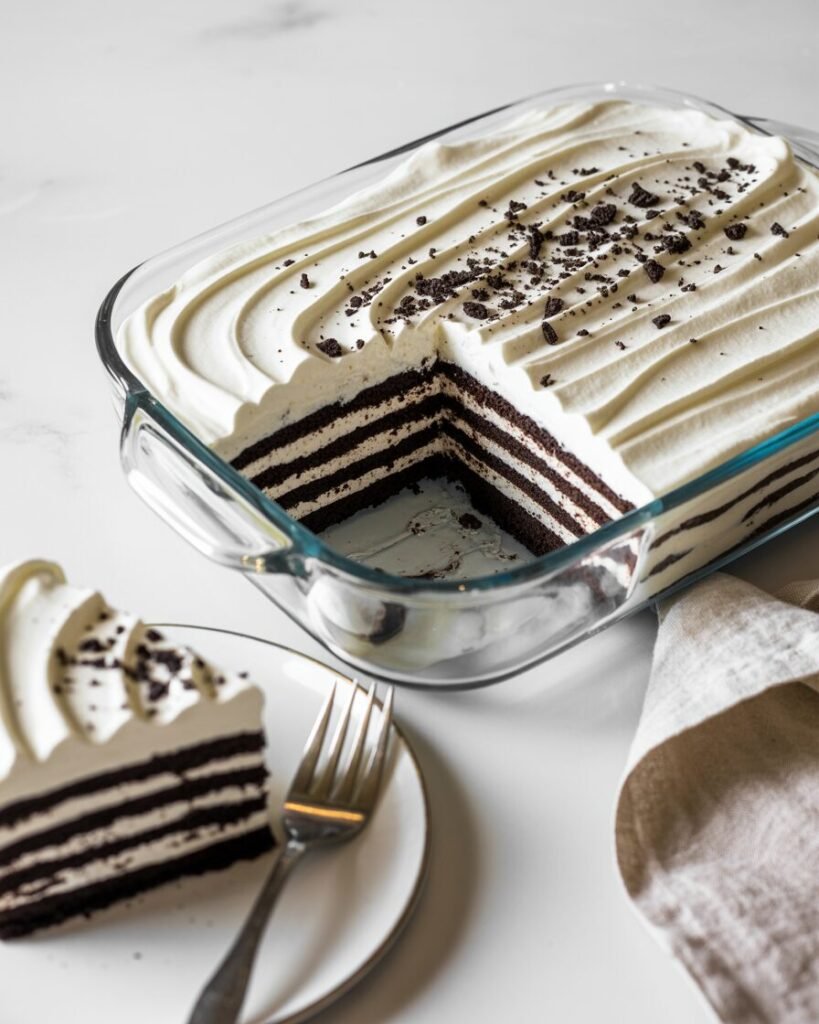
This Oreo icebox cake is a no‑bake, fridge‑set dessert that layers Oreos with soft, lightly sweetened whipped cream so the cookies soak up just enough moisture to turn cake‑like, but never soggy.
It promises a rich, cookies‑and‑cream texture with clean slices and a clean refrigerated shelf life, making it ideal for busy bakers, last‑minute parties, or hot‑weather days when you don’t want to turn on the oven.
Pro tip for the best texture:
Let the assembled cake chill at least 8 hours, but overnight is ideal; this gives the cookies time to soften into a tender, cake‑like crumb while the whipped‑cream layers firm up so slices hold their shape.
Why this Oreo icebox cake works
An icebox cake transforms crisp cookies into something that eats like a soft cake purely through controlled hydration and chilling, without baking.
Key science points:
- Cookie hydration: The small amount of moisture from the whipped cream (and optional milk dip) gently softens the Oreo layers rather than soaking them. If you use too much liquid or chill for too short a time, the cookies stay hard; if you chill too long with too much moisture, they can become mushy.
- Stabilized whipped cream: Using cold cream, a small amount of powdered sugar, and a touch of vanilla gives structure and stability, so the cream holds its volume and doesn’t weep while the cake sets.
- Chilling time and temperature: Refrigeration around 4°C (40°F) slows microbial growth and firms the fat in the cream, turning fluffy layers into something cake‑like while keeping the dessert safe to eat for several days.
By carefully balancing the ratio of cookies to cream and the total chill time, this recipe avoids the two worst failures: too hard (under‑hydrated) or too wet (over‑hydrated and falling apart when sliced).
Ingredients
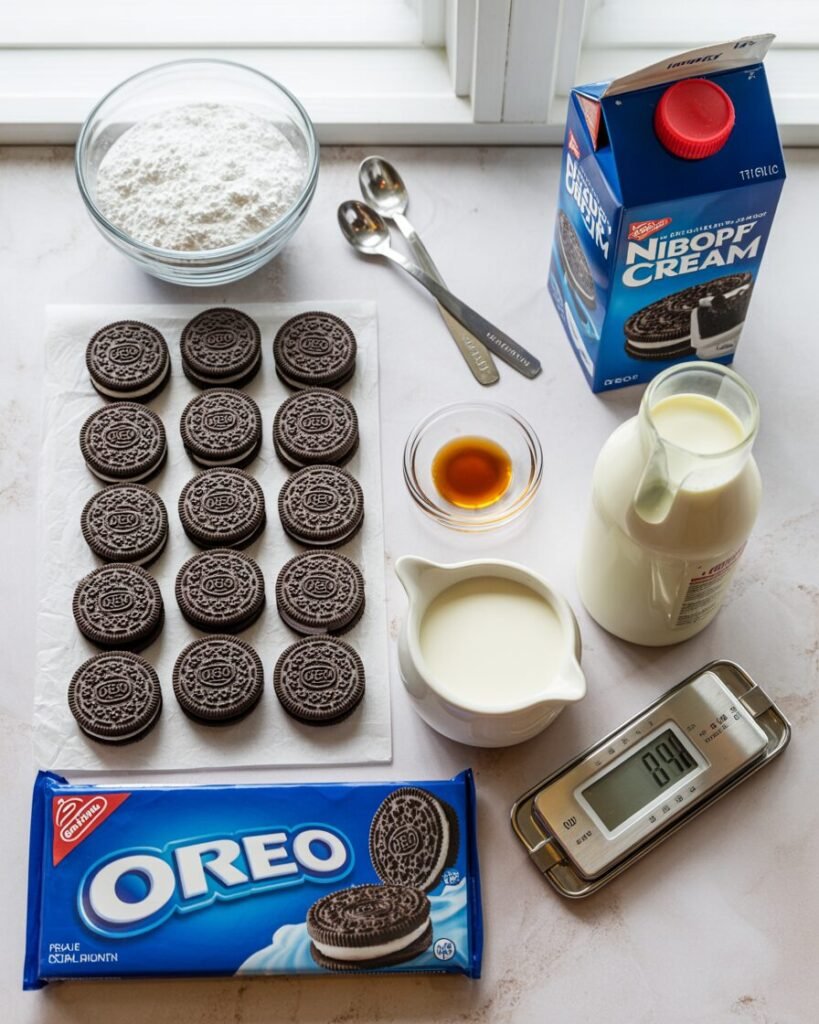
All measurements are for a 9×13‑inch (23×33 cm) rectangular pan, yielding about 12 generous slices.
- Oreo cookies – 300 g (about 36–38 cookies, 1 standard 14.3 oz package)
Purpose: Provide structure, flavor, and a soft, cake‑like texture once hydrated and chilled. - Cold heavy cream (35–38% fat) – 500 g (2 cups / 480 ml)
Purpose: Forms the whipped‑cream “batter” that hydrates the cookies and sets when chilled. - Powdered (icing) sugar – 50 g (¼ cup)
Purpose: Adds sweetness and a tiny amount of structure; avoid large amounts, which can make the cream grainy or over‑sweet. - Vanilla extract – 5 ml (1 tsp)
Purpose: Enhances flavor and balances the chocolate‑cookie sweetness. - Whole milk, optional – 20–30 ml (1–2 tbsp)
Purpose: Lightly moistens the cookies if you want a softer, more “milk‑dunked Oreo” feel; use sparingly to avoid sogginess.
Optional:
- Extra crushed Oreos for topping (10–15 g)
- Fresh berries or a light drizzle of chocolate for garnish (not weighed here, adjust to taste).
Equipment
Required:
- 9×13‑inch (23×33 cm) glass or metal baking dish, or a rectangular pan of similar size
- Hand mixer or stand mixer with whisk attachment (or a large bowl and whisk)
- Spatula (rubber or silicone)
- Measuring spoons and cups, or a digital scale
Nice‑to‑have:
- Offset spatula for smoother cream layers
- Parchment paper or plastic wrap laid inside the pan to help lift the cake out later
- Small bowl for milk if you choose to quick‑dip the cookies
Step‑by‑step instructions with timing and visual cues
Step 1: Prepare the pan and chill tools (5–10 minutes)
Line the bottom of the 9×13 pan with parchment or plastic wrap, leaving an overhang on at least two sides so you can lift the cake out later.
If using a hand or stand mixer, place the bowl and whisk in the freezer for 5–10 minutes to chill; this helps the cream whip faster and hold its shape.
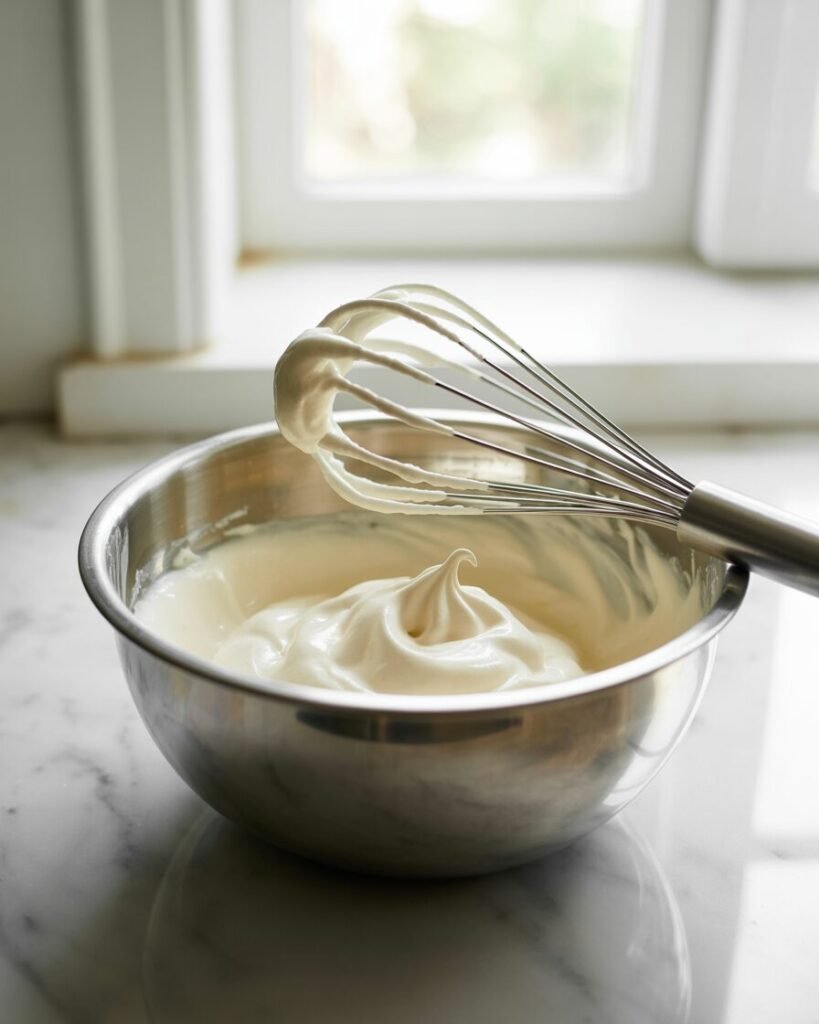
Step 2: Whip the cream (5–7 minutes)
Combine the cold heavy cream, powdered sugar, and vanilla in the chilled bowl.
Whip on medium‑high until soft to medium peaks form: when you lift the whisk, the peak bends over at the tip, and the cream holds its shape but is still smooth, not grainy or stiff.
- Visual cue: If the cream looks loose and liquid, keep whipping; if it suddenly looks grainy and separating, stop immediately— you’re on the verge of turning it into butter.
Step 3: Decide on milk dip (optional, 2–3 minutes)
If you want a softer, more “milk‑dunked” feel, pour milk into a shallow dish.
Quickly dip each Oreo in the milk for 1–2 seconds, then place them on a plate or directly into the pan.
- Visual cue: Cookies should feel slightly cooler and a tiny bit damp but not dripping or crumbling. If they’re falling apart, the dip is too long or the milk is warm.
Leave the remaining cookies undipped if you prefer a firmer, more structured cake.
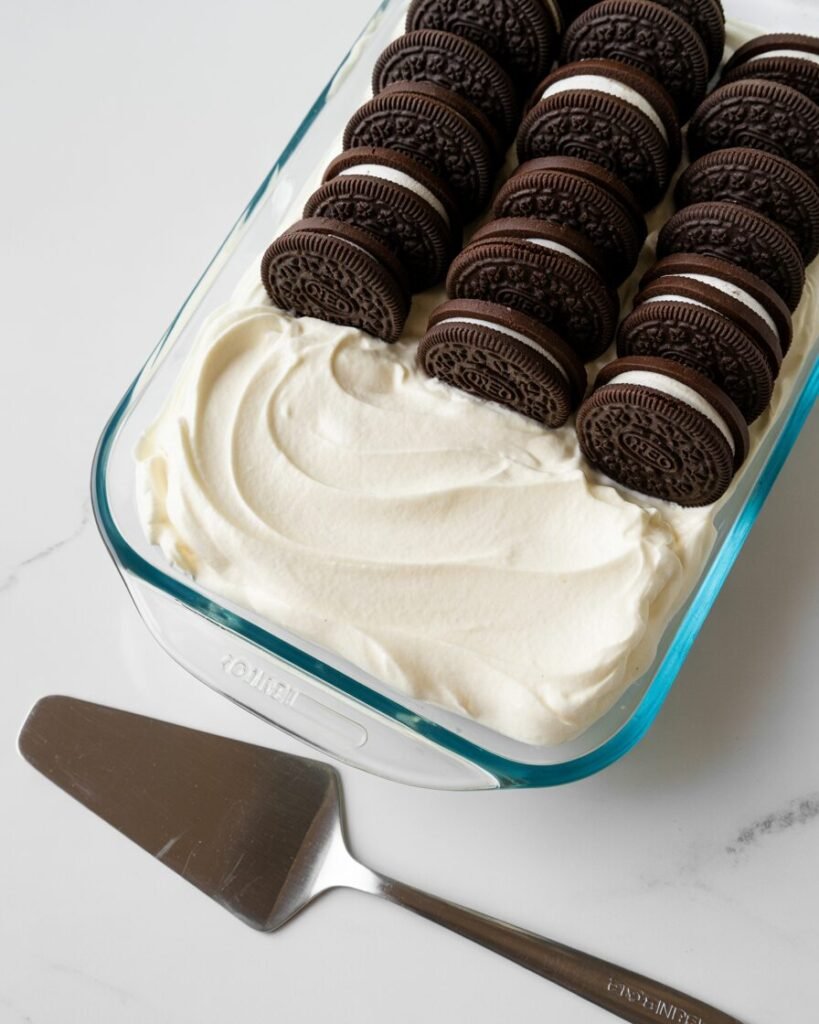
Step 4: Layer the cookies and cream (10–15 minutes)
- Spread a thin, even layer of whipped cream (about 5–8 mm thick) over the bottom of the pan, going all the way to the edges.
- Arrange a tight, single layer of Oreos on top, breaking a few cookies to fill gaps along the edges so there’s no exposed cream.
- Spread about one‑third of the remaining whipped cream over the cookies, smoothing as evenly as possible.
- Repeat with:
- A second layer of Oreos (same as first layer)
- Another one‑third of the whipped cream
- A third layer of Oreos
- The final whipped‑cream layer on top.
- Visual cue: Each cream layer should be smooth, not thick enough to bulge above the cookies. The top cream layer should be flat so slices look neat.
Step 5: Chill and set (minimum 8 hours, ideally overnight)
Cover the pan tightly with plastic wrap or a lid.
Refrigerate for at least 8 hours, but overnight (10–12 hours) is ideal for the softest, most cake‑like texture.
- Visual cue: Before slicing, the top should feel firm to a light touch; the cookies should no longer feel dry or crunchy when you press gently through the cream.
Step 6: Serving and slicing (10–15 minutes)
If your kitchen is warm or you want extra‑clean slices, freeze the whole cake for 20–30 minutes before cutting.
Use a sharp knife, lightly oiled or wiped with hot water and dried, slicing straight down without sawing to keep the layers intact.
Troubleshooting: common failures and fixes
1. Cake feels too hard or dry
Likely causes:
- Under‑hydrated cookies (no milk dip + too little cream volume)
- Insufficient chilling time; cookies didn’t soften fully
Fix next time:
- Add a small milk dip (1–2 seconds per cookie) to 20–25 of the Oreos.
- Chill for at least 10 hours instead of the minimum 8.
2. Cake is too wet or falls apart when sliced
Likely causes:
- Too much milk or liquid soaked into the cookies
- Over‑whipped cream turned grainy and weepy
Fix next time:
- Dip only 15–20 cookies, or skip the milk dip entirely.
- Whip cream only to soft/medium peaks, not stiff; stop as soon as it holds its shape.
3. Cream layer is runny or separated
Likely causes:
- Over‑whipping the cream
- Cream was not cold enough before whipping
Fix next time:
- Chill the cream and bowl in the fridge or freezer for 10–15 minutes before whipping.
- Stop whipping as soon as soft peaks form; do not try to “make it stiffer” by continuing.
Substitutions and variations
Dietary swaps (tested ratios wherever possible):
- Dairy‑free:
Use a high‑fat plant‑based whipping cream (such as certain coconut‑based or soy‑based whipping creams labeled for whipping).
Replace milk with unsweetened almond or oat milk if using a dip.
Texture may be slightly less firm; chill for the full 10–12 hours. - Gluten‑free:
Swap Oreos for gluten‑free chocolate sandwich cookies of similar size and thickness.
Note: Some brands are thinner or more fragile; break fewer cookies to avoid gaps. - Less sweet:
Reduce the powdered sugar to 25–30 g and taste the cream before layering.
Taste one assembled, chilled slice; if needed, sprinkle a tiny bit more sugar on top before serving.
Storage, make‑ahead, and freezing
- Counter: Do not store at room temperature; serve within 2 hours of removing from the fridge, then return leftovers to the fridge.
- Refrigerator:
Keep covered in the pan or in an airtight container for up to 3 days. The texture will soften slightly over time but remain sliceable. - Freezer:
Wrap the fully chilled cake tightly in plastic wrap, then in foil or a freezer‑safe container.
Freeze for up to 1 month; thaw in the refrigerator for 4–6 hours before slicing.
Texture may be slightly softer after thawing; avoid thawing at room temperature, which can make the top layer weep.
What not to freeze:
Whipped‑cream‑only portions (like leftover frosting) do not freeze well; they tend to separate and become watery when thawed.
Serving suggestions and pairing ideas
- Serve slices with a small scoop of vanilla ice cream or a light berry coulis for contrast against the rich chocolate‑cream flavor.
- Pair with hot coffee or cold milk; the dessert is sweet, so a slightly bitter drink (like strong black coffee) balances it nicely.
- For a party, cut into small squares (bites) and top each with a single crushed Oreo and a fresh berry.
FAQs
1. Can I replace heavy cream with whipped topping (like Cool Whip)?
Yes, but the texture will be less rich and slightly more gelatinous. Use about the same volume (2 cups / 480 ml) and expect the cake to be lighter and less stable over time.
2. Can I make this egg‑free or dairy‑free?
Yes, as long as your cookies and plant‑based cream are egg‑ and dairy‑free, this is naturally egg‑free. Substitute dairy cream with a suitable whipping‑cream alternative as described above.
3. How do I prevent the cake from becoming soggy?
Use only a light milk dip (1–2 seconds) on a portion of the cookies, keep the cream layers thin, and chill for the full 8–12 hours so the structure sets properly.
Nutrition and disclaimer
Per slice (assuming 12 slices from the 9×13 pan, approximate):
- Calories: ~300–350 kcal
- Carbohydrates: ~25–35 g
- Fat: ~20–25 g
- Protein: ~3–4 g
Values are estimates based on standard ingredients and will vary by brand, portion size, and whether you add milk or extra toppings.