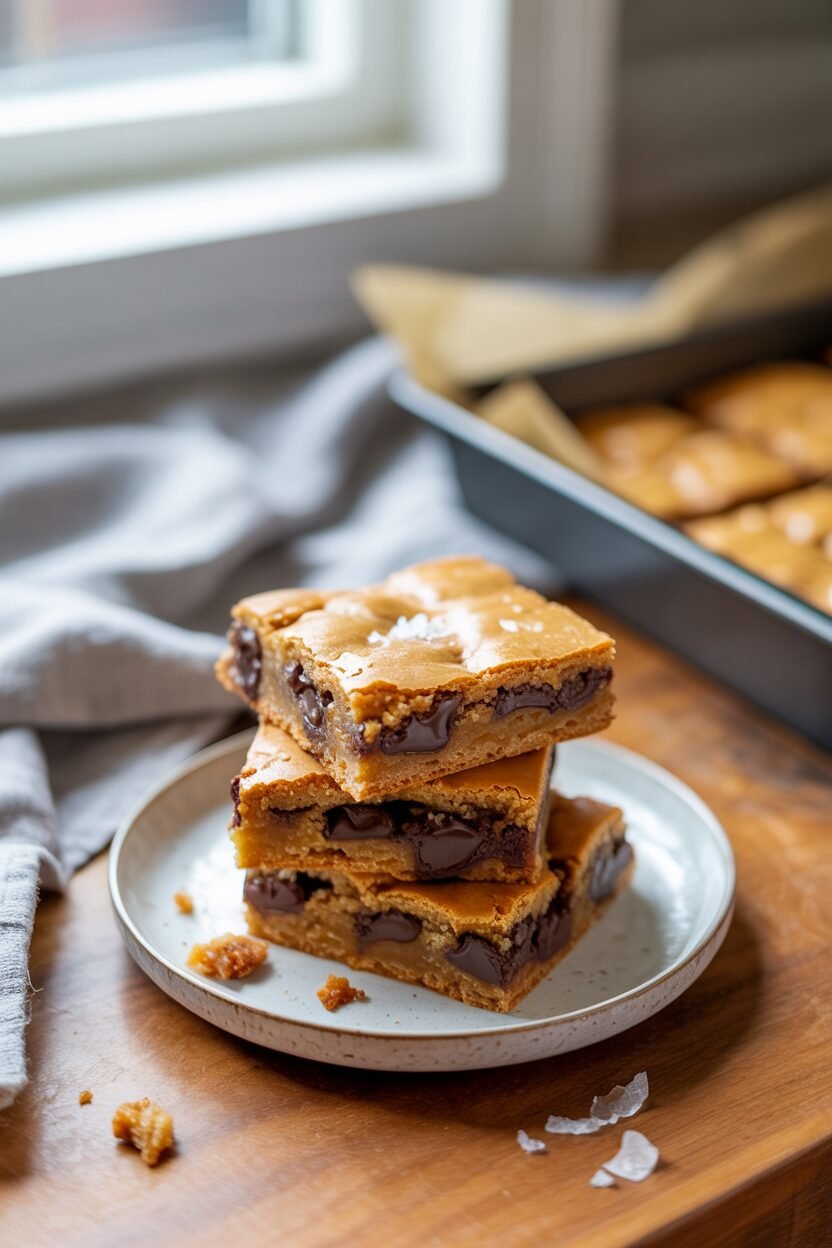
These Fudgy Chocolate Chip Blondies are the ultimate sweet treat for anyone who loves chewy, buttery, caramel-rich squares with plenty of chocolate pockets. They’re perfect for a weeknight dessert, a party share, or a quick bake when a craving hits. With a few simple tweaks, they stay moist for days and are easy to customize for dietary needs.
What Makes These Blondies Unique
Sarah’s recipe is specially formulated for a fudgy, chewy texture—never cakey or dry. This version uses a precise flour-to-butter ratio, melted butter for deep flavor, and a minimal number of mix-ins to maximize chocolate distribution. The result is a dense, moist blondie with a crisp top and a soft, chewy center—ideal for serving with a scoop of ice cream or as a handheld snack.
Pro Tip: Do not overmix the batter! A few streaks of flour are okay; overmixing makes blondies tough and cakey.
Why This Recipe Works: The Baking Science
Fudgy blondies rely on a few key principles:
- High fat-to-flour ratio: Butter and brown sugar create a rich, moist base. Too much flour makes them cakey, while the right amount gives structure without dryness.
- Melted butter: This method ensures even distribution and a denser, chewy texture compared to creamed butter.
- Resting the batter: Allowing the batter to sit for 15 minutes before baking helps the flour absorb moisture for a more even crumb.
- Underscoring baking time: The center should still look slightly underdone when removed from the oven. The blondies continue to set as they cool, preventing dryness.
Ingredients with Weights and Purpose
Equipment
- 8×8-inch metal baking pan (not glass, for even baking)
- Digital kitchen scale (for accuracy)
- Mixing bowl and whisk (no mixer needed)
- Parchment paper
- Spatula
- Toothpick or skewer
Nice-to-have:
- Offset spatula (for even spreading)
- Sieve (for sifting flour)
- Oven thermometer
Step-by-Step Instructions
Step 1: Preheat and Prep
- Preheat the oven to 350°F (175°C). Line the 8×8 pan with parchment, leaving overhang for easy removal.
- Oven rack: Middle position.
Step 2: Melt Butter and Mix Base
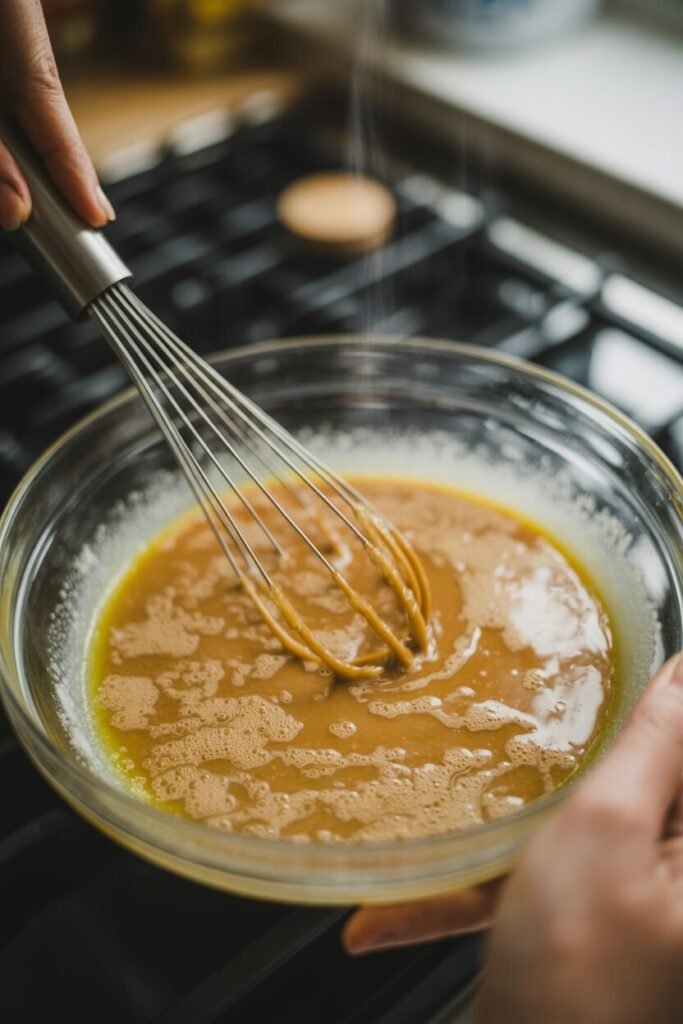
- Melt butter in a saucepan or microwave. Cool slightly (warm but not hot).
- In a bowl, whisk melted butter and brown sugar until smooth and combined. Stir in egg and vanilla.
- Visual cue: The mixture should be glossy and thick, not watery.
Step 3: Add Dry Ingredients
- In a separate bowl, whisk flour, salt, and baking powder. Add all at once to wet ingredients.
- Fold gently with a spatula until just mixed. A few streaks of flour are okay.
- Visual cue: The batter should be thick and sticky.
Step 4: Fold in Chocolate Chips
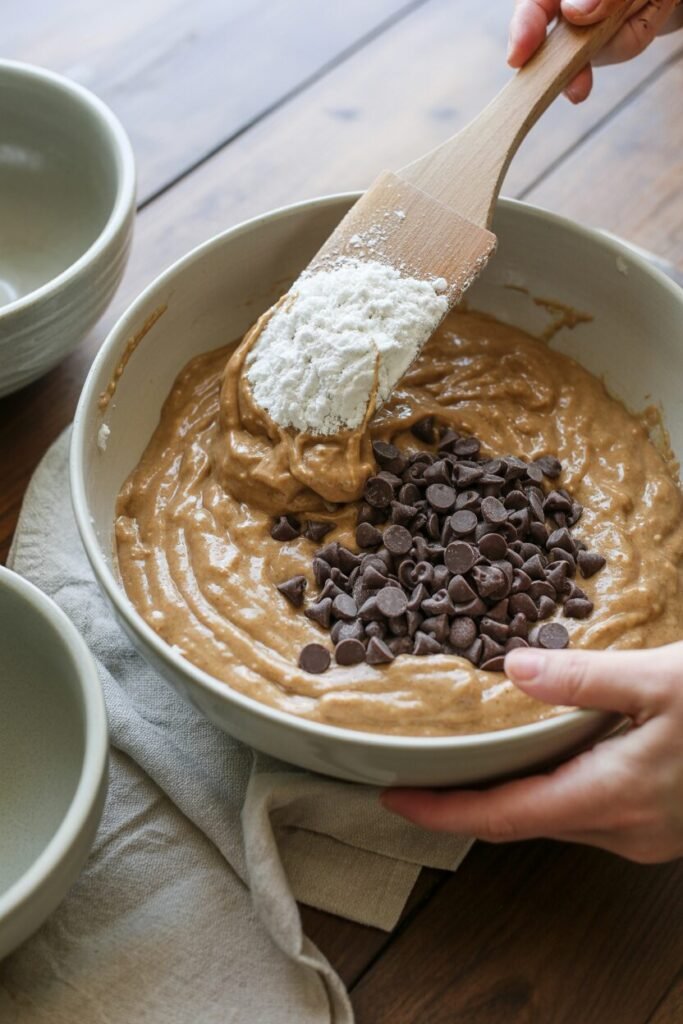
- Add chocolate chips and fold gently. Do not overmix.
- Visual cue: Chocolate chips should be evenly distributed, not broken down.
Step 5: Rest and Bake
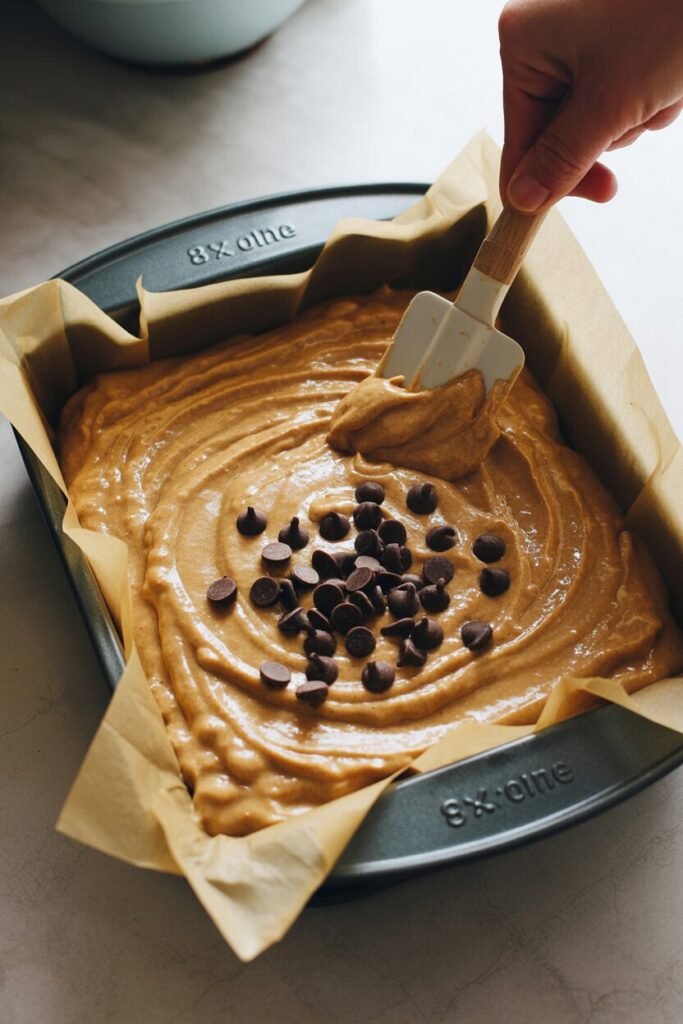
- Let batter rest for 15 minutes. This improves texture.
- Pour into prepared pan and spread evenly. Top with extra chocolate chips if desired.
- Bake for 24–27 minutes. The sides should be golden, sides set, and the center still looks slightly underdone.
- Doneness test: Insert a toothpick in the center. It should come out with moist crumbs, not wet batter.
Step 6: Cool and Cut
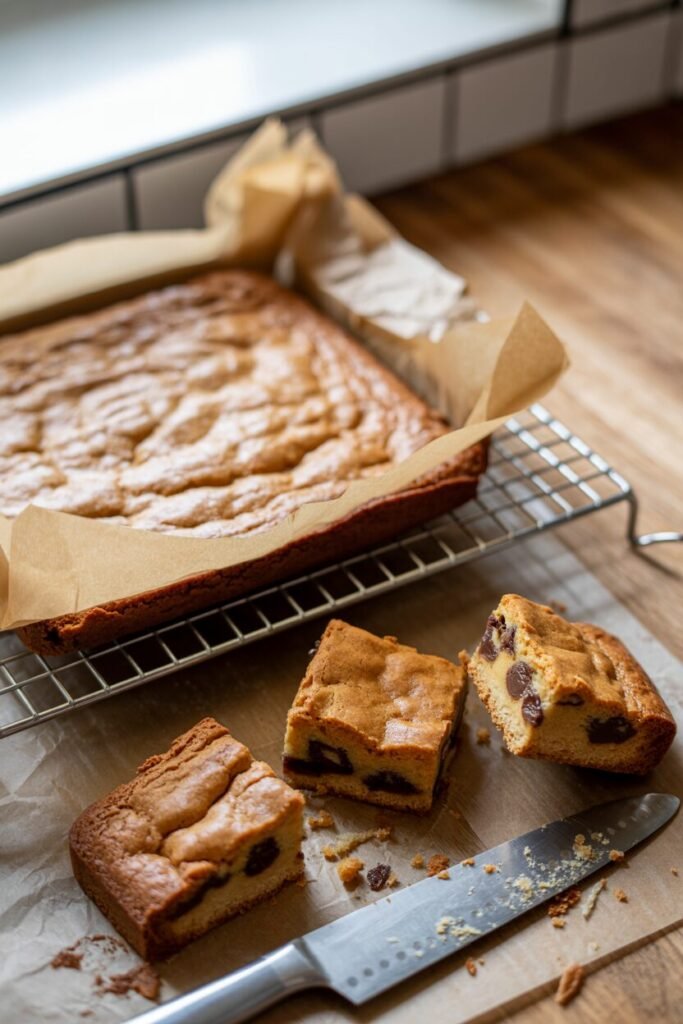
- Cool completely in pan (at least 1 hour). For cleaner cuts, chill in the fridge for 30 minutes.
- Use a bench scraper or plastic knife for clean edges.
Troubleshooting: Common Failures and Fixes
Substitutions and Variations
Dietary Swaps
Flavor Swaps
- Add citrus zest (lemon or orange) for a bright twist.
- Swap chocolate chips for chopped nuts or pretzels.
- Add a pinch of cinnamon for warmth.
Scaling Table
| Pan Size | Ingredients (×1.5) | Changes |
|---|---|---|
| 9×13-inch | ×1.5 all ingredients | Bake 28–32 min, check center |
| 12 cupcakes | ×0.5 all ingredients | Fill ¾ cup, bake 18–22 min |
Storage, Make-Ahead, and Freezing
- Counter: 4 days in airtight container, layer with parchment.
- Fridge: 1 week, bring to room temp before serving.
- Freezer: 3 months. Wrap individually, thaw overnight at room temp. Re-crisp edges by toasting slices at 350°F for 3–5 min.
- What not to freeze: Cream cheese or custard fillings.
Serving Suggestions
- Pair with vanilla ice cream and a drizzle of caramel.
- Serve with a cup of coffee or tea for a sweet, balanced treat.
- Top with a pinch of sea salt just before serving.
FAQs
Can I use dark chocolate instead of chips?
Yes, use chopped chocolate. It will create more pockets and melt more, but will still be fudgy.
How to prevent cakey texture?
Measure flour by weight, do not overmix, and use only 1 egg. Avoid extra baking powder.
Can I double the recipe?
Yes, double all ingredients and bake in a 9×13 pan for 28–32 minutes.
Best sugar for moist blondies?
Brown sugar adds moisture and flavor. Granulated sugar can be used, but blondies will be less chewy.
Can I bake in an air fryer?
Yes, use an 8×8 pan and bake at 330°F for 15–18 min, checking for doneness.
Notes from My Kitchen: Testing Log
- Batch 1: Used 1 ½ eggs; texture was slightly cakey. Adjusted to 1 egg.
- Batch 2: Used 1 ½ cups flour; result was too dry. Lowered to 1 cup.
- Final: 1 egg, 1 cup flour, 24 min bake time. Perfect chewy, fudgy texture.
Nutrition and Disclaimer
Approximate per serving (1 of 16 squares):
- Calories: 180
- Fat: 9g
- Carbs: 24g
- Protein: 2g
Values are estimates; adjust for brands and portion size. Follow food-safety best practices.
To wrap up, these Fudgy Chocolate Chip Blondies are a reliable, delicious recipe that delivers chewy, rich squares every time—perfect for home bakers who want a foolproof treat without fuss. With clear steps, tested substitutions, and practical troubleshooting, this guide makes it easy to achieve bakery-quality results in your own kitchen. Whether you’re baking for a crowd or just treating yourself, these blondies are sure to satisfy any sweet tooth.
If you try this recipe, I’d love to hear how it turned out share your results, tweaks, or questions in the comments. Happy baking, and may every batch be as fudgy and satisfying as the last!
Fudgy Chocolate Chip Blondies: Easy, Rich, and Foolproof
Course: DessertCuisine: AmericanDifficulty: Easy15
servings15
minutes25
minutes180
kcal1
hour15
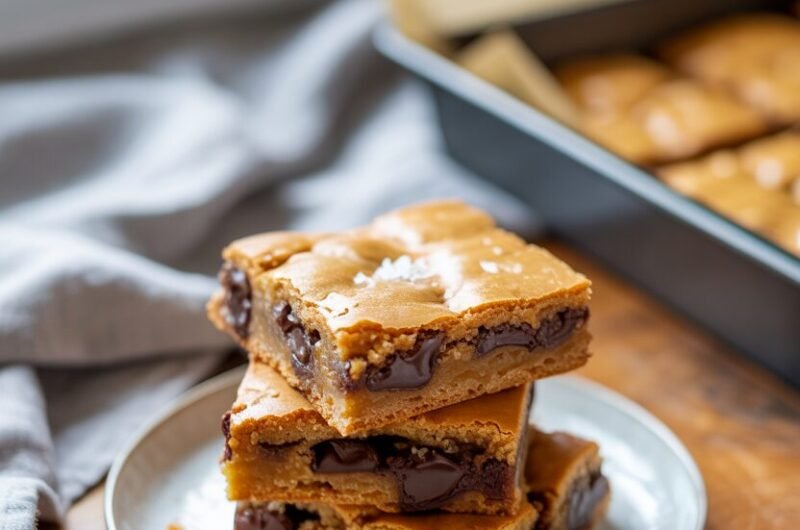
minutesChewy, fudgy blondies with caramel notes from brown sugar, melty chocolate pockets, and a shiny, crackly top—mixed in one bowl with melted butter and baked in a metal 8-inch pan for perfect edges and a soft center.
Ingredients
Unsalted butter, melted and slightly cooled — 115 g (1/2 cup) — rich chew and moisture
Light brown sugar, packed — 160 g (3/4 cup) — caramel notes and fudgy texture
Large egg, room temp — 1 (50 g out of shell) — structure and binding
All-purpose flour — 125 g (1 cup, leveled) — structure without cakiness
Baking powder — 2 g (1/2 tsp) — minimal lift, maintains fudgy center
Semisweet chocolate chips — 150 g (1 cup) — melty pockets; reserve a few for topping
Directions
- Prep the pan and oven
Preheat to 175°C (350°F), place rack in the middle; line an 8-inch metal pan with parchment, leaving two sides as slings for easy lifting; lightly grease the parchment corners if needed for neat edges.
Visual cue: Parchment should sit flat with clean 90° corners to avoid domed edges in the batter. - Make the butter–sugar base
Melt butter and let cool until warm, not hot; whisk with packed light brown sugar until glossy and cohesive, about 30–45 seconds by hand; whisk in egg and vanilla until smooth.
Visual cue: Mixture looks shiny and slightly thick with no visible sugar granules clinging to the bowl side. - Add dry ingredients
Whisk flour, salt, and baking powder separately; add to the wet ingredients all at once; fold with a spatula until just combined—some faint flour streaks can remain.
Visual cue: Batter is thick and sticky, falls in slow ribbons from spatula without appearing runny. - Fold in chocolate chips
Gently fold in 150 g chips; do not overmix; scrape into pan; smooth the top with an offset spatula; sprinkle a few extra chips for an attractive finish.
Visual cue: Chips appear evenly dotted on the surface; the batter levels with light spatula swoops. - Bake
Bake 24–27 minutes until edges are set and golden, the center is just slightly underdone, and the top has a faint crackly sheen; rotate once at 18 minutes if your oven bakes unevenly. - Cool and slice
Cool in the pan on a rack until fully set, 35–45 minutes; use the parchment sling to lift; for ultra-clean cuts, chill 30 minutes before slicing into 16 small or 9 large squares.
Visual cue: Knife picks up moist crumbs but slices remain sharply edged; interior looks fudgy, not doughy.
Notes
- Notes for success
Weigh flour for accuracy; excess flour causes cakiness and dryness; stay near 125 g per cup.
Use a metal pan for better edge set and even heat; glass runs hotter and can overbrown edges.
Pull slightly under when testing; carryover heat finishes the center for a fudgy bite. - Substitutions (tested styles aligned to the article)
Egg-free: 1 tbsp (7 g) ground flax + 3 tbsp (45 g) warm water; bloom 5 minutes; expect a bit less lift and a slightly denser chew.
Dairy-free: Equal weight unsalted plant butter; choose one formulated for baking to maintain structure.
Gluten-free: Use a cup-for-cup GF blend with xanthan; texture remains chewy but slightly more delicate at the edges. - Troubleshooting quick fixes
Cakey blondies: Too much flour or overmixing; weigh flour and fold just to combine; keep baking powder at 1/2 tsp.
Dry edges: Overbaked; pull when center shows moist crumbs and edges are just set; consider 1–2 minutes less next time.
Greasy top: Butter too hot or under-emulsified; cool butter to warm and whisk thoroughly with sugar before adding egg.
Sunken center: Underbaked or cut too soon; cool fully in pan to finish setting before slicing.