Need a single-serving chocolate cake in under 10 minutes? This recipe delivers a moist, fudgy mug cake every time, with no oven required and minimal cleanup. It’s perfect for sudden cravings, last-minute gifts, or when you just want a treat for one. The secret is in the combination of oil, proper mixing technique, and not over-microwaving—baking it just until the top is set, not dry.
Why This Mug Cake Works
- Oil over butter: Oil keeps the cake moist even after microwaving, unlike butter which can make it dry faster.
- Both baking powder and baking soda: Baking powder ensures rise, while baking soda neutralizes cocoa’s acidity for a balanced taste.
- No eggs, but still sturdy: The protein structure from flour and the fat from oil compensate for the lack of eggs, making the cake tender but not gummy.
- Quick rise, fast set: The microwave’s intense, direct heat encourages rapid gas formation and sets the structure before the cake collapses.
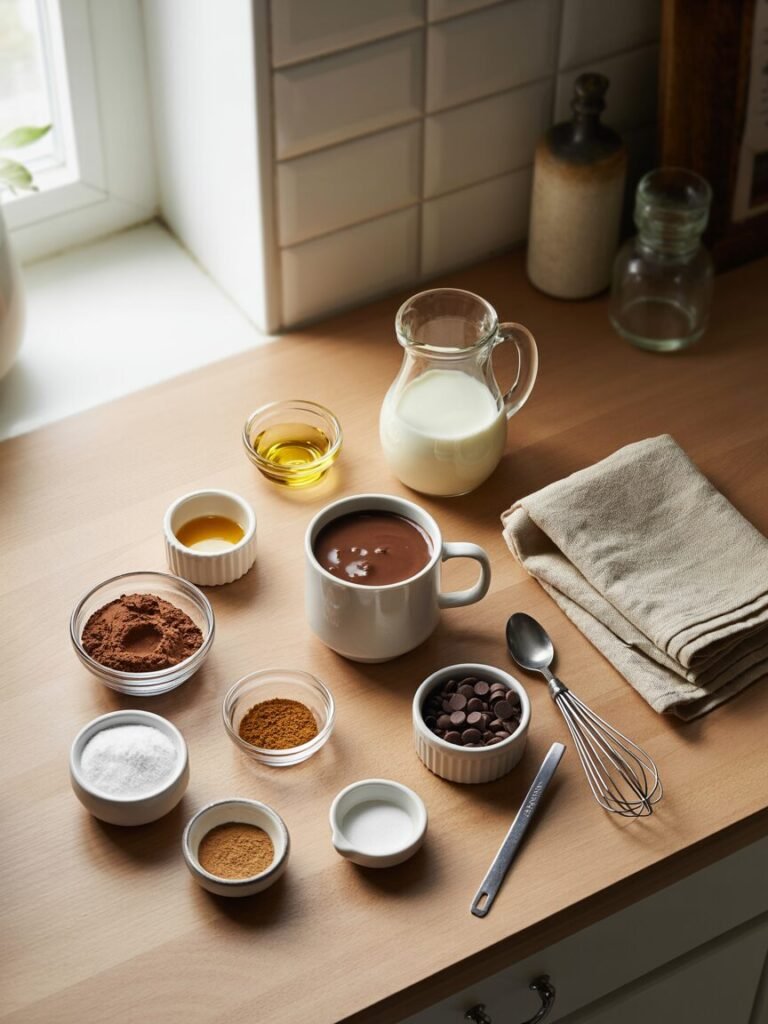
Ingredients (for 1 standard 12 oz mug)
Equipment
- 12 oz microwave-safe mug (not glass)
- Fork or small whisk
- Measuring spoon
- Teaspoon or tablespoon
- Timer
Step-by-Step Instructions
Step 1: Mix Dry Ingredients
Add flour, cocoa powder, sugar, baking powder, baking soda, and salt to the mug. Stir well with a fork until no lumps remain.
Visual cue: The mixture should look well blended and uniform, with no streaks of cocoa.

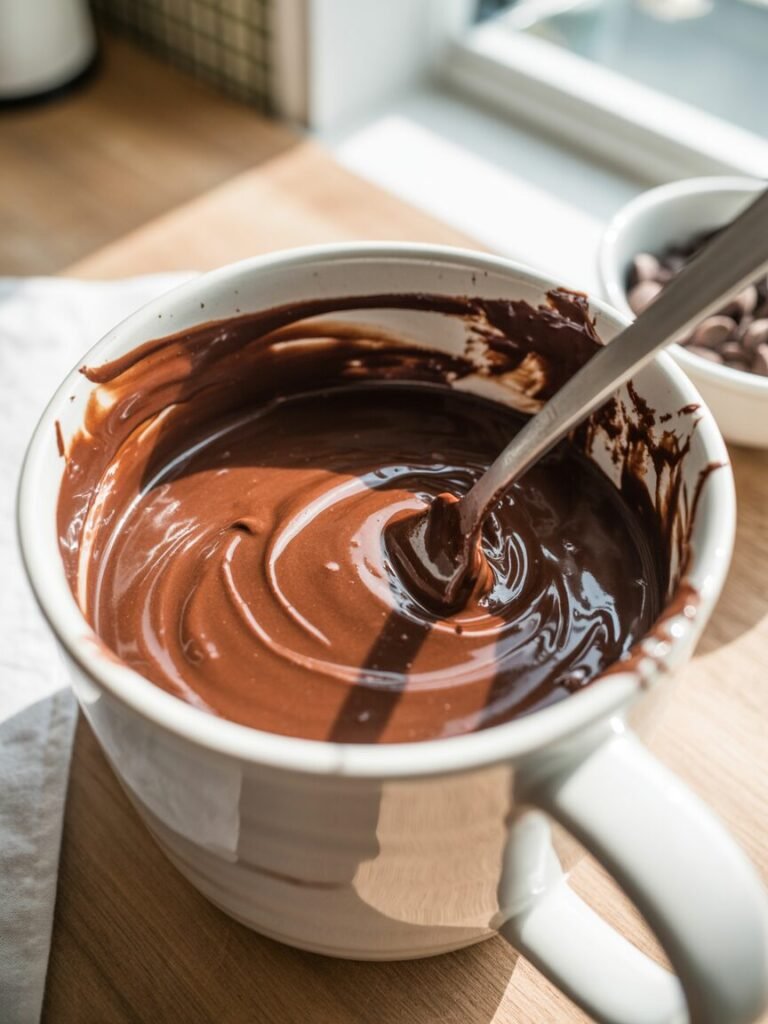
Step 2: Add Wet Ingredients
Pour in milk, oil, and vanilla. Mix gently until smooth. Scrape the bottom and sides to avoid dry pockets.
Visual cue: The batter should be thick but pourable, like a smoothie, with no clumps.
Step 3: Add Chocolate Chips (Optional)
Spoon in chocolate chips and stir just once or leave them on top.
Visual cue: Chocolate chips should be evenly distributed or sitting in the center.
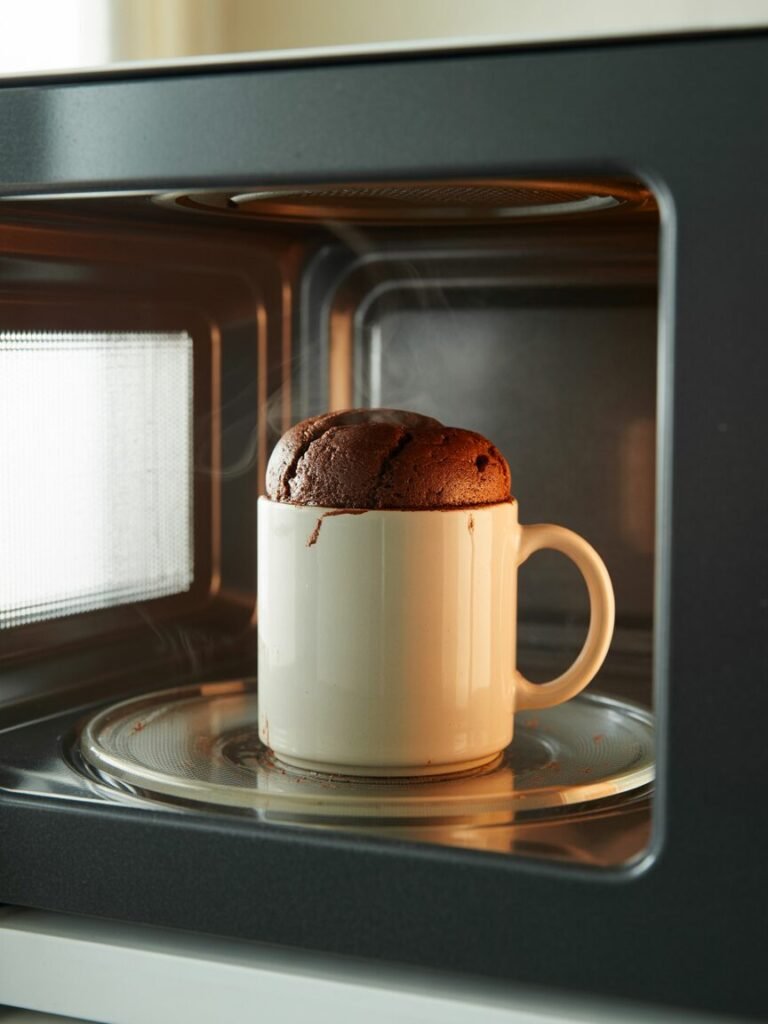
Step 4: Microwave
Microwave uncovered for 60–90 seconds on high.
Visual cue: Cake should look set, shiny on top, and bounce back when lightly touched. Overcooking leads to dryness and a tough crust.
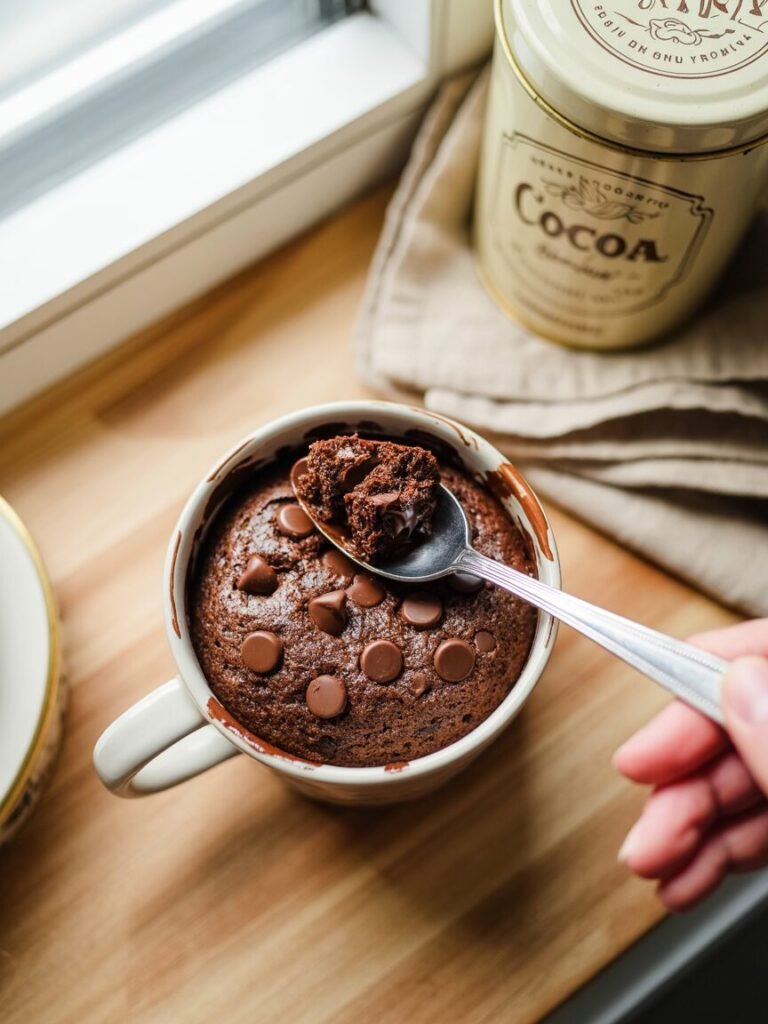
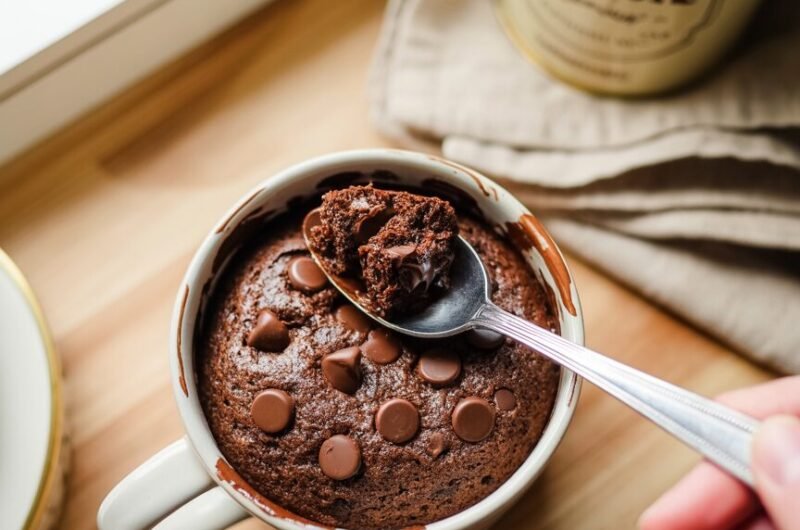
Step 5: Rest and Serve
Let the mug cake rest for 1 minute before serving. Top with extra chocolate chips or a dollop of vegan whipped cream.
Troubleshooting: Common Failures and Fixes
Substitutions and Variations
- Egg-free: This recipe is naturally eggless—no changes needed.
- Dairy-free: Use plant-based milk and vegan chocolate chips.
- Gluten-free: Substitute 1:1 gluten-free flour blend.
- Oil-free: Use 1 tbsp nut butter or unsweetened applesauce (cake will be denser).
- Flavor swaps:
- Scaling:
- For 2 servings, double all ingredients and use a 16 oz mug.
Storage and Make-Ahead
- Counter: Store in an airtight container for up to 1 day. Best eaten fresh.
- Fridge: Keeps 2 days, but texture becomes denser. Bring to room temp before serving.
- Freezer: Wrap tightly and freeze up to 1 month. Thaw at room temp; microwave for 10-15 seconds to refresh.
- Do not freeze if using fresh fruit or cream fillings.
Serving Suggestions
- Top with a scoop of vegan ice cream or a drizzle of raspberry coulis.
- Serve with a sprinkle of sea salt for sweet-salty balance.
- Pair with a tall glass of cold milk or a fruity tea.
FAQs
Can I use water instead of milk?
Yes, but the cake will be less moist and less flavorful. Use warm water for best results.
How do I prevent overcooking?
Microwave in 10-second bursts after 60 seconds, checking for a shiny, just-set top.
Can I double the recipe?
Yes, use a larger mug and microwave for 80-100 seconds. Adjust for your microwave’s power.
Best sugar for this recipe?
Granulated white sugar gives the best texture and hydration. Avoid brown sugar unless you want a slightly denser cake.
Can I bake in an OTG/oven?
Yes! Bake at 180°C (350°F) for 12-15 minutes in a ramekin.
Notes from My Kitchen (Testing Log)
- Batch 1: Used butter instead of oil. Cake was dry by the next day.
- Batch 2: Used ½ tsp baking powder and ¼ tsp baking soda. Risen well, but slightly bitter.
- Final: Stuck to ¼ tsp baking powder and ⅛ tsp baking soda, with oil. Best texture and flavor.
Nutrition and Disclaimer
- Per serving (approx):
Calories: 220; Fat: 10g; Carbs: 30g; Protein: 3g (varies by brands). - Disclaimer: Values are estimates. Adjust for brands and portion size. Always follow food-safety best practices.
Final Thoughts
This mug cake is a quick, satisfying treat that’s easy to customize and perfect for beginner or experienced bakers alike. With the right ingredients and careful microwave timing, you’ll get a moist, fudgy cake every time. Share your favorite add-ins, and let the mug cake adventures begin!
— Sarah, Bake My Sweet
Late-Night Craving Fix: Extra Fudgy Chocolate Mug Cake in a Mug
Course: DessertCuisine: AmericanDifficulty: Easy4
servings4
minutes2
minutes340
kcal10
minutesA quick, eggless chocolate mug cake made right in a 12 oz mug using pantry staples, oil (not butter) for extra moisture, and cocoa for deep chocolate flavor. It cooks in about 1 minute in the microwave and stays soft and fudgy instead of dry or rubbery.
Ingredients
Dry ingredients (mix in the mug first):
40 g all-purpose flour (¼ cup)
20 g unsweetened cocoa powder, Dutch-process preferred (2 tbsp)
25 g granulated sugar (2 tbsp, lightly packed)
1 g baking powder (¼ tsp)
0.5 g baking soda (⅛ tsp)
1 small pinch fine salt
- Wet ingredients:
40 ml milk (3 tbsp) – dairy or unsweetened plant-based
15 ml neutral oil (1 tbsp) – canola, sunflower, or light vegetable oil
2–3 ml vanilla extract (½ tsp)
- Optional mix-in/topping:
10 g mini chocolate chips (1 tbsp), plus a few extra for the top
Directions
- Prepare the mug
Use a clean, dry 12 oz microwave-safe mug. Lightly grease the inside with a few drops of oil or a quick nonstick spray if your mug tends to stick.
This helps the cake rise more evenly and unmold more easily if you want to tip it out onto a plate. - Mix dry ingredients in the mug
Add flour, cocoa powder, sugar, baking powder, baking soda, and salt directly into the mug.
Stir very well with a fork or mini whisk, scraping the bottom and sides.
Visual cue: Mixture looks evenly brown with no pale flour pockets or cocoa clumps. If you see streaks, keep stirring. - Add wet ingredients
Pour in the milk, oil, and vanilla.
Mix until the batter is smooth and glossy. Scrape the sides and bottom so no dry bits remain.
Visual cue: Batter should be thick but pourable, roughly like a loose brownie batter. If it looks dry and pasty, add 1–2 tsp extra milk. If it looks very thin and runny, sprinkle in a tiny pinch of flour and stir again. - Add chocolate chips
Stir in 1 tbsp mini chocolate chips, or sprinkle them over the top if you prefer a molten center.
Visual cue: Chips should be dispersed throughout the batter; the mug should be only about ½–⅔ full to leave room for rising. - Microwave the mug cake
Place the mug in the center of the microwave, not near the edge.
Microwave on full power:
800 W: 80–90 seconds
900–1000 W: Start with 60–70 seconds
Do not cover the mug.
Visual cues:
The cake will rise up, sometimes above the rim, then settle slightly.
The top should look set and slightly shiny, with a few small bubbles and maybe a light crack.
Gently tap the top with a fingertip or spoon handle: it should spring back softly but feel moist. If the center is still obviously liquid, microwave in 5–10 second bursts. - Rest before serving
Let the mug cake stand on the counter for 1–2 minutes.
Why: The residual heat finishes cooking the center and the crumb sets so it’s fudgy, not gummy.
Top with a few extra chocolate chips, ice cream, whipped cream, or a drizzle of chocolate or caramel sauce, if you like.
Enjoy warm, straight from the mug.
Notes
- Doneness Checks & Visual Cues
Perfectly baked:
Top is matte with a soft sheen, not glossy-wet.
Sides have pulled away from the mug by 1–2 mm.
A toothpick inserted off-center comes out with a few moist crumbs, not wet batter.
Underdone (needs 5–10 sec more):
Center looks sunken and shiny, jiggles when you gently shake the mug.
Toothpick comes out with thick, wet batter.
Overdone (microwaved too long):
Cake pulls far from the sides, top looks dry or wrinkled.
Texture feels spongy or rubbery and tastes dry at the edges. - Variations & Substitutions (matching the main article)
Egg-free:
This recipe is naturally eggless; no changes needed.
Dairy-free:
Swap milk for the same amount of oat, almond, soy, or coconut milk.
Use dairy-free chocolate chips if adding.
Gluten-free:
Replace all-purpose flour with a 1:1 gluten-free blend.
Batter consistency should look the same; if it’s extra thick, add 1 tsp more milk.
Flavor twists:
Add ¼–½ tsp instant espresso powder with the dry ingredients for mocha flavor.
Add a pinch of cinnamon or chili powder for a warm kick.
Swirl 1 tsp Nutella or peanut butter into the top of the batter before microwaving for a molten center. - Storage, Make-Ahead & Reheating
This dessert is at its best fresh, but here are options if you need to plan ahead:
Make-ahead batter (same day):
Mix dry ingredients in the mug up to 4–6 hours ahead; cover at room temperature.
When ready to bake, add wet ingredients, stir, then microwave.
Leftover cooked mug cake:
Room temperature:
Let cool completely, cover the mug, and keep for up to 1 day.
Fridge:
Cover and refrigerate for up to 2 days. The crumb will firm up and feel denser.
Reheat 10–15 seconds in the microwave just until warm and soft again.
Freezer:
Cool completely, then wrap the entire mug in plastic wrap, or gently unmold the cake and wrap in plastic plus foil.
Freeze up to 1 month.
Thaw at room temp, then warm 10–15 seconds before serving.
What not to freeze:
Avoid freezing if topped with fresh fruit, whipped cream, or a scoop of ice cream—add those fresh after reheating. - Approximate Nutrition (per 1 mug cake, without toppings)
Calories: ~320–360 kcal
Carbohydrates: ~45–50 g
Protein: ~5–6 g
Fat: ~14–16 g
Fiber: ~3–4 g
Values will vary based on brand of cocoa, milk, and oil, plus any toppings or mix-ins.