Last Updated: September 3, 2025
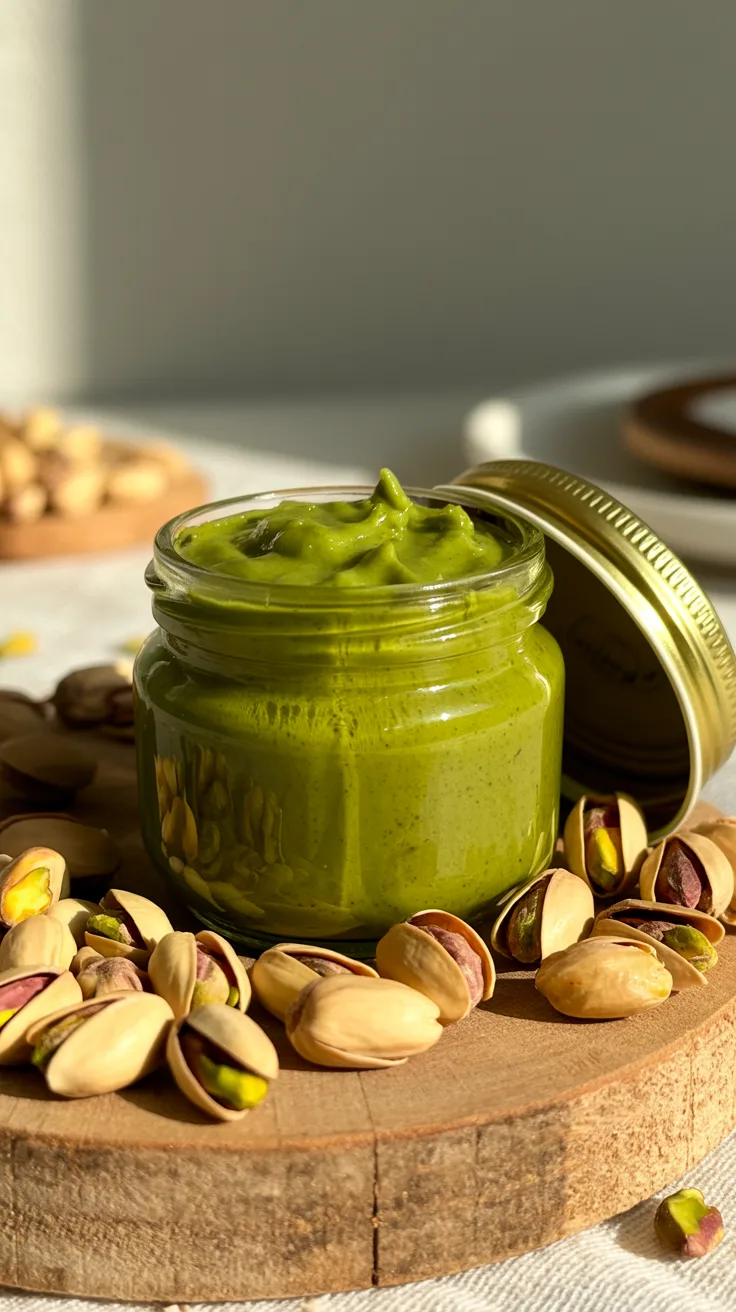
If you’re bored with the usual nut butters and want something that tastes bright, a little grassy, and almost creamy, pistachio butter is a fun detour. Unlike peanut butter, which can feel a bit heavy, this version lets the pistachio’s delicate, almost floral notes come through, making it just as good swirled into yogurt as it is tucked into a batch of cookies or slathered on morning toast. You don’t need anything fancier than a food processor, and as long as your pistachios are fresh, you’ll get that vivid green color and silky texture.
Why This Recipe (Mostly) Works
Here’s the thing: pistachio butter looks simple, but it’s a bit fiddly in practice. If you’ve ever ended up with a greasy, broken mess or a stubbornly grainy paste, you’re not alone. Getting it right seems to depend on a few things that aren’t always obvious. For one, pistachios have less oil than almonds or cashews, so they burn more easily which is why toasting them gently (rather than roasting them into oblivion) is key. They also need a good bit of processing to go from crumbs to paste, but not so much that the heat from the machine turns your butter oily. A pinch of salt and a splash of neutral oil help bring everything together, but don’t overdo it. Pistachios have a natural sweetness that shines when it’s not overwhelmed.

Ingredients (What Matters and What Doesn’t)
- Pistachios, raw and shelled (300g / 2 cups): Start with the freshest, unroasted nuts you can find. Roasted nuts can work, but I found they taste less bright and look a bit dull.
- Neutral oil, like sunflower or grapeseed (30g / 2 tbsp): This is just to help with blending—any mild oil will do. I tried pistachio oil once, but honestly, it didn’t add much.
- Fine sea salt (2g / ¼ tsp): A tiny pinch lifts the nutty sweetness.
- Honey or maple syrup (optional, 15g / 1 tbsp): Not traditional, but if you like a glossy, slightly sweeter spread, it’s a nice tweak.
Equipment (What You Really Need)
- Baking sheet (for toasting)
- Food processor or high-power blender (A mini-chopper? Maybe not.)
- Spatula
- Digital kitchen scale (Or just careful cup measurements)
- Airtight storage jar
Nice, but not essential: Oven thermometer (if you’re obsessive), silicone mat (if you tend to burn things), fine-mesh sieve (for the skins—but really, who has time to take them all off?)
Step-by-Step: How to Not Mess It Up
Toast the Pistachios:
Spread them on a baking sheet and pop them into a 160°C (325°F) oven for 8–10 minutes. You’re not aiming for deep brown, just fragrant and maybe a little golden at the edges. Overdo it, and the color goes dull, the flavor turns bitter. (I know from experience.)

Cool and Rub Off Skins:
Let the pistachios cool just enough so you don’t burn your fingers, then rub them between your hands or a clean towel to loosen the skins. Run them through a sieve if you want—but honestly, leaving some skins in gives a nice rustic look.

Process, Scrape, Repeat:
Dump the pistachios into your food processor and get blending. It’ll go from sandy crumbs to clumpy dough to an oily paste, and eventually, you’ll see it go glossy and slick. This can take 8–12 minutes, all in. If your processor feels hot to the touch, pause for a minute—overheating is how you end up with greasy separation.

Add Oil and Salt:
Once it’s smooth, drizzle in the oil and salt while the blade’s still running. Add a touch of honey or syrup here if you want. Blend until it’s silky—it should ooze off your spatula in thick ribbons.

Troubleshooting (Because Sometimes Things Go Wrong)
- Dry, grainy texture: Probably under-processed or the nuts are old. Blend longer in short bursts, and maybe add a tiny bit more oil. Fresher nuts next time.
- Oily, split butter: Over-blended, or your machine got too hot. Stick it in the fridge for 10 minutes, then try reprocessing. Stop before you think you should.
- Bitter, burnt taste: Too long in the oven, or your nuts weren’t fresh. Not much to do but start again.
- Too thick: Add a smidge more oil. You’re aiming for something that spreads, not something you could use as mortar.
Variations (Some Work, Some Don’t)
- Dairy-free/vegan: Already there, but skip the honey if you’re strict.
- Flavor twists: A little orange zest or a pinch of cardamom is actually kind of nice, but go easy—pistachio’s the star.
- Nut-free: Not with this one, sorry.
- Salt- or sugar-free: You can skip them, but the flavor will be a little flat (especially without salt).
Scaling Up (Or Down)
Double the batch if you want, but only if your food processor can handle it. Half a batch is fine, but you might have to scape down the sides more often.
Storage: How Long Does It Last?
This stuff keeps about a week at room temperature in a cool, dark spot. In the fridge, 3–4 weeks—just bring it to room temperature before spreading or it’s like concrete. Freezers are fine for 2–3 months, but only if you’ve skipped the fresh fruit or herbs (which, honestly, seems like a weird choice for nut butter anyway).
Serving Ideas (If You Can Resist Eating It with a Spoon)
- Swirl into yogurt with honey and pomegranate arils
- Slather on sourdough with sliced strawberries (trust me)
- Fold into brownie batter or cookie dough for extra depth
- Use as a filling for macarons or thumbprints (looks fancy, tastes like happiness)
A Quick Trip to My Kitchen Notes
Batch 1: Tried pre-roasted nuts. Big mistake—bitter and dull. Lesson: Always start raw.
Batch 2: Left the processor running too long. Butter split and looked like oil slick. Now I pulse in short bursts, letting the bowl cool when it gets warm.
Batch 3: Experimented with saffron for color. Overpowered the nuttiness. Sometimes simple is better.
Batch 4: Removed all the skins. Smooth, but kind of boring. Leaving some gives character.
Final Batch: 160°C oven, cooled, skins mostly removed, pulsed with 2 tbsp oil—creamy, green, balanced.

FAQs (Real Questions I Had to Learn the Hard Way)
Q: Can I use roasted, salted pistachios?
You can, but the flavor is stronger, saltier, and less fresh. Adjust your added salt and don’t expect the same green color.
Q: Why is my pistachio butter not green?
Probably over-roasted, or your pistachios were older, or you kept the skins on. Fresh, raw, gently toasted nuts are your best bet.
Q: My processor struggles to blend—help?
Make sure the nuts are warm (not hot), and add the oil a little earlier. If you only have a mini-chopper, consider borrowing a real processor.
Q: Can I skip the oil?
Pistachios are low in oil, so you’ll get a really thick, dry spread. I wouldn’t recommend it unless you’re using it as a filling, not for toast.
Q: How do I clean my processor after?
Wipe out what you can, then wash with hot soapy water. If you’re stuck, pulse a piece of bread—life pro tip.
Q: Can I use flavored oils?
Mild ones are okay, but strong oils (like extra-virgin olive oil) will mask the pistachio. Stick to neutral if you want to taste the star ingredient.
Nutrition (Ballpark Figures)
Per tablespoon: 95 kcal, 8g fat (1g saturated), 3g carbs, 3g protein, 1g fiber. Adjust for your brands and portion sizes—and store properly so it doesn’t go rancid.
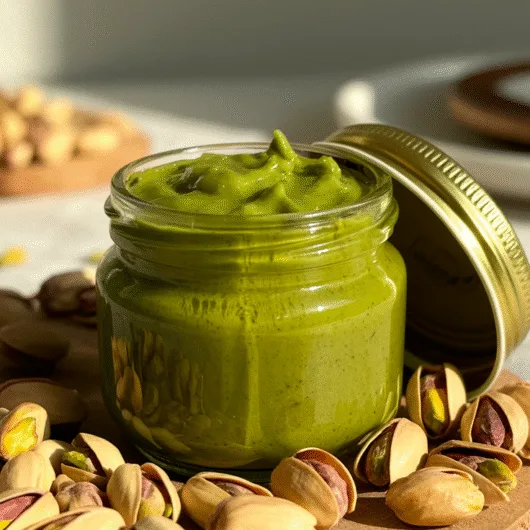
Homemade Pistachio Butter: A Green Nut Delight
Course: SnacksCuisine: InternationalDifficulty: Easy12
servings10
minutes10
minutes95
kcal25
minutesCreamy, naturally sweet pistachio butter with a vibrant green hue and a delicate, nutty flavor, homemade in minutes using just a few ingredients and a food processor.
Ingredients
Raw, shelled pistachios (unsalted)
Neutral oil (sunflower, grapeseed)
Fine sea salt
Honey or maple syrup (optional)
Directions
- Toast the Pistachios
Preheat oven to 160°C (325°F). Spread pistachios in a single layer on a baking sheet. Toast for 8–10 minutes until lightly golden and fragrant. Avoid over-browning—nuts should still look mostly green and feel slightly oily. Cool slightly. - Remove Skins (Optional)
While nuts are still warm, rub them between your palms or a clean towel to loosen skins. Sieve to remove most of the skins—this step is optional and adds character. - Process Nuts to a Paste
Add pistachios to the food processor. Pulse until finely ground, then process continuously, scraping down sides, for 8–12 minutes total. The mixture will go from crumbs, to clumps, to a thick paste, and finally to a smooth, creamy butter. If the bowl gets warm, pause to cool. Let the motor rest as needed. - Blend in Oil and Salt
With the processor running, drizzle in oil and salt (add honey or maple syrup now if using). Continue processing for 1–2 minutes until the butter is silky and uniform. - Check Consistency
The finished pistachio butter should ribbon off the spatula and hold its shape briefly. If too thick, blend in 5–10g more oil. - Store
Transfer to an airtight jar. Store at room temperature for up to 1 week, in the fridge for 3–4 weeks, or freeze for 2–3 months.
Notes
- Tips
Freshness matters: Use the freshest, raw, unsalted pistachios for the best flavor and color.
Toast gently: Over-toasting darkens the nuts and mutes their green hue.
Keep it cool: Let your processor rest if it gets too hot to prevent the butter from becoming greasy or separating.
Skin it (or not): Removing about half the skins gives a smoother texture and brighter color; leaving some on adds visual interest.