If you’ve ever bought a jar of strawberry jam and wondered why it tastes vaguely like strawberry candy instead of actual strawberries, this recipe is your reset button. This Homemade Strawberry Jam is all about delivering real fruit flavor—bright, clean, and naturally sweet—using just three core ingredients. I built this method for home bakers who want dependable results without relying on pectin or complicated gear. The texture sets softly, holds its shape in cakes, and spreads beautifully on warm toast. And yes, there’s a simple temperature cue that guarantees success every time.
Pro Tip: The secret to consistent texture is cooking by temperature (104–105°C / 219–221°F) rather than time alone. It guarantees a gel that holds without turning stiff.
Why This Recipe Works
This jam uses natural pectin from strawberries and lemon juice. When heated to 104–105°C (219–221°F), pectin fibers bond with sugar and acid to create a soft gel—no powdered pectin needed. The balance between sugar and fruit is also intentional: too little sugar prevents thickening, while too much causes crystallization and an overly firm set.
Lemon juice isn’t just for brightness—it lowers the pH so the natural pectin can activate efficiently. Cooking uncovered evaporates excess water, concentrating flavor without giving you a rubbery jam.
Finally, I use a shallow, wide pan to speed up evaporation and preserve color. A deep pot traps steam and can cause a dull brownish hue. This method keeps your jam tasting—and looking—like fresh strawberries in a spoon.
Ingredients With Weights & Purpose
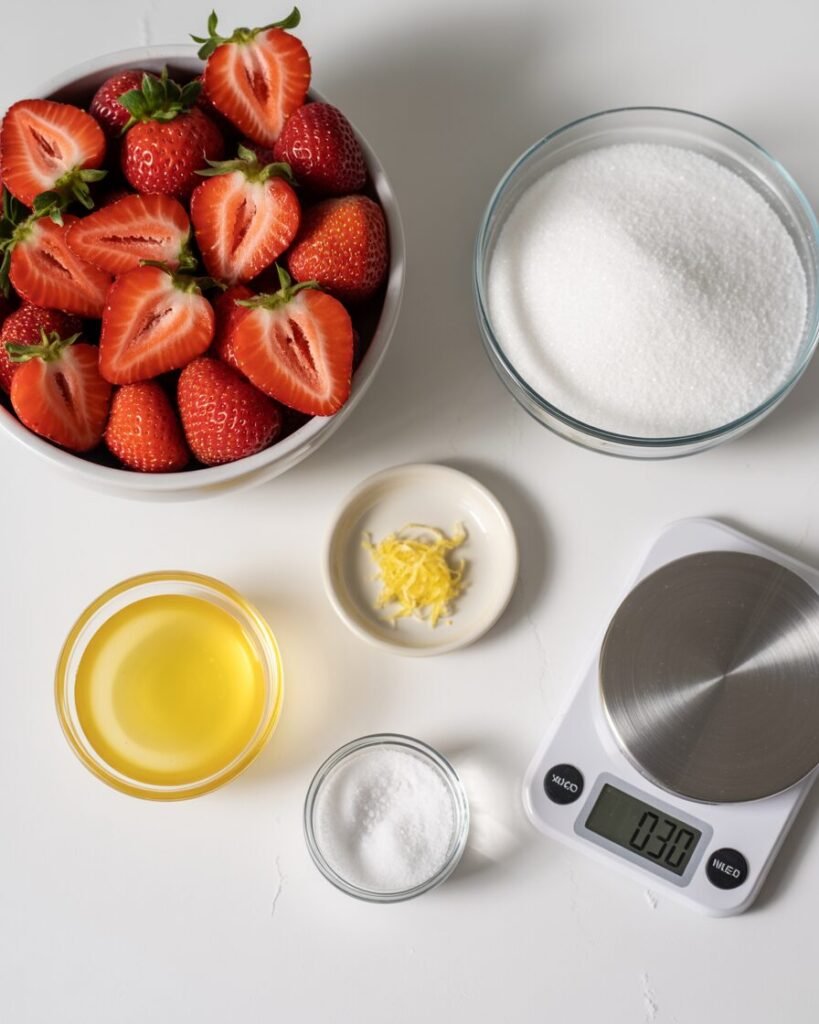
- Fresh strawberries — 800 g (about 1.75 lb)
Purpose: Main flavor; choose ripe but firm berries for highest natural pectin. - Granulated sugar — 400 g (2 cups)
Purpose: Sweetener + structure; binds with water and helps the jam gel. - Fresh lemon juice — 20 g (1 tbsp)
Purpose: Brightness + activates natural pectin. - Lemon zest (optional) — 1 tsp
Purpose: Adds a deeper citrus aroma that complements strawberries. - Fine sea salt — 1 pinch
Purpose: Enhances berry flavor; keeps sweetness balanced.
Yield: ~450–500 g (about 2 cups) jam
Pan size: Wide 10–11 inch sauté pan preferred
Equipment
Required
- Digital kitchen scale
- 10–11 inch wide pan
- Heat-proof spatula
- Potato masher or fork
- Candy or instant-read thermometer
- Clean glass jar with sealing lid
Nice to Have
- Microplane for zest
- Silicone spatula
- Funnel for jar filling
- Sterilized glass jars if long-term storage
Step-by-Step Instructions (With Timing & Visual Cues)
Step 1: Prep the berries
Wash and hull strawberries, then cut them in halves or quarters.
Visual cue: Berries should be bright and firm, not mushy or leaking.
Step 2: Macerate (10–15 minutes)
Combine strawberries, sugar, lemon juice, zest, and salt in your pan. Let sit until the sugar draws out berry juices.
Visual cue: The mixture should look glossy with a small pool of syrup forming at the bottom.
Step 3: Begin cooking (medium heat, 8–10 minutes)

Heat the mixture until strawberries soften. Use a masher to break them down to your preferred texture.
Visual cue: Berries soften enough to mash but still hold some shape if you like chunky jam.
Step 4: Simmer + reduce (12–18 minutes)

Continue cooking uncovered. Stir frequently to avoid scorching.
Temperature goal: 104–105°C (219–221°F).
Visual cue:
- Bubbles become slower and thicker.
- The spatula should leave a brief trail at the bottom before filling in.
- A spoon dipped into the jam shows thick droplets instead of thin syrup.
Step 5: Gel test (optional but helpful)
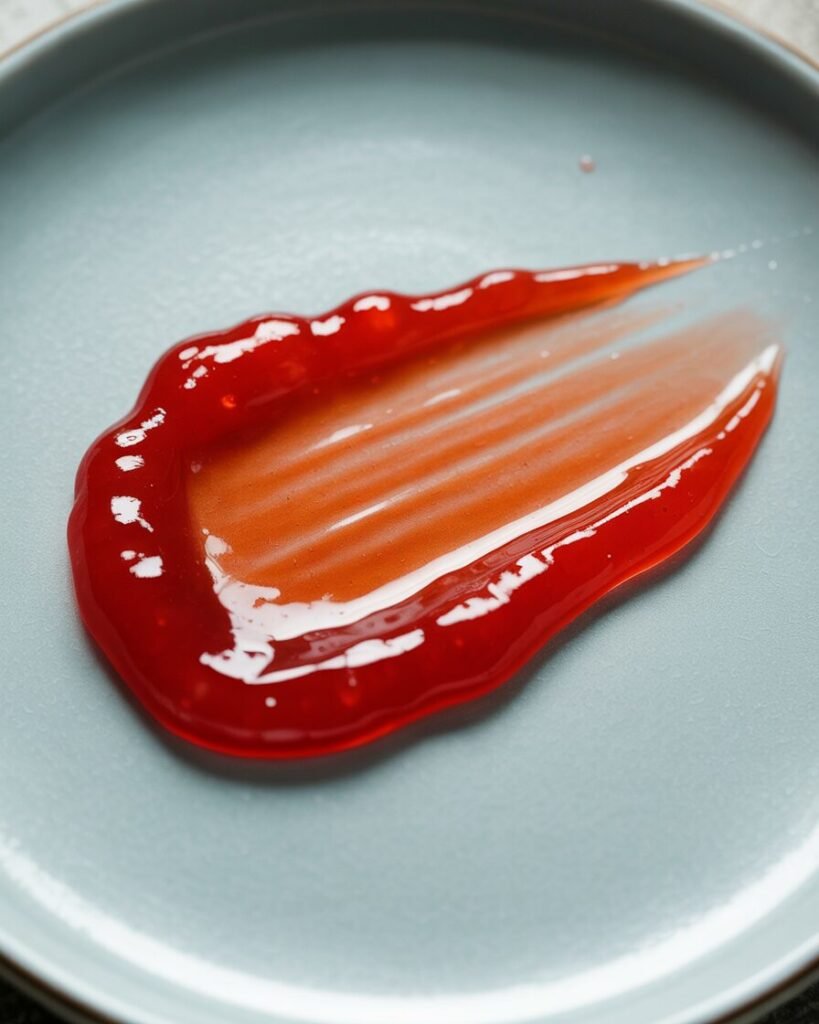
Place a small plate in the freezer. Spoon a bit of jam onto the plate, cool 20–30 seconds, then push with your finger.
Correct result: Jam wrinkles slightly and holds shape.
Incorrect:
- Too runny: Cook 2–3 minutes more.
- Too stiff: Add 1–2 tsp water and whisk in gently over low heat.
Step 6: Cool & store
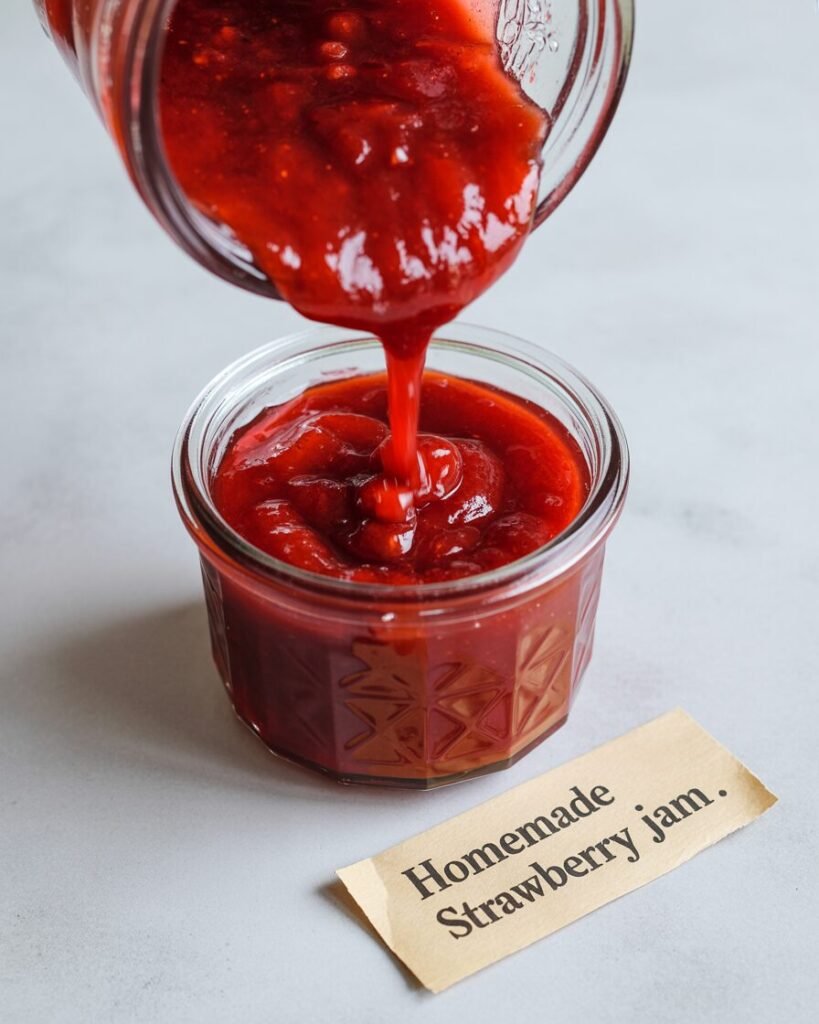
Off heat, let jam cool 10 minutes—this helps air bubbles release. Transfer into a clean jar and cool completely before sealing.
Visual cue: Jam thickens further as it cools; warm jam will look looser.
Troubleshooting: Common Failures & Fixes
Problem: Jam didn’t set.
- Likely causes: Didn’t reach 104°C; berries were overly watery; sugar too low.
- Fix next time: Cook to target temp; add 2 tbsp extra sugar; extend simmer by 3–5 minutes.
Problem: Jam turned brownish.
- Likely causes: Heat too high; cooked in deep-sided pot; overcooked.
- Fix: Use a wide pan; maintain medium heat; stop cooking at 105°C.
Problem: Jam tastes too sweet.
- Likely causes: Berries were already very ripe; cooked too long.
- Fix: Add 1–2 tsp additional lemon juice; reduce sugar by 25–50 g next batch.
Problem: Jam is too stiff/gummy.
- Likely causes: Overcooked past 106°C; too much sugar.
- Fix: Loosen by stirring in hot water 1 tsp at a time.
Problem: Jam is watery after cooling.
- Likely causes: Mixture not reduced enough.
- Fix: Return to pot and simmer 3–4 minutes until thicker.
Substitutions & Variations
Dietary Swaps
- Sugar-free / low-sugar: Replace sugar with 1:1 allulose. Note: Allulose results in a slightly softer set and deeper color.
- Dairy-free / egg-free: Recipe is naturally free of both.
- Gluten-free: Already gluten-free.
Flavor Variations
- Strawberry-vanilla: Add ½ tsp vanilla bean paste at the end of cooking.
- Strawberry-balsamic: Add 1 tsp aged balsamic vinegar for depth.
- Mixed berry: Swap 35–40% of strawberries with raspberries or blueberries. Blueberries require slightly longer reduction.
- Spiced version: Add a pinch of cinnamon or cardamom—but sparingly.
Scaling (Ingredient Chart)
Double Batch (1 kg strawberries)
- Strawberries: 1000 g
- Sugar: 500 g
- Lemon juice: 25 g
Half Batch (400 g strawberries)
- Strawberries: 400 g
- Sugar: 200 g
- Lemon juice: 10 g
Note: When scaling up, use an even wider pan or allow extra cooking time for evaporation.
Storage, Make-Ahead & Freezing
- Room temperature: 1 day only if the jar is unsealed and jam is cooled.
- Refrigerator: Up to 3 weeks in a sealed, clean jar.
- Freezer: Up to 4 months. Freeze in small airtight containers; thaw in the fridge overnight.
What Not to Freeze
Avoid freezing in glass jars with narrow necks—they may crack when jam expands.
Refreshing texture
If thawed jam seems loose, simmer 2–3 minutes to thicken again.
Serving Suggestions & Pairings
Serve with:
- Scones, biscuits, pancakes
- Yogurt and granola
- Cheesecake swirls
- Cake fillings (especially sponge cakes and roll cakes)
- Toast with salted butter
Pair with flavors that provide contrast—rich dairy, tangy lemon, or nutty bases like almond shortbread.
FAQs
1. Can I replace sugar with honey?
Yes, but use 280 g honey for 400 g sugar. Cook 3–4 minutes longer, as honey contains more water and results in a softer set.
2. How do I thicken jam without pectin?
Cook to 104–105°C and make sure the mixture reduces enough. Lemon juice is essential for natural pectin activation.
3. How do I halve or double the recipe?
Use the scaling chart above. Always rely on temperature rather than fixed cooking times.
4. Can I use frozen strawberries?
Yes! Thaw fully and drain excess liquid. Jam may need 2–4 extra minutes of simmering.
5. Can I make this in an OTG?
No—the jam requires stovetop evaporation. But you can warm sterilize jars in your OTG.
Notes From My Kitchen (Testing Log)
Batch 1: Overcooked slightly; jam set too firm. Learned that going past 106°C causes stiffness.
Batch 2: Used frozen berries; added 3 extra minutes reduction—perfect consistency.
Batch 3: Reduced sugar to 300 g; flavor was bright but set was softer.
Batch 4: Wide sauté pan improved color dramatically.
Batch 5 (Final): Ideal ratio: 800 g berries + 400 g sugar + 20 g lemon. Reached 105°C exactly—best flavor, color, and spreadability.
Nutrition & Food-Safety Disclaimer
Approx. per tablespoon: 50–55 calories (estimate only). Values vary by brand and batch.
Always store jams in clean, sterilized containers and refrigerate promptly.
Conclusion
Homemade Strawberry Jam is one of the simplest, most rewarding kitchen projects—especially when you understand the science behind the set. Once you learn to rely on temperature and visual cues instead of guesswork, your jam will turn out consistently bright, smooth, and flavorful every single time. Whether you’re swirling it into desserts or spreading it on warm toast, this small-batch recipe delivers a punch of real strawberry flavor that store-bought jars simply can’t match.