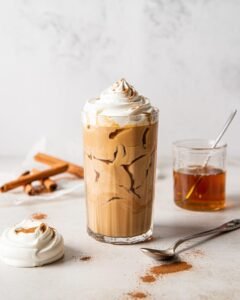
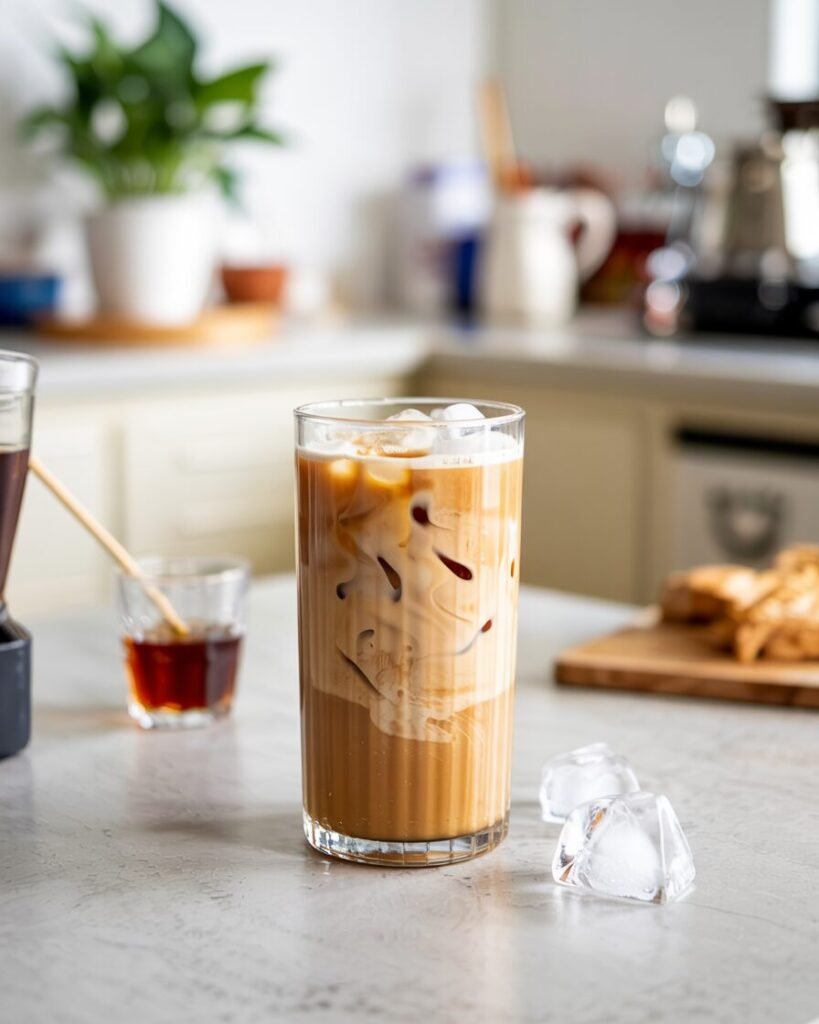
A cozy coffeehouse-style drink made at home with simple ingredients, plenty of ice, and real maple syrup for a cleaner, deeper sweetness than regular sugar. Recipes across current sources use a similar core formula—coffee or espresso, milk, ice, and maple syrup—so this version is built to be reliable, balanced, and easy for beginners to nail on the first try.
If you want an iced latte that tastes smooth, lightly sweet, and actually like maple instead of sugary syrup, this is the one to make. My pro tip: dissolve the maple syrup into the hot espresso or strong coffee first so the sweetness distributes evenly instead of sinking to the bottom.
Why this recipe works
Maple syrup works especially well in iced drinks because it is already liquid, so it blends more easily than granulated sugar, particularly when stirred into warm espresso first. That gives you even sweetness and avoids gritty or separated layers in the glass.
Milk choice affects body and foam. Whole milk tends to give the fullest texture, while plant milks work well but vary in thickness and frothing, which is why this recipe includes visual cues instead of relying only on timing. Several published versions also use either espresso or strong coffee, which makes this flexible for home bakers without an espresso machine.
A final practical point: iced milk coffee drinks are best made fresh and consumed promptly, because dairy-based drinks are more food-safe when kept cold and not left sitting for long periods. Hot-brewed coffee is generally lower risk than long-steeped cold brew from a food-safety perspective, so brewing fresh coffee for this recipe is a smart choice.
Ingredients
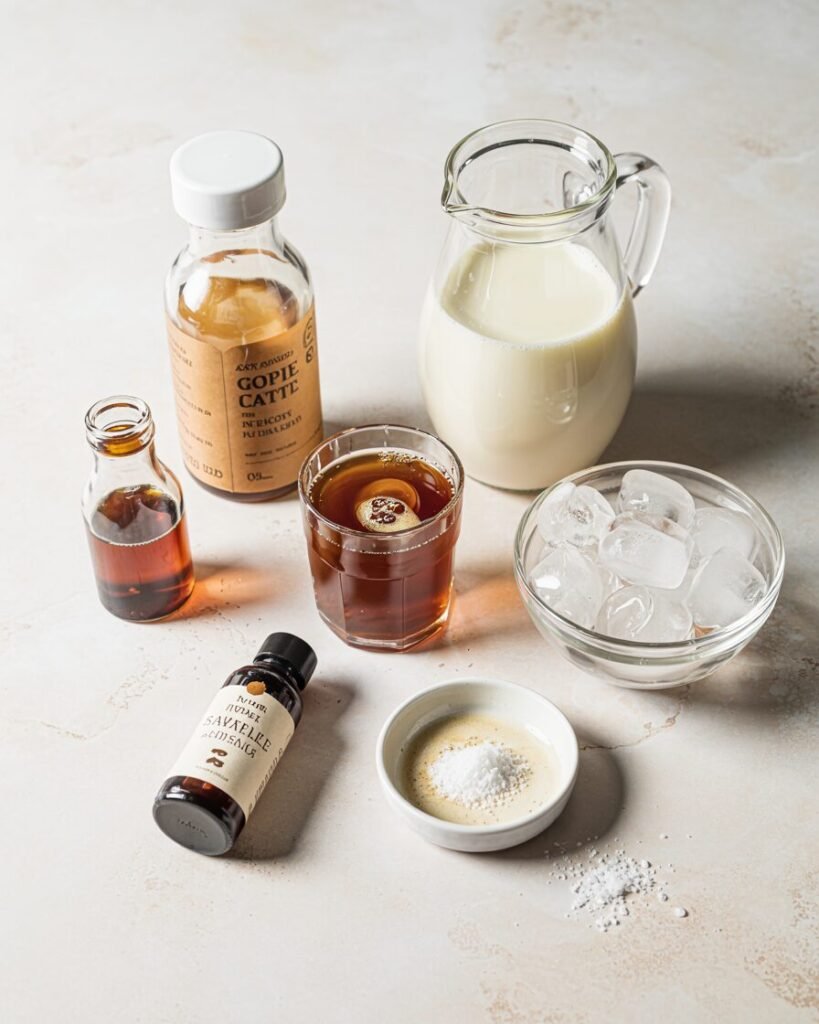
- Strong brewed coffee or espresso — 60 g espresso or 120 g strong coffee (1/4 to 1/2 cup) — the coffee base; espresso gives the boldest flavor.
- Pure maple syrup — 15 to 22 g (1 to 1 1/2 tablespoons) — sweetens and adds caramel-like maple flavor; use pure maple syrup, not pancake syrup.
- Cold milk — 180 g (3/4 cup) — adds creaminess and softens the coffee; whole milk gives the richest body.
- Ice — 120 to 160 g (about 1 to 1 1/2 cups) — chills the drink quickly and keeps the layers defined.
- Fine sea salt — tiny pinch, optional — sharpens the maple flavor and makes the drink taste a little rounder.
- Vanilla extract — 1/4 teaspoon, optional — adds bakery-style warmth; inspired by common maple latte variations.
Equipment
Required:
- Tall 350 to 475 ml glass (12 to 16 oz).
- Spoon or small whisk for mixing.
- Coffee maker, moka pot, or espresso machine for brewing.
Nice to have:
- Hand frother for a café-style top layer.
- Digital scale for consistent sweetness and milk ratio.
- Cocktail shaker or jar with lid for extra frothy milk, similar to shake-to-foam methods used in some recipes.
Step-by-step instructions
Step 1: Brew the coffee
Make 60 g espresso (about 2 shots) or 120 g strong coffee. Let it cool for 3 to 5 minutes, just until very hot rather than boiling.
Visual cue: The coffee should smell rich and toasty, with no burnt edge. If using brewed coffee, it should taste slightly stronger than what you would drink plain because the ice and milk will dilute it.
Step 2: Dissolve the maple
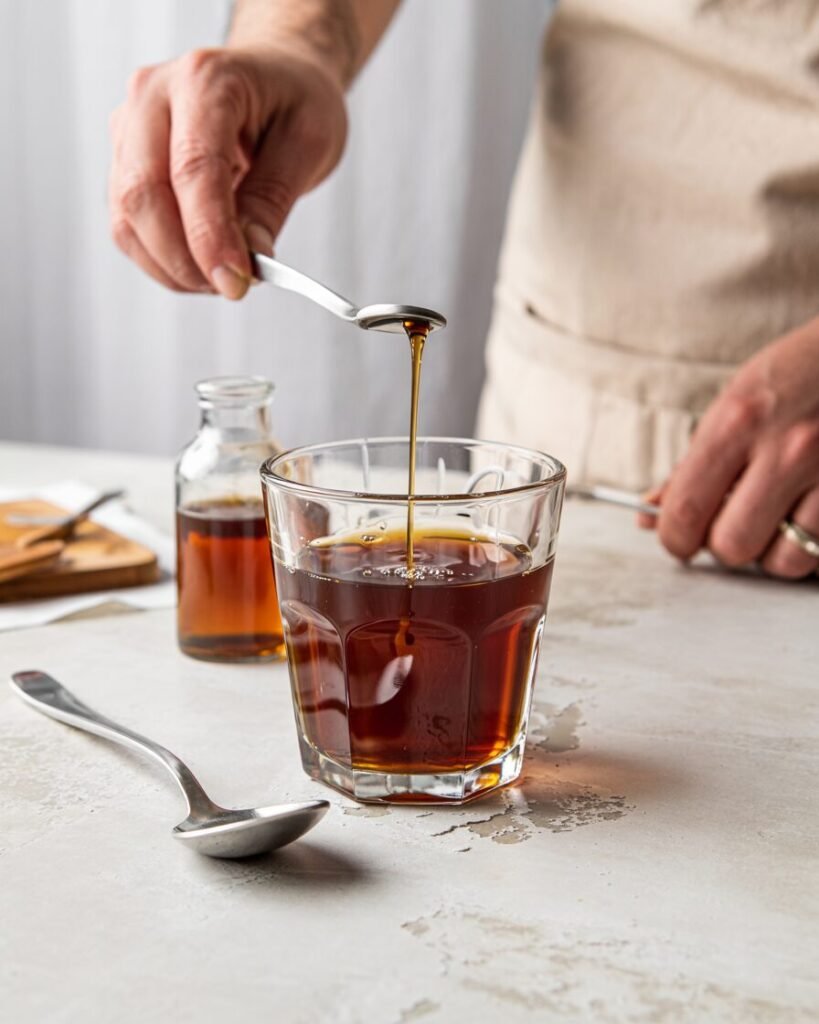
Stir 15 to 22 g maple syrup and a tiny pinch of salt, if using, into the warm coffee until fully blended, about 15 seconds. This step matters because maple syrup mixes most evenly while the coffee is still warm.
Visual cue: The liquid should look glossy and uniform, with no darker syrup pooling at the bottom.
Step 3: Prep the glass
Fill a tall glass about 3/4 full with ice, roughly 120 to 160 g. Pour in 180 g cold milk.
Visual cue: The milk should come up around halfway to two-thirds of the glass once the ice is in place. If the glass is already packed to the brim with ice, the finished drink will taste weak.
Step 4: Add the coffee
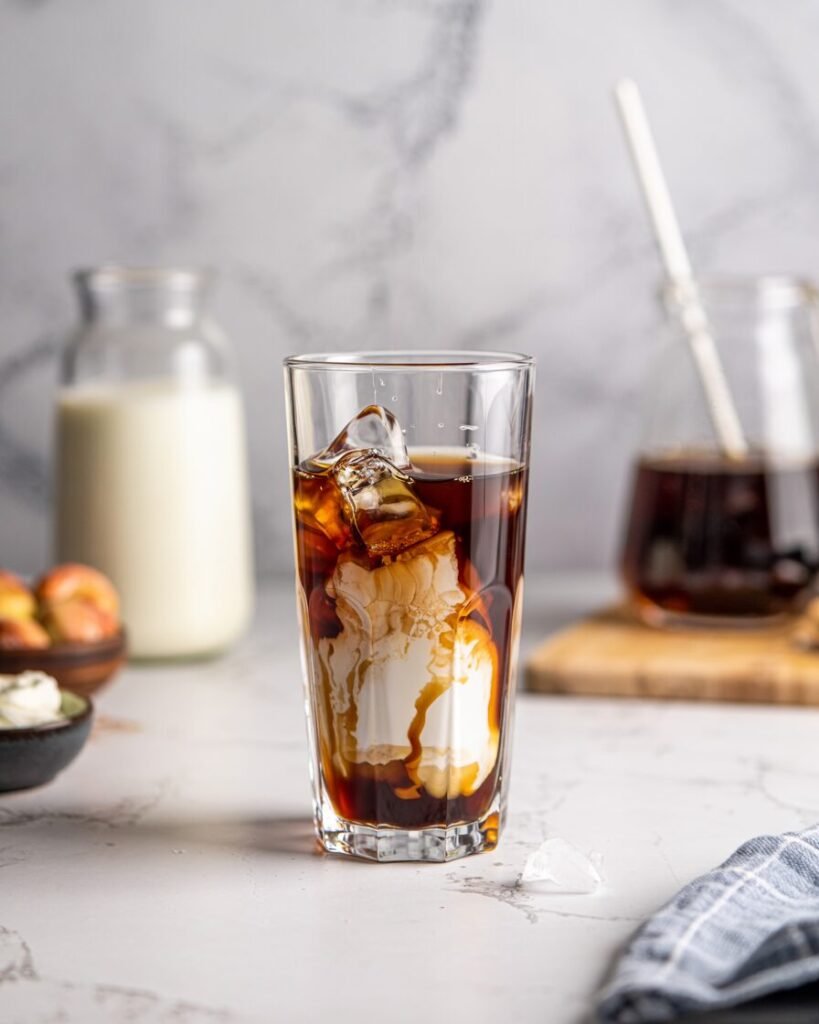
Slowly pour the maple coffee over the milk and ice. Pouring gently gives you a pretty layered look at first; stirring later gives the most balanced flavor.
Visual cue: You should see darker coffee ribbons move through the milk before they settle. If everything turns watery immediately, you likely used too much ice melt or coffee that was still too hot.
Step 5: Froth, if you want
Froth 2 to 3 tablespoons of the milk before adding it, or froth the remaining milk briefly with a hand frother for 10 to 20 seconds. Some recipes use cold-frothed milk or shake milk in a jar for extra foam, which works nicely here too.
Checkpoint: Good foam looks silky with tiny bubbles. Bad foam looks stiff, dry, or covered in large soap-like bubbles.
Step 6: Stir and serve
Stir just before drinking. Serve immediately while cold.
Avoid this: Don’t leave it sitting out for long once milk and ice are combined; dairy drinks are best enjoyed promptly and kept cold for food safety.
Troubleshooting
Drink tastes watery
Likely causes: weak coffee, too much ice, or pouring very hot coffee directly over ice. Similar recipes rely on espresso or strong coffee for a reason.
Fix next time: use 2 espresso shots or brew coffee stronger than usual, and cool it briefly before pouring.
Maple sinks to the bottom
Likely cause: adding syrup straight into cold milk. Recipes that mix syrup with coffee first avoid this issue.
Fix next time: dissolve the maple into warm espresso before assembling.
Not sweet enough
Likely cause: espresso intensity varies, and some recipes use up to 2 tablespoons syrup.
Fix next time: increase maple syrup by 5 g to 7 g at a time.
Too milky
Likely cause: too much milk for the amount of coffee.
Fix next time: reduce milk to 150 g (2/3 cup) or increase espresso.
Foam disappears fast
Likely cause: low-fat milk or under-frothed milk. Whole milk generally gives better body.
Fix next time: use whole milk or a barista-style oat milk and froth until silky, not airy.
Flavor feels flat
Likely cause: bland coffee or not enough contrast. Salt and vanilla are common flavor boosters in maple latte variations.
Fix next time: add a pinch of salt or 1/4 teaspoon vanilla.
Substitutions and variations
- Dairy-free: Use oat milk, almond milk, or another plant milk. Multiple maple latte recipes explicitly allow non-dairy milk, though the texture will be lighter with thinner milks.
- Gluten-free: This drink is naturally gluten-free if your maple syrup and flavorings are certified gluten-free.
- Egg-free: Naturally egg-free.
- Hot version: Skip the ice and warm the milk; several sources note the same drink works hot as well.
- Salted maple version: Add a pinch of fine sea salt.
- Maple cardamom version: Add a tiny pinch of cardamom for a spiced twist.
Scaling
| Yield | Espresso/coffee | Maple syrup | Milk | Ice |
|---|---|---|---|---|
| 1 glass | 60 g espresso or 120 g coffee | 15–22 g | 180 g | 120–160 g |
| 2 glasses | 120 g espresso or 240 g coffee | 30–44 g | 360 g | 240–320 g |
Storage and make-ahead
You can brew the coffee ahead and chill it in the fridge for up to 24 hours in a covered jar for faster assembly later. Freshly assembled iced latte is best served right away for the best foam, temperature, and food safety.
Do not freeze the finished latte. Ice dilution and milk separation make the texture unpleasant once thawed.
Serving ideas
This latte pairs well with cinnamon rolls, banana bread, butter cookies, or lightly spiced muffins because the maple flavor is soft and rounded rather than sharp. A pinch of cinnamon on top or a little cold foam can make it feel more coffeehouse-style without changing the core method.
FAQs
Can I use regular brewed coffee instead of espresso?
Yes. Several recipes allow strong brewed coffee instead of espresso, though the flavor will be lighter and less concentrated.
What kind of maple syrup is best?
Use pure maple syrup rather than pancake syrup for cleaner flavor and better mixing. Current recipe sources consistently specify pure maple syrup.
Can I make it in an OTG kitchen without special tools?
Yes. You only need brewed coffee, a glass, ice, and a spoon; a frother is optional.
Can I double the recipe?
Yes. Double every ingredient and assemble in two glasses or one larger pitcher, then stir well before serving.
Notes from my kitchen
Batch 1: Using regular-strength drip coffee made the drink taste diluted once the ice melted. I switched to stronger coffee, and the maple came through better.
Batch 2: Stirring maple into cold milk left sweetness at the bottom. Mixing it into warm coffee fixed that immediately.
Batch 3: Almond milk tasted pleasant but thinner. Oat milk gave a creamier café-style feel.
Batch 4: Too much ice looked nice but weakened the drink fast. Filling the glass about 3/4 full was the sweet spot.
Batch 5: A tiny pinch of salt made the maple taste fuller without making the latte salty, similar to salted maple versions.
Final method: Espresso or strong coffee plus maple dissolved first, cold milk second, and ice last gives the best balance of flavor, chill, and texture based on how these recipes are structured and how the drink behaves in the glass.
Conclusion
This iced maple latte is simple, fast, and far more balanced than a sugar-sweetened iced coffee. The best results come from strong coffee, real maple syrup, and assembling it in the right order so every sip tastes smooth, lightly sweet, and properly cold.