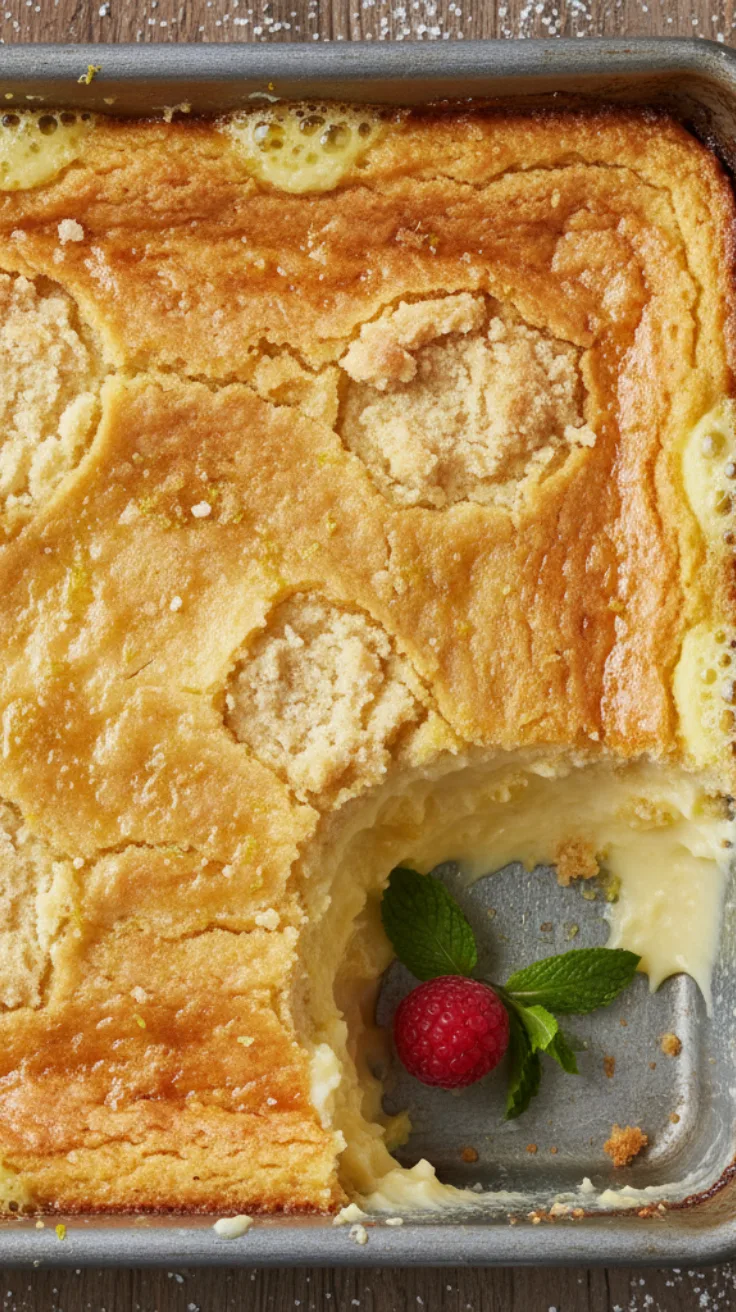
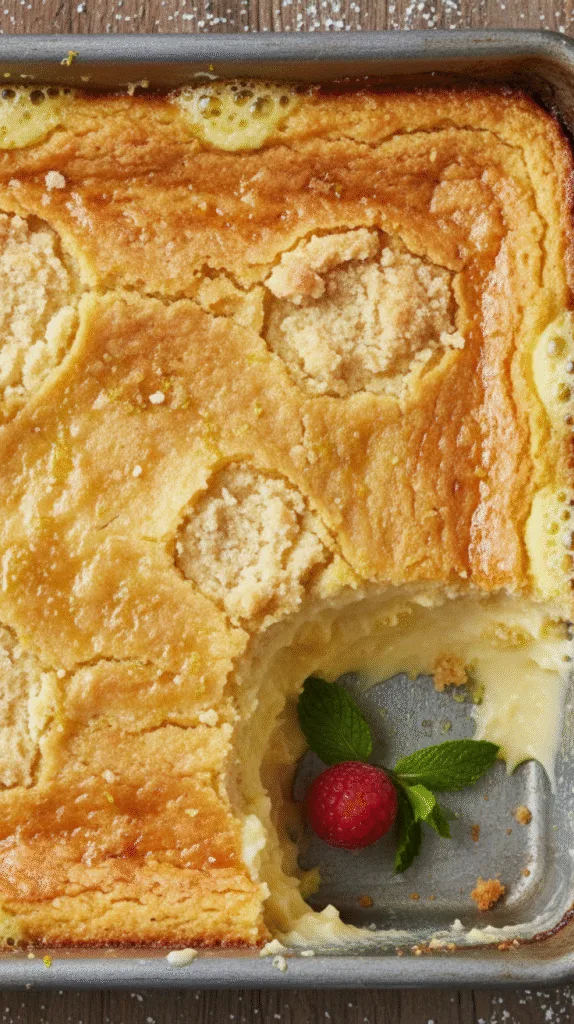
The Lemon Cream Cheese Dump Cake is one of those rare desserts that actually lives up to the “easy but impressive” label. I’ll admit, I was skeptical at first. Dump cakes have a reputation for being a little too rustic, maybe even a bit sloppy, but this one, developed by me, surprised me. It’s tangy without being sharp, sweet but not cloying, and the texture? A soft, almost custard-like center under a crisp, buttery top that cracks just right when you press a spoon into it.
It’s the kind of recipe that works whether you’re baking in a basic OTG or a full-sized oven, and you don’t need a stand mixer or fancy tools to pull it off. I’ve made it twice now, once following the gram measurements (which I’d recommend), and once eyeballing it, and the difference was noticeable. The first time was spot-on; the second, a little greasy on top. So yeah, precision helps.
Why This Works—And When It Might Not
The magic here isn’t in complicated technique. It’s in the layering. You’re not mixing everything together, which means no overworking, no gluten development, and when done right, a clean separation between that rich cream cheese filling and the golden crust above. The cream cheese acts like a shield, keeping the fruitiness from sinking too fast into the dry mix. That said, it seems to work best when the cream cheese is truly at room temperature cold blocks left little lumps in my first try, and they didn’t fully melt in.
The sugar and hot butter poured over the cake mix do something interesting. As it bakes, that top layer doesn’t just crisp up it almost caramelizes, thanks to the Maillard reaction. It’s not a deep browning, but you’ll see it: golden edges, a nutty smell, that little crunch when you bite in. I wouldn’t call it a crust, exactly, but it’s close.
One thing the original text doesn’t mention: ovens vary. My OTG runs hot, so even at 175°C, the edges started to darken around 42 minutes. I pulled it at 48, and the center was still a bit jiggly but it firmed up after cooling. That internal temp of 93°C? Helpful, but not everyone has a probe thermometer. I’d say go by sight and feel: bubbling at the edges, golden top, and a skewer with moist crumbs, not wet batter.

Ingredients—With a Few Real Talk Notes
I appreciate that the recipe gives weights. It makes a difference, especially with something like cake mix, which can pack down. Here’s how it played out in my kitchen:
- Cream cheese (250g): Full-fat is non-negotiable. I tried a low-fat version once—big mistake. The filling wept moisture and never set. Philadelphia works fine, but I’ve also used Amul here in India, and it holds up better than I expected.
- Granulated sugar (100g): This balances the lemon’s acidity. I wouldn’t reduce it unless you’re using a sweeter lemon curd. And speaking of—
- Lemon curd (200g): Store-bought is fine, but check the ingredients. Some brands water it down. I used homemade once, and the flavor was brighter, more vibrant. If you go that route, make sure it’s thick.
- Lemon zest (10g): From two medium lemons. This is where a lot of the flavor lives. I zested mine finely, and honestly, I might add a bit more next time—maybe 12g—for a stronger citrus punch.
- Butter (113g, melted and hot): This needs to be hot when poured. Warm butter doesn’t activate the cake mix the same way. I microwaved it for 45 seconds, and that worked perfectly.
The Process—Simplified, With Reality Checks
Step 1: Preheat and prep
I line my pan with parchment now. I didn’t the first time, and getting the cake out was a mess. An 8-inch square is ideal. I tried a 9-inch once—too thin, and the topping burned before the center set.

Step 2: Cream cheese layer
Beat the cream cheese until smooth, then add sugar. One egg at a time. I use a hand mixer, but a whisk works if you don’t mind the arm workout. Don’t overdo it—too much air can lead to cracks. I noticed that when I whipped it longer, the surface had small fissures after baking. Not a dealbreaker, but not pretty.

Step 3: Layer carefully
Pour the mixture into the pan and spread it gently. No need to be perfect—this isn’t a cheesecake. But keep it level so the layers bake evenly.

Step 4: Cake mix and butter
Sprinkle the dry mix evenly. Then pour the hot butter in a slow stream, covering as much surface as possible. Do not stir. I know it’s tempting, but stirring ruins the texture. The butter will sink and do its thing.

Step 5: Bake
45–50 minutes. Mine took 48. The edges bubbled, the top was golden, and the center still had a slight wobble. That’s okay. It sets as it cools.

Step 6: Wait. Seriously.
This is where I failed the first time. I cut into it after 30 minutes. Big mistake. The center was pudding-like, not sliceable. Let it sit for at least an hour. It firms up dramatically.
What Could Go Wrong—and How to Fix It
- Soggy top? Likely too much butter or a pan that’s too big. Stick to 8-inch and measure the butter.
- Cake sinks? Probably underbaked or the oven door opened too early. I avoid checking before 40 minutes now.
- Cracks? Overmixing or high heat. Mix just until smooth, and verify your oven temp with a thermometer if you can.
- Not lemony enough? Fresh zest makes a difference. I’d add an extra half lemon next time.
Swaps That Actually Work
- Dairy-free: I haven’t tried it, but a reader mentioned Kite Hill cream cheese and Miyoko’s butter. Texture was softer, but still edible.
- Gluten-free: King Arthur’s mix works. The top is a bit more crumbly, but the flavor holds.
- Egg-free: Applesauce substitution (¼ cup per egg) seems to work, though the filling is less firm.
Serving—Keep It Simple
I like it at room temperature, with a dollop of whipped cream—sweetened lightly, with a little lemon zest folded in. A spoonful of fresh blueberry compote cuts the richness nicely. Vanilla ice cream works too, especially if you want that warm-cold contrast.
Final Thoughts
This isn’t a gourmet showstopper, but it’s honest, reliable, and tastes like someone cared. It’s the kind of dessert that feels homemade, even if you barely lifted a finger. And honestly, that’s the point.

How to Make the Best Lemon Cream Cheese Dump Cake – Moist, Tangy & Perfectly Crispy
Course: DessertCuisine: AmericanDifficulty: Easy, Medium8
servings15
minutes50
minutes380
kcal1
hour30
minutesThis Lemon Cream Cheese Dump Cake is a simple, one-pan dessert that layers tangy lemon curd and cream cheese with a golden, buttery cake topping. With no mixing required and foolproof layering, it bakes into a rich, dessert-like casserole perfect for weeknight treats or crowd-pleasing gatherings. The contrast between the creamy middle and crisp crust makes it a standout especially when served with a dollop of whipped cream or a scoop of vanilla ice cream.
Ingredients
Cream cheese (full-fat) – 250 g (1 cup)
Granulated sugar – 100 g (½ cup)
Large eggs (room temperature)
Lemon zest (from 2 medium lemons) – 10 g (2 tbsp)
Lemon juice (freshly squeezed) – 60 g (¼ cup)
Vanilla extract – 5 g (1 tsp)
Lemon curd (store-bought or homemade)
Yellow cake mix (dry, unflavored)
Unsalted butter (melted, hot)
Directions
- Step 1: Preheat and Prepare Pan
Preheat oven to 175°C (350°F) for at least 15 minutes. Grease the 8-inch pan or line with parchment. Place oven rack in the center position to ensure even baking and avoid over-browning. - Step 2: Make the Cream Cheese Layer
In a bowl, beat cream cheese with an electric mixer on medium until smooth (about 1 minute). Add sugar and beat until fluffy. Scrape sides, then add eggs one at a time, beating just until incorporated. Mix in lemon zest, juice, vanilla, and lemon curd until uniform. The mixture should be pale yellow, smooth, and free of lumps. Overmixing can incorporate too much air, leading to cracking. - Step 3: Layer the Filling
Pour the cream cheese mixture into the prepared pan and spread evenly. Do not overwork—this layer should remain level to support the cake mix. - Step 4: Add Cake Mix and Butter
Evenly sprinkle the dry cake mix over the filling. Pour melted, hot butter over the top in a slow, steady stream. Do not stir. The butter will seep through, activating the starch and sugar for crust formation. - Step 5: Bake
Bake for 45–50 minutes. The top should be golden brown and crisp, with bubbling edges. The center may appear slightly soft but will set upon cooling. Insert a skewer near the center—it should come out with moist crumbs, not wet batter. Internal temperature should reach 93°C (200°F). - Step 6: Cool Completely
Let cool at room temperature for at least 1 hour. The cake firms significantly as it cools. Cutting too early results in a soupy texture.
Notes
- Serving Suggestions
Serve slightly chilled or at room temperature. Pairs beautifully with:
Whipped cream (sweetened with powdered sugar and lemon zest)
Fresh berry compote (e.g., blueberry or raspberry)
Vanilla ice cream for contrast in temperature and richness
Balance the tartness with a lightly sweetened topping to enhance the lemony profile without overwhelming it. - Notes from the Kitchen
Batch 1: Used low-fat cream cheese. Resulted in a watery layer and weak structure. Adjusted to full-fat only
Batch 2: Skipped cooling. Cut into warm cake—center was soupy. Now emphasize full cooling
Batch 3: Used 9-inch pan. Topping was too thin and crispy. Final version uses 8-inch for optimal ratio
Final Version: 8-inch pan, full-fat cream cheese, hot melted butter, and 50-minute bake delivers perfect golden top and creamy center