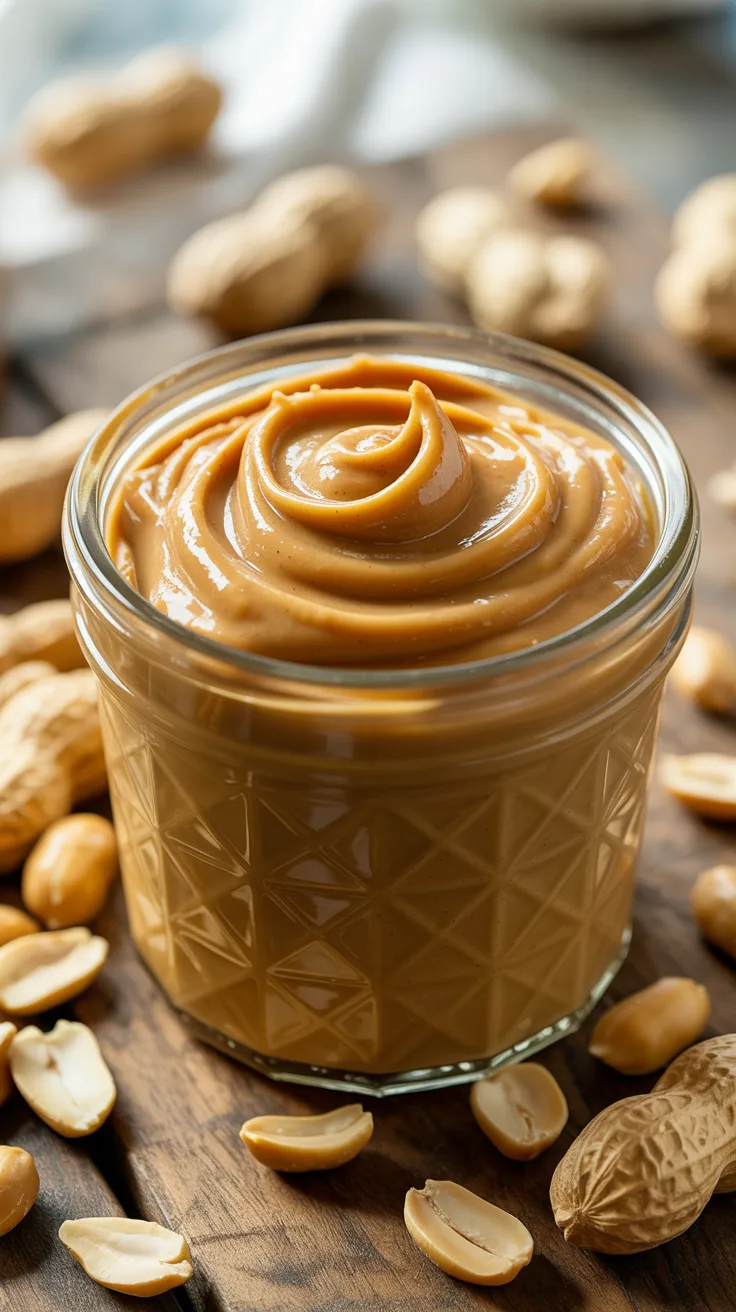
Making homemade peanut butter is one of those rare kitchen experiments that’s almost as satisfying to talk about as it is to eat. Forget the stand mixer; all you really need are a few handfuls of peanuts, a food processor or blender, and a bit of patience. What you gain, though, is creaminess you can actually feel with a spoon, plus total control over texture—chunky, smooth, even spiced or lightly sweetened. And honestly, it’s so quick that after you do it once, those jarred versions start to look a little unnecessary. I always found it surprising how forgiving this process is; even when I thought I’d overblended, a pinch more salt or a drizzle of honey rescued the batch.
Why Homemade Peanut Butter Works—And Sometimes Doesn’t
The science here is simple, but there’s a twist: peanuts themselves hold about half their weight in oil. As you blend, the friction actually warms them up, which seems to help the oil flow out and transform those ground-up bits into something rich and pourable. It’s tempting to expect instant results, but waiting for that glossy stage is, in my experience, where most people go wrong—patience here really does pay off. Adding oil or sweetener too soon? That’s a quick way to end up with something that never quite emulsifies. I’ve made that mistake, so trust me. The texture, salt level, and sweetness you get in the end are all up to you.

Ingredients—No Fancy Labels, Just Good Peanuts
- Unsalted peanuts (300g | 2½ cups): These are your base. I’ve noticed that roasted ones, especially if you do it yourself, give a deeper, toastier flavor, but raw work too if you’re in a hurry.
- Fine sea salt (2–4g | ¼–½ tsp): It’s always easier to add more salt than to take it out, so start conservatively and taste as you go.
- Neutral oil (15–30g | 1–2 tbsp, optional): A splash of sunflower or rice bran oil helps things smooth out if your nuts are stubbornly dry.
- Honey, jaggery, or maple syrup (15–30g | 1–2 tbsp, optional): For a touch of sweetness. I like maple syrup, but jaggery dissolved in hot water gives a nice local twist.
What You’ll Need—And What You Really Don’t
You’re going to want a decent food processor or high-speed blender; those little choppers never quite get there. A rubber spatula comes in handy for scraping, and a clean jar with a tight lid will keep things fresh. Now, do you need that instant-read thermometer? Maybe not, but if you roast your own peanuts, a baking sheet and parchment paper save you some cleanup. I’ve done both ways—roasted and not—and honestly, roasting is worth the extra ten minutes, especially if you want that classic peanut butter depth.
Step by Step: What to Watch For
Roast the peanuts (optional, 10–15 minutes):
If you’re using raw peanuts, spread them out on a tray and roast at 160°C (325°F) for 10–12 minutes. You’re looking for them to turn golden and smell like, well, roasted peanuts—but don’t walk away; they go from perfect to bitter quickly. Let them cool a bit before blending; warm nuts seem to release oil more easily.

Grind to crumbs (2–3 minutes):
Toss the peanuts into the processor and pulse until you get something that looks like wet sand. There’s a real difference between crumbs and actual smoothness—don’t stop too soon.

Blend to smooth (3–5 minutes):
Here’s where it gets weird: the mixture will clump, then turn into a kind of thick dough, and finally, if you’re patient, it’ll suddenly get glossy and start flowing more like the peanut butter you know. Scrape down the sides now and then; it’s not cheating. If your peanut butter is stubborn, blending for up to 8 minutes isn’t unheard of.

Adjust flavor and texture (1–2 minutes):
Now, add your salt and blend it through. If you want it creamier, drizzle in oil a teaspoon at a time. For sweetness, add honey or syrup (or that jaggery-water mix). If you like it chunky, keep aside a handful of chopped peanuts to fold in at the end.

Store in a clean jar:
It’ll keep in a cool, dry spot for a couple of weeks (oil might separate—just stir it back in). The lack of stabilizers means homemade peanut butter behaves differently, but I’ve found turning the jar upside down every few days helps.

When Things Go Wrong—Because They Sometimes Do
- Too thick or crumbly: Blend longer or add a little oil.
- Too runny: Maybe you overdid the oil—next time, cut back, or blend for less time.
- Bitter taste: Probably the peanuts got too dark during roasting. Watch them closely and cool quickly.
- Oil separates: This is normal. Stir before using.
- Gritty texture: Cheaper blenders or processors might not get it smooth enough. A quick sieve can fix this in a pinch.
Mix It Up
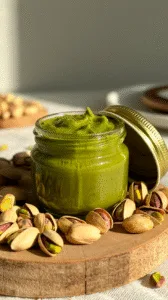
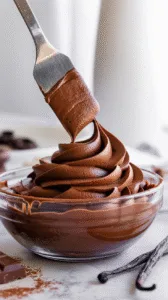
For a little change, you can swap some of the peanuts for coconut flakes, or blend in cocoa powder and a drizzle of syrup for a chocolatey spread. If you’re avoiding extra oil, it’ll just be thicker—still fine, but maybe better for sandwich cookies or baking.
How Much, and How Long?
- Small batch: 150g peanuts → about 120g peanut butter
- Standard: 300g peanuts → about 250g peanut butter
- Large: 600g peanuts → about 500g peanut butter
Store at room temperature for up to two weeks, in the fridge for a month (just let it come to room temp before using), or even freeze for up to three months—though I wouldn’t freeze versions with lots of mix-ins.
Ways to Use It
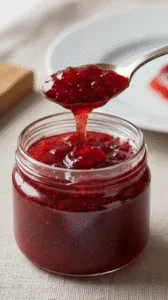
Spread it on toast, swirl it into yogurt or oatmeal, or use it as a base for peanut sauce. A little dab with apple slices or banana works too, and I’ve even seen people swirl in a bit of dark chocolate or a spoonful of fruit compote to balance the richness.
A Few Quick Answers
- Salted peanuts? Sure, just go easy on the extra salt.
- Why isn’t it creamy? Blend longer. Some appliances need a few extra minutes.
- Jaggery instead of honey? Yes, dissolve it in hot water first.
- Crunchy style? Reserve some chopped peanuts and stir them in at the end.
- Best peanuts? Any kind, really, but raw or lightly roasted seem to do best. Runner peanuts are oilier and creamier, apparently.
Notes from My Kitchen
My first batch—raw peanuts, no roasting—was a bit grainy and, honestly, kind of bland. Roasting made a night-and-day difference, but even then, I had to blend longer than I expected and add a bit of oil to get that really smooth texture. One time, I went overboard on salt; now I add it a little at a time. Skipping oil made for a very thick peanut butter—fine for sandwiches, not so much for smooth dips. Finally, roasted nuts, blended for six minutes, with just a pinch of salt, a splash of oil, and a spoonful of maple syrup, gave me peanut butter that felt… right. For Indian kitchens, jaggery syrup and coconut oil both work nicely as tweaks.
On Nutrition and Safety
A tablespoon (about 15g) gives you roughly 90 calories, 7g fat, 3g carbs, and 4g protein—but this will vary depending on your ingredients and how much you actually eat. Always use fresh ingredients and store properly.

Make Your Own Peanut Butter: A Step-by-Step Guide
Course: spreads, SnacksCuisine: InternationalDifficulty: Easy16
servings15
minutes90
kcal15
minutesMake peanut butter at home with just peanuts and salt—no preservatives or added sugar unless you want. It’s creamy, customizable, and perfect for toast, baking, or eating straight from a spoon.
Ingredients
Unsalted peanuts (raw or roasted): 300g (about 2½ cups)
Fine sea salt: 2–4g (¼–½ teaspoon, or to taste)
Neutral oil (like peanut, sunflower, or rice bran, optional): 15–30g (1–2 tablespoons)
Honey, maple syrup, or jaggery syrup (optional, for sweetness): 15–30g (1–2 tablespoons)
Directions
- Roast peanuts (optional):
Preheat oven to 160°C (325°F). Spread raw peanuts on a tray in an even layer. Roast 10–12 minutes, shaking once, just until golden and fragrant. Let cool a little before blending. - Blend to crumbs:
Put peanuts in the food processor. Pulse and blend until you get a sandy texture. - Blend to smooth:
Keep blending. The mixture will clump, then turn into a thick, creamy paste. Stop and scrape the sides as needed. - Add salt and adjust:
Add salt and blend again. If it’s too thick, blend in oil, one teaspoon at a time, until it’s the texture you like. For sweetness, add syrup to taste. For chunky peanut butter, mix in a handful of chopped peanuts at the end. - Store:
Spoon into a clean jar with a tight lid. Stir before using if the oil separates.
Notes
- Tips:
Oil: Only add it after the peanuts are fully blended for the creamiest result.
Sweetness: Honey, maple syrup, or jaggery all work—add to your taste.
Texture: Blend longer for smoother butter. For crunchy, mix in chopped nuts.
Storage: Keep in a cool, dark place up to 2 weeks, fridge up to 1 month, or freezer up to 3 months. - Dietary Notes:
Vegan: Use maple syrup or jaggery, not honey.
Sugar-free: Skip the sweetener.
Oil-free: Blend longer and rely on the peanut oil only—it will be thicker.
Gluten- and dairy-free: Already there by default. - If you have trouble:
Too thick or crumbly? Blend longer, add oil a teaspoon at a time.
Too runny? Blend less or use less oil.
Bitter or burnt? Don’t over-roast peanuts.
Gritty? Use a stronger blender or sieve after blending.