You know those Sundays? The ones where you wake up before everyone else, the house is quiet, and you think, “I’m going to be so productive.” Yeah, that was me last Sunday. My husband, Mark, was off on another work trip, and I had this grand vision of getting a head start on the week. Meal prep, laundry, the whole nine yards.
But then I opened the pantry and saw that little tin of matcha powder I’d been saving. And my brain just went… ice cream.
It was 8 AM. Totally ridiculous, right? But the idea wouldn’t leave me alone. I pictured it: a creamy, dreamy, vibrant green scoop of matcha ice cream waiting for us after dinner. A little moment of zen in our crazy week. So, with my coffee in hand, I decided to go for it. The kids were still asleep, and for a glorious 30 minutes, it was just me, my mixing bowl, and this ridiculously easy recipe.
From Fancy Dessert to Family Favorite
I first had matcha ice cream at a little Japanese place downtown a few years ago. It was so elegant and had this perfect balance of sweet and earthy flavors. I immediately knew I had to recreate it at home. The problem? Most recipes called for an ice cream maker, and honestly, who has the counter space for that? Not me.
So, this recipe is the result of a lot of trial and error. It’s a no-churn version, which sounds fancy but really just means you don’t need any special equipment. It’s my go-to for when I want to make something that feels a little special without a ton of fuss.
My “Gritty” Mistake (So You Don’t Have to Make It)
Okay, so let’s talk about the first time I made this. It was a disaster. I was in a rush and just dumped the matcha powder straight into the cold cream. Big mistake. HUGE. No matter how much I whisked, I was left with these stubborn little green clumps. The final ice cream was gritty and, frankly, a little disappointing.
The lesson: You absolutely have to make a smooth paste with the matcha first. Just mix it with a tiny bit of the warm cream until it looks like green paint. It takes an extra minute, but it makes all the difference. Trust me on this.
Ingredients & Swaps I Actually Use
This recipe is super simple, which means the quality of your ingredients really shines.
- Matcha Powder: This is the star of the show, so use the good stuff if you can! I really like the culinary-grade matcha from Ippodo. It’s got a beautiful color and a smooth, rich flavor without being too bitter. If you can’t find it, any high-quality culinary matcha will do. Just avoid the super cheap stuff, as it can be dull in color and taste.
- Heavy Cream: Any brand works, just make sure it’s cold! I stick mine in the freezer for about 10 minutes before I whip it.
- Sweetened Condensed Milk: This is our magic shortcut. It provides the sugar and the creamy texture without us having to make a custard base. I’ve found no real difference between brand names and store brands here.
- Vanilla Extract: Just a splash enhances the other flavors.
Substitutions I’ve Tried:
I once ran out of condensed milk (the horror!) and successfully used a can of cream of coconut instead. It gave the ice cream a subtle tropical vibe that was actually amazing.
Tips That Will Make You a Pro
After making this more times than I can count, I’ve learned a few things:
- Chill Everything: I’m not kidding. Your bowl, your whisk (or beaters), and your cream should be cold, cold, cold. This helps the cream whip up faster and lighter.
- Don’t Over-whip: You want soft peaks, not stiff ones. If you overwhip the cream, the ice cream can become a little buttery. Soft peaks look like a gently curved wave when you lift the whisk.
- Fold, Don’t Stir: When you combine the whipped cream with the matcha-condensed milk mixture, use a spatula to gently fold it together. This keeps all that air you just whipped in, which is the key to a light, creamy texture.
How My Family Really Feels About It
Mark is obsessed. It’s the first thing he asks for when he gets home from a long trip. He says it tastes like a fancy dessert from a restaurant, which is basically the highest compliment he can give.
The kids? Well, it was a journey. My 8-year-old, Leo, was suspicious of the green color at first. “Is it made of grass, Mom?” Now, he loves it, but only if he can top it with sprinkles. My 12-year-old, Maya, is my little foodie. She likes hers with a sprinkle of sea salt or a few dark chocolate shavings on top.
It’s one of those rare treats that everyone agrees on, which in a house with two kids and a rotating schedule, feels like a true miracle.
So, here it is. My not-so-secret recipe for a moment of calm in a crazy life. I hope you love it as much as we do.
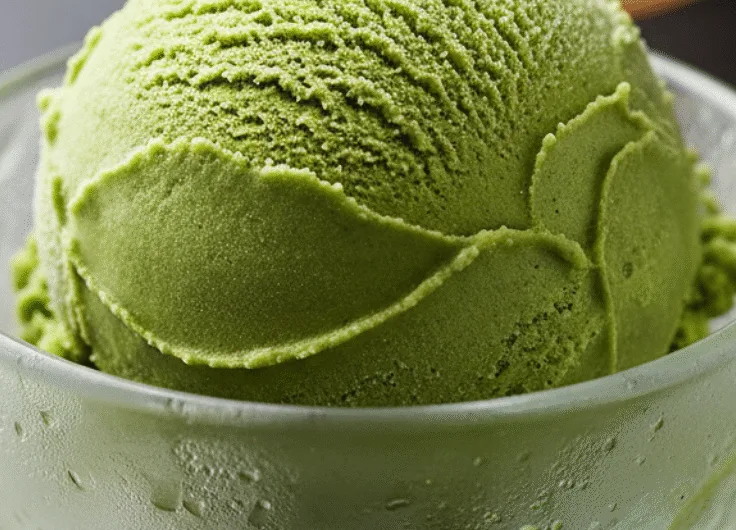
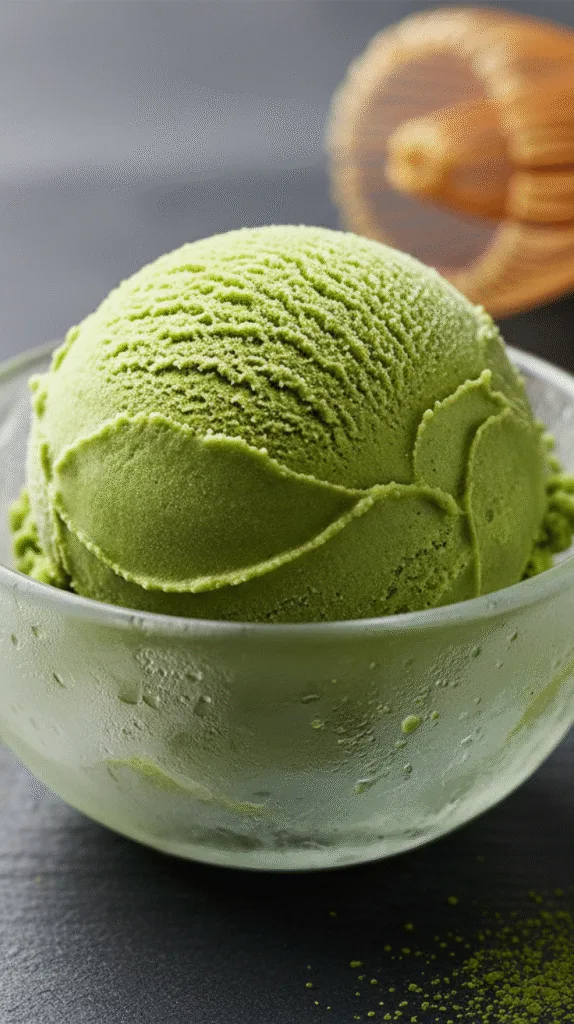
Easy No-Churn Matcha Ice Cream
Course: DessertCuisine: AmericanDifficulty: Easy6
servings15
minutes400
kcalFreezing Time Is 6 Hours
A vibrant, creamy, and earthy no-churn ice cream made with just a handful of ingredients. This recipe uses a simple technique to create a velvety smooth dessert without an ice cream maker. It’s the perfect elegant treat for a warm day or a special occasion.
Ingredients
2 teaspoons high-quality culinary matcha powder
2 tablespoons heavy whipping cream, warmed slightly
1 (14-ounce) can sweetened condensed milk, chilled
1 teaspoon vanilla extract
A pinch of salt
2 cups heavy whipping cream, chilled
Directions
- Create the Matcha Paste: In a small bowl, whisk together the matcha powder and the 2 tablespoons of warm cream. Continue whisking until you have a smooth, vibrant green paste with no lumps. This step is crucial for a smooth texture.
- Mix the Base: In a large bowl, pour the chilled sweetened condensed milk. Add the matcha paste, vanilla extract, and a pinch of salt. Whisk everything together until it is well-combined and the color is uniform.
- Whip the Cream: In a separate, chilled bowl, use an electric mixer (or a whisk and some elbow grease) to beat the 2 cups of chilled heavy cream. Whip until you see soft peaks form—the cream should hold its shape but still be soft and cloud-like. Avoid over-whipping, which can result in a buttery texture.
- Fold Gently: Take about one cup of the whipped cream and gently fold it into the matcha mixture using a spatula. This lightens the base. Add the remaining whipped cream and continue to fold gently until just combined, being careful not to knock out the air.
- Freeze: Pour the final mixture into a 9×5 inch loaf pan or another freezer-safe container. Smooth the top with your spatula. To prevent ice crystals from forming, press a piece of plastic wrap directly onto the surface of the ice cream.
- Be Patient: Freeze for a minimum of 6 hours, or overnight, until the ice cream is completely firm.
- Serve and Enjoy: Before serving, let the ice cream sit on the counter for 5-10 minutes to soften slightly for easier scooping. Enjoy it on its own or with toppings like dark chocolate shavings or fresh berries.
Notes
- Don’t Skip the Paste: This is my number one tip! Always mix your matcha powder with a little bit of warm cream to form a smooth paste before adding it to the other ingredients. This is the secret to avoiding a gritty texture and getting that silky smooth consistency.
Chill Everything: For the fluffiest, lightest whipped cream, make sure your heavy cream, your mixing bowl, and your whisk or beaters are all very cold. I pop my bowl and beaters in the freezer for 10-15 minutes before I start.
Aim for Soft Peaks: Be careful not to overwhip your cream. You’re looking for soft peaks, which means when you lift the whisk, the peak gently flops over. If you overwhip to stiff peaks, your ice cream can end up with a slightly buttery or dense texture.
Fold, Don’t Stir: When combining the whipped cream with the matcha base, use a spatula to gently fold everything together. This keeps all the air in the cream, which is what gives this no-churn ice cream its light, scoopable texture.