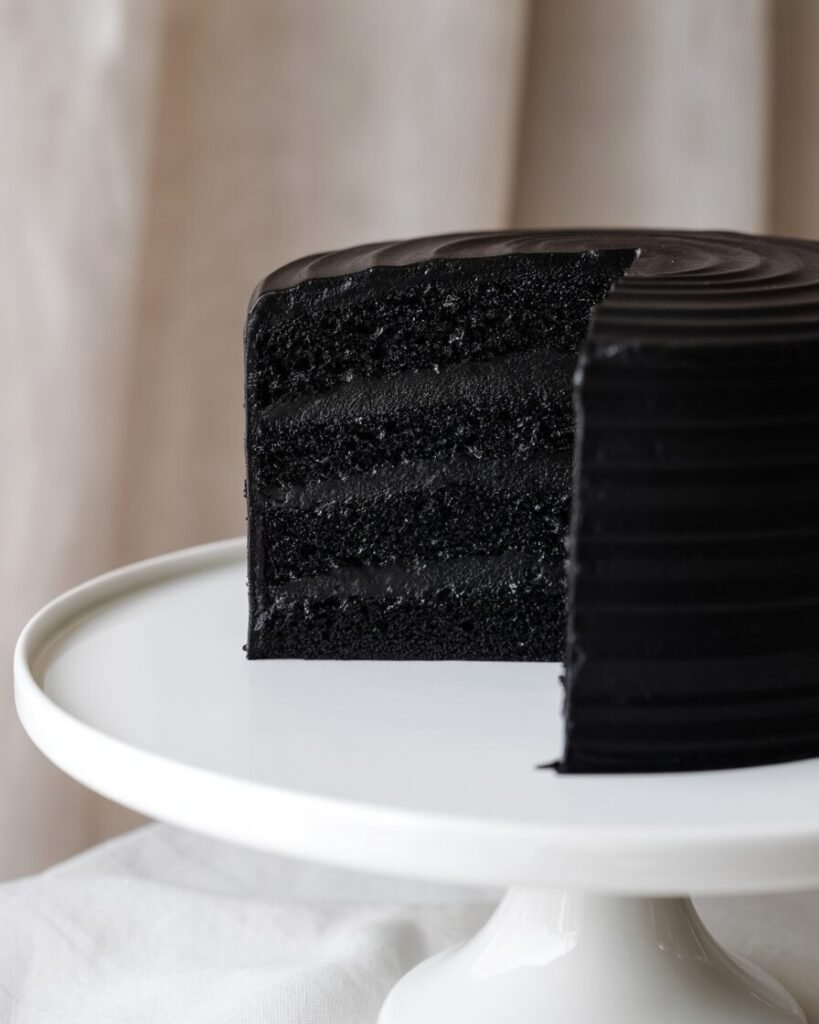
If you’ve ever wanted a cake that tastes like chocolate velvet and looks like a midnight sky, this Midnight Black Velvet Cake is your new signature bake. Deep, dramatic black cocoa gives it a rich, slightly bittersweet aroma, while oil keeps the crumb unbelievably soft for days. This is the cake you bake when you want something elegant, striking, and still totally doable for a beginner baker with just a whisk and one bowl.
My promise: a plush, moist, tight-crumbed cake that slices cleanly and stays tender for 72 hours.
Pro tip: Blooming the cocoa in hot water unlocks deeper flavor and darker color without needing food coloring.
Why This Recipe Works (Baking Science, 150–180 words)
Black cocoa is low in acidity and heavily Dutch-processed, which means it behaves differently than natural cocoa. To keep the cake lifted and not dense, this formula uses a balanced mix of baking soda + acid (buttermilk) to generate enough rise without creating soapy flavors.
Because this is an oil-based cake, the fat stays liquid at room temperature, giving a softer and moister crumb than butter-based sponges. Oil also helps the black cocoa flavor shine since there’s no solid fat to mute the aromatics.
Finally, the batter is mixed gently and kept fairly thin—this ensures an even crumb instead of tunnels. The higher hydration combined with hot blooming water helps the cocoa dissolve fully, preventing chalkiness and boosting the cake’s signature midnight tone.
Ingredients (with weights & purpose)
(Yields: One 8-inch round cake, 2 inches tall)
- Black cocoa powder — 60g (¾ cup)
Purpose: deep color + smooth bittersweet flavor. - All-purpose flour — 160g (1⅓ cups)
Structure; low enough protein for tenderness. - Caster sugar — 180g (1 cup)
Sweetness + moisture retention. - Baking soda — ½ tsp
Provides lift when balanced with buttermilk. - Baking powder — 1 tsp
Helps lighten the crumb since cocoa is heavy. - Fine salt — ½ tsp
Sharpens the chocolate flavor. - Neutral oil — 120g (½ cup)
Moisture + tender crumb. - Buttermilk — 200g (¾ cup + 1 tbsp)
Acid to activate soda; helps softness. - Egg — 1 large (50–55g without shell)
Structure + emulsification. - Hot water — 120g (½ cup)
Blooms cocoa + makes batter silky. - Vanilla extract — 1 tsp
Rounds sharp cocoa notes.
Equipment
Required: 8-inch round cake pan, whisk, mixing bowl, silicone spatula, digital scale, OTG/oven, parchment circle, cooling rack.
Nice to have: oven thermometer, offset spatula, sieve, instant-read thermometer (for doneness).
Step 1 — Prep and Preheat (5 minutes)
Preheat oven to 170°C (338°F). Line an 8-inch pan with parchment.
Visual cue: your oven should be fully heated for at least 10 minutes before baking to prevent sinking.
Step 2 — Combine Dry Ingredients (2 minutes)
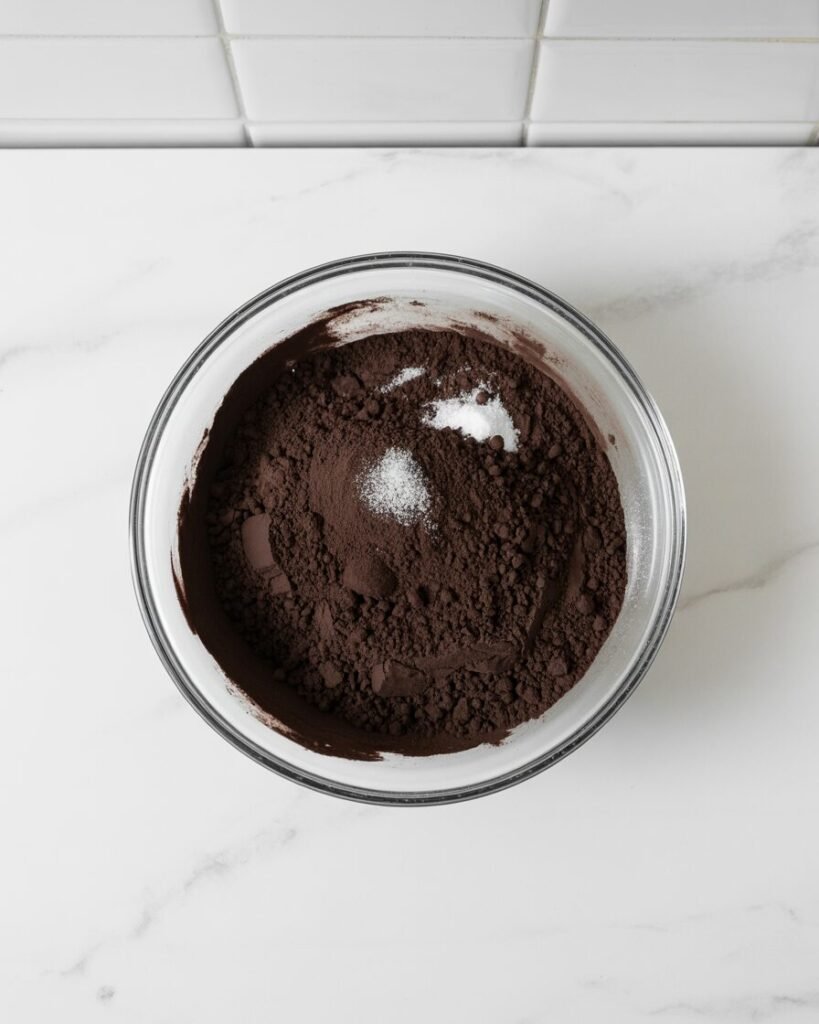
In a large bowl, whisk together flour, black cocoa, sugar, baking soda, baking powder, and salt.
Visual cue: mixture should look evenly jet-black with no grey streaks.
Step 3 — Mix Wet Ingredients (2 minutes)
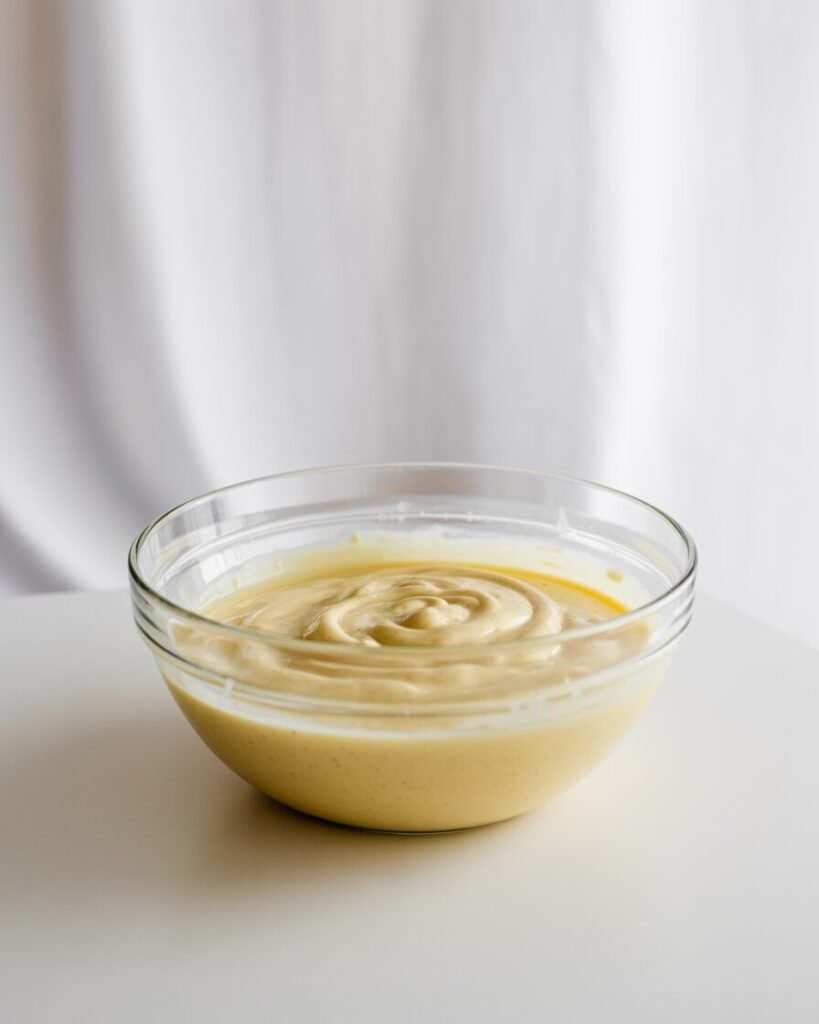
Whisk egg, oil, buttermilk, and vanilla until smooth.
Visual cue: mixture turns pale and slightly thick—no oil separating.
Step 4 — Bloom the Cocoa (1 minute stirring)

Pour hot water into the dry mixture and whisk slowly. Add wet mixture. Whisk until just combined.
Visual cue: Thin, glossy batter with no lumps. Batter should pour like warm honey. (Do not overmix.)
Step 5 — Bake (30–34 minutes)
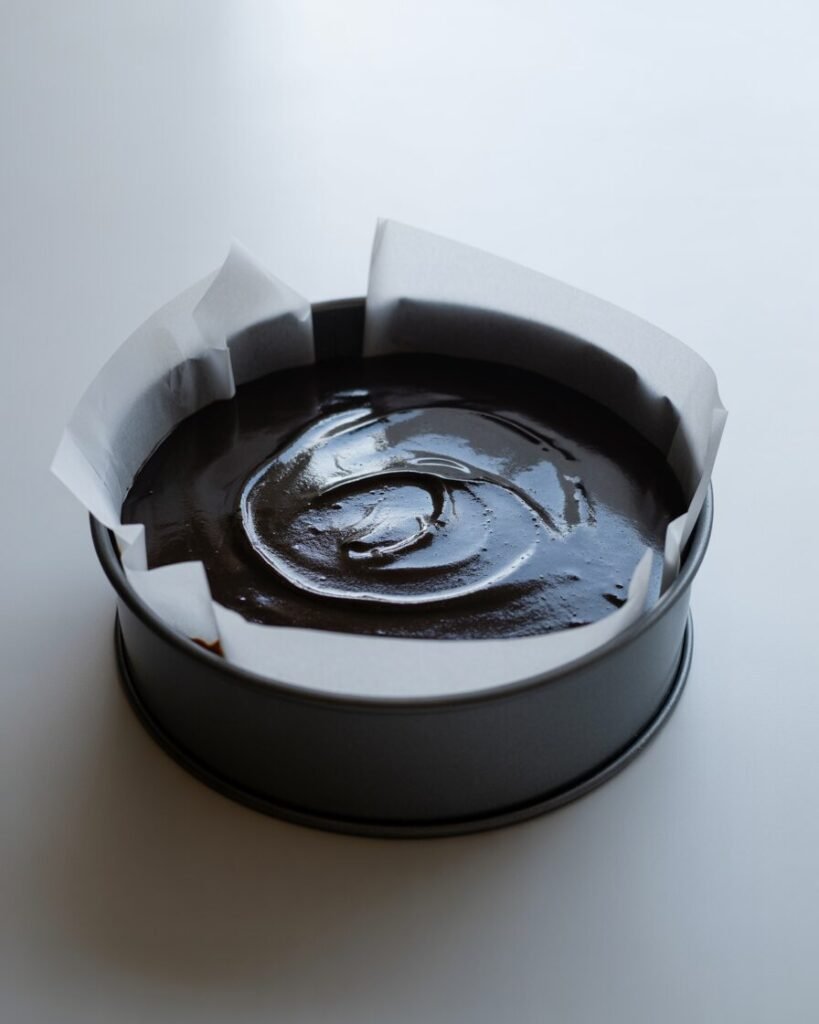
Pour into pan and tap once to release large bubbles. Bake on middle rack.
Doneness tests:
- Skewer comes out with moist crumbs, not wet batter.
- Internal temp: 96–98°C (205–208°F) in the center.
- Edges pull slightly away from pan.
Step 6 — Cool Completely
Cool 10 minutes in pan, then turn onto rack.
Visual cue: top should be flat and matte, not shiny or sunken.
Troubleshooting (Common Failures & Fixes)
Problem: Cake sinks in the center
Likely causes: underbaked, oven too cool, overmixed batter.
Fix: Bake until 96–98°C internal; check oven thermometer; whisk gently.
Problem: Dry crumb
Likely causes: overbaking, too little oil or buttermilk.
Fix: Reduce bake time by 3 min; measure liquids by weight.
Problem: Bitter or chalky taste
Cause: low-quality black cocoa or too much soda.
Fix: Use high-fat black cocoa; don’t increase leavening.
Problem: Cracked top
Cause: oven too hot.
Fix: Lower temp by 10°C and extend bake by 3–4 minutes.
Problem: Gummy center
Cause: insufficient mixing of flour pockets or underbaking.
Fix: Light whisking until uniform; bake to internal temp.
Substitutions & Variations
Dietary Swaps:
- Egg-free: Replace egg with 60g Greek yogurt or 80g buttermilk + ½ tbsp cornstarch. Texture becomes slightly denser but moist.
- Dairy-free: Use soy milk + 1 tbsp vinegar to mimic buttermilk.
- Gluten-free: Use a 1:1 baking GF blend; reduce water by 10g to avoid gumminess.
Flavor Variations:
- Add ½ tsp espresso powder for deeper chocolate.
- Swap 10g cocoa for 10g black sesame powder for a smoky undertone.
- Add orange zest (1 tsp) for citrus brightness.
Scaling Guide:
| Pan Size / Yield | Multiply Recipe By | Key Notes |
|---|---|---|
| 6-inch round | 0.75× | Reduce bake time to 24–28 min. |
| 8-inch round | 1× (base recipe) | — |
| 12 cupcakes | 1× | Bake 16–18 min at 170°C (338°F). |
Storage, Make-Ahead & Freezing
Room temp: 2 days in airtight container.
Fridge: 4–5 days; bring to room temp before serving for best texture.
Freezer: Up to 2 months. Wrap tightly in plastic + foil. Thaw overnight in fridge, then rest 30 minutes at room temp.
Do not freeze: frostings made with whipped cream—they deflate and become grainy.
Serving Suggestions & Pairing Ideas
- Pair with cream cheese frosting, lightly sweetened to contrast the dark cocoa.
- Spread with salted caramel for a smoky, burnt-sugar complement.
- Layer with raspberry compote for brightness against the black color.
- Dust edges with edible gold for a midnight-sky aesthetic.
FAQs
1. Can I replace black cocoa with regular cocoa?
Yes, but the cake will be brown, not black. Use 50% Dutch-process + 50% natural to keep structure.
2. How do I prevent sinking?
Bake fully, avoid opening the oven early, and ensure you measured liquids by weight.
3. How do I double the recipe?
Double everything by weight and bake in a 9×13 pan for 28–35 minutes.
4. What’s the best oil for this cake?
Neutral oils like canola, sunflower, or rice bran work best—avoid olive oil.
5. Can I bake this in an OTG?
Yes; place pan on the middle rack with both rods on at 170°C.
Notes From My Kitchen (Testing Log)
Batch 1: Tried all black cocoa + too much soda → flavor harsh, cake rose unevenly.
Adjustment: Reduced soda and added small amount of baking powder.
Batch 2: Increased hydration with hot water → crumb became smoother, darker, more velvety.
Batch 3: Tested three oils (rice bran, canola, coconut). Coconut overwhelmed flavor; canola gave cleanest profile.
Final Method: Balanced leavening + hot water bloom + higher hydration created the softest crumb and deepest black color without food dye.
Nutrition & Disclaimer
Approx per slice (1 of 10): ~260–300 kcal.
Values are estimates; actual nutrition varies by ingredient brand. Follow standard food-safety practices.
Conclusion & Final Thoughts
This Midnight Black Velvet Cake delivers dramatic color, bold cocoa depth, and a plush crumb that stays soft longer than traditional chocolate cakes. Whether you’re baking for a celebration or simply craving something moody and luxurious, this is a cake that looks impressive but stays beginner-friendly. With thoughtful hydration, balanced leavening, and the magic of black cocoa, you’ll get consistent results every time.