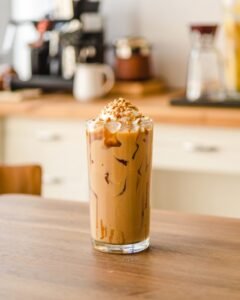
Nothing beats a creamy, icy Mocha Frappuccino when you want a quick caffeine boost and a little dessert in a cup—except maybe making one at home that tastes just like the café version, but cleaner, cheaper, and fully customizable. This copycat recipe is perfect for home bakers and coffee lovers who already use a blender and a scale, and who want a creamy, rich, well‑balanced drink that doesn’t separate or turn watery after a few sips.
What makes this version special is that I’ve balanced the coffee intensity, sweetness, and dairy texture so you can serve it to kids, friends, or pick‑y coffee drinkers without feeling like it’s “too sweet” or “too bitter.” The key is using finely ground coffee (or espresso) plus a touch of cocoa powder to mimic the mocha flavor, and blending the ice finely enough that it feels smooth and velvety, not grainy.
If you follow the ingredient ratios and blending order closely, you’ll get a drink that pours smoothly, holds its froth, and tastes like a café‑style Mocha Frappuccino in under 10 minutes.
Why this recipe works
Most homemade Frappuccinos fail because they’re either too sweet, too watery, or too thin. This version works because:
- Cold‑brew‑style coffee + cocoa powder gives deep, smooth mocha flavor without harsh acidity.
- Whole milk (or a thicker dairy‑free alternative) adds richness and body, so the drink doesn’t taste flat.
- A small amount of sweetener balances the cocoa and coffee without overwhelming the palate.
- Finely blended ice creates a thick, slushy texture similar to the shop version, while the right order of blending prevents the mixture from separating.
Think of the physics here: when you blend ice with a small amount of liquid and a few fat‑rich ingredients (milk, cocoa), you create a cold foam and micro‑ice suspension that feels creamy and indulgent. The sugar and cocoa also slightly lower the freezing point of the mixture, so it doesn’t taste icy or gritty.
Ingredients (with weights and purpose)
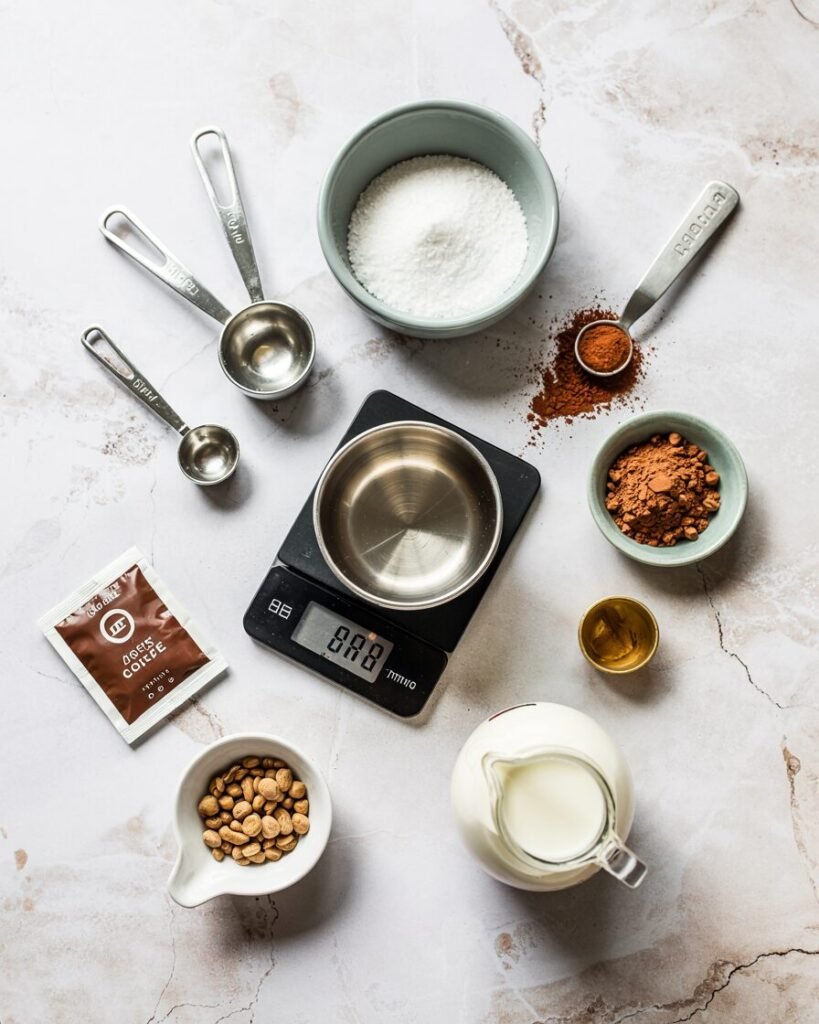
Use the following measurements for 2 servings (about 410–420ml total):
- Instant coffee or espresso powder — 7g (about 1 heaped tsp) — provides concentrated coffee flavor without needing to brew extra coffee. (Use espresso‑strength powder for best results; avoid very low‑quality instant coffee.)
- Cocoa powder (unsweetened) — 5g (about 1 level tsp) — gives the “mocha” character; use natural or Dutch‑process, but avoid extra‑dark “black” cocoa for a more balanced taste.
- Granulated sugar — 25g (about 2tbsp) — balances bitterness; adjust up or down depending on your sweetness preference.
- Whole milk — 240ml (about 1 cup) — adds creaminess and body. You can substitute with oat, soy, or almond milk, but the texture will be lighter.
- Heavy cream (optional) — 30ml (about 2 tbsp) — increases richness and helps the foam hold longer.
- Ice cubes — 180g (about 1½ cups) — creates the slushy texture.
- Vanilla extract — 2ml (about ½ tsp) — rounds out the flavor and makes it less sharp.
If you want a “shot of coffee” feel, you can add 1 shot of chilled espresso instead of using only instant coffee.
Equipment
Required:
- Blender (any standard countertop or personal blender)
- Digital scale (for accurate sugar and coffee measurements)
- 1–2 cups or glasses (about 300–350ml capacity)
- Spatula or spoon for stirring
Nice‑to‑have:
- Fine‑mesh sieve (to remove any coffee grounds if you use freshly ground espresso)
- Ice cube tray (for consistent ice size)
Step‑by‑step instructions
Step 1: Mix the base (approx. 2 minutes)
In your blender pitcher, combine:
- Instant coffee or espresso powder
- Cocoa powder
- Sugar
- Milk
- Vanilla extract
Blend on low speed for 15–20 seconds until the powders are fully dissolved and the liquid looks smooth.
Visual cue: The mixture should look uniform and slightly frothy, with no visible coffee or cocoa specks.
Step 2: Add cream (if using) and chill briefly (1 minute)
Add the heavy cream and give it 1 more pulse until just incorporated.
If your milk was fridge‑cold, skip to the next step. If it’s room temperature, let the mixture sit in the fridge for 5–10 minutes so it doesn’t water down the ice too quickly.
Step 3: Add ice and blend into a Frappuccino (1–2 minutes)
Add the ice cubes.
Blend on medium–high speed for 30–45 seconds, then increase to high for another 20–30 seconds.
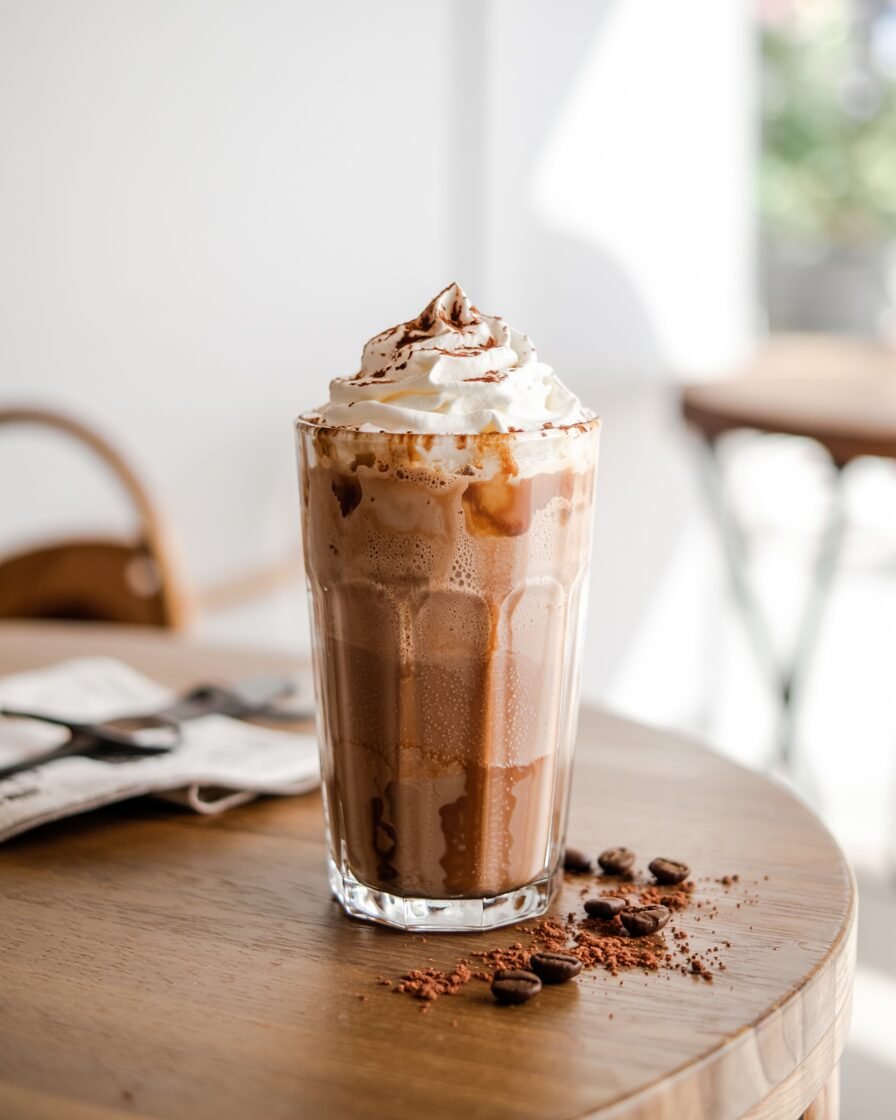
Visual cue: The mixture should look thick and slushy, similar to a soft‑serve milkshake. It should slide smoothly out of the blender when you pour, not look watery or chunky.

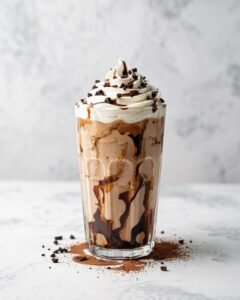
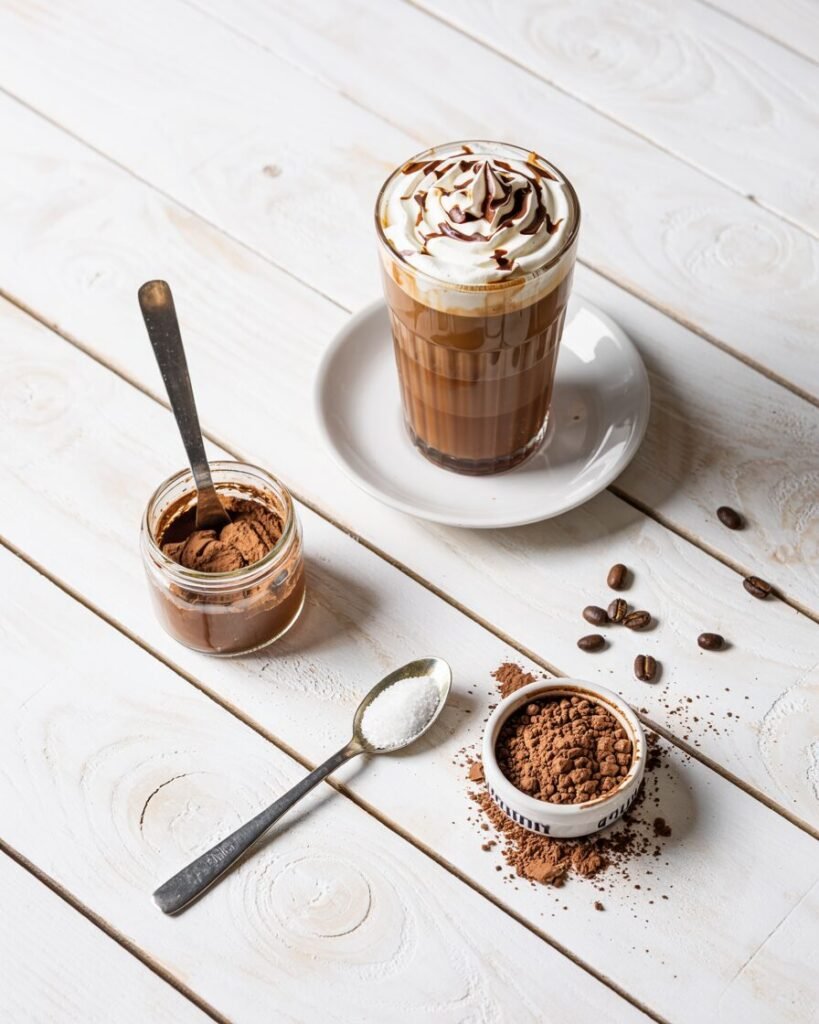
Step 4: Serve and garnish (immediate)
Pour into your cup.
If you like, top with:
- A swirl of whipped cream
- A sprinkle of cocoa powder or chocolate shavings
Pro tip: If you find the drink too thick, add 1–2 tbsp of cold milk and blend briefly. If it’s too thin, add a few more ice cubes and pulse again.
Troubleshooting: common failures and fixes
| Problem | Likely causes | Fix next time |
|---|---|---|
| Too watery | Too little ice, too much liquid, or over‑blending ice for too long. | Use the exact ice amount and avoid blending past the slushy stage. |
| Too bitter | Too much coffee or low‑quality instant coffee. | Reduce coffee by 1–2g and use better‑quality espresso powder. |
| Too sweet | Too much sugar listed or preference for less sweetness. | Reduce sugar by 5–10g and taste after blending. |
| Grainy or chunky | Blending too short or ice is too large. | Pulse longer on high until the ice feels smooth when you dip a spoon in. |
| Foam disappears quickly | No cream or fat in the milk. | Add cream or use a richer milk alternative (like oat or soy). |
| Tastes too “milk‑only” with no coffee punch | Too little coffee or cocoa. | Increase coffee by 1–2g and/or cocoa by 1g. |
Substitutions and variations
Dairy‑free version:
- Replace milk with oat milk (240ml) and skip cream.
- Optional: add 1 tsp coconut oil to increase richness.
- Texture will be lighter, but still very creamy.
Egg‑free: This recipe is naturally egg‑free.
Gluten‑free: Use gluten‑free cocoa powder (most brands are, but check the label).
Flavor variations:
- Mint mocha: Add (1–2 , \text{drops of peppermint extract** with the vanilla.
- Salted caramel mocha: Add (1 , \text{tsp caramel syrup** and a pinch of flaky salt on top.
- Extra‑strong coffee: Replace some of the milk with chilled espresso (30–60ml).
Pro tip: If you’re using a very sweet flavored syrup, reduce the sugar by at least 10g.
Storage, make‑ahead, and freezing
- Counter: Drink immediately; this is best served fresh.
- Fridge: If you must prep ahead, make the coffee‑milk base without ice and chill it for up to 24 hours. Then add ice and blend just before serving.
- Freezer: I don’t recommend freezing this as a full drink, because the texture will separate and become icy when thawed.
- What not to freeze: The fully blended drink; it will lose its smooth texture and often separate into layers.
Serving suggestions and pairings
Serve this Mocha Frappuccino with:
- Almond cookies or chocolate chip cookies for a classic café‑style combo.
- Fresh fruit like berries or oranges to balance the sweetness.
- Whipped cream on top for extra indulgence on weekends.
For a brunch pairing, serve it alongside:
- Pancakes or waffles (the sweet‑salty combo works nicely).
- Oatmeal topped with nuts and honey for a breakfast‑style treat.
FAQs
1. Can I use cold‑brew coffee instead of instant coffee?
Yes. Replace the instant coffee with 120ml of strong cold‑brew coffee and reduce the milk by the same amount. The flavor will be smoother but less intense, so you may want to add a bit more cocoa powder.
2. How can I make this sugar‑free or lower‑sugar?
Replace sugar with erythritol or another low‑calorie sweetener in a 1:1 ratio by weight. Taste after blending and adjust as needed.
3. Can I make this with a shaker instead of a blender?
You can, but it will be much less smooth and more icy. A blender is essential for that café‑style slushy texture.
4. How can I prevent it from turning watery quickly?
Don’t over‑blend the ice. Stop once it looks smooth and thick, and drink immediately or within 10–15 minutes.
5. Can I make a larger batch for a party?
Yes. Double the recipe for 4 servings, but blend in two batches to avoid overworking the blender motor.
Notes from my kitchen (testing log)
- Batch 1: Tried using only milk and no cream; the drink was tasty but too thin and foam disappeared quickly.
- Batch 2: Added more cocoa and sugar to compensate, which made it too sweet.
- Batch 3: Used less sugar, added a bit of cream, and blended the ice longer. Texture improved dramatically.
- Final batch: Balanced the coffee, cocoa, and sugar as listed above. The result was creamy, rich, and well‑balanced, with a foamy top that held for a few minutes.
Nutrition and disclaimer
Per serving (approx. 200ml):
- Calories: ~180–220 (depending on milk and sugar)
- Fat: ~6–8 g
- Carbohydrates: ~25–35 g
- Protein: ~5–7 g
Values are estimates and may vary based on specific brands and portion sizes. Always follow food‑safety guidelines and use pasteurized milk and cream.
To conclude
This Mocha Frappuccino Copycat Recipe is my go‑to when I want a quick, indulgent coffee drink that tastes like the café version but costs a fraction of the price. By following the precise measurements and blending technique, you’ll get a drink that’s creamy, rich, and perfectly balanced—ideal for weekday energy or weekend treats.