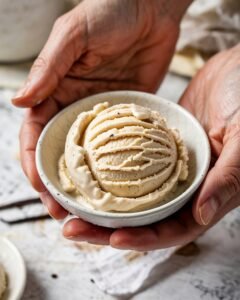
Some desserts feel impressive but secretly require very little effort. This no-churn coconut cream ice cream recipe is one of them. No machine, no cooking, no complicated custard—just a carefully balanced mix that freezes into a creamy, scoopable dessert with deep coconut flavor and zero icy crunch.
I designed this recipe for home bakers who want reliable results on the first try—even if all you have is a hand whisk and a freezer. The texture is rich but not greasy, sweet but not cloying, and stable enough to hold clean scoops.
Pro tip: Don’t rush the folding step. Keeping the whipped cream airy is what gives this ice cream its soft, churned-style texture without any special equipment.
Why This No-Churn Coconut Cream Ice Cream Works
No-churn ice cream relies on two main principles: fat for creaminess and sugar for softness.
- High fat = smaller ice crystals. Coconut cream (20–24% fat) coats water molecules, limiting large crystal formation. That’s why full-fat coconut cream is non-negotiable.
- Sugar lowers freezing point. Sweetened condensed milk prevents the mixture from freezing rock-solid. Reducing sugar too much leads to a dense, icy block.
- Whipped cream adds air. Folding in softly whipped cream creates tiny air pockets, mimicking churned ice cream’s light structure.
Did you know? A dash of salt enhances coconut flavor and balances sweetness—especially important in dairy-free versions.
Ingredients (with weights and purpose)
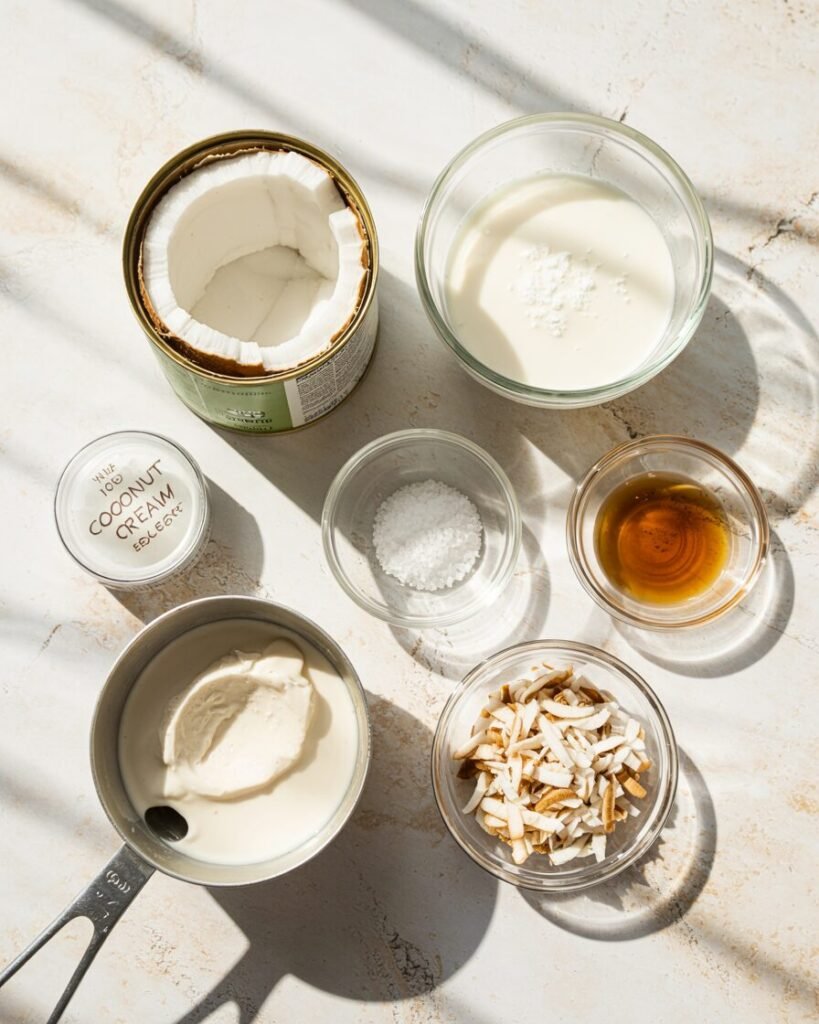
- Coconut cream (full-fat, 22–24% fat) — 400 g (1 can / 1 ⅔ cups) — Primary fat source; creaminess
- Sweetened condensed milk — 200 g (⅔ cup) — Sweetness + prevents icy texture
- Heavy cream (35% fat) — 240 g (1 cup) — Whipped structure and lightness
- Fine sea salt — 1 g (¼ tsp) — Flavor balance
- Vanilla extract — 5 g (1 tsp) — Rounds out flavor
- Toasted coconut flakes (optional) — 30 g (⅓ cup) — Texture contrast
Brand note: Use canned coconut cream, not “coconut milk beverage.” If using canned coconut milk, refrigerate 12 hours and use only the thick top layer.
Equipment
Required:
- 8 x 4 inch (20 x 10 cm) loaf pan
- Hand mixer or whisk
- Digital kitchen scale (preferred)
- Rubber spatula
- Freezer (-18°C / 0°F or below)
Nice-to-have:
- Instant-read thermometer
- Offset spatula
- Parchment sling for easy removal
Step-by-Step Instructions (with visual cues)
[Process photo: Coconut cream whisked smooth]
Step 1: Chill equipment (20 minutes)
Place your loaf pan and mixing bowl in the freezer while you prep.
Visual cue: Bowl should feel cold to the touch but not frosty inside.
Step 2: Smooth the coconut base (2–3 minutes)
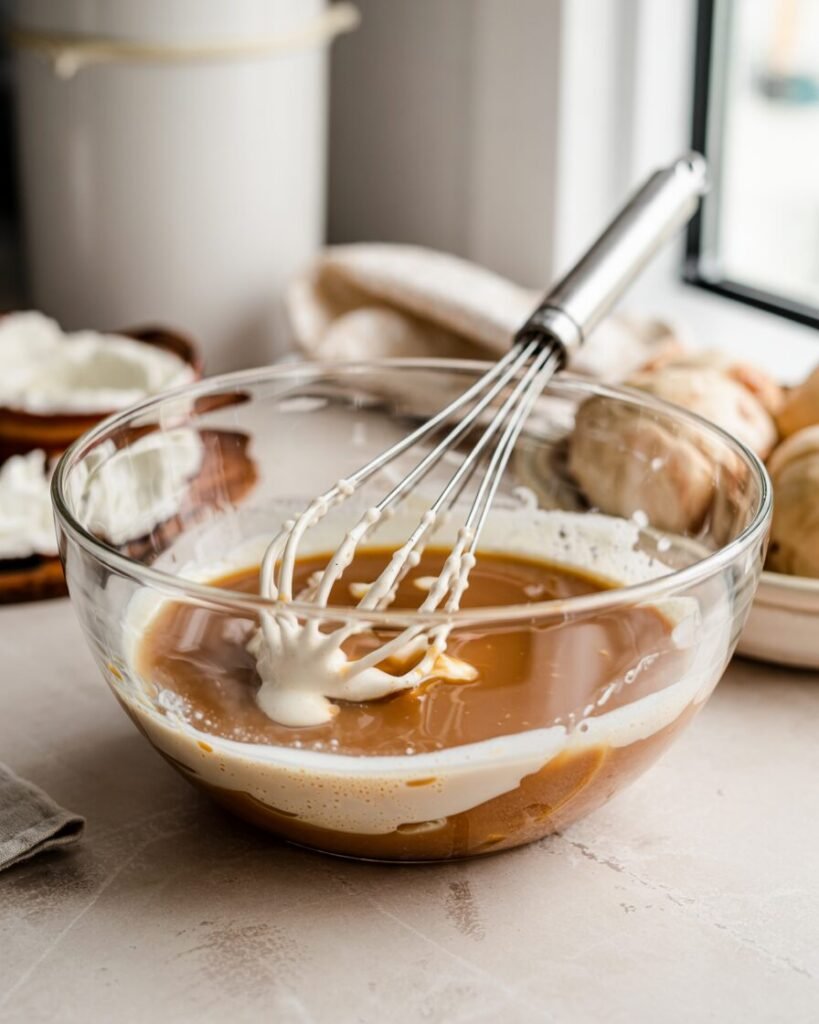
In a chilled bowl, whisk coconut cream until completely smooth. Add condensed milk, salt, and vanilla.
Visual cue: The mixture should be glossy and thick like custard.
If it looks grainy, your coconut cream was too cold—let sit 5 minutes and whisk again.
Step 3: Whip the cream (3–4 minutes)
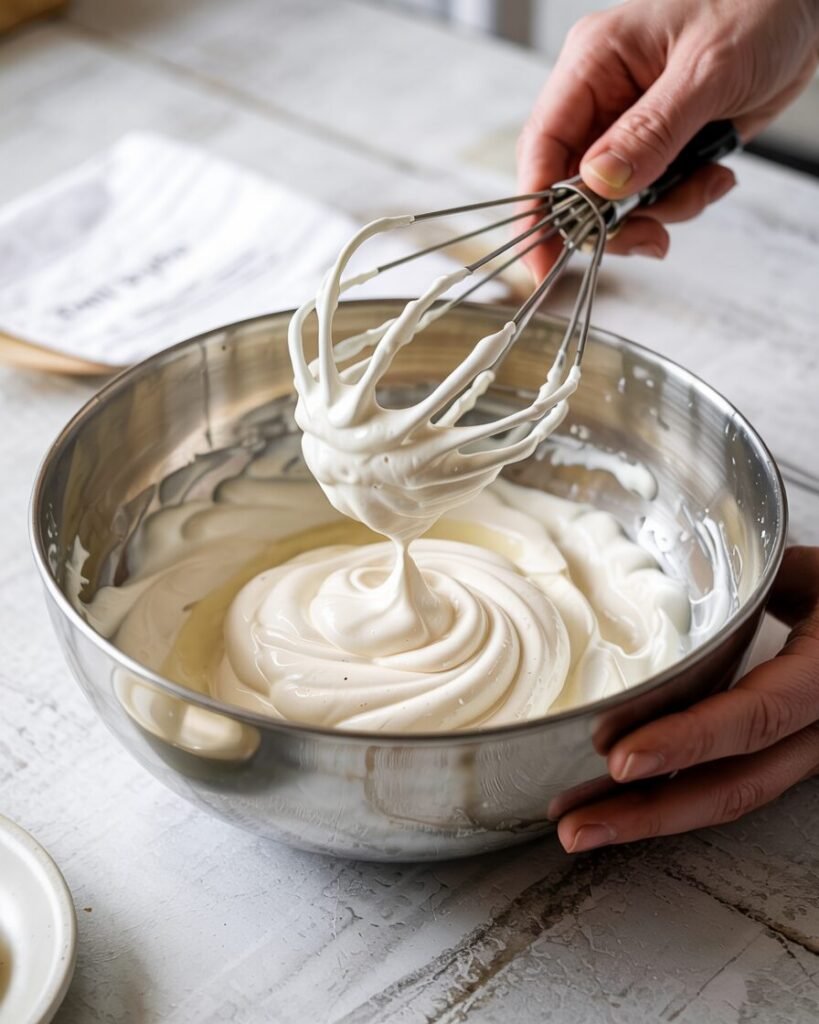
In a separate bowl, whip heavy cream to medium peaks.
Checkpoint: Peaks should curl gently at the tip—like a soft hook.
Over-whipped cream looks clumpy and dull; stop before stiff peaks.
Step 4: Fold gently (1–2 minutes)
Add one-third whipped cream to coconut base and stir to lighten. Fold in remaining cream with a spatula.
Visual cue: Batter should be airy and pale, with no streaks.
Avoid vigorous stirring—this deflates air.
Step 5: Freeze (6–8 hours minimum)
Pour into chilled pan. Smooth top with offset spatula. Tap once on counter to release large air bubbles.
Cover tightly with plastic wrap touching the surface. Freeze at -18°C / 0°F for at least 6 hours or overnight.
Doneness test: Internal temp should be about -10°C to -12°C (14–10°F) for ideal scooping.
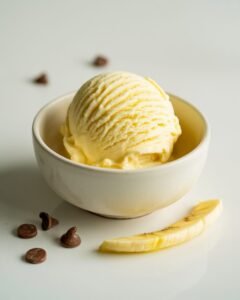
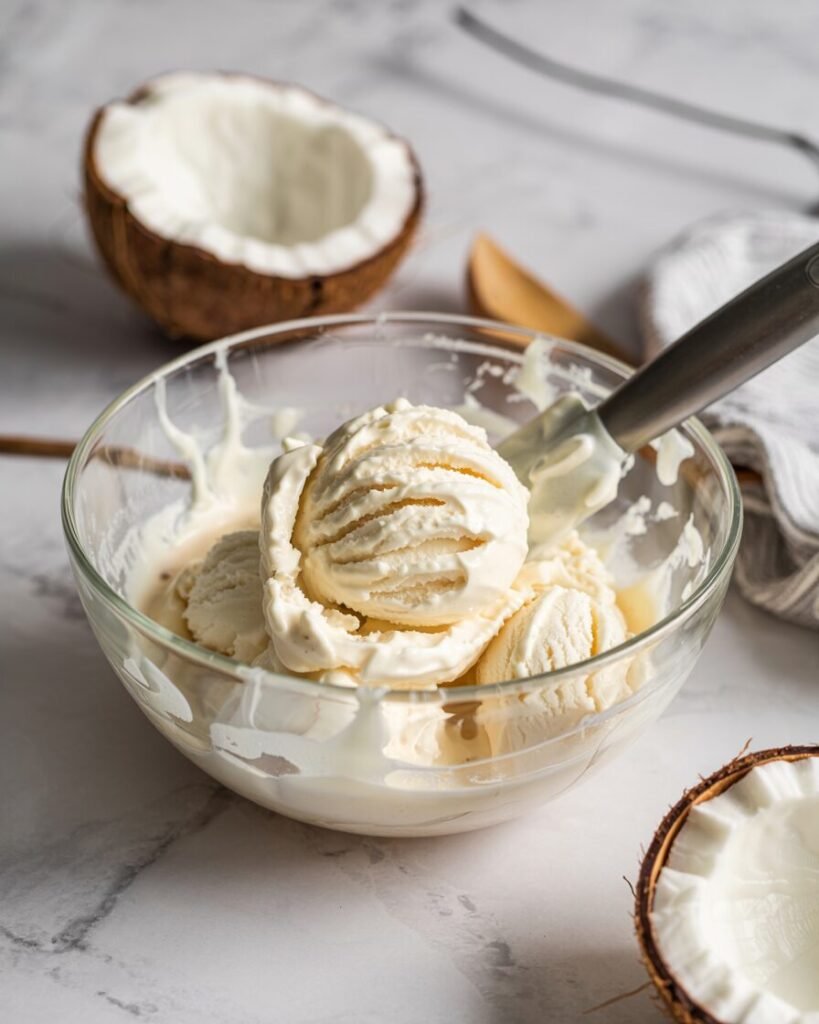
Step 6: Serve

Let sit at room temperature for 5 minutes before scooping. Use a warm scoop dipped in hot water.
[Process photo: Texture comparison—properly whipped vs over-whipped cream]
Troubleshooting: Common Failures & Fixes
Problem: Ice cream is icy or hard.
Likely causes: Reduced sugar; low-fat coconut milk; freezer too cold.
Fix next time: Use full-fat coconut cream; keep condensed milk at 200 g minimum.
Problem: Greasy mouthfeel.
Cause: Too much coconut cream, not enough whipped cream.
Fix: Maintain 400 g coconut cream to 240 g heavy cream ratio.
Problem: Grainy texture.
Cause: Coconut cream separated.
Fix: Blend with immersion blender before folding.
Problem: Deflated mixture before freezing.
Cause: Over-folding.
Fix: Fold just until no streaks remain.
Problem: Freezer burn crystals on top.
Cause: Not covered tightly.
Fix: Press plastic wrap directly on surface.
Substitutions & Variations
Dairy-Free Version (Tested)
Replace heavy cream with:
- 200 g chilled coconut cream (whipped) + 40 g aquafaba (whipped to soft peaks).
Result: Slightly denser but fully dairy-free.
Lower-Sugar Option
Reduce condensed milk to 170 g and add 20 g honey.
Texture slightly firmer; scoop after 8 minutes at room temp.
Flavor Variations
- Mango swirl: Fold in 120 g thick mango purée; reduce condensed milk by 20 g.
- Chocolate coconut: Add 25 g sifted cocoa powder to base.
- Lime coconut: Add 1 tsp lime zest for brightness.
Scaling Guide
| Yield | Coconut Cream | Condensed Milk | Heavy Cream |
|---|---|---|---|
| 6 servings (base) | 400 g | 200 g | 240 g |
| 12 servings | 800 g | 400 g | 480 g |
| Small batch (4 servings) | 300 g | 150 g | 180 g |
Use a 9 x 5 inch pan for doubled batch.
Storage, Make-Ahead & Freezing
- Freezer: Up to 2 months in airtight container.
- Best texture window: First 2–3 weeks.
- Do not refreeze fully melted ice cream—large crystals form.
- To refresh slightly icy texture: Let soften 10 minutes, re-whip quickly, refreeze 2 hours.
Avoid storing near freezer door—temperature swings cause crystallization.
Serving Suggestions
Serve with:
- Warm chocolate sauce (sweet + bitter balance)
- Pineapple compote for tropical acidity
- Espresso shot poured over (affogato style)
- Toasted macadamia nuts for crunch
Sweetness level pairs best with slightly acidic toppings.
FAQs
Can I use coconut milk instead of coconut cream?
Yes, but refrigerate 12 hours and scoop only the solid top layer. Using full liquid milk makes it icy.
Why is my ice cream rock solid?
Freezer may run below -20°C (-4°F). Let sit 8–10 minutes before scooping.
Can I halve the recipe?
Yes. Use a 6 x 3 inch loaf pan and freeze 5–6 hours.
Can I make this without a mixer?
You can whisk by hand, but it takes 8–10 minutes for medium peaks.
Can I make it in an OTG?
No baking required—just a freezer.
Notes From My Kitchen (Testing Log)
Batch 1: Used 350 g coconut cream + 150 g condensed milk. Result: Icy and firm. Needed more sugar and fat balance.
Batch 2: Increased condensed milk to 200 g. Texture improved but slightly dense.
Batch 3: Whipped cream to stiff peaks—final texture crumbly. Learned: medium peaks only.
Batch 4: Added pinch of salt. Flavor noticeably brighter.
Batch 5 (Final): 400 g coconut cream + 240 g heavy cream + 200 g condensed milk. Smoothest scoop, slow melt, creamy but not greasy.
Final method chosen for structure stability and best mouthfeel.
Nutrition & Disclaimer
Approximate per serving (1 of 6):
- 320–350 kcal
- 28 g fat
- 18 g carbs
- 3 g protein
Values are estimates; adjust for brands and portion size. Always follow food-safety best practices and store below -18°C (0°F).
Conclusion
This no-churn coconut cream ice cream recipe proves you don’t need fancy equipment for bakery-quality results. With the right fat ratio, careful folding, and a properly cold freezer, you’ll get creamy, scoopable coconut ice cream every time.