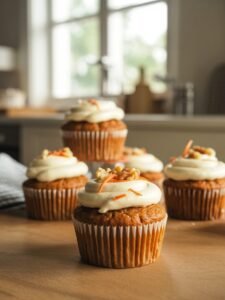
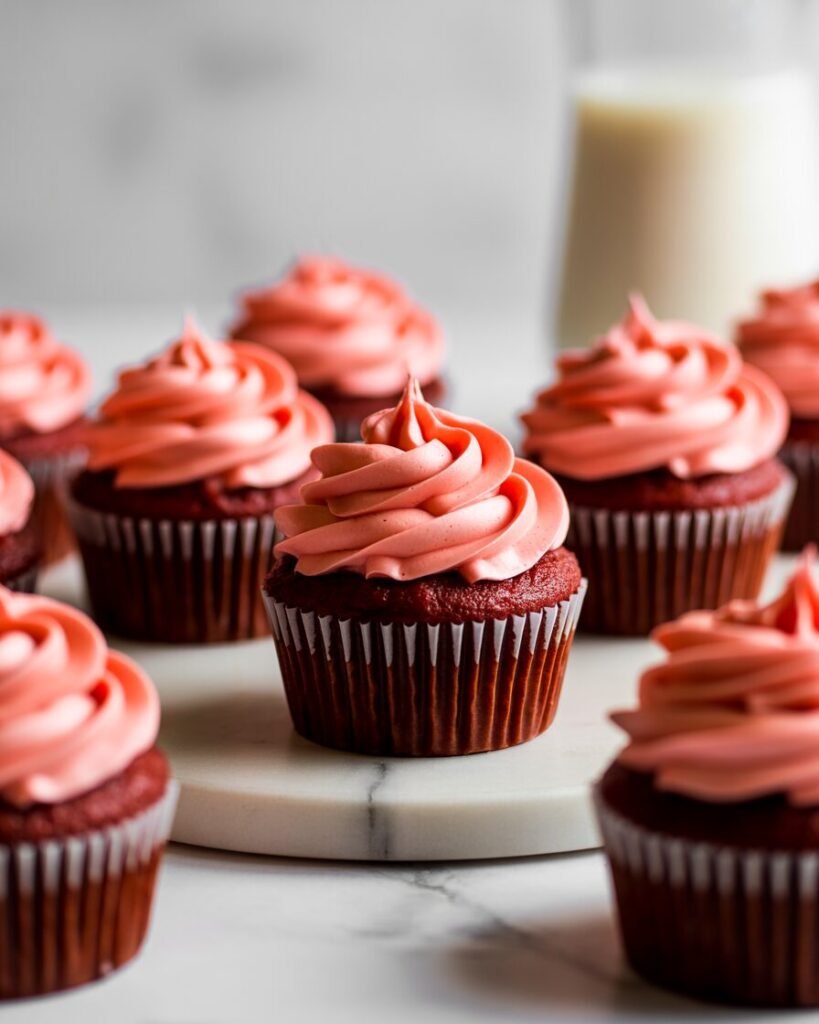
If you’ve ever bitten into a red velvet cupcake that tasted like plain chocolate cake in disguise—or one so dry it rivaled a day-old muffin—this recipe is your redemption arc. These red velvet cupcakes are everything they should be: soft, plush, delicately cocoa-rich, slightly tangy, and unbelievably moist for days. They bake up with perfect domes, hold frosting beautifully, and stay tender even without a stand mixer (yes, whisk-only bakers, you’re invited).
My promise? Bakery-level red velvet cupcakes on your first try, with a crumb so velvety you’ll wonder why you ever used boxed mix.
Pro tip: The secret is balancing acid + leavening and whisking just enough to aerate—no more, no less.
Why This Recipe Works (The Baking Science)
Red velvet isn’t just “red chocolate”—it’s a carefully engineered cake where acid, cocoa, and fat create that iconic texture.
- Natural cocoa + vinegar + buttermilk = tender crumb.
Natural cocoa is slightly acidic. Combined with vinegar and buttermilk, the batter becomes softer and more open, creating that signature velvety texture. - Oil keeps moisture, butter adds flavor.
Using a hybrid fat system (oil + softened butter) means you get buttery aroma and a cupcake that stays moist for 48+ hours. - Correct leavening ratio prevents sinking.
Too much baking soda + vinegar = volcano cupcakes that collapse later. This recipe uses a tested soda-to-acid balance for perfect domes. - Room-temperature ingredients emulsify better.
Cold buttermilk + butter = separated batter → uneven rise. Bringing ingredients to room temperature ensures a stable, even crumb.
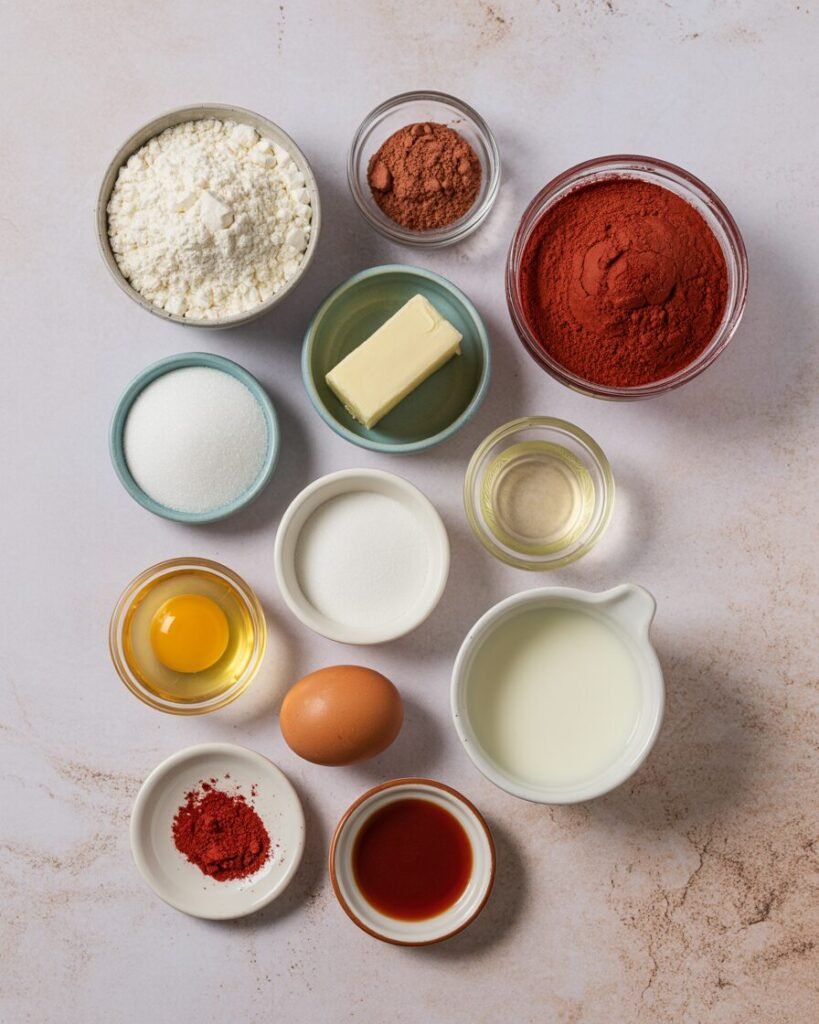
Ingredients (With Weights, Cups & Purpose)
Yields: 12 standard cupcakes
Dry Ingredients
- 120 g all-purpose flour (1 cup) — structure
- 15 g natural cocoa powder (2 tbsp) — classic subtle cocoa note; use natural, not Dutch-process
- 150 g granulated sugar (¾ cup) — sweetness + moisture retention
- ½ tsp baking soda — reacts with acid for lift
- ¼ tsp fine salt — balances sweetness
Wet Ingredients
- 55 g unsalted butter, softened (4 tbsp) — flavor + fine crumb
- 50 g neutral oil (¼ cup) — long-lasting moisture
- 1 large egg, room temp — structure + emulsification
- 120 g buttermilk, room temp (½ cup) — acidity + tenderness
- 1 tsp vanilla extract — flavor depth
- 1 tsp white vinegar — reacts with baking soda
- 1–1½ tsp gel red food coloring — vibrant yet non-bitter color
Frosting (Cream Cheese)
- 170 g cream cheese, cold — structure
- 55 g unsalted butter, cool — stability
- 200–240 g powdered sugar — sweetness + consistency
- ½ tsp vanilla extract — flavor
Equipment
Required
- Muffin pan (12-cup standard)
- Paper cupcake liners
- Digital kitchen scale
- Two mixing bowls
- Whisk + spatula
- Oven or OTG
- Cooling rack
Nice to Have
- Fine-mesh sieve (for lump-free cocoa + flour)
- Ice cream scoop (even batter portioning)
- Oven thermometer
- Offset spatula for frosting
Step-by-Step Instructions (With Timing & Visual Cues)
Step 1 — Preheat & Prep
- Preheat oven to 175°C (350°F) for at least 15 minutes.
- Line muffin tray with 12 liners.
Pro tip: Use the middle rack for even heat.
Step 2 — Sift Dry Ingredients
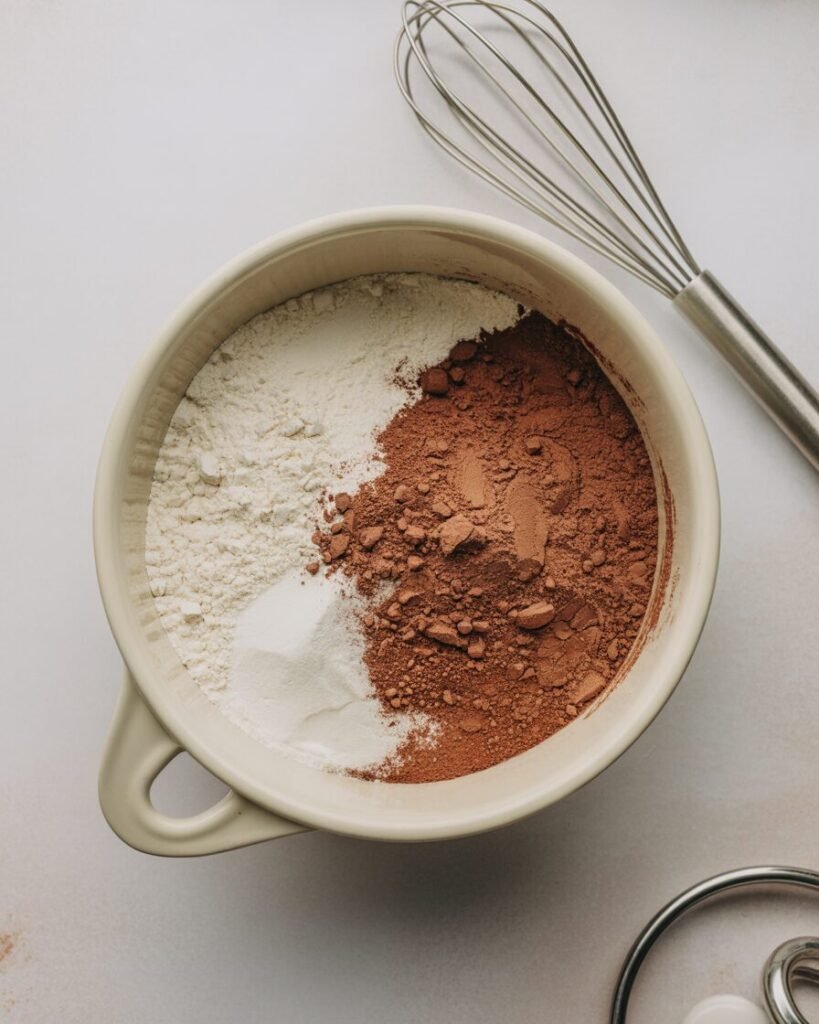
In a bowl, whisk together: flour, cocoa, salt, and baking soda.
Visual cue: Color should be even; no cocoa clumps.
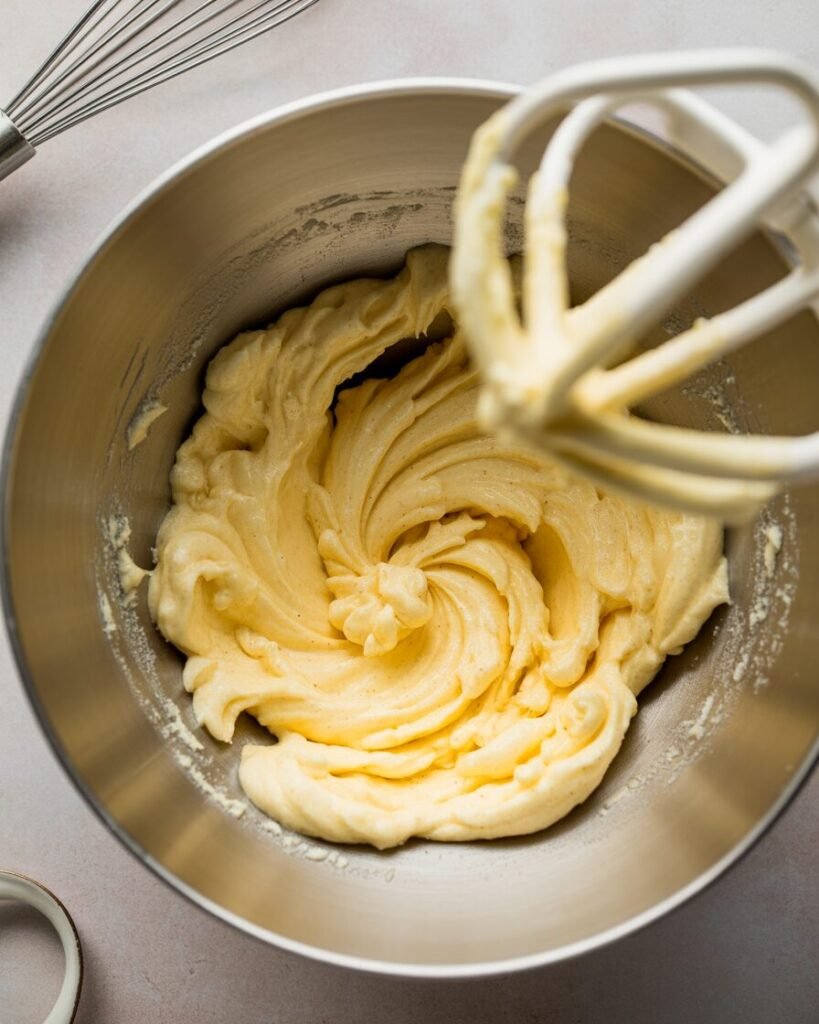
Step 3 — Cream Butter, Oil & Sugar
- Whisk softened butter + oil + sugar for 1–2 minutes until pale.
Visual cue: Looks like wet sand turning creamy.
If using only a whisk, expect a slightly grainy texture—this is normal.
Step 4 — Add Egg & Vanilla
- Whisk in the egg for 20–30 seconds.
- Add vanilla.
Visual cue: Batter becomes smoother and thicker; slight ribbons appear.
Step 5 — Add Buttermilk, Coloring & Vinegar
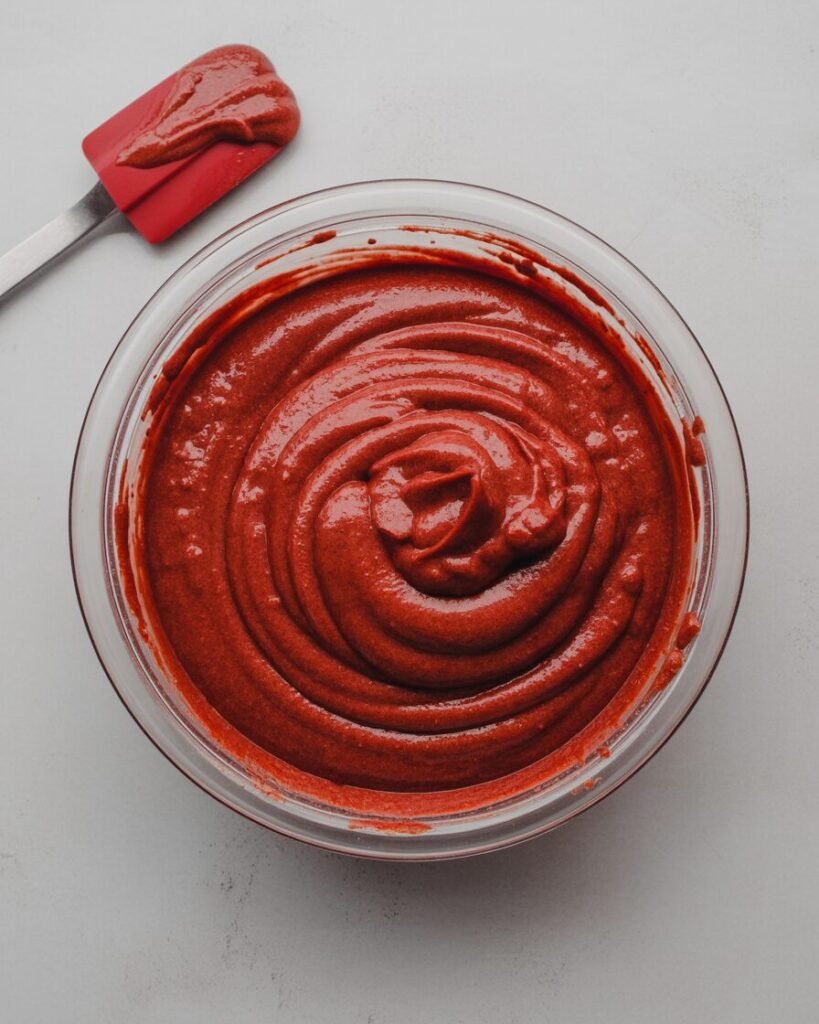
- Whisk in buttermilk + red gel coloring + vinegar.
Visual cue: Batter should look like bright, pourable red velvet paint.
If it looks curdled, don’t panic—it fixes once dry ingredients enter.
Step 6 — Fold in Dry Ingredients
- Add dry mix in 2 batches, folding gently.
Visual cue: Batter should be silky and thick but still pourable.
Avoid over-mixing (overmixing = tunneling + toughness).
Step 7 — Portion & Bake
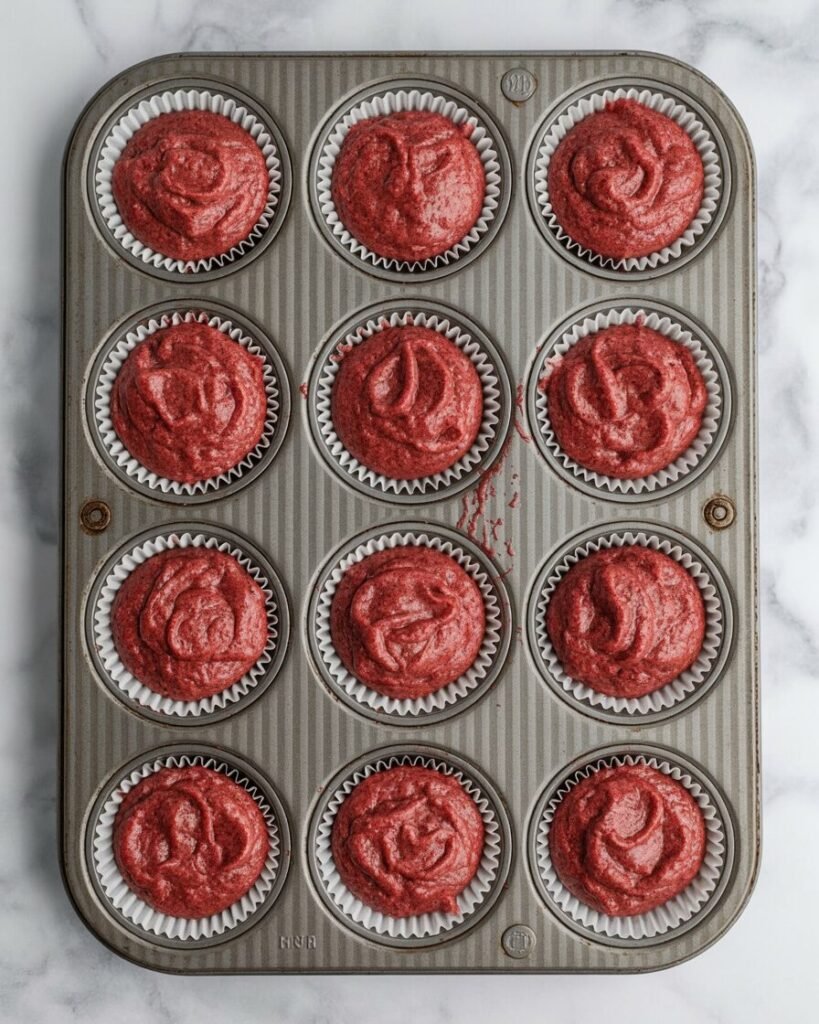
- Divide batter evenly (about 45–50 g per liner).
- Bake 15–18 minutes until:
- Tops are slightly springy
- A toothpick comes out with a few moist crumbs (not dry)
Avoid: Opening the oven before the 12-minute mark; red velvet is sensitive to temperature drops.
Step 8 — Frosting
Whip butter briefly → add cold cream cheese → whip 15 seconds → add sugar gradually.
Visual cue: Frosting should hold soft peaks and not slump.
Chill 15 minutes before piping if your kitchen is warm.
Troubleshooting: Common Failures & Fixes
1. Cupcakes sink in the middle
Likely causes:
- Underbaked center
- Too much baking soda
- Opening door early
Fix: - Bake until internal temp hits 96–98°C (205–208°F)
- Reduce soda by ⅛ tsp
- Don’t open door before 75% bake time
2. Dry or crumbly cupcakes
Likely causes:
- Overbaking
- Too much flour
- Cold ingredients
Fix: - Weigh flour properly
- Bake at lower end of time range
- Bring all ingredients to room temperature
3. Bitter or dull cocoa flavor
Cause: Using Dutch-process cocoa (too alkaline)
Fix: Use natural cocoa only.
4. Tunneling (large holes)
Cause: Over-mixing
Fix: Fold gently just until combined.
5. Flat tops
Cause: Weak chemical reaction (old baking soda or low acidity)
Fix: Add ¼ tsp extra vinegar or use fresh baking soda.
6. Frosting melts
Cause: Warm kitchen or over-whipped cream cheese
Fix:
- Chill frosting 15–20 minutes
- Use cold cream cheese, cool butter
Substitutions & Variations
Egg-Free Version
Use:
- 1 large egg → 60 g yogurt (¼ cup)
Add extra ⅛ tsp baking soda for lift.
Texture becomes slightly denser but still moist.
Dairy-Free Version
- Replace buttermilk with 120 g nondairy milk + 1 tsp vinegar
- Use dairy-free butter + vegan cream cheese
Color may appear more muted due to fat differences.
Gluten-Free Version
- Use 1:1 gluten-free baking blend (with xanthan gum)
Note: Cupcakes will be more fragile; avoid overbaking.
Flavor Variations
- Chocolate Chip Red Velvet: Add 50 g mini chips.
- Raspberry Red Velvet: Fold in 60 g chopped frozen raspberries (no thawing).
- Spiced Red Velvet: Add ¼ tsp cinnamon + pinch of nutmeg.
Scaling Chart
24 Cupcakes (Double Batch)
Multiply everything ×2
Bake time: 16–18 minutes
6 Cupcakes (Half Batch)
Divide all ingredients by 2
Bake time: 14–16 minutes
Storage & Make-Ahead
Room Temperature
- Cupcakes (unfrosted): 2 days in airtight container
- Frosted: 1 day
Refrigerator
- Frosted cupcakes: 3–4 days
Bring to room temperature 20 minutes before serving.
Freezer
- Unfrosted cupcakes freeze up to 2 months
- Thaw at room temperature 1 hour
- Refresh by microwaving 5–7 seconds for softness
Do not freeze: Cream cheese frosting on cupcakes — it becomes grainy.
Serving & Pairing Ideas
- Classic cream cheese frosting (best match!)
- White chocolate ganache topping
- Fresh berries for acidity
- A drizzle of chocolate syrup for extra richness
FAQs
1. Can I replace buttermilk?
Yes → use milk + vinegar. Flavor remains similar; crumb slightly less tangy.
2. How do I prevent sinking?
Bake fully, avoid too much leavening, and don’t disturb the oven early.
3. Can I use beetroot powder for color?
Yes, but you’ll need 1–2 tbsp and color will be deeper, not as vibrant.
4. Can I bake these in an OTG?
Yes — use the middle rack, bake mode only, and preheat 10–15 minutes.
5. How do I double the recipe?
Scale all ingredients ×2; don’t change baking temperature.
Notes From My Kitchen (Testing Log)
Batch 1:
Used oil only — cupcakes were moist but lacked buttery aroma. Switched to hybrid fat system.
Batch 2:
Tried Dutch cocoa — color turned burgundy-brown and tasted too chocolate-forward. Returned to natural cocoa.
Batch 3:
Increased vinegar to 1½ tsp — rise improved but tops cracked. Dialed back to 1 tsp.
Final Version:
Balanced acidity + hybrid fats gave the best dome, moisture, and flavor. This is the version published here.
Nutrition & Safety Note
Approx per cupcake (without frosting):
Calories: ~175 | Fat: 8 g | Carbs: 23 g | Protein: 2 g
Values are estimates. Adjust based on your brands. Practice safe ingredient handling and proper refrigeration.
Conclusion & Final Thoughts
Red velvet cupcakes often seem mysterious—somewhere between chocolate and vanilla, yet unmistakably their own category. With the right acid balance, proper cocoa choice, and gentle mixing, they’re incredibly beginner-friendly and wildly rewarding. This recipe is designed to take the guesswork out of the process so you can bake confidently and consistently, even without a mixer or fancy equipment.