There’s something magical about a frosty coffee slush on a warm afternoon: it tastes like a café drink but is easier to make than a latte. My Frozen Coffee Slush gives you a thick, semi‑frozen coffee drink with balanced sweetness and a smooth texture that doesn’t turn into icy shards. It’s ideal for days when you want a cold‑brew‑style boost without waiting hours, or when you realise you have leftover coffee in the fridge and don’t want to waste it.
The key to this recipe is pre‑chilling your coffee and using just enough sugar to lower the freezing point so the slush stays scoopable, not rock‑hard. A pro tip from my testing: don’t skip the coarse sugar in the base; it helps the texture stay smoother and less icy than all‑granulated sugar alone.
Why this frozen coffee slush works
This slush is built on a simple principle: coffee + sugar + a bit of cream or milk form a stabilized, semi‑frozen mixture that freezes faster and softer than straight coffee. Here’s the science behind it:
- Sugar lowers the freezing point
When sugar dissolves in the coffee, it prevents the whole mixture from freezing solid. That’s why slush drinks stay soft and scoopable instead of turning into a solid block. Using a mix of granulated and coarse sugar (or demerara) adds a bit of structure and helps inhibit large ice crystals. - Fat creates creaminess, not ice chunks
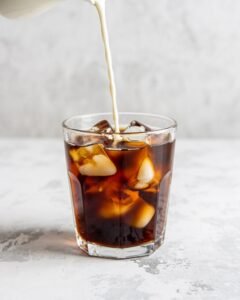
A small amount of milk or cream changes the way the slush freezes. The fat interferes with ice‑crystal formation, so the texture feels smoother and more like a soft‑serve drink. Too much fat, though, makes it melt too fast; I’ve found a light splash works best. - Pre‑chilled coffee → faster, smoother freezing
Starting with cold coffee means your freezer doesn’t have to do extra work. The mixture freezes faster and more evenly, which reduces the formation of big, jagged ice crystals and keeps the slush silky when stirred.
Ingredients
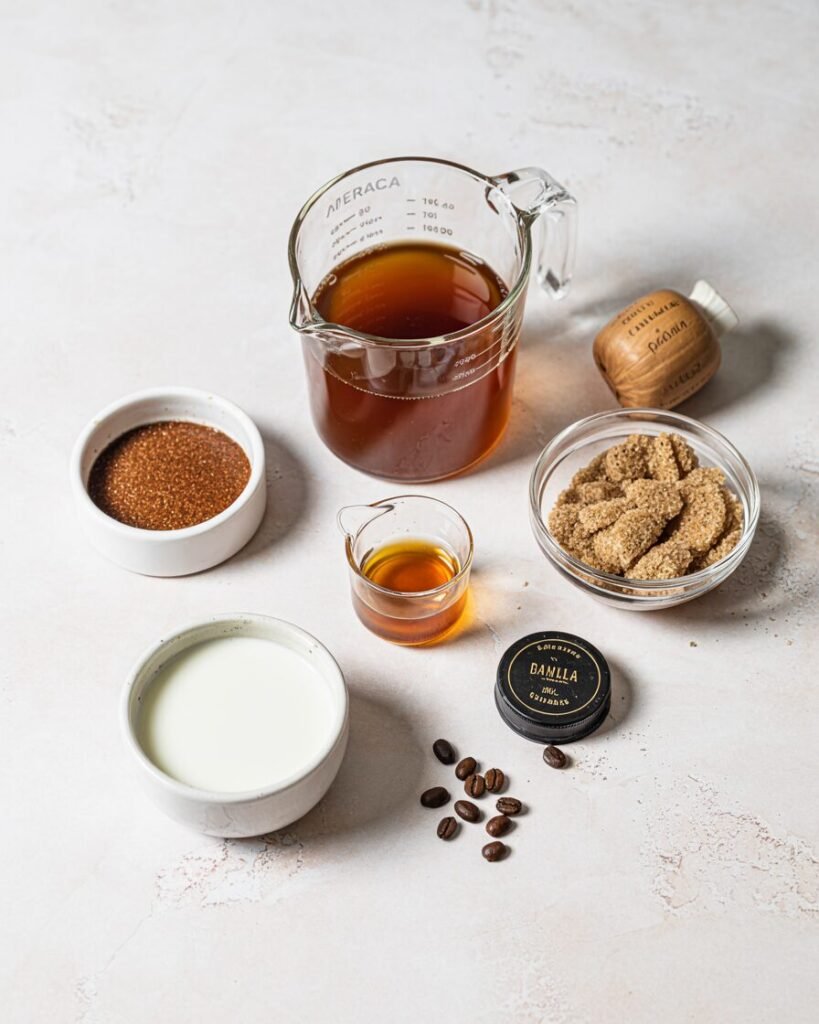
Measure ingredients by weight for consistency; cup equivalents are approximate.
- Strong brewed coffee (cooled or chilled)
- 240g ≈1 cup
- Purpose: base flavor and liquid volume; use a medium or dark roast for a richer taste.
- Water (optional, for dilution)
- 60g ≈41 cup
- Purpose: lightens the coffee if you’re using a very strong brew; adjust to your taste.
- Granulated sugar
- 30g ≈2tbsp
- Purpose: sweetens and helps control freezing texture.
- Coarse sugar / demerara sugar (recommended)
- 20g ≈1tbsp+1tsp
- Purpose: slows ice‑crystal formation for a smoother slush; substitutes like brown sugar work but add a slight caramel note.
- Milk or cream (whole or 2% milk / light cream)
- 40g≈3tbsp
- Purpose: adds creaminess and stabilizes texture.
- Vanilla extract (optional)
- 2g≈1/2tsp
- Purpose: rounds out the flavor and balances bitterness.
Equipment
Required:
- Measuring cup with metric markings or a small kitchen scale
- Mixing bowl
- Balloon whisk or fork
- Freezer‑safe container with lid (about 1–1.2 L capacity)
- Spatula or spoon for stirring
Nice‑to‑have:
- Immersion blender or small countertop blender (for an extra‑smooth slush)
- Cocktail shaker or mason jar (for shaking before serving)
Step‑by‑step instructions
Time: ~5 minutes prep + 2–3 hours in the freezer (with stirring).
Yield: about 2–3 servings.
Step 1: Brew and chill the coffee
- Brew 240g of strong coffee (about 1:15 coffee‑to‑water strength if you’re using a ratio).
- Cool it to room temperature, then chill in the fridge for at least 30 minutes.
- Visual cue: coffee should feel cold to the touch, not warm. If it’s too hot, it will delay freezing and create uneven ice crystals.
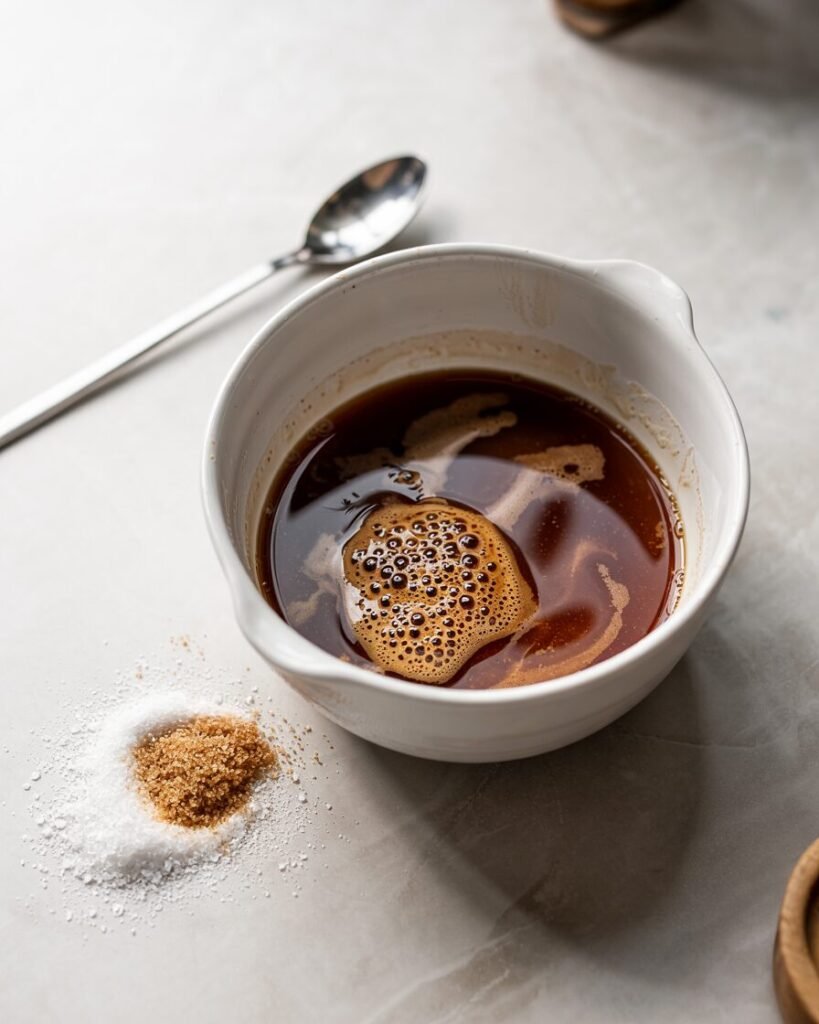
Step 2: Mix the base
- In a bowl, combine the chilled coffee, water (if using), granulated sugar, coarse sugar, milk/cream, and vanilla.
- Whisk vigorously for 30–45 seconds until the sugars are mostly dissolved.
- Visual cue: the liquid should look smooth with no visible sugar granules at the bottom. A few tiny specks of coarse sugar are okay.
Step 3: Pour into a freezer‑safe container
- Pour the mixture into a wide, shallow container (a square or rectangular dish works better than a tall jar).
- Why this helps: a wider surface area exposes more of the liquid to cold air, so it freezes faster and more evenly.
Step 4: Initial freeze (30–45 minutes)
- Place in the freezer at your standard temperature (around −18∘C≈0∘F) with the container uncovered.
- After 30–45 minutes, check for the first edges of ice forming around the rim.
- Visual cue: the edges should look slightly opaque and firm, with a thin rim of ice; the center can still be mostly liquid.
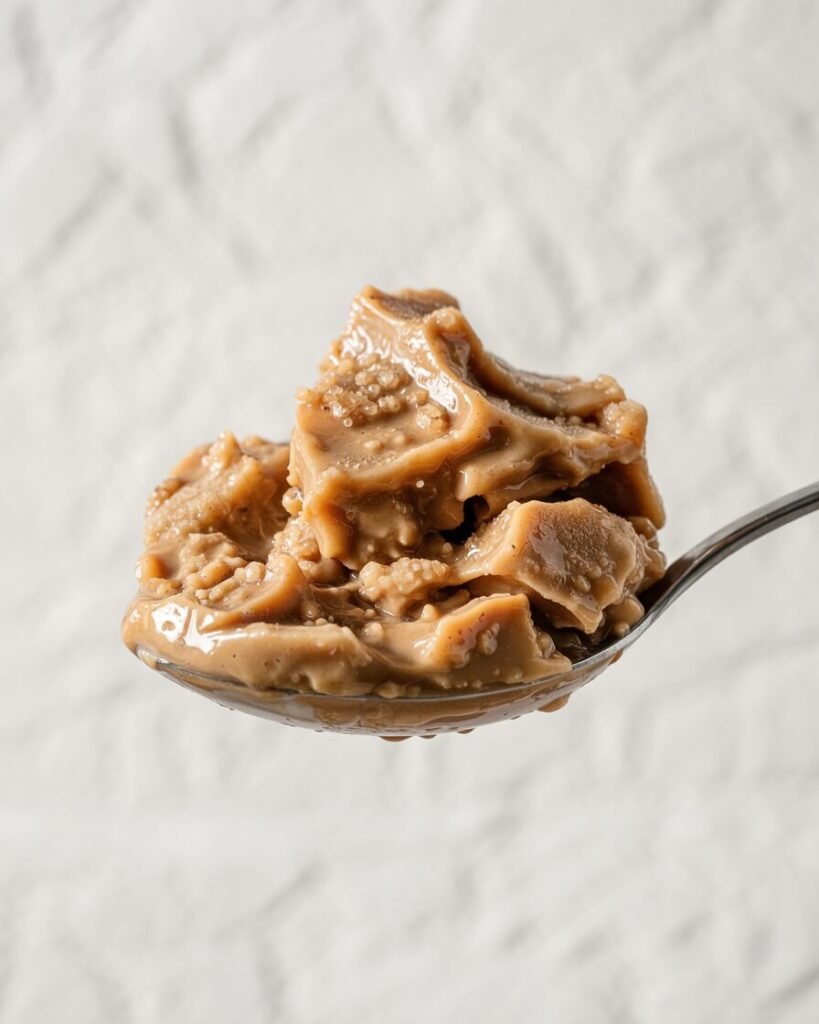
Step 5: First stir (the “slush setting” step)
- Remove the container and scrape the icy edges into the center with a spatula.
- Whisk or stir vigorously for 30–45 seconds until the mixture looks like a slurry, not a solid block.
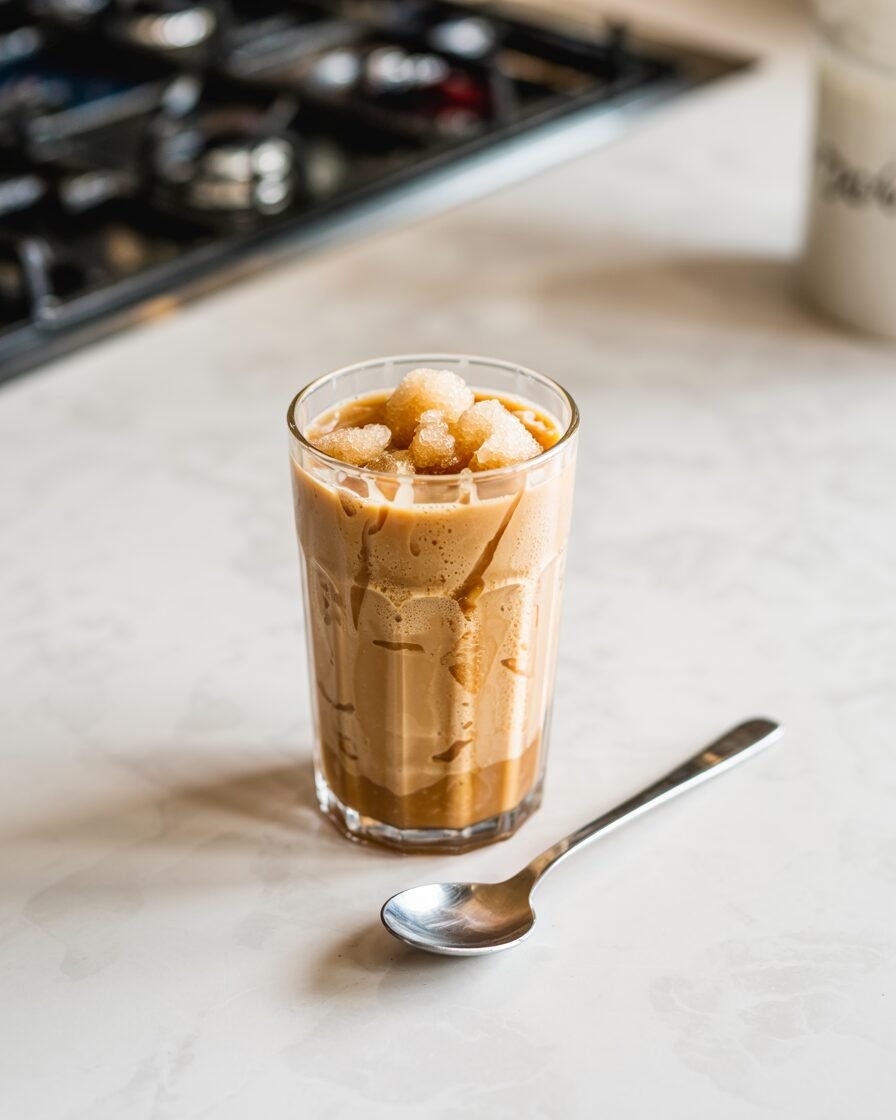
- Visual cue: you should see lots of small ice crystals and a creamy, semi‑frozen texture, similar to a granita.
Step 6: Second freeze and final stir (1–2 hours total)
- Return the container to the freezer, now covered with a lid or plastic wrap.
- After another 45–60 minutes, check the texture again.
- Stir once more, breaking up any larger chunks of ice.
- Final visual cue: the slush should be scoopable and hold its shape briefly, like a soft‑serve drink. If it’s still too runny, freeze 15–30 minutes more and stir again.
Troubleshooting: common failures and fixes
- Problem: The slush is icy and grainy.
- Likely causes: too much sugar dissolved at once, not enough stirring, or using a very tall, narrow container.
- Fix next time: increase stirring frequency, use a wider container, and consider slightly reducing the coarse sugar.
- Problem: The slush freezes rock‑hard.
- Likely causes: too little sugar, too little fat, or an extra‑cold freezer.
- Fix next time: keep at least 50g of sugar total and include the milk/cream; stir more often if your freezer runs very cold.
- Problem: The slush is too watery.
- Likely causes: too much liquid, not enough sugar, or not freezing long enough.
- Fix next time: reduce the water slightly, increase the sugar by 5–10g, or give it an extra 20–30 minutes in the freezer.
- Problem: The coffee tastes flat.
- Likely causes: using weak coffee or stale grounds.
- Fix next time: brew a stronger coffee (a bit more coffee per water) and use freshly ground beans if possible.
- Problem: The slush tastes overly sweet.
- Likely causes: using all coarse/demerara sugar or adding extra sugar after tasting.
- Fix next time: balance coarse and granulated sugar 1:1 by weight, and taste after partial chilling before adjusting.
Substitutions and variations
Dietary swaps:
- Dairy‑free: Replace milk/cream with full‑fat coconut milk or oat milk. Coconut milk gives a richer, slightly tropical flavor; oat milk stays more neutral.
- Less sugar: Reduce total sugar to 40g (about 2tbsp granulated). Expect a slightly icier texture and a sharper coffee taste.
- Caffeine‑free: Use strongly brewed decaf coffee or roasted barley “coffee‑like” drink as the base.
Flavor variations (tested):
- Mocha slush: Add 15g (about 2tbsp) unsweetened cocoa powder with the sugars; whisk well so there are no lumps.
- Cinnamon‑coffee: Add 1g (about 1/4tsp) ground cinnamon with the sugars.
- Orange‑coffee: Add 2–3g (about 1tsp) orange zest or 2g (about 1/2tsp) orange extract.
- Iced‑latte‑style: After freezing, stir in an extra 30g of cold milk for a looser, drinkable slush.
Storage, make‑ahead, and freezing
- Make‑ahead:
The sugar‑coffee base can be mixed and stored in the fridge for up to 24 hours before freezing. This is handy if you want to prep it the night before serving. - Freezer storage:
Once fully slushed, keep it covered in the freezer for up to 2 days. After that, it can start to separate or become grainier. For longer storage, do not freeze it as a solid block; it becomes too hard to revive. - Re‑serving:
If the slush freezes too hard, let it sit at room temperature for 5–10 minutes, then stir vigorously or lightly pulse in a blender.
Avoid repeatedly refreezing and thawing the same batch, as it can turn gritty.
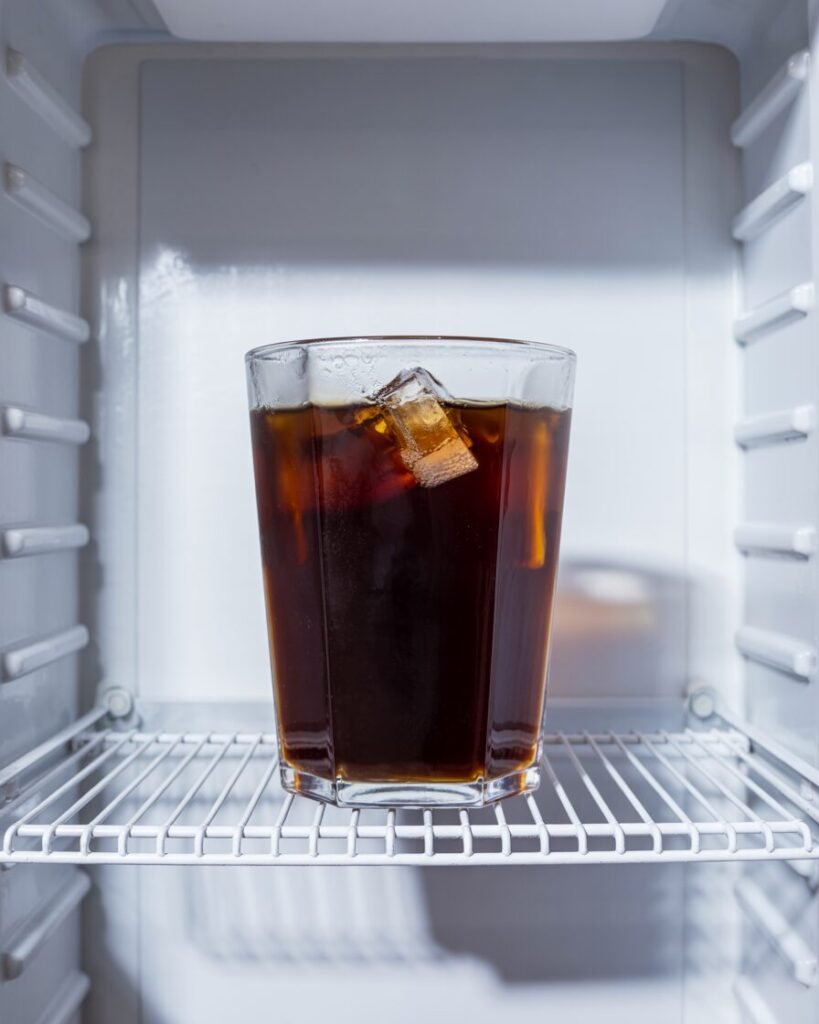
Serving suggestions and pairings
- Serve in:
- Tall glasses with a straw for sipping from the bottom.
- Shallow bowls for a dessert‑style slush.
- Pair with:
- A slice of chocolate cake or brownies for a rich contrast.
- Biscotti or buttery cookies on the side for dipping.
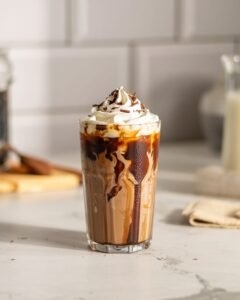
- A small dollop of whipped cream or a dusting of cocoa for extra indulgence.
- Serving temperature:
Best enjoyed immediately after the final stir, when the slush is still cold and scoopable.
FAQs
1. Can I use instant coffee?
Yes, but the texture is slightly less smooth. Use 10g instant coffee dissolved in 240g hot water, then chill completely before adding sugar and milk.
2. My freezer is very strong; how do I keep it from turning solid?
Place the container in the freezer on a higher shelf (warmer spot) and stir every 20–25 minutes instead of 30–45. You can also reduce the total sugar by 5g to counteract the extra‑cold setting.
3. Can I make this alcohol‑free but still “adult‑tasting”?
Yes. Add a pinch of salt and a bit of vanilla; this enhances the coffee flavor without sweetness. You can also add a small amount of cinnamon or orange zest for complexity.
Notes from my kitchen
Batch 1:
I tried using all coarse sugar and no milk. The result was very slushy-looking, but the texture was disappointingly gritty and the coffee tasted sharper. The slush also froze a bit too hard.
Batch 2:
I switched to half granulated, half coarse sugar and added 40g of whole milk. The texture improved dramatically: smoother, creamier, and still scoopable. Stirring every 30 minutes instead of every hour reduced iciness.
Final chosen method:
Use a 1:1 mix of granulated and coarse sugar, add a small splash of milk, and stir the slush twice during freezing. This gives the best balance of smoothness, sweetness, and structure, with the flexibility to adjust strength by brewing the coffee slightly stronger or weaker.
Nutrition and disclaimer
Per serving (assuming 3 servings, medium coffee and whole milk):
Approximate values: 60–80kcal, 10–12g carbs, 1–2g fat, 1–2g protein. Values are estimates and can vary significantly with coffee strength, sugar choice, and milk type.
Note: Values are estimates; adjust for brands and portion size. Follow food‑safety best practices, especially when storing dairy‑containing drinks in the fridge or freezer.