most store-bought strawberry ice cream tastes like pink disappointment. You know what I’m talking about, right? That artificial flavor makes you wonder if they’ve ever actually seen a real strawberry. But here’s the thing: making your own strawberry ice cream isn’t just possible, it’s ridiculously satisfying and way easier than you think.
I stumbled into homemade ice cream making after one too many grocery store letdowns, and honestly? I’ve never looked back. Today, I’m sharing everything I’ve learned about creating the perfect strawberry ice cream that’ll make you question why you ever bought the store stuff in the first place.
Why Homemade Strawberry Ice Cream Beats Store-Bought Every Time
Real strawberries make all the difference. When you control the ingredients, you’re not dealing with mysterious “natural flavors” or enough preservatives to survive a nuclear winter. You get actual fruit, real cream, and flavors that pop instead of just existing.
Here’s what you can expect when you make your own:
- Intense strawberry flavor that actually tastes like strawberries
- Creamy texture without weird gums or stabilizers
- Control over sweetness – because some of us don’t need diabetes in a bowl
- Pride points – because homemade always wins at dinner parties
Ever notice how store-bought strawberry ice cream often has this weird artificial aftertaste? That’s because most commercial brands rely on flavor compounds instead of actual fruit. IMO, that’s just wrong on so many levels.
Essential Equipment: What You Actually Need (And What’s Just Marketing Hype)
Ice cream maker – Obviously the star of the show. I’ve tried both the freeze-bowl types and the compressor models. The freeze-bowl ones work great for occasional batches, but if you’re planning to become an ice cream addict (and trust me, you will), invest in a compressor model.
High-powered blender or food processor – For breaking down those strawberries into submission. A regular blender works, but you’ll get better results with something that can really pulverize fruit.
Fine-mesh strainer – This is where the magic happens. Straining your strawberry mixture removes seeds and ensures that silky texture we’re after.
Heavy-bottomed saucepan – For making the custard base. Thin pans are the enemy of smooth ice cream.
The fancy stuff you don’t need? Those expensive ice cream scoops, specialized storage containers, or liquid nitrogen setups. Keep it simple – this isn’t rocket science, just delicious science 🙂

The Perfect Strawberry Ice Cream Base Recipe
Ingredients That Matter
For the strawberry component:
- 2 pounds fresh strawberries (or 1.5 pounds if you’re using frozen)
- 1/2 cup granulated sugar
- 2 tablespoons fresh lemon juice
- 1 tablespoon vanilla extract
For the ice cream base:
- 2 cups heavy cream
- 1 cup whole milk
- 3/4 cup granulated sugar
- 6 large egg yolks
- 1/4 teaspoon salt
The Strawberry Prep (Don’t Skip This Step)
Hull and slice your strawberries – I like chunky pieces because they’ll break down anyway. Toss them with sugar and lemon juice, then let them sit for at least 30 minutes. This process, called maceration, draws out the juices and intensifies the flavor.
After they’ve sat, blend until smooth. Some people leave chunks, but I prefer the smoothness you get from blending. Strain through that fine-mesh strainer to remove seeds – trust me on this one.
Making the Custard Base: Where Good Ice Cream Becomes Great
This is where things get slightly technical, but don’t panic. Making custard is all about temperature control and patience.
Heat your milk and cream in that heavy-bottomed saucepan until it’s just about to simmer – you’ll see little bubbles forming around the edges. Meanwhile, whisk your egg yolks with sugar until they’re pale and thick.
Here’s the crucial part: tempering the eggs. You can’t just dump hot cream into raw eggs unless you want strawberry scrambled eggs (which sounds terrible). Instead, slowly drizzle about half the hot cream mixture into the yolks while whisking constantly. This gradually raises the temperature without cooking the eggs.
Pour everything back into the saucepan and cook over medium-low heat, stirring constantly, until it coats the back of a spoon. This usually takes 5-7 minutes. The mixture should reach about 170°F if you’re using a thermometer.
Strain the custard through that mesh strainer again – this catches any bits that might have cooked despite your best efforts. Cool completely before mixing with your strawberry puree.
Assembly and Churning: The Final Countdown
Combine your cooled custard with the strawberry mixture. Taste and adjust – need more strawberry? Add it. Too tart? A bit more sugar won’t hurt.
Chill everything for at least 4 hours before churning. Cold mixture churns better and faster. FYI, this is also when I usually realize I should have started this process yesterday, but whatever.
Churn according to your ice cream maker’s instructions. Most machines take 20-25 minutes, but yours might be different. You’ll know it’s done when it looks like soft-serve and the machine starts working harder.
Pro Tips That Actually Make a Difference
Use the ripest strawberries you can find. Underripe strawberries make bland ice cream, no matter how much sugar you add. If your strawberries aren’t great, consider adding a tablespoon of strawberry jam for extra flavor boost.
Don’t over-churn. Once your ice cream reaches that soft-serve consistency, stop. Over-churning creates butter, and nobody wants strawberry butter ice cream.
Freeze properly. Transfer to an airtight container and press plastic wrap directly onto the surface before putting the lid on. This prevents ice crystals from forming.
Troubleshooting Common Issues
Ice cream too hard? You might have used too much sugar or not enough fat. Next time, try adding an extra egg yolk or reducing sugar slightly.
Not enough strawberry flavor? This usually means your strawberries weren’t flavorful enough to begin with. Try adding a bit of strawberry extract or even some freeze-dried strawberries for intensity.
Icy texture? This typically happens when the mixture wasn’t cold enough before churning, or you didn’t churn long enough. Temperature is everything in ice cream making.
Variations That’ll Keep Things Interesting
Strawberry-basil ice cream – Add 6-8 fresh basil leaves to your strawberry mixture before blending. It sounds weird, but it’s amazing.
Strawberry-balsamic – A drizzle of aged balsamic vinegar brings out the strawberry flavor like nothing else.
Strawberry cheesecake – Fold in crushed graham crackers and cream cheese chunks during the last few minutes of churning.
Storage and Serving Like a Pro
Homemade ice cream is best within the first week, but it’ll keep for up to a month if stored properly. Let it soften for 5-10 minutes before serving – it’ll be harder than store-bought because it doesn’t have all those stabilizers.
Serve it in chilled bowls for the full experience. And if you really want to show off, make some fresh waffle cones. Nothing says “I’ve got my life together” like homemade waffle cones filled with homemade ice cream.
The Bottom Line
Making strawberry ice cream at home isn’t just about saving money or avoiding preservatives (though both are nice bonuses). It’s about creating something genuinely delicious that tastes like what strawberry ice cream should taste like – pure, intense, and absolutely satisfying.
Sure, it takes more effort than grabbing a container from the freezer aisle, but the payoff is worth every minute. Plus, once you master this basic recipe, you can experiment with other flavors and really go wild with your ice cream game.
Strawberry Ice Cream Recipe
Course: DessertCuisine: AmericanDifficulty: Easy8
servings20
minutes245
kcal4
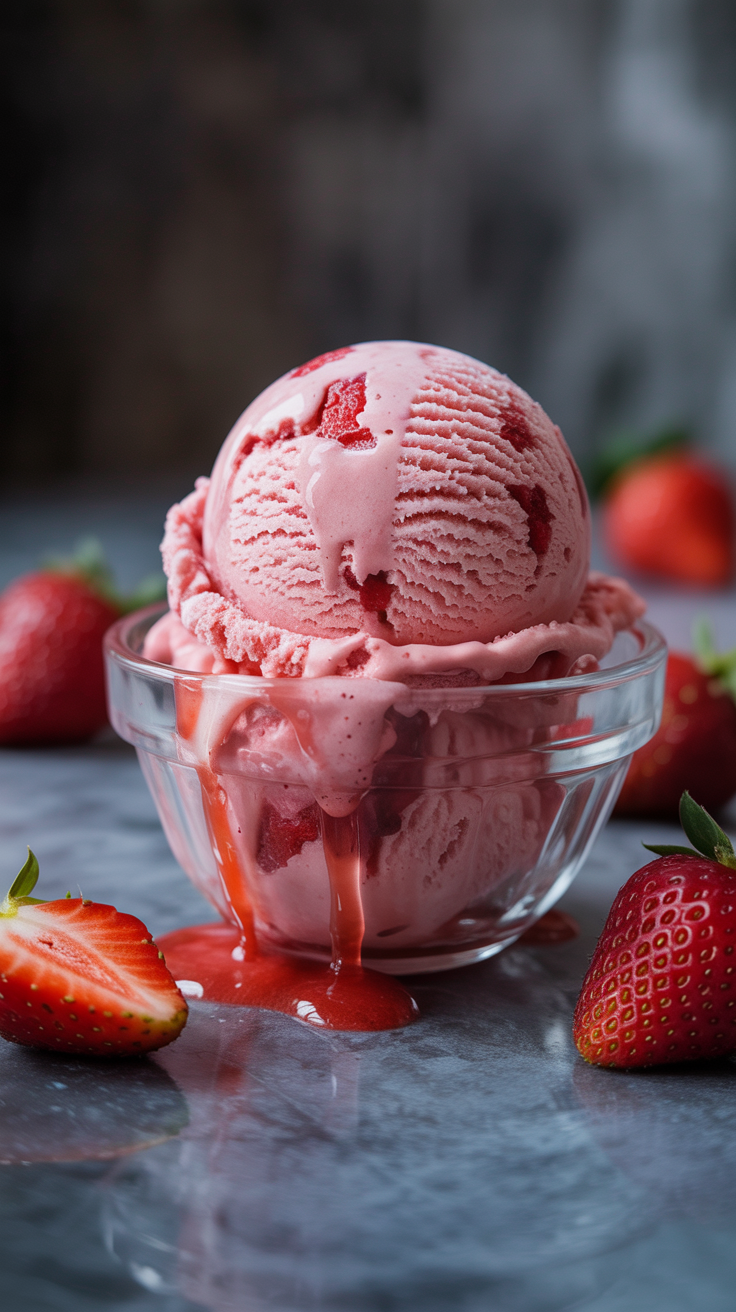
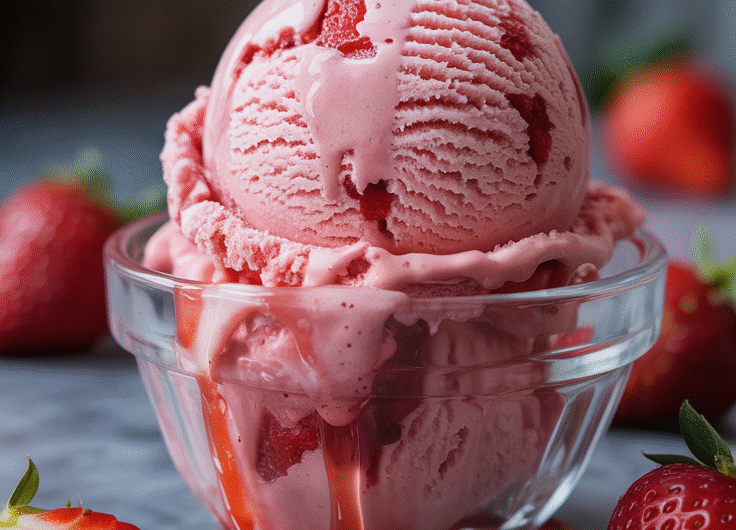
minutesThis creamy homemade strawberry ice cream captures the essence of summer with fresh, ripe strawberries and a rich vanilla base. The macerated strawberries add natural sweetness and beautiful color, while the smooth texture makes it irresistible. Perfect for hot days or as a delightful dessert any time of year.
Ingredients
2 cups heavy cream
1 cup whole milk
3/4 cup granulated sugar
1 teaspoon vanilla extract
1/4 teaspoon salt
2 cups fresh strawberries, hulled and chopped
2 tablespoons lemon juice
2 tablespoons sugar (for macerating strawberries)
Directions
Prepare the Strawberries
- Combine chopped strawberries, lemon juice, and 2 tablespoons sugar in a bowl
- Let macerate for 15 minutes, then mash lightly with a fork
- Set aside to cool completely
- Make the Ice Cream Base
- In a large bowl, whisk together heavy cream, milk, 3/4 cup sugar, vanilla, and salt
- Whisk until sugar completely dissolves (about 2-3 minutes)
- Fold in the macerated strawberries and their juices
- Churn and Freeze
- Pour mixture into ice cream maker and churn according to manufacturer’s instructions (usually 20-25 minutes)
- Transfer to airtight container and freeze for at least 4 hours for firm scooping consistency
Notes
- For a deeper strawberry flavor, use 1/2 cup strawberry puree instead of chopped berries
Best consumed within 1 week for optimal texture
Let sit at room temperature for 5 minutes before scooping if very firm