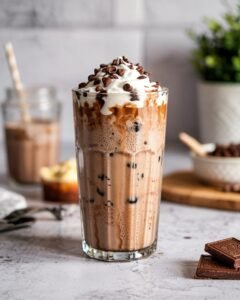
This Vanilla Bean Coffee Frappé is everything you want in a café‑style drink: silky‑smooth, gently sweet, with a strong coffee backbone and a true vanilla aroma—not vanilla extract alone, but real vanilla bean.
At Bake My Sweet, I’ve tested this recipe countless times next to store‑bought bottled frappés; this version tastes fresher, less cloying, and never rubbery or icy. The key is controlling ice, sweetness, and texture, plus a couple of barista‑style tricks that make it hold up longer in the glass.
One pro tip to get right: blend the ice first into a fine, snow‑like consistency before adding the liquid. Skipping this step is the #1 reason frappés end up watery on top and gritty at the bottom.
Why this recipe works
A great frappé balances texture, temperature, and flavor without relying on stabilizers or artificial thickeners. Here’s how this recipe nails each:
- Ice texture and mouthfeel: Blending ice first into fine “snow” gives you a dense, foam‑like base instead of big chunks. This creates micro‑air pockets that make the drink feel lighter and more frothy, even without heavy cream.
- Sweetness and viscosity: The recipe uses a small amount of brewed coffee reduced to a concentrate, so the sugar doesn’t thin out the drink. Syrup and milk together create osmotic balance, which helps the layers stay mixed and the drink feel velvety instead of flat.
- Vanilla bean vs extract: The vanilla bean seeds add fat and aroma molecules that adhere to fat‑based components (milk, cream). That’s why the vanilla flavor lingers longer on your tongue than in a drink made with extract alone.
Because this is a non‑baked recipe, the only “oven” is your blender. The “bake” here is the blend‑time chemistry: just like under‑whipped buttercream is thin and over‑whipped is curdled, under‑blended ice is watery and over‑blended can melt your drink too fast. Aim for that soft‑serve texture in the glass.
Vanilla Bean Coffee Frappé recipe
Yield: 2 large servings (about 600ml total)
Equipment needed:
- High‑speed blender
- Measuring spoons and cups or a kitchen scale
- Small pot and fine mesh sieve
- 2 tall glasses (12–14oz/350–400ml)
Ingredients
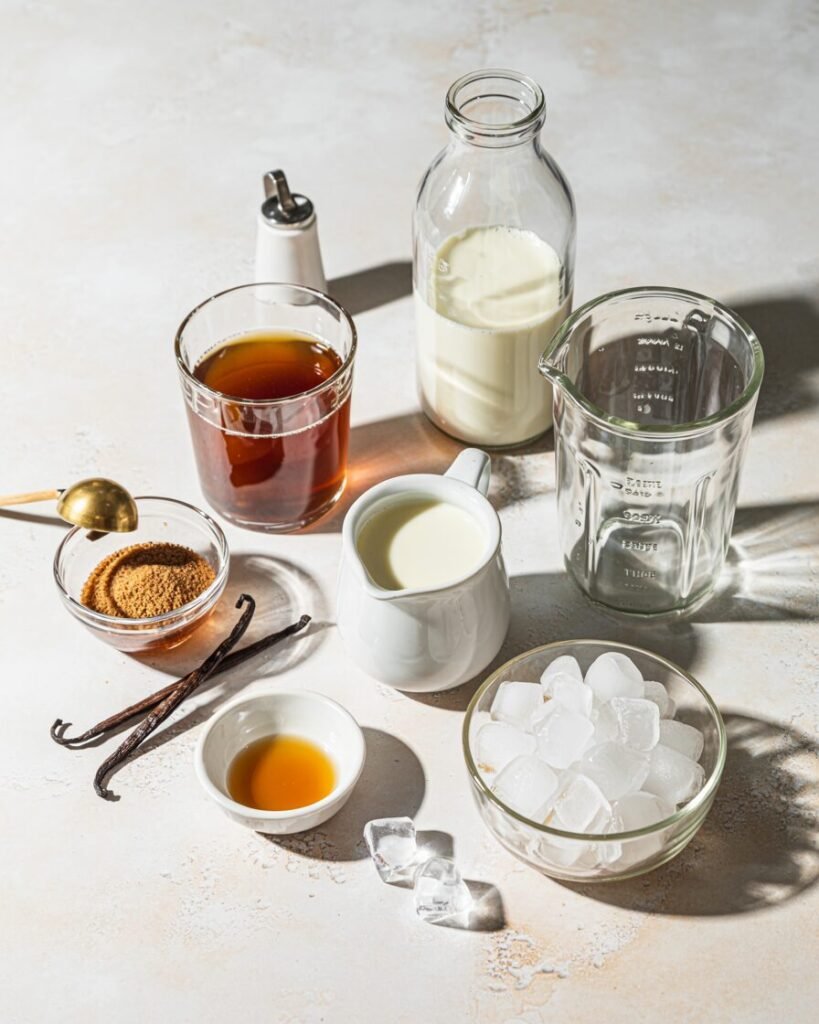
- Water (for coffee) – 120g (21cup)
Purpose: Base for strong coffee without diluting the drink too much. - Medium‑dark roast coffee beans – 15g (about 1tbsp ground)
Purpose: Provides bold, smooth coffee flavor; avoid very dark roasts as they can taste burnt when blended. - Sugar (granulated) – 40g (41cup)
Purpose: Sweetness and helps stabilize the texture; too little and it tastes flat, too much and it becomes slushy. - Vanilla bean (or 1 bean’s worth) – 1 pod
Purpose: Adds rich vanilla aroma and speckled visual texture; use Madagascar or Mexican for best flavor. - Whole milk – 240g (1 cup)
Purpose: Creamy body and fat to carry the vanilla and coffee;
Substitute: Full‑fat oat or soy milk for dairy‑free (texture will be slightly thinner). - Heavy cream (optional but recommended) – 60g (41cup)
Purpose: Adds richness and a thicker, café‑style foam layer. - Ice cubes – 360–400g (about 4 cups loosely packed)
Purpose: Chills and thickens the drink; too little ice = watery, too much = bland and hard. - Vanilla extract (optional finish) – 1/2tsp
Purpose: Boosts vanilla aroma if your bean isn’t super fragrant.
Note: If you have a vanilla bean paste, use about 1tsp instead of a pod; adjust sweetness slightly since paste is somewhat sweetened.
Equipment
Required:
- High‑speed blender
- Small pot and fine mesh sieve
- Measuring cups or scale
- 2 tall glasses
- Vanilla bean splitter or small knife
Nice‑to‑have:
- Milk frother (for topping foam)
- Thermometer (to check blended drink is well below 10°C / 50°F)
- Rubber spatula (to scrape all vanilla bean seeds)
Step‑by‑step instructions (with timing and visual cues)
Total time: about 15 minutes
Step 1: Make vanilla coffee syrup, 6–8 minutes
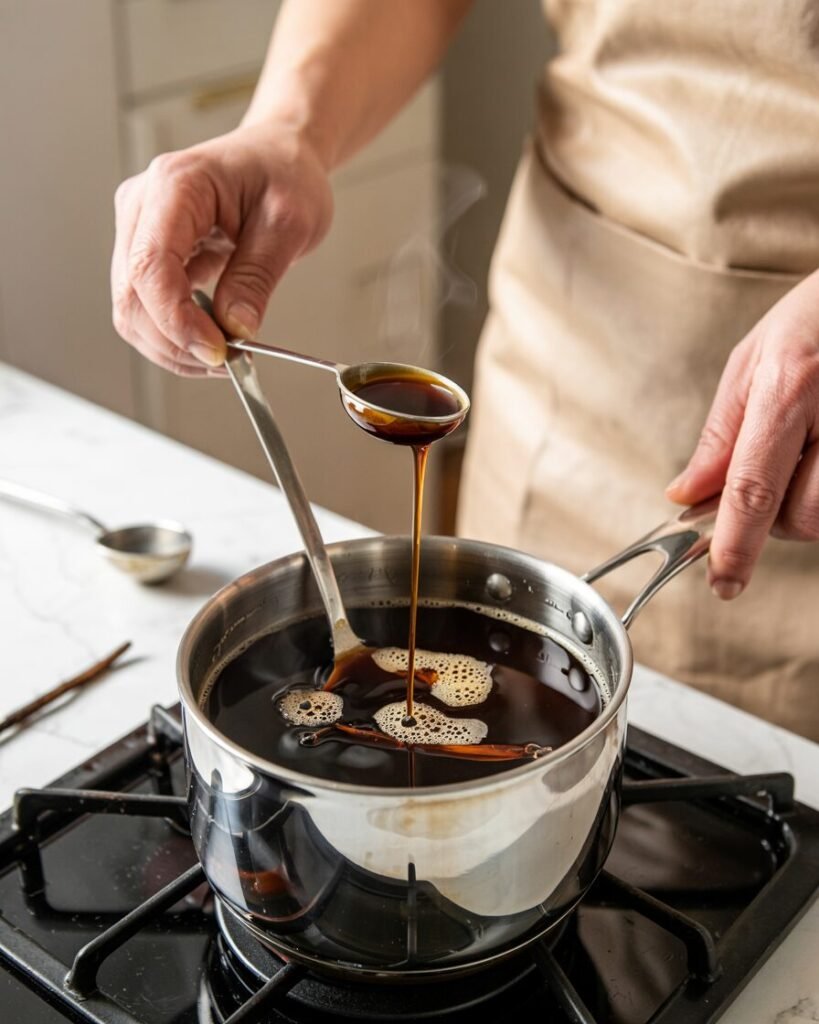
- In a small pot, combine water and sugar. Split the vanilla bean lengthwise and scrape the seeds into the pot; add the pod.
- Heat over medium until it comes to a gentle simmer, stirring to dissolve the sugar.
- Visual cue: Bubbles should be small and lazy, not rolling.
- Simmer for 3–4 minutes, then remove from heat and let steep 3–5 minutes.
- Strain into a cup, removing pod and seeds. You can save the pod to dry and reuse in sugar or milk later.
Pro tip: Let the syrup cool completely before blending; warm liquid melts ice too fast and makes the drink runny.
Step 2: Brew and cool the coffee concentrate, 5 minutes (plus 10–15 minutes cooling)
- Brew 60 g60g of strong coffee (about 2–3 shots) using your preferred method (drip, espresso, Moka pot).
- Add the remaining coffee to the vanilla syrup so the total liquid is about 180 g180g (3/4 cup).
- Visual cue: Syrup‑coffee should be deep brown, not watery light.
- Let it cool to room temperature (or chill in fridge for 10–15 minutes).
Pro tip: If you’re in a rush, chill glass in the freezer while the coffee cools.
Step 3: Blend ice to a fine texture, 15–30 seconds
- Add ice cubes to the blender.
- Blend on high until the ice breaks into a fine, snow‑like consistency.
- Visual cue: Should look like soft‑serve ice cream, not loose chunks.
- If it’s not smooth, stop and scrape sides with a spatula, then continue for a few more seconds.
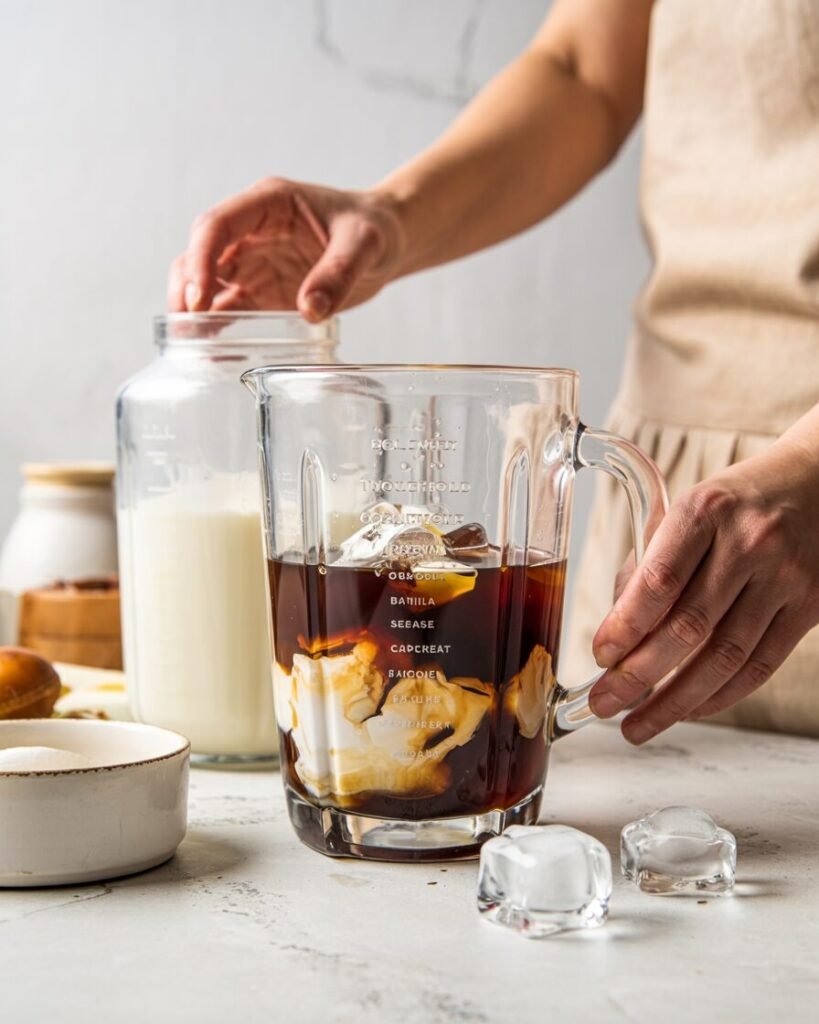
Step 4: Combine and blend all liquids, 20–30 seconds
- With the blender on medium, slowly add:
- Coffee‑vanilla syrup
- Whole milk
- Heavy cream (if using)
- Increase to high and blend 20–30 seconds.
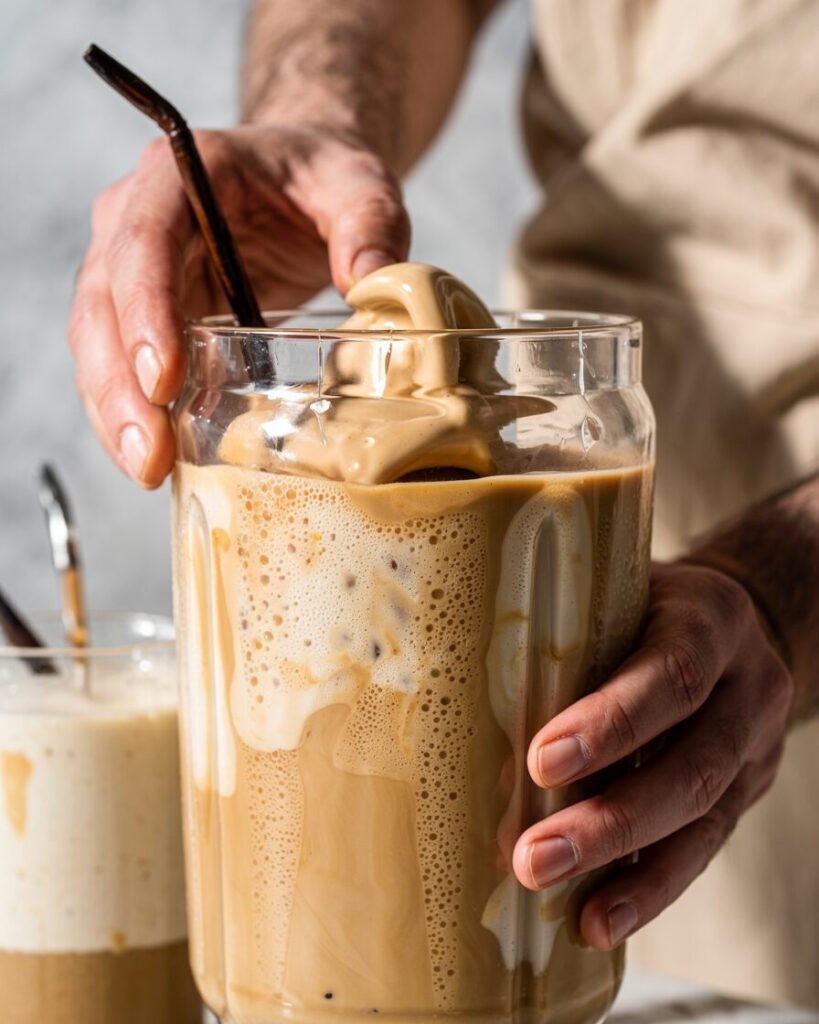
- Visual cue: Mixture should be thick, with a smooth, foam‑like top and no visible ice chunks. When you pour it, it should move slowly, like a thick milkshake.
Avoid this: Adding too much liquid at once; you’ll lose the soft‑serve texture and end up with a watery drink.
Step 5: Serve immediately
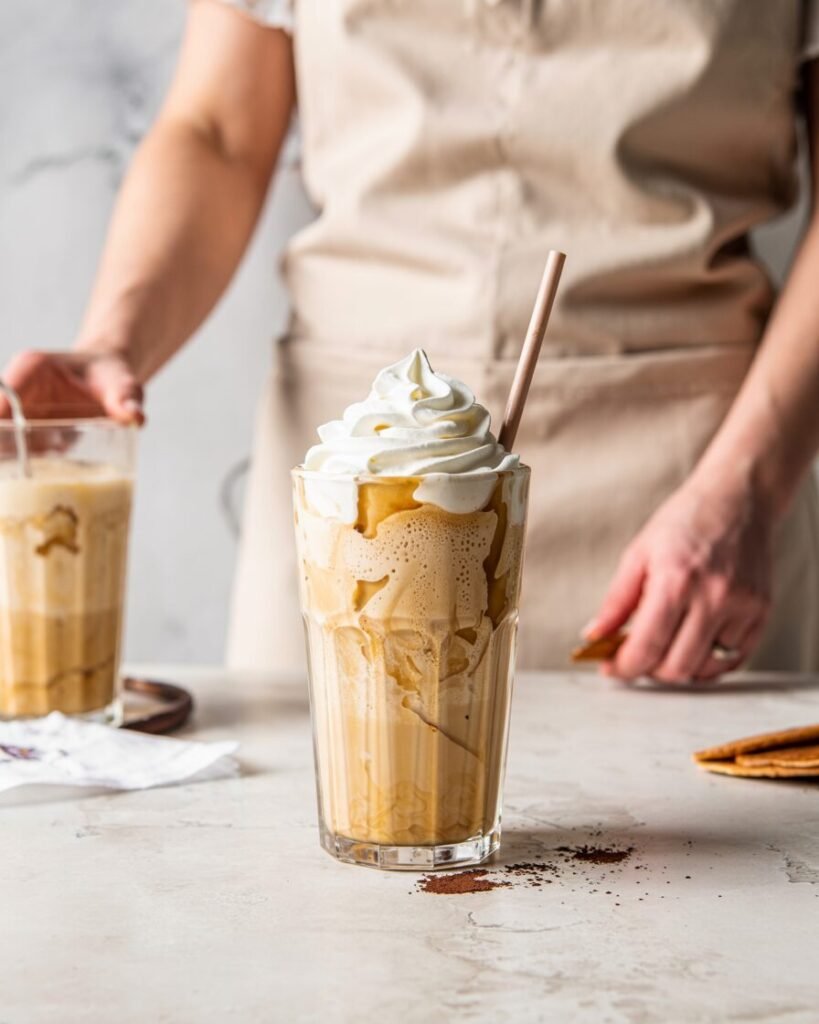
- Pour into chilled glasses.
- If you want an extra foam layer, briefly froth remaining milk or cream with a frother and spoon on top.
- Ideal serving temperature: well below 10°C (50°F); if it’s warmer than this, it will melt quickly.
Troubleshooting: common issues and fixes
Problem: Drink is watery on top, gritty at the bottom.
- Likely causes: Ice added after liquid, or not blended enough.
- Fix: Always blend ice first, then add liquid; blend 20–30 seconds on high until smooth.
Problem: Too thick to sip through a straw.
- Likely causes: Too much ice or not enough liquid.
- Fix: For next batch, reduce ice by 50–60g or add an extra 30g of milk.
Problem: Vanilla flavor is weak.
- Likely causes: Old or low‑quality vanilla bean, or not using the seeds.
- Fix: Use a fresh bean, scrape seeds thoroughly, and add an extra 1/2tsp vanilla extract.
Problem: Coffee tastes bitter or harsh.
- Likely causes: Over‑brewed or dark‑roast coffee.
- Fix: Use a medium roast, don’t over‑extract, and keep total coffee volume to 180 g180g or less.
Problem: Frappé melts too fast in the glass.
- Likely causes: Serving in a warm glass or letting it sit too long.
- Fix: Chill glasses in fridge/freezer, and serve immediately; don’t pre‑mix multiple servings unless you plan to drink them one after another.
Substitutions and variations
Dairy‑free:
- Replace whole milk with full‑fat oat or soy milk.
- Replace heavy cream with canned coconut milk (thick, not shaken).
- Texture note: Slightly thinner; compensate with an extra 30g ice for thickness.
Egg‑free, gluten‑free:
- This recipe is naturally egg‑free and gluten‑free; just ensure your coffee and vanilla product are GF‑labelled if you’re strict.
Sugar‑reduced option:
- Reduce sugar to **25,\text{g}) and use a zero‑calorie sweetener you like.
- Trade‑off: Less viscosity and body; add an extra 30g ice for texture.
Flavor swaps:
- Caramel: Add 10–15g caramel syrup; reduce sugar slightly.
- Chocolate: Add 10–15g cocoa powder and an extra 10g sugar.
- Spiced: Add 1/4tsp cinnamon or a pinch of nutmeg.
Storage, make‑ahead, and freezing
Counter:
- Not recommended; blends separate quickly at room temperature.
Fridge:
- Up to 2 hours: You can chill the coffee‑vanilla syrup and milk mixture separately, but not the blended drink.
- Avoid: Pre‑blending multiple servings; they lose texture.
Freezer:
- Not recommended for the completed drink; freezing changes the ice structure and you’ll get a hard, icy mess.
- What you can freeze:
- Vanilla syrup in an ice‑cube tray (thaw before use).
- Strong coffee in ice‑cube trays (use as part of your ice next time).
Serving suggestions and pairing ideas
- Pair with:
- A buttery shortbread or slice of vanilla cake to balance sweetness.
- A small, dark‑chocolate truffle if you like bitter‑sweet contrast.
- A simple oat‑based cookie or scone for brunch.
- For a “coffee‑break” moment:
- Serve with a small bowl of nuts or a fruit skewer to keep the drink as the star.
Pro tip: If you’re pairing with a sweet dessert, slightly reduce the sugar in the frappé to avoid cloying sweetness.
FAQs (short, authoritative answers)
Can I use instant coffee instead of brewed?
Yes. Use 2–3 teaspoons of instant coffee dissolved in hot water, then cool to room temperature. Add slightly less sugar since instant can be more bitter.
How to prevent the drink from melting too fast?
Use very cold ingredients, chill the glasses, and blend ice first for a denser texture. Don’t let it sit more than 10–15 minutes in a warm room.
Can I double or halve the recipe?
You can double without problem; just scale ice and liquid equally.
For halving, reduce everything by half, but keep at least 180,\text{g}) ice for good texture.
Best milk/cream type and why?
- Whole milk + heavy cream = richest, most café‑style.
- Oat milk + coconut cream = best dairy‑free option (closest to original texture).
Can I make this in an air fryer or OTG?
No; this is a blended drink recipe and neither appliance can safely replicate the blender texture. (They’re for baking, not crushing ice.)
Why does my frappé taste flat or watery?
Likely causes: too little ice, over‑blending, or warm liquid.
- Fix: Use more ice, blend less than 30 seconds on high, and ensure liquids are cold.
Notes from my kitchen (tested batches)
Batch 1:
- Used dark roast and all liquid added before ice.
- Result: Bitter, watery, layers separated.
- Adjustment: Switched to medium roast, blended ice first, reduced sugar by 10g.
Batch 2:
- Tried only milk, no cream.
- Result: Thinner, less creamy, but still drinkable.
- Adjustment: Added 60g cream to balance richness.
Batch 3 (final chosen method):
- Medium roast coffee, coffee‑vanilla syrup, milk + cream, ice blended first.
- Texture: Soft‑serve‑like, stable for 10–15 minutes in a chilled glass.
- Why it works best: Precise ice–liquid ratio and cold start keep flavor bold and texture satisfying—no ice shards, no wateriness.
Final thoughts
This Vanilla Bean Coffee Frappé is a simple, bakery‑tested recipe that brings café‑style quality into your home blender. By focusing on ice texture, coffee strength, and vanilla quality, you can make a drink that feels indulgent without feeling artificial or overly sweet.
Whether you’re serving it as part of a brunch lineup or as a weekend treat with a slice of cake, this frappé is flexible enough for substitutions and scalable for small or larger batches. Blend once correctly and you’ll taste why texture is as important as flavor in a great drink.